My edited images
4
My Edited Images Georgia Cox
-
Upload
gc4491 -
Category
Art & Photos
-
view
18 -
download
0
Transcript of My edited images

My Edited ImagesGeorgia Cox

Location Shots

In order to get the vintage look to appeal to my target audience, within my four images I started off by opening up the images one by one, after doing this I went to Image > Adjustment > Curves. My plan is to lighten up the four images so I clicked on the eyedropper icon, which I used to set the white point within the image. My next step was to add a gradient map to my images, I went to Layer > New Adjustment Layer > Gradient Map, Then I clicked the Gradient Editor and choose Blue and Yellow. I then reduced the Opacity of the Gradient Map Layer; in the layer panel I lowered the opacity down to 30%. After altering the Opacity I added a new curves adjustment layer, by going to Layer > New Adjustment Layer > Curves, I made sure that the new layer was under the gradient map which I created in earlier, so that the layer didn’t overlap. I gave the new layer a little bit more brightness and contrast by adjusting the curves. Within my images I wanted to add shadow, so in order to add inner shadow I went to Layer > Layer Style > Inner Shadow and altered the setting. I set the blend mode to Colour burn and altered the opacity to 50%, I then altered the angle to 120 degrees, Distance to 0px,The choke to 20% and lastly altered the size to 250px. I finally added the gradient overlay and again altered the setting. I set the blend mode to overlay and altered the opacity to 20%, I then changed the angle to 90 degrees and the size to 150%. I finished off the images by Cropping and sharpening, But within image 1 featuring the sunglasses I blurred out the edge of the glasses in order to add more focus within the center and also image 3 featuring the dream catcher I added a quote “Make a wish, take a chance and make a chance” to the image and faded within the image using the opacity setting, I believe this works really well and makes the composition stronger.
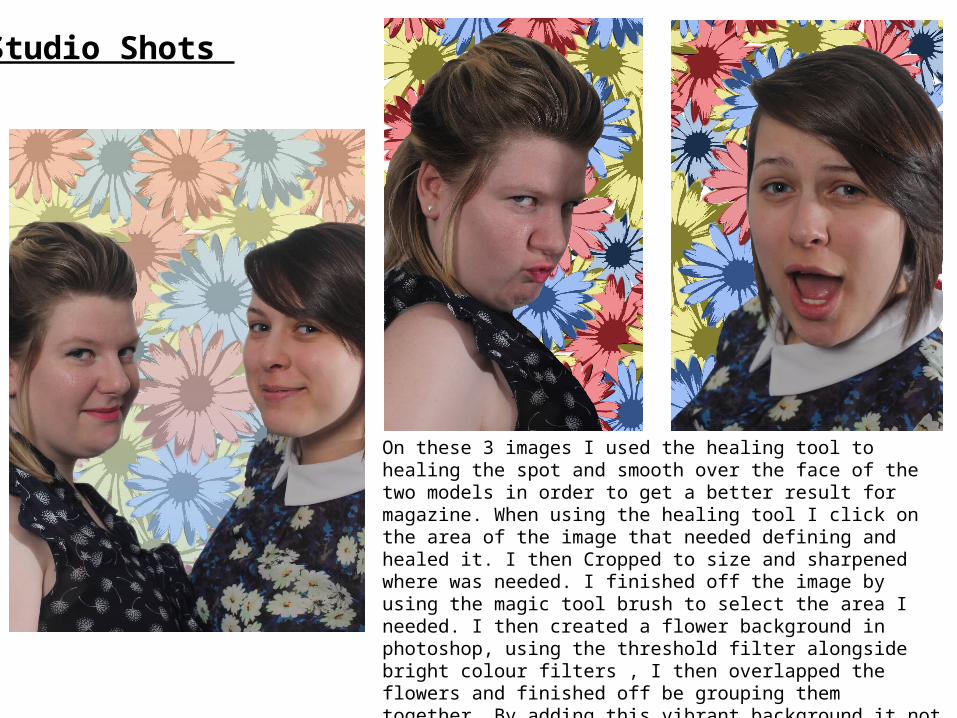
Studio Shots
On these 3 images I used the healing tool to healing the spot and smooth over the face of the two models in order to get a better result for magazine. When using the healing tool I click on the area of the image that needed defining and healed it. I then Cropped to size and sharpened where was needed. I finished off the image by using the magic tool brush to select the area I needed. I then created a flower background in photoshop, using the threshold filter alongside bright colour filters , I then overlapped the flowers and finished off be grouping them together. By adding this vibrant background it not only makes the images standout, but also links in with my theme of vintage. On My Front cover image I added a gradient background below the flower design and changed the opacity, enabling the tones to show through the original layer.