Morgan Stanley / Hewlett Packard PC Deployment Training.
43
Morgan Stanley / Hewlett Packard PC Deployment Training
-
Upload
keanu-belvin -
Category
Documents
-
view
217 -
download
4
Transcript of Morgan Stanley / Hewlett Packard PC Deployment Training.

Morgan Stanley / Hewlett Packard
PC Deployment Training

Deployment schedule and logistics
• Day 0 is the Deployment day• Day 1 is the 1st business day after the deployment• We will be working late on the deployment day• Bring a snack• We might need to return on Saturday and Sunday
to complete the deployment
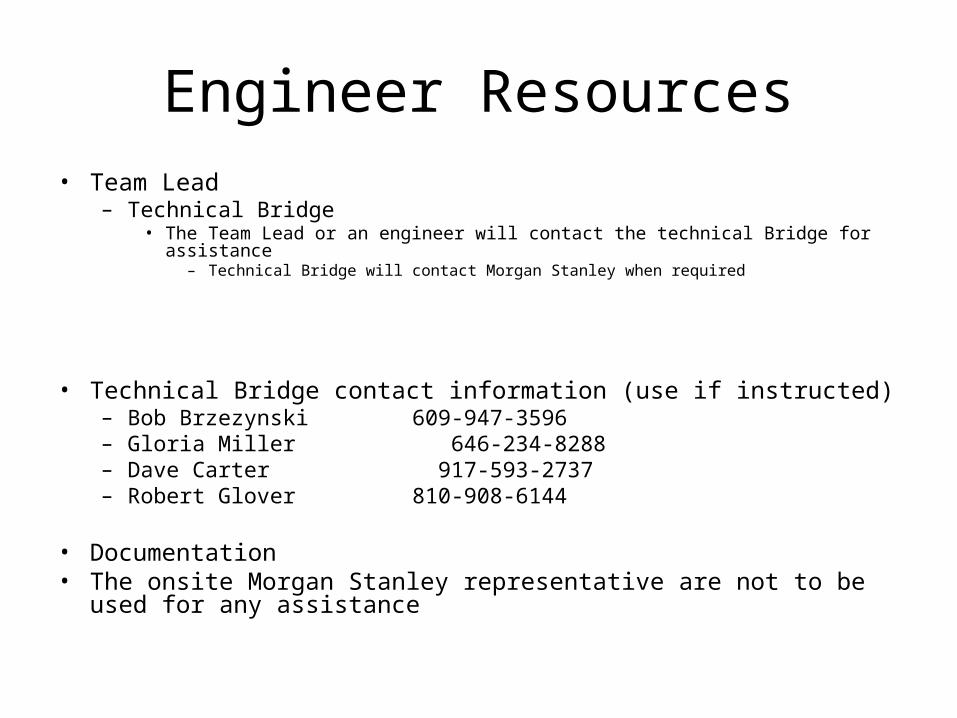
Engineer Resources• Team Lead
– Technical Bridge• The Team Lead or an engineer will contact the technical Bridge for assistance
– Technical Bridge will contact Morgan Stanley when required
• Technical Bridge contact information (use if instructed)– Bob Brzezynski 609-947-3596– Gloria Miller 646-234-8288– Dave Carter 917-593-2737– Robert Glover 810-908-6144
• Documentation• The onsite Morgan Stanley representative are not to be used for any
assistance
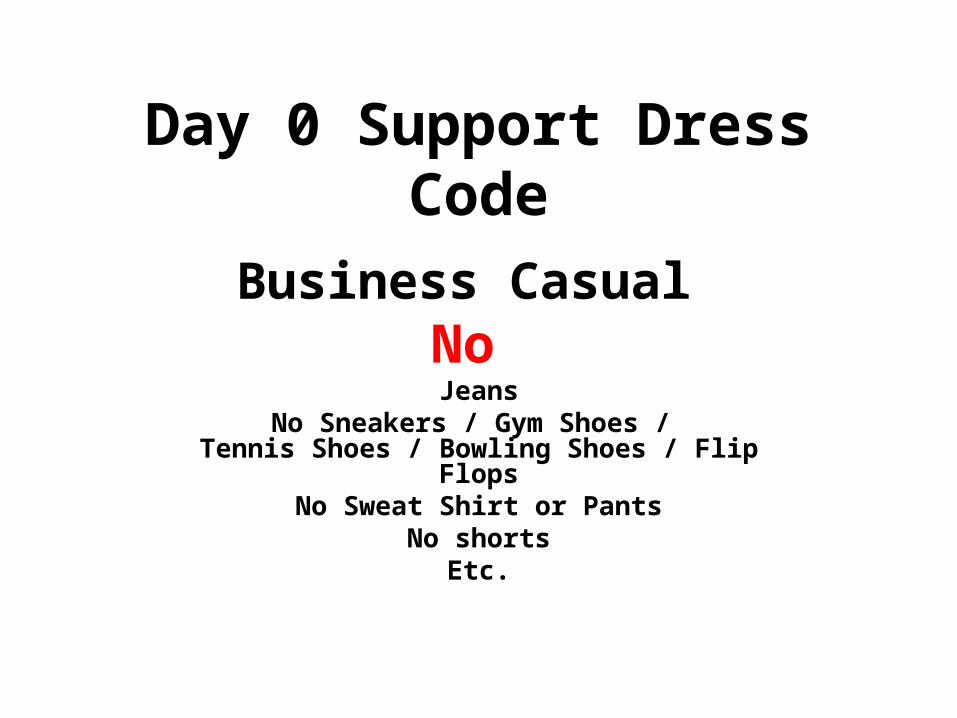
Day 0 Support Dress Code
Business Casual No Jeans
No Sneakers / Gym Shoes / Tennis Shoes / Bowling Shoes / Flip Flops
No Sweat Shirt or PantsNo shorts
Etc.

Day 1 Support Dress Code
Day 1 Support is Shirt and Tie
Deployment Framework• The Deployment is scheduled by the IC and BTC.• The deployment start time is at the close of the market• The deployment team will represent themselves professionally both in
appearance and actions.• Professional Business conduct
– Only access a system after you have been approved to do so. – Secure areas will be opened by a Morgan Stanley representative.– Do not look at end user data
• The team lead is the point of contact for communications of the deployment team.
• The Team Lead will communicate technical issues to the technical bridge for resolution.
• The Team Lead will communicate status and escalations to the onsite administrator.
• The administrator will communicate status and issues to the remote installation coordinator.

Why be onsite hours before the deployment starts?
• Get ready• Meet the team• Assign Work• Separate PCs by engineer / location of deployment• Review any last minute questions and document
updates• Communicate any changes to the deployment
schedule (Priority users, additional applications, etc.)• Print additional documentation when needed• Familiarize yourself with the floor plan• Review Documentation
• A Deployment Cookbook – This is your main source of information for Day 1 and Day 0 activities. The cookbook documentation is a collection of several documents.
• BWR__Introduction (1 per team lead)• BWR__Day 0____Team Lead (1 per team lead)• BWR__Day 0____Technician (1 per tech/team lead)• BWR____Day 1 Support (1 per tech/team lead)• BWR___Appendices (1 per tech/team lead)• A Data migration Cookbook – this provides the steps needed to transfer the data and
settings from the old PC to the new PC.• Several other documents are referenced when required. The documentation is
available on the data migration CDs• Data migration CDs – This includes the data migration tool, a deployment support
menu to assist with several checks, and soft copies of required documentation.• Network crossover cables• Late breaking application installation instructions or modifications required for the
deployment.
Deployment Documentation

The new desktop systems are secure
• Do NOT make the End User an Administrator on the new PC
• Do NOT create any local accounts on these systems.

Deployment kit Contents
• Documentation for deployment• Documentation for reporting• Hardware and software

What’s in the new PC box?
• PC• Checklist• Leave Behind
PC Deployment 30,000 Ft view of the process
• While in the Conference room• Remove a PC assigned to you from the shipping container.• The box from the 1st PC can be used for a trash container. Save another to collect old keyboards and mice.• Additional boxes must be Broken down to lay flat.• Put the extra items (Manufactures CD’s and included paperwork into a designated trash box. Use one of the PC shipping boxes)• Bag the Styrofoam if possible. Otherwise stack neatly. • Locate the new PC and required items to the EU location
– PC, KB, Mouse, Power cord– Documents (Leave behind, Deployment checklist, Build sheet)
• Perform validation process / check you are putting this system in the correct location• Proceed with the deployment
– When logging into the PCs you will need to enter the HPBWR0n user name and password each time.– FVE verification / installation – review details– Data Migration – Follow the Data Migration document– Application installation– Bundle verification– Complete the Check list – Give the Checklist to the onsite administrator– Tape the leave behind on the monitor
• During the data migration process there is a note in the document indicating a good time to perform another deployment. At this time locate the next PC for deployment to the next EU location and start another deployment.
• When the deployment for each PC is complete, take the Old PC to designated storage area. (If this PC has Fact installed leave the old PC at the end users desk)
• Give the onsite administrator the completed checklist.• Continue to take additional PC’s to each location and start the deployment process.

BTC CONTACT: Lynda Berg 8478422132 KP215UC 12.00
Backup contact Nancy Nilsen 8156377878 KP214UC 0.00
Trash Location out side building 12.00Total
Old PC Storage Location: IN office Address 2215 Perrygreen Way
Floor 1
UserNameOld HostName New HostName New Serial # New Asset Tag DE Name
Desk Location Application / Version
Monitor CountLUS
Scanner Model
CommentsAdditional Deployment Activities
Community Asset D2770001 D-MXL8430Q4T MXL8430Q4T A1262426
DE
CSA 0 1 0 0 BTC has given us the go ahead to work on Community Assets first
Nancy.Nilsen D2770013 D-MXL8430Q49 MXL8430Q49 A1262483 DE Bull Pen IBM OnDemand32, vUnknown; ACT!, v6 1 0 0Make sure ACT is installed - verify the Act DB on Day 1
Community Asset D2770014 D-MXL8430Q6F MXL8430Q6F A1262443 DE Conf Rm 0 1 0 0BTC has given us the go ahead to work on Community Assets first
Carol_Lombardi D2770016 D-MXL8430Q6L MXL8430Q6L A1262458 DE CSAIBM OnDemand32, vUnknown; Branch Deposit Scanning (BDS), v2.19 1 0 I 40 Kodak Scanner Validation
Michael_Lindsay D2770017 D-MXL8430Q3Z MXL8430Q3Z A1262385 DE Manager
Sunguard Allocation Master, vversion 9.2; Sunguard Allocation Master, vUnknown; ACT!, v6 1 0 0
Site has an I40 Scanner, sanner is connected to Carol Lombardi's computer at Reception
Marcia_Peterson D2770018 D-MXL8430Q50 MXL8430Q50 A1262493 DEMarsha Peterson IBM OnDemand32, vUnknown; ACT!, v6 1 0 0
Make sure ACT is installed - verify the Act DB on Day 1
Community Asset D2770020 D-MXL8430Q3S MXL8430Q3S A1262399 DE Bullpen 0 1 0 0BTC has given us the go ahead to work on Community Assets first
Brian_Lindsay D2770021 D-MXL8430Q5H MXL8430Q5H A1262474 DE Director ACT!, v6 1 0 0Make sure ACT is installed - verify the Act DB on Day 1

BWR___ Appendices
Table of Contents Appendix A - Device Driver .................................................................................................... 2
Appendix B – Definition of Acronyms ............................................................................. 3
Appendix C – Third Party Application Installation ................................................ 4
Appendix D - Troubleshooting Known Problems .................................................... 6
Appendix E - System Re-Imaging ........................................................................................ 8
Appendix F - Act Background ................................................................................................ 9
Appendix G - FVE installation and Check .................................................................... 12
Appendix H - MAC Address Registration Procedure ........................................... 15
Appendix I - AOL troubleshooting Day 1 ..................................................................... 18
Appendix J - Map Network Printer – Day 1 Support ............................................ 21
Appendix K - Share a local Printer - Day 1 Support.............................................. 22
Appendix L – Fire Wall Settings ......................................................................................... 25

Remote Computing Users You new computer name is _D-MXL83419M1_ Please write is down as you will need this the next time you Remote into your desktop. The next time you Remote Computer Through the MyDesk site, type you new computer name in the
Connect ‘Machine Name’ file and click
The new computer name is provided

PC Deployment Checklist
Site: Allentown User Name: Christopher.Yale1 Desk Location: e02 Deployment # 1
New Computer Computer Name: D-MXL83419M1 Serial Number: MXL83419M1 Asset Tag: A1281306
Old Computer Computer Name: D8920002 Serial Number: KLLAY0C Asset Tag: A1126527
Technician Name: ___________________________________________________________ Workstation Prep
Unbox PC Validate details of the Build Sheet match the details on the Deployment Checklist.
User name, New Computer Name and New serial Number Validate old computer details
Computer Name Serial Number and Asset Tag Validate encryption on old PC
old PC is encrypted old PC encryption required Data Transfer
Connect old PC to new PC with a crossover cable Perform data transfer process Record time required to transfer data ____________ Record size of data transferred ___________ GB
New PC Installation Install PC on user desk Connect PC to building receptacle. Do not connect PC to a power strip. Install any additional approved applications Install all required device drivers Installation Validation
Post Installation Task Desk drop Label old PC Locate old PC to designated area Run encryption process on old PC if required
Record the duration of time and the size of data transferred
Verify you are working on the correct PC and assigned user
Enter your name
Track your progress

Day 0 deployment book checklistDay 0 deployment cookbook checklist
1. Get Supplies
2. Un-box new system
3. Verify items included with new PC, Old PC and user relationship
4. Continue activity
5. Logon to the Old PC
6. Verify end user name and attach label to the REAR of the OLD PC
7. Verify FVE on the Old PC
8a. FVE GPO verification on the Old PC
8b Force FVE GPO ONLY IF REQUIRED on the OLD PC
9. Update the deployment Checklist
10. Setup the New PC
Data Migration Reference the BWR Data Migration document [Multi task during data migration]
Return to Deployment cookbook step 11. Install Encryption software on OLD PC - Only if not already installed
12. De-Install old PC
13. Connect new PC to network
14. – 16. Logon to the new PC and verify the X: drive is mapped
17. Verify / set date
18. – 20. Install KB mice peripherals monitors and install any required drivers
21. Verify the Kodak printer (Only performed when identified on the assignment sheet)
22. Bloomberg software registration (Only performed when identified on the assignment sheet)
23. Verify cable connections
24. Verify BTV sound and video
25. Verify FVE encryption on New PC
26. Bundle Verification Process – Monitor for success message – logout AFTER success popup [Multi task during]
27. Tape desk drop / leave behind sheet to monitor
28. Arrange end user desk
29. Relocate old asset and report completed deployment to the administrator
30. Continue with additional deployments

•Login to the Old PC using the user name HPBWR0n on the PCG domain
YesNo
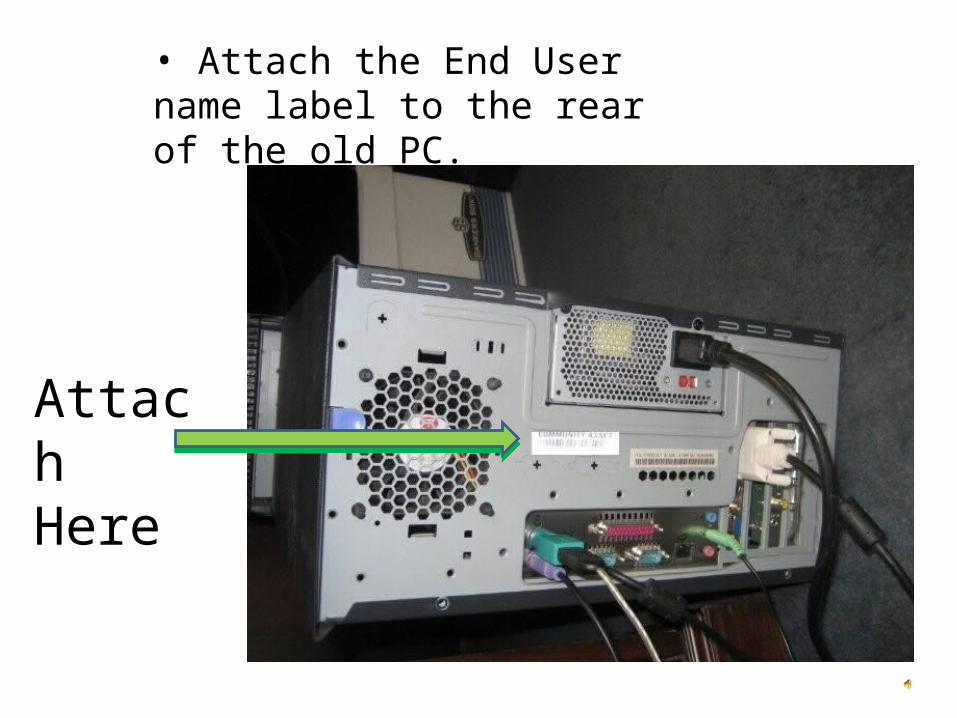
• Attach the End User name label to the rear of the old PC.
Attach Here

•Sample view of the Deployment Support CD

•Double click the Deployment Support.bat file on the data migration CD
•Sample Support Menu

Sub MenuDeployment and Application Documentation
3rd Party Application Installation Menu

• Verify FVE encryption on the old PC.
Data Migration
• 3 steps– Collect– Restore– Transpose
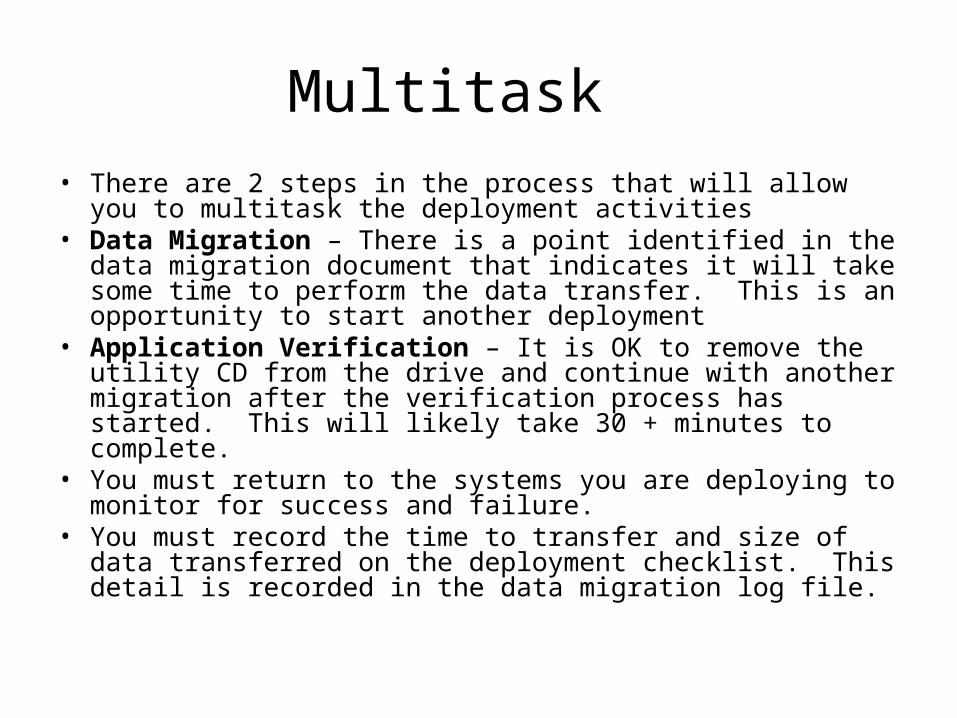
Multitask• There are 2 steps in the process that will allow you to multitask the
deployment activities• Data Migration – There is a point identified in the data migration
document that indicates it will take some time to perform the data transfer. This is an opportunity to start another deployment
• Application Verification – It is OK to remove the utility CD from the drive and continue with another migration after the verification process has started. This will likely take 30 + minutes to complete.
• You must return to the systems you are deploying to monitor for success and failure.
• You must record the time to transfer and size of data transferred on the deployment checklist. This detail is recorded in the data migration log file.
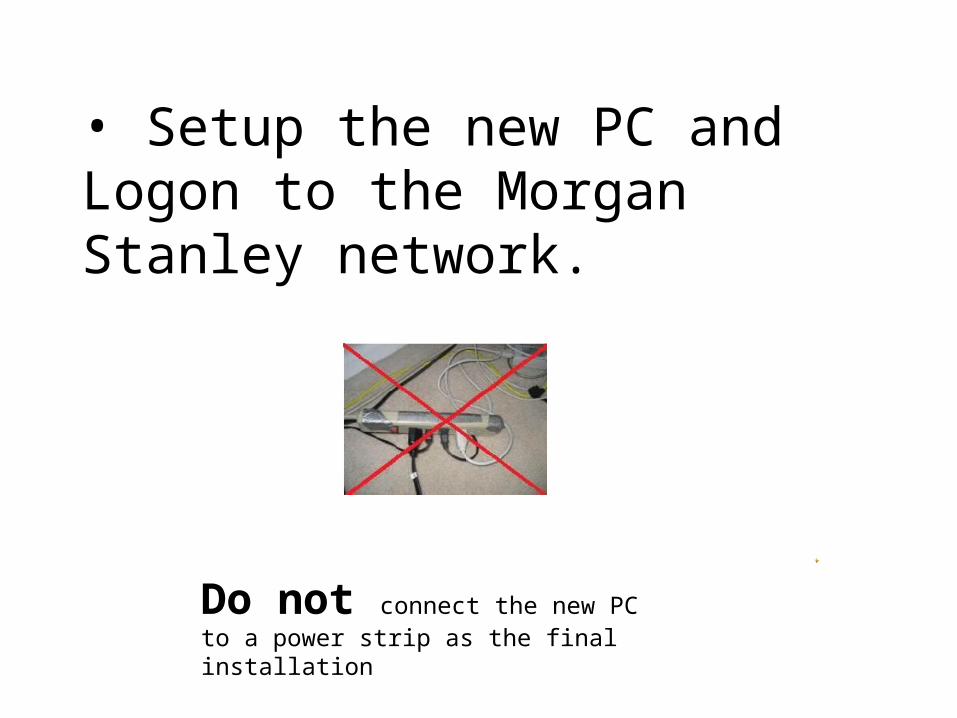
• Setup the new PC and Logon to the Morgan Stanley network.
Do not connect the new PC to a power strip as the final installation

• Post Data Migration• Verify the date and time on the PC • Connect peripherals • FVE Validation• Driver Installation• Exception application installation• Kodak i30 / i40 verification• Application Verification
Logout
• You must logout of the new PC when the deployment is complete.
Side view of box
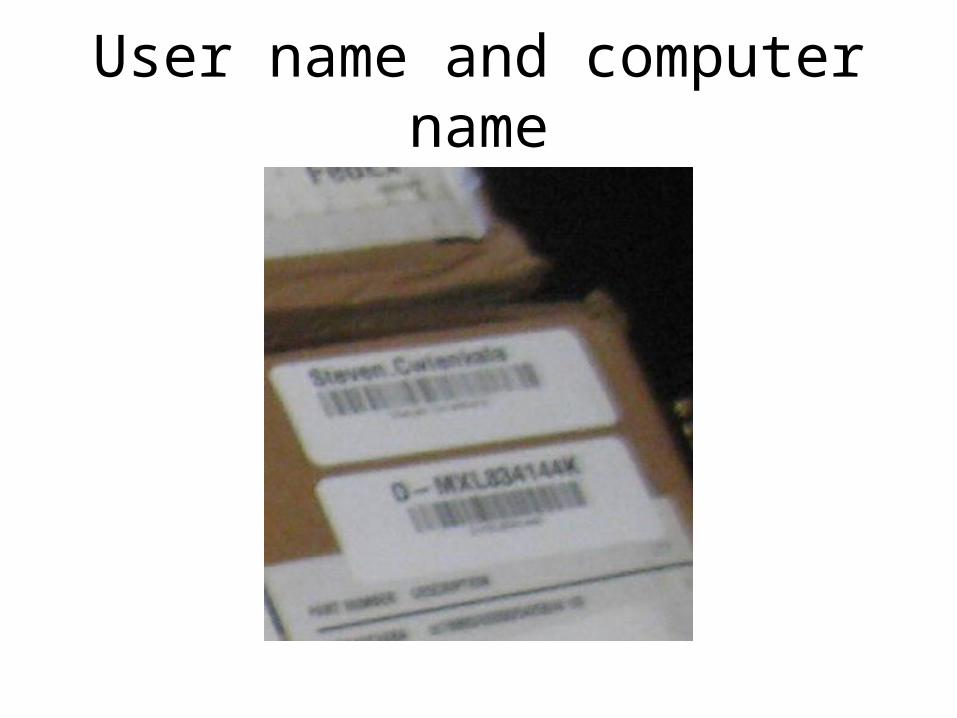
User name and computer name

Organize PCs for deployment

Bloomberg PC

Deployment In Flight

Kodak Scanner I40

Old PC’s in Storage

Packing Materials

Condition of a conference room when Day 0 is complete

• This completes the Day 0 training• Continue this slide deck to complete Day 1
training

Day 1 Support• Each engineer will have an area of the floor assigned to perform
end user satisfaction checks.• If end user is not available mark the sheet and review with the TL• General process details• Site Acceptance• Missing application• Missing data• Contact Relationship Management (CRM) resolution• Pack deployment kit• Reconcile DECOM systems• Verify Installed PC report• Etc – See cookbook

Fact Installation• FAct requires Act 6 to be installed on the PC• Act 6 is installed prior to Day 1 support.• Determine the type of installation to perform• Install using the correct installation script• Trust the steps in the Fact installation document
– If you have questions call the technical support bridge for assitance
• Fact database validation is performed on Day 1. The end user must be available to perform the configuration and validation
Act database Validation
• Act is installed prior to Day 1 support• Act Database validation is performed on Day 1• The end user must be available to perform
this activity

Logout
• You must logout of the new PC when the deployment is complete.
This concludes day 1 training
• Be sure to review the technical documentation before the deployment.