Model PH900 pH/mV Meter Operation Man ual - Tlead · 3 PH900 Version2.0 2011-2-23 1. Brief...
20
Model PH900 pH/mV Meter Operation Manual
Transcript of Model PH900 pH/mV Meter Operation Man ual - Tlead · 3 PH900 Version2.0 2011-2-23 1. Brief...
Model PH900 pH/mV Meter
Operation Manual

PH900 Version2.0 2011-2-23 1
900 Series of Portable Meters
1. Model PH900 pH / mV Meter
2. Model CON900 Conductivity / TDS / Salinity / Resistivity Meter
3. Model DO900 DO Meter
4. Model EC900 pH / mV / Conductivity / DO Meter

PH900 Version2.0 2011-2-23 2
Table of Contents
1. Brief Introduction -----------------------------------------------------------------------------------
2. Technical Parameters -------------------------------------------------------------------------------
3. Instructions to the Meter ---------------------------------------------------------------------------
3.1. LCD Display -------------------------------------------------------------------------------------
3.2. Operation Keys ----------------------------------------------------------------------------------
3.3. The Storage, Recall and Elimination of the Measuring Information ---------------------
4. pH Measurement ------------------------------------------------------------------------------------
4.1. Preparation Work --------------------------------------------------------------------------------
4.2. Meter Calibration --------------------------------------------------------------------------------
4.3. Sample Test --------------------------------------------------------------------------------------
4.4. Parameter Setting --------------------------------------------------------------------------------
4.5. Considerations -----------------------------------------------------------------------------------
4.6. The Self-diagnose Information ----------------------------------------------------------------
5. mV Measurement -----------------------------------------------------------------------------------
5.1. Sample Test --------------------------------------------------------------------------------------
5.2. Parameter Setting --------------------------------------------------------------------------------
6. Meter’s Complete Kit -------------------------------------------------------------------------------
7. Warranty ----------------------------------------------------------------------------------------------
ChartⅠ Meter Parameter Setting Schedule
ChartⅡ Meter Restore to Producer Setting Schedule
Chart Ⅲ Code Icon and Abbreviation Schedule
3
4
5
5
6
7
8
8
8
9
10
13
15
16
16
16
17
17

PH900 Version2.0 2011-2-23 3
1. Brief Introduction:
Thanks for buying and using the model PH900 pH/mV Meter (the following called “meter”
in short).
Before using this meter, please read the operation manual carefully in order to help use and
maintain it correctly. On the basis of improving instrument of performance constantly, we
reserve the right of changing the content of this manual and accessories in case of not
notifying in advance.
This meter is a perfect combination with the most advanced electronic technology, sensor
technology and software design The meter can measure the parameters of pH, mV and
temperature for high accuracy solution. It is the best portable pH meter with the highest
performance and the lowest cost. It is suitable for the trade such as the mining industry,
power plant, water treatment projects and environmental protection, etc., especially has
more extensive application in the field and spot test.
Built-in microprocessor chip, beautiful appearance, multi-functional and easy to use, this
meter has the following prominent features:
1.1. Built-in microprocessor chip, with the intelligent functions of automatic calibration,
automatic temperature compensation, data storage, function setting and automatic
self-diagnose, auto power off and low voltage display etc. Equips with calibration
solution and special carrying case, easy to use.
1.2. Adopts digital filter and step slipping technology to intelligently improve meter’s
response speed and result accuracy. “ ” will appear when reading to be stable.
1.3. Automatically recognize 13 kinds of pH standard buffer solution. User can choose
anyone from three series of buffer solutions: Europe & U.S.A. series, NIST series, and
China series.
1.4. Purified water and ammonia added purified water pH measuring mode can be set up,
for this two special pH measuring modes, besides the general slope temperature
compensation, also added function of nonlinearity solution temperature compensation
to make measurement more accurate, especially suitable for the fields of electric
power and petrochemical etc.
1.5. Meter’s circuit board adopts SMT film-covering technology to improve meter’s
production reliability.
PH900 Version2.0 2011-2-23 4
1.6. Meter has the back light LCD display monitor.
1.7. Dustproof and waterproof meter meets IP57 rating.
2. Technical Parameters:
2.1. pH:
Measuring range (-2.00 to 19.99) pH
Resolution 0.1/0.01 pH
Accuracy Meter:±0.01pH; Complete Kit: ±0.02pH
Input current ≤2×10-12
A
Input impendance ≥1×10¹² Ω
Stability ±0.01 pH/3h
Temp. Compensation range (0 to 100) ℃ (automatic)
2.2. mV:
Measuring range (mV/ORP/EH) -1999 mV to 0 to 1999mV
Resolution 1mV
Accuracy Meter:±0.1% FS
2.3. Other Technical Parameters:
Data storage 200 groups
Storage content Series number, measuring value, measuring
unit and temperature
Power Two AA batteries (1.5V x2)
Size and weight Meter: (65×120×31)mm/180g Carrying case:(255 x 210x 50)mm/790g
Quality and safety certification ISO9001:2000, CE and CMC
2.4. Working Condition:
Environment temperature 5 to 35 ℃ (0.01 grade)
Environmental humidity ≤85%
IP rating IP57 Dustproof and waterproof
PH900 Version2.0 2011-2-23 5
3. Instructions to the Meter:
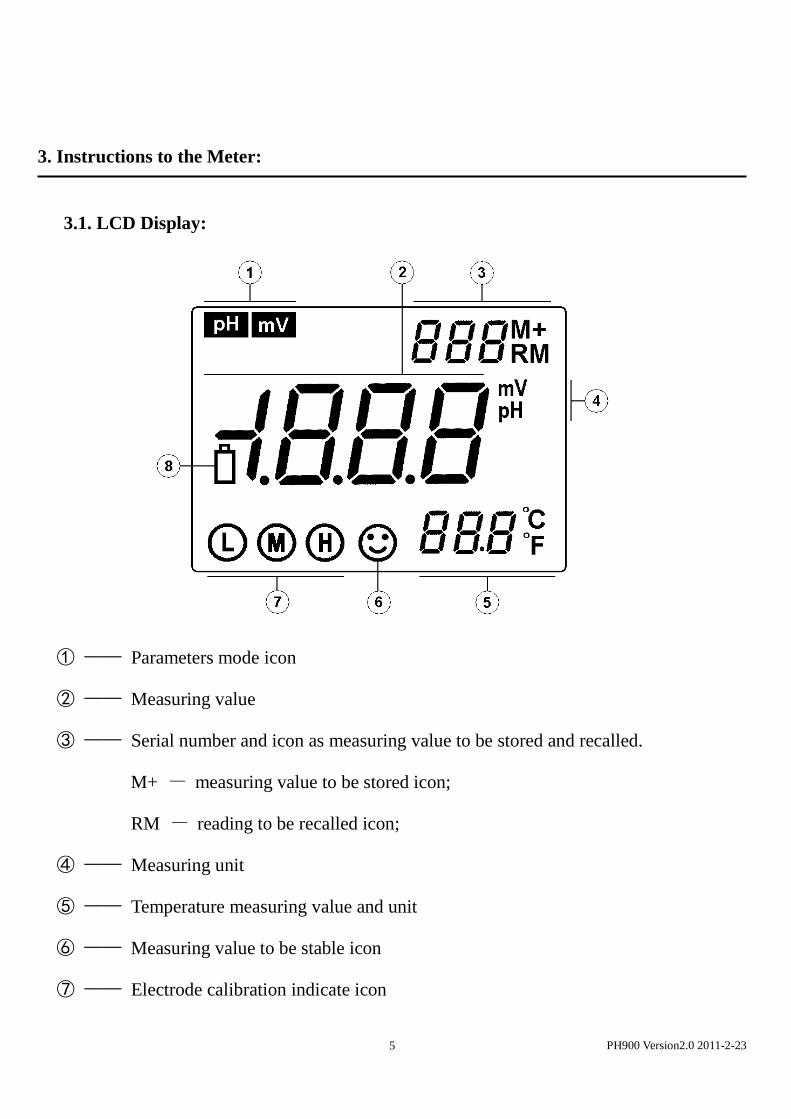
3.1. LCD Display:
① —— Parameters mode icon
② —— Measuring value
③ —— Serial number and icon as measuring value to be stored and recalled.
M+ — measuring value to be stored icon;
RM — reading to be recalled icon;
④ —— Measuring unit
⑤ —— Temperature measuring value and unit
⑥ —— Measuring value to be stable icon
⑦ —— Electrode calibration indicate icon
PH900 Version2.0 2011-2-23 6
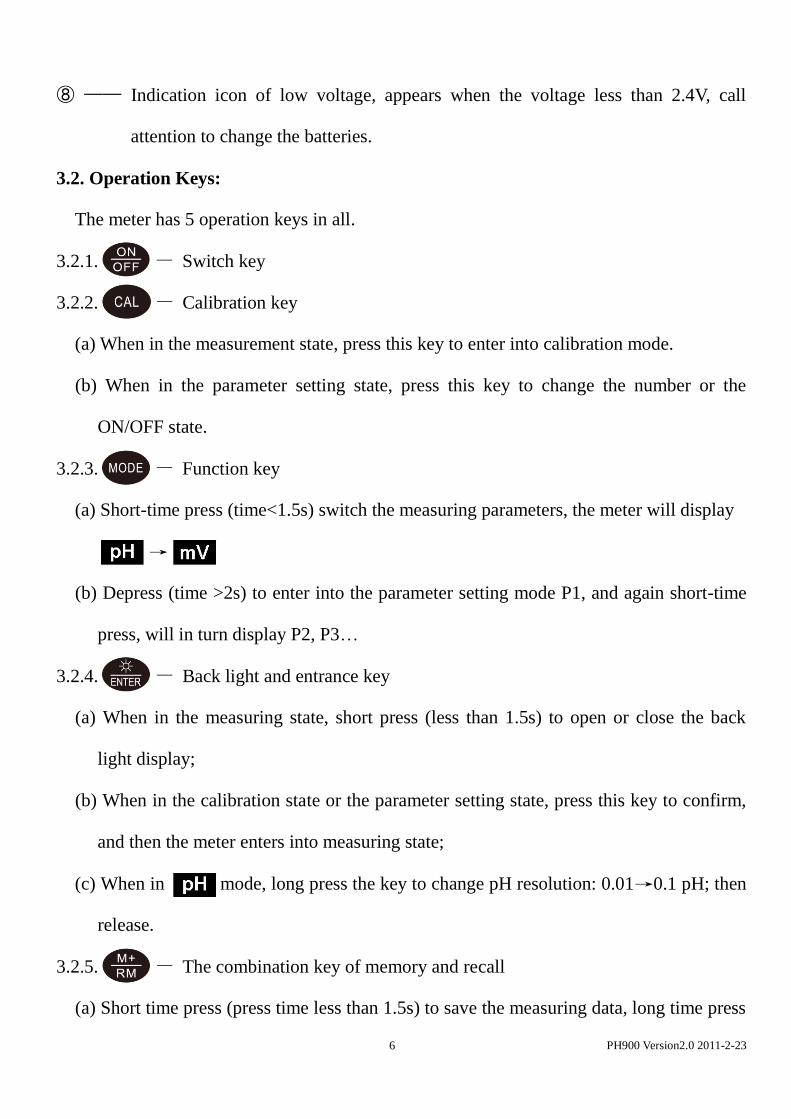
⑧ —— Indication icon of low voltage, appears when the voltage less than 2.4V, call
attention to change the batteries.
3.2. Operation Keys:
The meter has 5 operation keys in all.
3.2.1. — Switch key
3.2.2. — Calibration key
(a) When in the measurement state, press this key to enter into calibration mode.
(b) When in the parameter setting state, press this key to change the number or the
ON/OFF state.
3.2.3. — Function key
(a) Short-time press (time<1.5s) switch the measuring parameters, the meter will display
→
(b) Depress (time >2s) to enter into the parameter setting mode P1, and again short-time
press, will in turn display P2, P3…
3.2.4. — Back light and entrance key
(a) When in the measuring state, short press (less than 1.5s) to open or close the back
light display;
(b) When in the calibration state or the parameter setting state, press this key to confirm,
and then the meter enters into measuring state;
(c) When in mode, long press the key to change pH resolution: 0.01→0.1 pH; then
release.
3.2.5. — The combination key of memory and recall
(a) Short time press (press time less than 1.5s) to save the measuring data, long time press
PH900 Version2.0 2011-2-23 7
(press time more than 2s) to recall the saved measuring data when in the measurement
state.
(b) When in the parameter setting state, press this key to alter the number or ON/OFF
state.
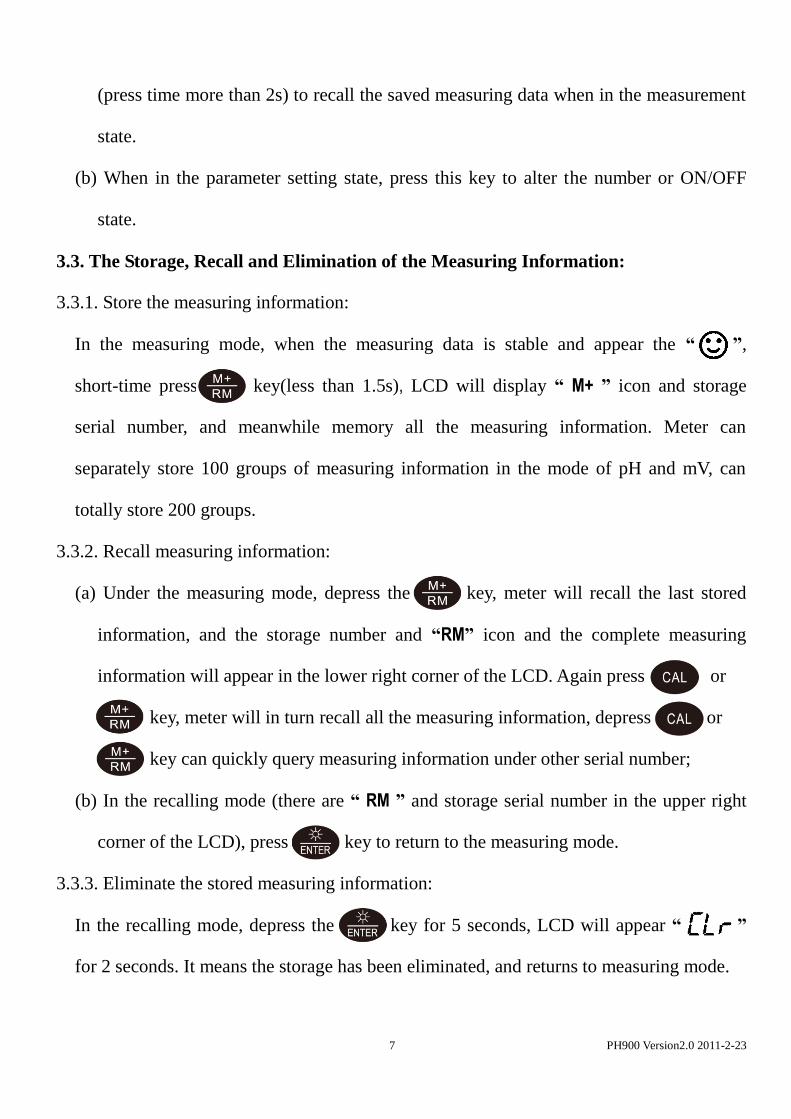
3.3. The Storage, Recall and Elimination of the Measuring Information:
3.3.1. Store the measuring information:
In the measuring mode, when the measuring data is stable and appear the “ ”,
short-time press key(less than 1.5s), LCD will display “ M+ ” icon and storage
serial number, and meanwhile memory all the measuring information. Meter can
separately store 100 groups of measuring information in the mode of pH and mV, can
totally store 200 groups.
3.3.2. Recall measuring information:
(a) Under the measuring mode, depress the key, meter will recall the last stored
information, and the storage number and “RM” icon and the complete measuring
information will appear in the lower right corner of the LCD. Again press or
key, meter will in turn recall all the measuring information, depress or
key can quickly query measuring information under other serial number;
(b) In the recalling mode (there are “ RM ” and storage serial number in the upper right
corner of the LCD), press key to return to the measuring mode.
3.3.3. Eliminate the stored measuring information:
In the recalling mode, depress the key for 5 seconds, LCD will appear “ ”
for 2 seconds. It means the storage has been eliminated, and returns to measuring mode.
PH900 Version2.0 2011-2-23 8
4. pH Measurement:
4.1. Preparation Work:
4.1.1. Press key to turn on.
4.1.2. Install the model 201T-S pH/ATC three in one combination pH electrode into meter’s
socket.
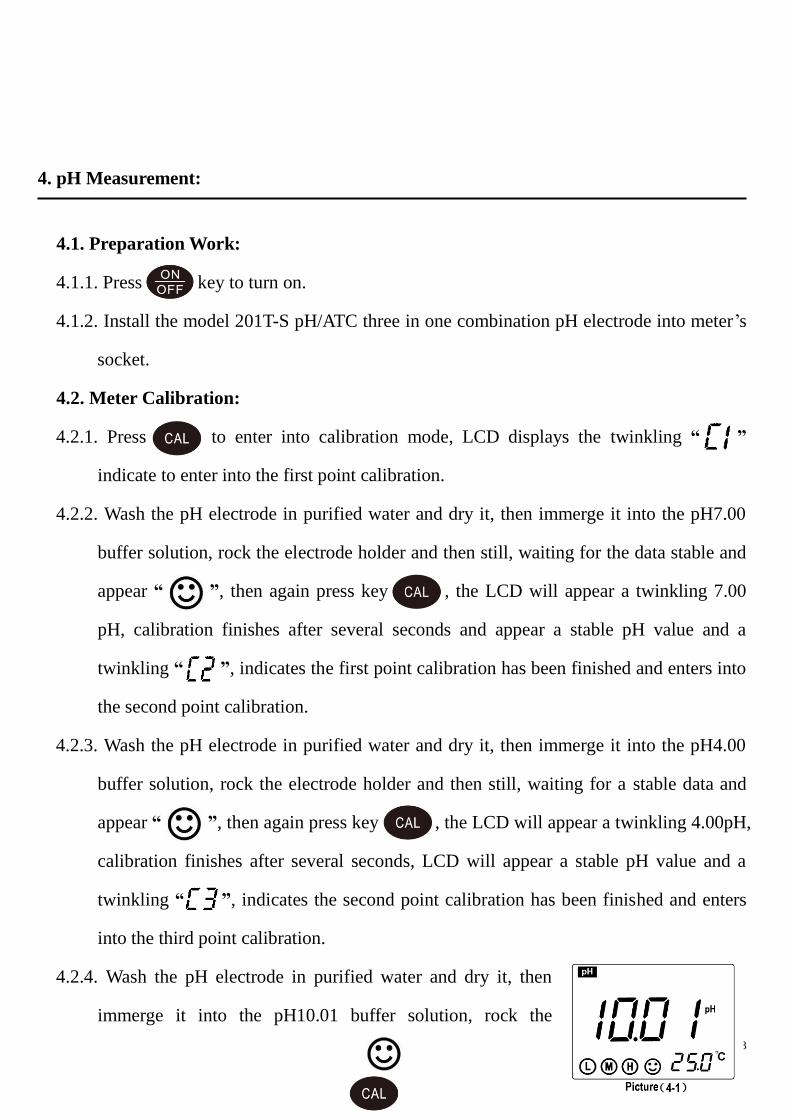
4.2. Meter Calibration:
4.2.1. Press to enter into calibration mode, LCD displays the twinkling “ ”
indicate to enter into the first point calibration.
4.2.2. Wash the pH electrode in purified water and dry it, then immerge it into the pH7.00
buffer solution, rock the electrode holder and then still, waiting for the data stable and
appear “ ”, then again press key , the LCD will appear a twinkling 7.00
pH, calibration finishes after several seconds and appear a stable pH value and a
twinkling “ ”, indicates the first point calibration has been finished and enters into
the second point calibration.
4.2.3. Wash the pH electrode in purified water and dry it, then immerge it into the pH4.00
buffer solution, rock the electrode holder and then still, waiting for a stable data and
appear “ ”, then again press key , the LCD will appear a twinkling 4.00pH,
calibration finishes after several seconds, LCD will appear a stable pH value and a
twinkling “ ”, indicates the second point calibration has been finished and enters
into the third point calibration.
4.2.4. Wash the pH electrode in purified water and dry it, then
immerge it into the pH10.01 buffer solution, rock the
PH900 Version2.0 2011-2-23 9
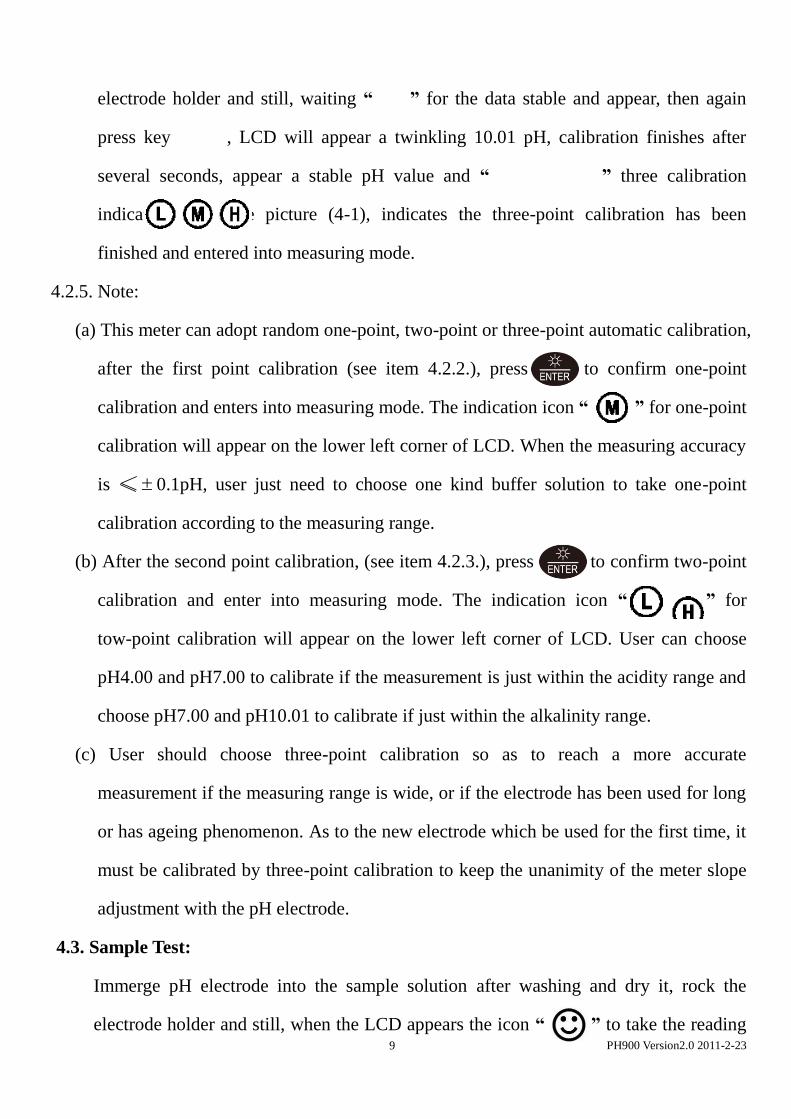
electrode holder and still, waiting “ ” for the data stable and appear, then again
press key , LCD will appear a twinkling 10.01 pH, calibration finishes after
several seconds, appear a stable pH value and “ ” three calibration
indication icon, see picture (4-1), indicates the three-point calibration has been
finished and entered into measuring mode.
4.2.5. Note:
(a) This meter can adopt random one-point, two-point or three-point automatic calibration,
after the first point calibration (see item 4.2.2.), press to confirm one-point
calibration and enters into measuring mode. The indication icon “ ” for one-point
calibration will appear on the lower left corner of LCD. When the measuring accuracy
is ≤±0.1pH, user just need to choose one kind buffer solution to take one-point
calibration according to the measuring range.
(b) After the second point calibration, (see item 4.2.3.), press to confirm two-point
calibration and enter into measuring mode. The indication icon “ ” for
tow-point calibration will appear on the lower left corner of LCD. User can choose
pH4.00 and pH7.00 to calibrate if the measurement is just within the acidity range and
choose pH7.00 and pH10.01 to calibrate if just within the alkalinity range.
(c) User should choose three-point calibration so as to reach a more accurate
measurement if the measuring range is wide, or if the electrode has been used for long
or has ageing phenomenon. As to the new electrode which be used for the first time, it
must be calibrated by three-point calibration to keep the unanimity of the meter slope
adjustment with the pH electrode.
4.3. Sample Test:
Immerge pH electrode into the sample solution after washing and dry it, rock the
electrode holder and still, when the LCD appears the icon “ ” to take the reading
PH900 Version2.0 2011-2-23 10
after displaying value to be stable.
Note: According to the pH equal temperature measuring theory: the closer the
temperature of the sample solution with the calibration solution, the more accurate
the measuring value will be acquired. So please comply with this theory.
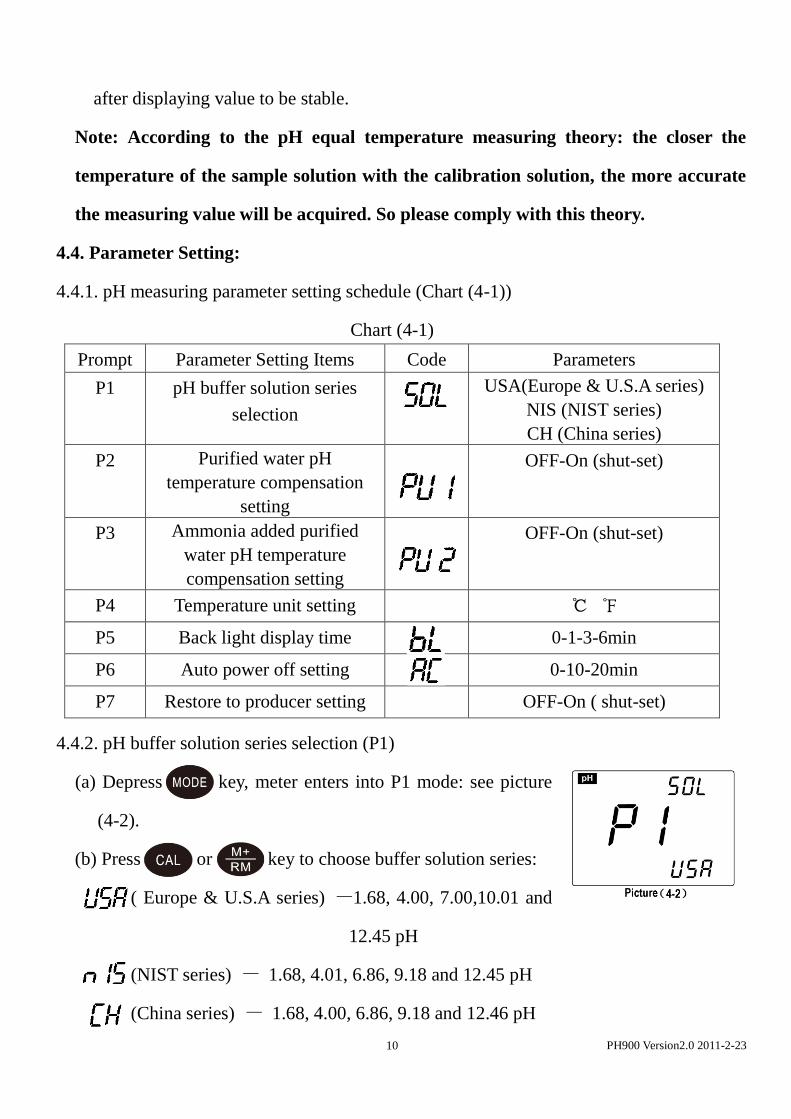
4.4. Parameter Setting:
4.4.1. pH measuring parameter setting schedule (Chart (4-1))
Chart (4-1)
Prompt
Mark
Parameter Setting Items Code Parameters
P1 pH buffer solution series
selection
USA(Europe & U.S.A series)
NIS (NIST series)
CH (China series)
P2 Purified water pH
temperature compensation
setting
OFF-On (shut-set)
P3 Ammonia added purified
water pH temperature
compensation setting
OFF-On (shut-set)
P4 Temperature unit setting ℃ ℉
P5 Back light display time
setting
0-1-3-6min
P6 Auto power off setting 0-10-20min
P7 Restore to producer setting OFF-On ( shut-set)
4.4.2. pH buffer solution series selection (P1)
(a) Depress key, meter enters into P1 mode: see picture
(4-2).
(b) Press or key to choose buffer solution series:
( Europe & U.S.A series) —1.68, 4.00, 7.00,10.01 and
12.45 pH
(NIST series) — 1.68, 4.01, 6.86, 9.18 and 12.45 pH
(China series) — 1.68, 4.00, 6.86, 9.18 and 12.46 pH
PH900 Version2.0 2011-2-23 11
(c) Press key to enter into next parameter setting or press key to conform
and return to measuring mode.
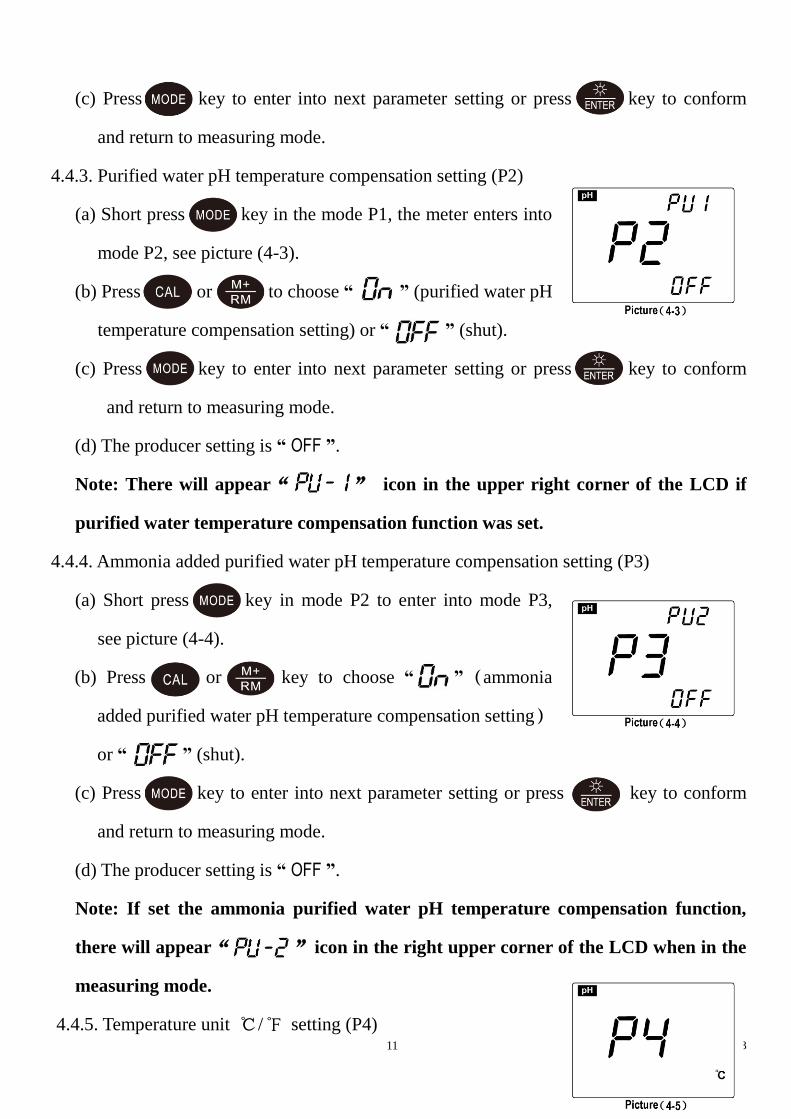
4.4.3. Purified water pH temperature compensation setting (P2)
(a) Short press key in the mode P1, the meter enters into
mode P2, see picture (4-3).
(b) Press or to choose “ ” (purified water pH
temperature compensation setting) or “ ” (shut).
(c) Press key to enter into next parameter setting or press key to conform
and return to measuring mode.
(d) The producer setting is “ OFF ”.
Note: There will appear“ ” icon in the upper right corner of the LCD if
purified water temperature compensation function was set.
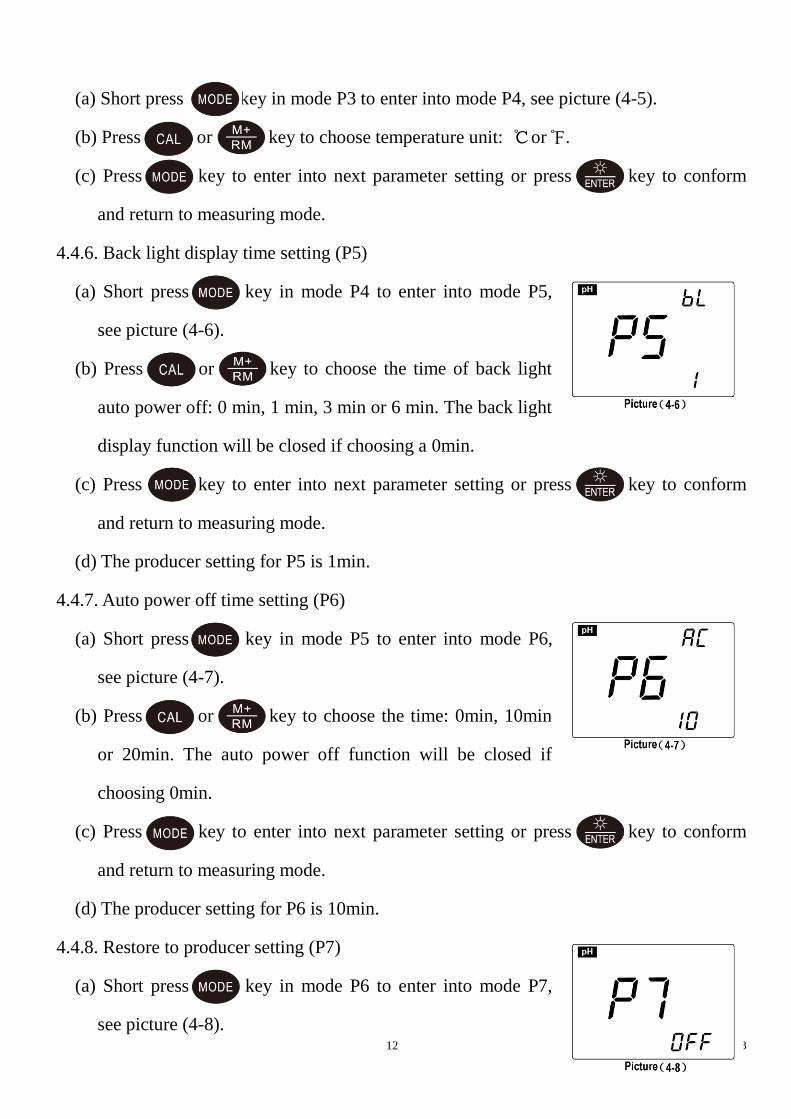
4.4.4. Ammonia added purified water pH temperature compensation setting (P3)
(a) Short press key in mode P2 to enter into mode P3,
see picture (4-4).
(b) Press or key to choose “ ”(ammonia
added purified water pH temperature compensation setting)
or “ ” (shut).
(c) Press key to enter into next parameter setting or press key to conform
and return to measuring mode.
(d) The producer setting is “ OFF ”.
Note: If set the ammonia purified water pH temperature compensation function,
there will appear“ ”icon in the right upper corner of the LCD when in the
measuring mode.
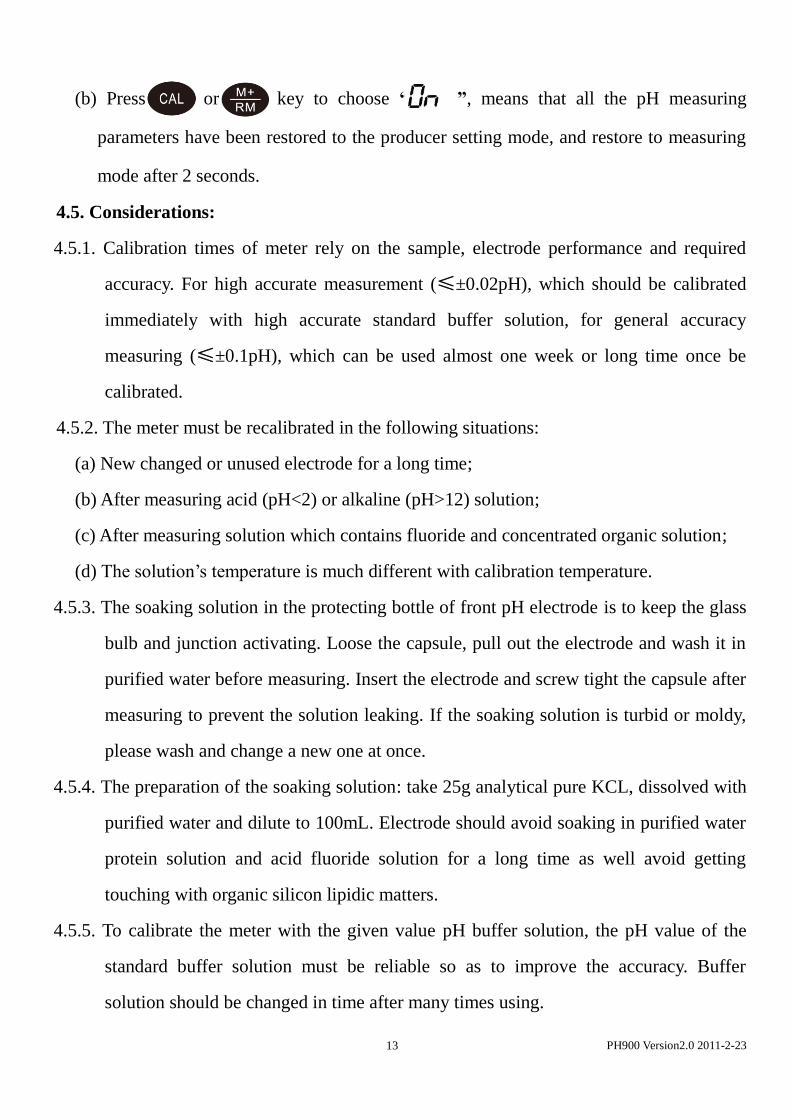
4.4.5. Temperature unit ℃/℉ setting (P4)
PH900 Version2.0 2011-2-23 12
(a) Short press key in mode P3 to enter into mode P4, see picture (4-5).
(b) Press or key to choose temperature unit: ℃or℉.
(c) Press key to enter into next parameter setting or press key to conform
and return to measuring mode.
4.4.6. Back light display time setting (P5)
(a) Short press key in mode P4 to enter into mode P5,
see picture (4-6).
(b) Press or key to choose the time of back light
auto power off: 0 min, 1 min, 3 min or 6 min. The back light
display function will be closed if choosing a 0min.
(c) Press key to enter into next parameter setting or press key to conform
and return to measuring mode.
(d) The producer setting for P5 is 1min.
4.4.7. Auto power off time setting (P6)
(a) Short press key in mode P5 to enter into mode P6,
see picture (4-7).
(b) Press or key to choose the time: 0min, 10min
or 20min. The auto power off function will be closed if
choosing 0min.
(c) Press key to enter into next parameter setting or press key to conform
and return to measuring mode.
(d) The producer setting for P6 is 10min.
4.4.8. Restore to producer setting (P7)
(a) Short press key in mode P6 to enter into mode P7,
see picture (4-8).
PH900 Version2.0 2011-2-23 13
(b) Press or key to choose “ ”, means that all the pH measuring
parameters have been restored to the producer setting mode, and restore to measuring
mode after 2 seconds.
4.5. Considerations:
4.5.1. Calibration times of meter rely on the sample, electrode performance and required
accuracy. For high accurate measurement (≤±0.02pH), which should be calibrated
immediately with high accurate standard buffer solution, for general accuracy
measuring (≤±0.1pH), which can be used almost one week or long time once be
calibrated.
4.5.2. The meter must be recalibrated in the following situations:
(a) New changed or unused electrode for a long time;
(b) After measuring acid (pH<2) or alkaline (pH>12) solution;
(c) After measuring solution which contains fluoride and concentrated organic solution;
(d) The solution’s temperature is much different with calibration temperature.
4.5.3. The soaking solution in the protecting bottle of front pH electrode is to keep the glass
bulb and junction activating. Loose the capsule, pull out the electrode and wash it in
purified water before measuring. Insert the electrode and screw tight the capsule after
measuring to prevent the solution leaking. If the soaking solution is turbid or moldy,
please wash and change a new one at once.
4.5.4. The preparation of the soaking solution: take 25g analytical pure KCL, dissolved with
purified water and dilute to 100mL. Electrode should avoid soaking in purified water
protein solution and acid fluoride solution for a long time as well avoid getting
touching with organic silicon lipidic matters.
4.5.5. To calibrate the meter with the given value pH buffer solution, the pH value of the
standard buffer solution must be reliable so as to improve the accuracy. Buffer
solution should be changed in time after many times using.
PH900 Version2.0 2011-2-23 14
4.5.6. Always keep the meter clean and dry; especially for the socket of meter and electrode,
otherwise it may lead to an inaccurate measurement or invalidity. To clean and dry
them with medical cotton with dehydrated alcohol if there are any dirty.
4.5.7. The sensitive glass bulb in the front of combination electrode should not touch with
hard things, any broken and rough will make the electrode invalidity. Before and after
measuring, the electrode should be washed with purified water, and dry electrode
after washing, don’t clean glass bulb with tissue for it will effect stability of electrode
potential and enlarge response time. The electrode should be washed many times for
removing the sample stuck on the electrode, or wash with suitable solvent then clean
the solvent with purified water after measuring sticky sample.
4.5.8. An electrode be used for a long time, or measured solution which contains a polluting
solute easily for the sensitive bulb, or a substance resulting in jam at the junction, the
electrode will be getting passivated, its sensitivity will decrease and its response is
getting slow, the reading are not correct. It could adopt the following method for
various cases:
(a) The glass bulb is contaminated and aging: Put the electrode into 0.1mol/L dilute
hydrochloric acid (Preparation: diluted 9mL hydrochloric acid to 1000mL with
purified water) for 24h. Rinse it with purified water, then dipped it into the electrode
dipping solution for 24h. If the passivation is serious, then user can also put the bulb
of electrode into 4% HF (hydrofluoric acid) or the electrode activation solution for 3
to 5 seconds, rinsing it with purified water, and dipped it in the electrode soaking
solution for 24h to renew it.
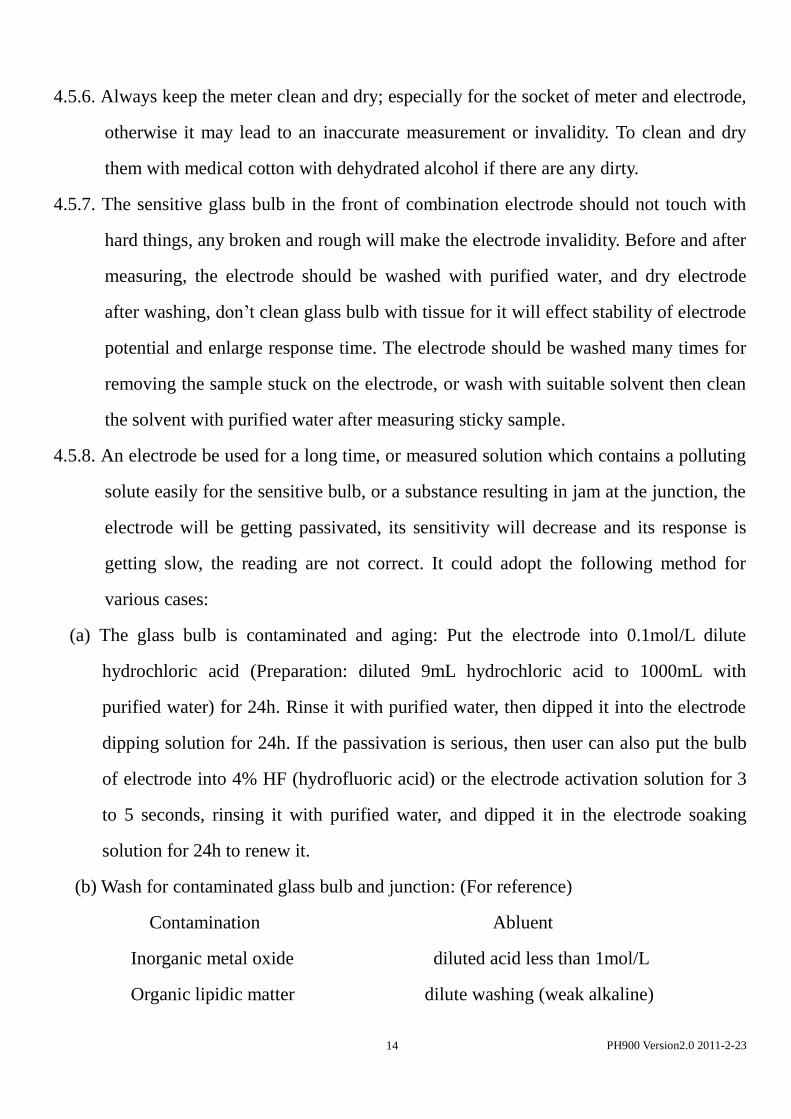
(b) Wash for contaminated glass bulb and junction: (For reference)
Contamination Abluent
Inorganic metal oxide diluted acid less than 1mol/L
Organic lipidic matter dilute washing (weak alkaline)
PH900 Version2.0 2011-2-23 15
Resin macromolecule matter dilute alcohol, acetone, ether
Proteinic haematocyte sediment Acidic enzymatic solution (such as dried yeast)
Kinds of paint dilute bleacher, peroxide
4.5.9. pH electrode using period is about 1 year, but its life will be shortened if using
condition is poor or incorrect maintenance. So it should be replaced immediately after
electrode become aging or invalid.
4.5.10. When it appears an abnormal reading when calibration or displaying, please set P7 as
“ON” to restore the meter to producer setting mode, and then to calibrate and measure
again.
4.6. The Self-diagnose Information:
When using, there might appear the following icons. This is the meter’s self-diagnose
information, which can help to know some information about the meter or the electrode
when using:
4.6.1. The stable icon -2.00 pH or the 19.99 pH — this icon appeared when the value has
surpassed the measuring range. There will also appear such signs when the electrode
is not well connected with the meter or when the electrode is not immerged into the
solution. This is a normal phenomenon.
4.6.2. “ ” — Electrode zero potential to be exceeded (<-60mV or >60mV)
4.6.3. “ ” — Electrode slope to be exceeded (< 85% or >105%)
When appear “ ” or “ ”, the meter can not work, please take the
following check:
(a) Check if the electrode bulb has air bubble, if has, please shake it hardly.
(b) Check the quality of buffer solution, if it goes bad or the value has biggish error.
(c) Set the meter to producer setting mode (for details see P12 item 4.4.8.), then
recalibrate it.
If still can not recover the normal state after doing the above checking, please replace a
PH900 Version2.0 2011-2-23 16
new pH electrode.
5. mV Measurement:
5.1. Sample Test:
5.1.1. Press key to turn on, and short press to switch to mode;
5.1.2. Connect the ORP (sold separated), immerge it into the sample solution, slowly stir and
then still. When there appear a “ ” and a stable reading, that is the value.
5.2. Parameter Setting:
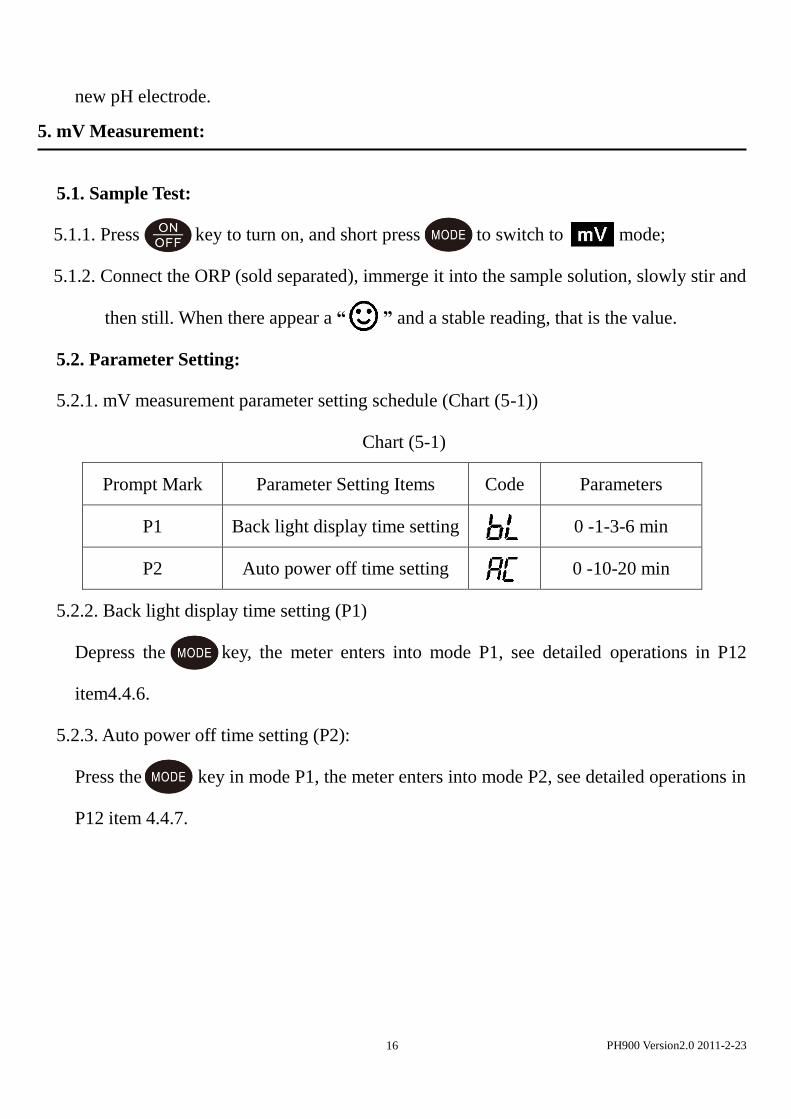
5.2.1. mV measurement parameter setting schedule (Chart (5-1))
Chart (5-1)
Prompt Mark Parameter Setting Items Code Parameters
P1 Back light display time setting 0 -1-3-6 min
P2 Auto power off time setting 0 -10-20 min
5.2.2. Back light display time setting (P1)
Depress the key, the meter enters into mode P1, see detailed operations in P12
item4.4.6.
5.2.3. Auto power off time setting (P2):
Press the key in mode P1, the meter enters into mode P2, see detailed operations in
P12 item 4.4.7.
PH900 Version2.0 2011-2-23 17
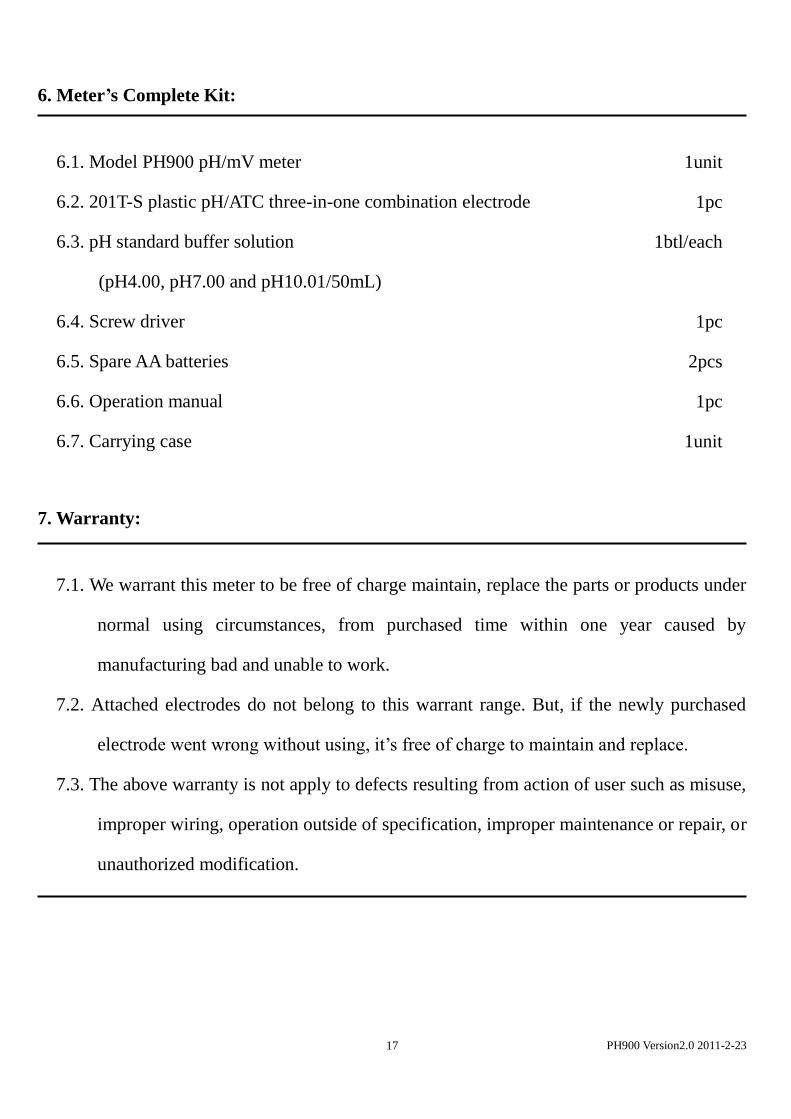
6. Meter’s Complete Kit:
6.1. Model PH900 pH/mV meter
6.2. 201T-S plastic pH/ATC three-in-one combination electrode
6.3. pH standard buffer solution
(pH4.00, pH7.00 and pH10.01/50mL)
6.4. Screw driver
6.5. Spare AA batteries
6.6. Operation manual
6.7. Carrying case
7. Warranty:
7.1. We warrant this meter to be free of charge maintain, replace the parts or products under
normal using circumstances, from purchased time within one year caused by
manufacturing bad and unable to work.
7.2. Attached electrodes do not belong to this warrant range. But, if the newly purchased
electrode went wrong without using, it’s free of charge to maintain and replace.
7.3. The above warranty is not apply to defects resulting from action of user such as misuse,
improper wiring, operation outside of specification, improper maintenance or repair, or
unauthorized modification.
1unit
1pc
1btl/each
1pc
2pcs
1pc
1unit
PH900 Version2.0 2011-2-23 18
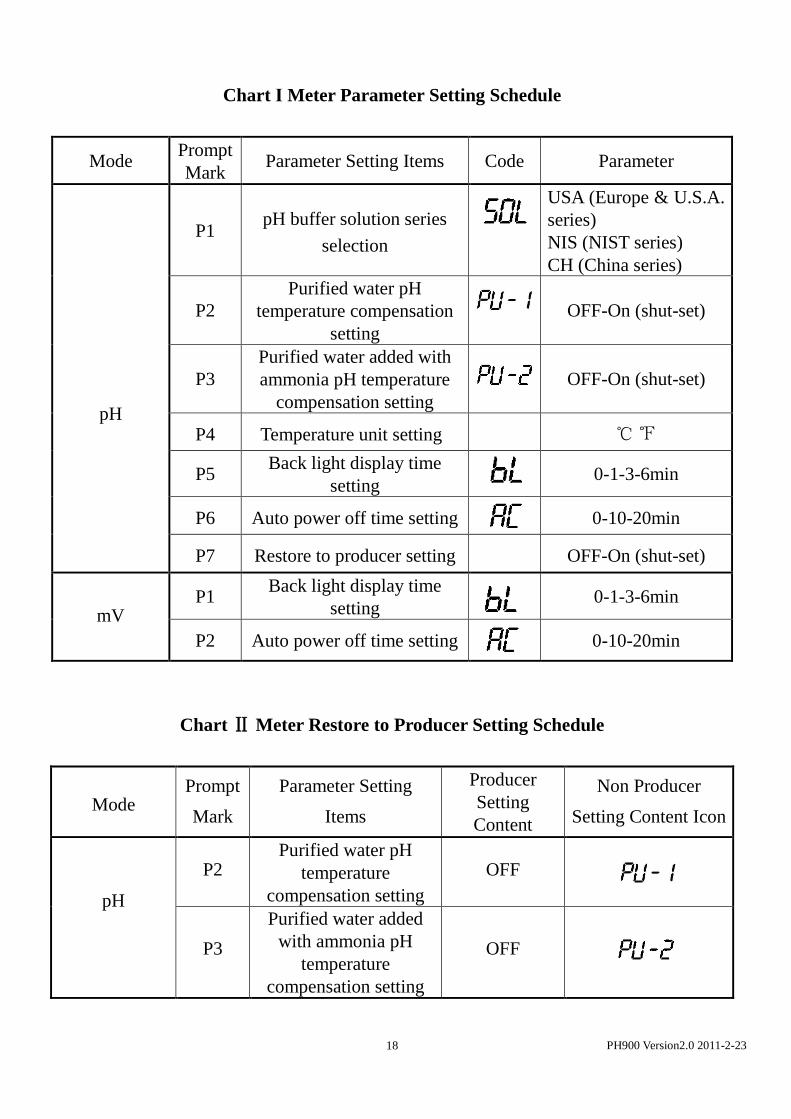
Chart І Meter Parameter Setting Schedule
Mode Prompt
Mark Parameter Setting Items Code Parameter
pH
P1 pH buffer solution series
selection
USA (Europe & U.S.A.
series)
NIS (NIST series)
CH (China series)
P2
Purified water pH
temperature compensation
setting
OFF-On (shut-set)
P3
Purified water added with
ammonia pH temperature
compensation setting
OFF-On (shut-set)
P4 Temperature unit setting ℃ ℉
P5 Back light display time
setting 0-1-3-6min
P6 Auto power off time setting 0-10-20min
P7 Restore to producer setting OFF-On (shut-set)
mV P1
Back light display time
setting 0-1-3-6min
P2 Auto power off time setting 0-10-20min
Chart Ⅱ Meter Restore to Producer Setting Schedule
Mode Prompt
Mark
Parameter Setting
Items
Producer
Setting
Content
Non Producer
Setting Content Icon
pH
P2 Purified water pH
temperature
compensation setting
OFF
P3
Purified water added
with ammonia pH
temperature
compensation setting
OFF
PH900 Version2.0 2011-2-23 19
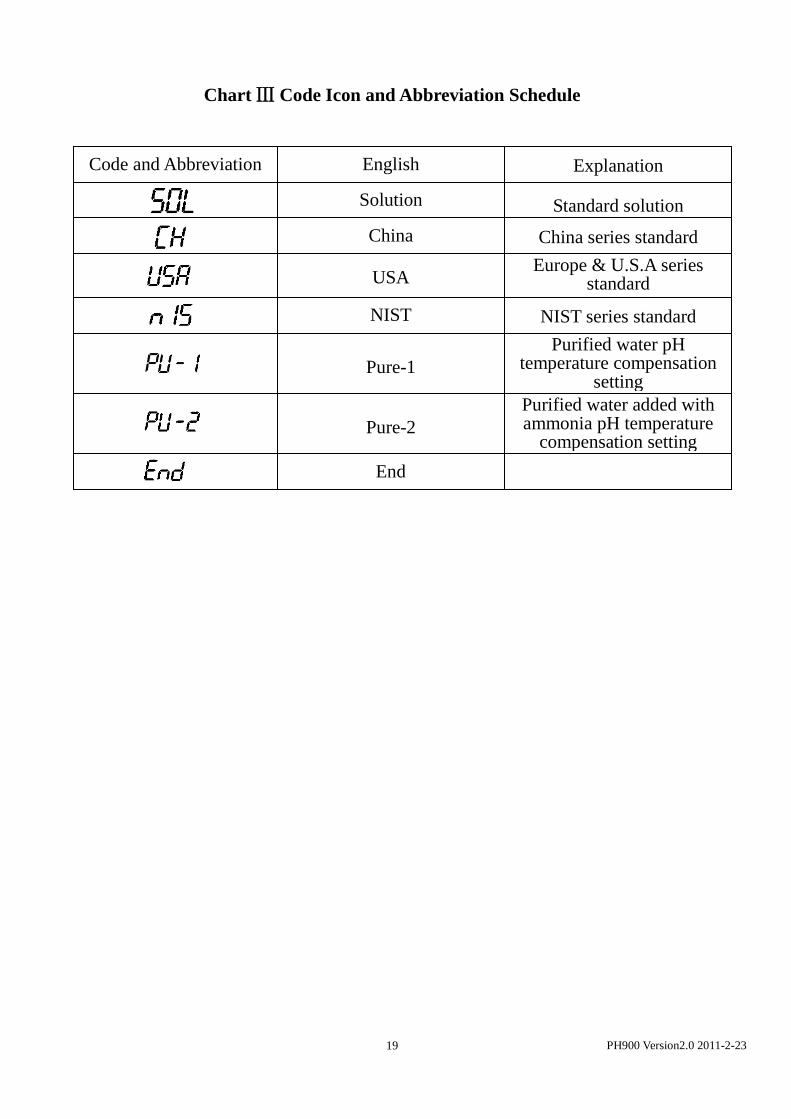
Chart Ⅲ Code Icon and Abbreviation Schedule
Explanation English Code and Abbreviation
Standard solution Solution
China series standard China
Europe & U.S.A series standard USA
NIST series standard NIST
Purified water pH temperature compensation
setting Pure-1
Purified water added with ammonia pH temperature
compensation setting Pure-2
End