MINI Xplus User Manual0828
17
www.minixplus.com 1 Mini Xplus Android4.0 Smart TV Box Users' Manual V1.2
description
Mini XplusAndroid4.0 Smart TV BoxUsers' Manual V1.2
Transcript of MINI Xplus User Manual0828
www.minixplus.com
1
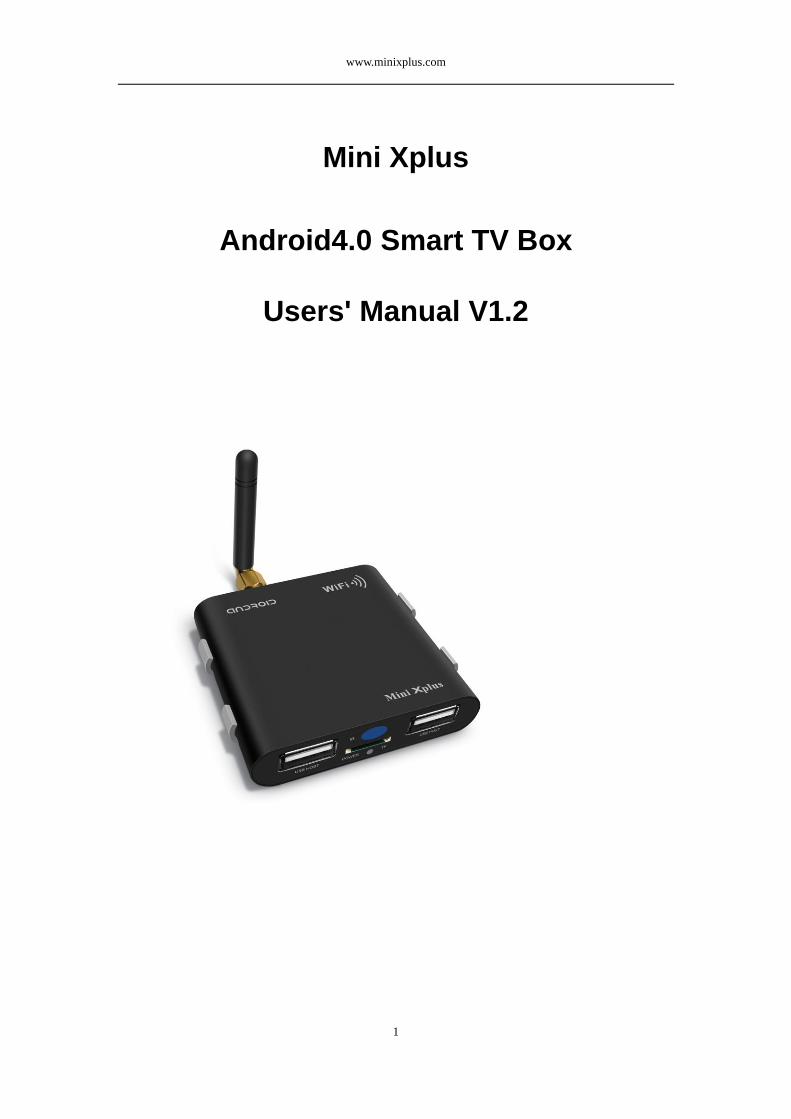
Mini Xplus
Android4.0 Smart TV Box
Users' Manual V1.2

www.minixplus.com
2
Index
Product Overview.....................................................................................3
1.Front Panel.......................................................................................3
2.Back panel........................................................................................3
3.WiFi Antenna....................................................................................3
4.Stand.................................................................................................4
5.Bottom View.....................................................................................4
6.Power adapter..................................................................................4
7.IR remotes........................................................................................5
Standard Package List...............................................................................6
Getting Started........................................................................................7-13
Using USB Devices..................................................................................14
E-Control...................................................................................................15
E-Share......................................................................................................15
Firmware Upgrading.................................................................................16
Trouble Shootings....................................................................................17
Specifications............................................................................................18

www.minixplus.com
3
Product Overview
1. Front Panel
2. Back Panel
3. WiFi Antenna
4.Stand

www.minixplus.com
4
5. Bottom View
6.Power Adapter

www.minixplus.com
5
7. IR remotes
Descripton of remote controller

www.minixplus.com
6
Standard package List -MinixPlus player body
-WiFi antenna
-Heat sink stand
-Power adapter
-IR remotes
-HDMI cable 3 feet
-(Optional) AV cable 4 feet
-Product CD
POWER Power Standby
MENU Main menu
MUTE Audio mute SETUP Setup menu
MOVIE Movie hot key
RED/GREEN/ YELLOW/BLUE
Hot keys
SEARCH Search key HOME Home page
Repeat
Mouse mode
▲ ▼ Up, Down, Right, Left
OK Enter / Confirm
Fast forward/backward
Skip to next/previous
█ Stop
Play/Pause
BACK Return key
HELP Help information
Notification
Zoom out
Zoom in
FAVOR Favorite
MODE Display mode SUBT Subtitle
AUDIO Choose audio channel
INFO Media Information
APP Applications VOL+/- Volume up/down
BROSWER Browser key
www.minixplus.com
7
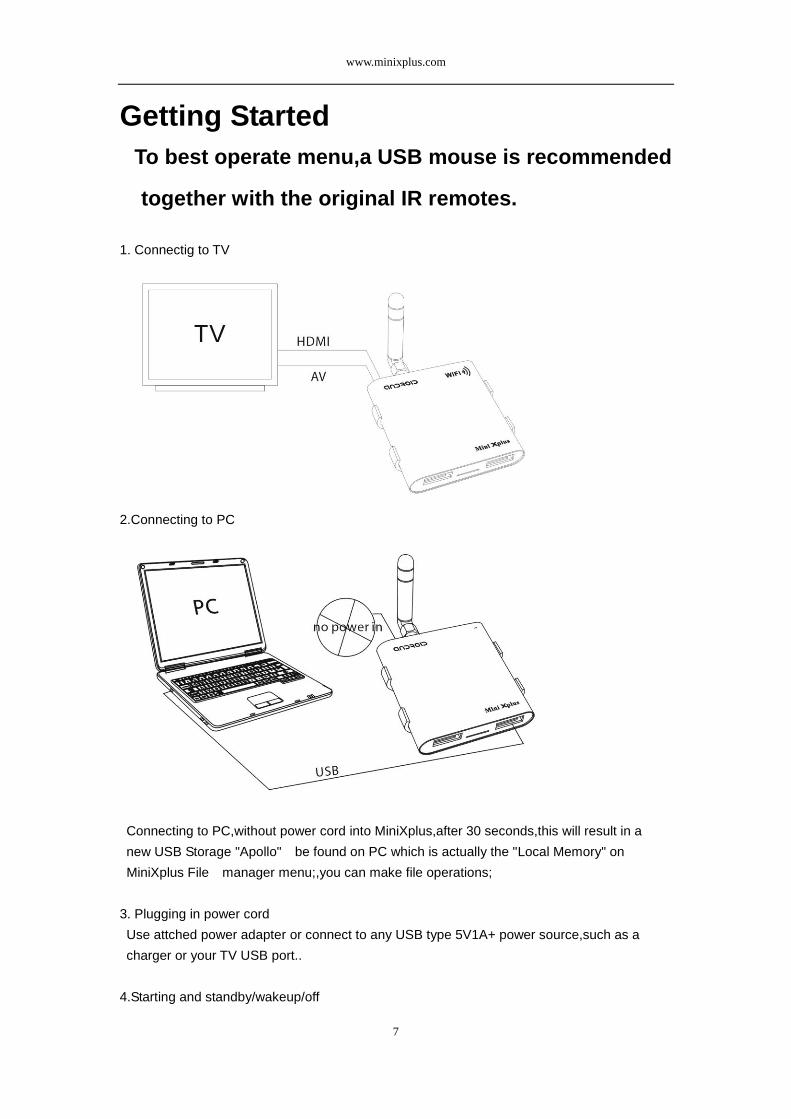
Getting Started
To best operate menu,a USB mouse is recommended
together with the original IR remotes.
1. Connectig to TV
2.Connecting to PC
Connecting to PC,without power cord into MiniXplus,after 30 seconds,this will result in a
new USB Storage "Apollo" be found on PC which is actually the "Local Memory" on
MiniXplus File manager menu;,you can make file operations;
3. Plugging in power cord
Use attched power adapter or connect to any USB type 5V1A+ power source,such as a
charger or your TV USB port..
4.Starting and standby/wakeup/off

www.minixplus.com
8
Plug in to power supply, system will boot automatically and power indicator turns
Blue at the same time.
When system is working,Press Power button of remotes will force into STANDBY.
Press Power again to wake up system.
Long pressing Power when system is on may turn off MiniXplus,in this case,led indicator is
off,and system can't be waked up,you have to turn power off and on to re-start;
5.Output to TV
MiniXplus will auto do etect HDMI and AV connet to PC,when both are available, HDMI is
always taking advantage;So,if you do need a AV out to TV,pls plug out HDMI connection.
6.Select a launcher
There are 2 optional launchers;
Recommendation is TvdLauncher;
If you select Launcher,then

www.minixplus.com
9
if you select TvdLauncher,then
7. Menu language
The system, language of this player can be set to English or other languages. Change the
language you wish via -> Setting -> Language & Input -> Select language, the selected
language will take effect immediately.

www.minixplus.com
10
8. Screen Size
Enter into Setting -> Display -> Screen adaption, to adjust the video output size according
to the size of TV screen.
9.Network setting
Enter into Setting -> Wi-Fi,turn on it,then you will find the WiFi signal around,choose the
WiFi SSIDl and input password if needed,make sure "connected." appears.

www.minixplus.com
11
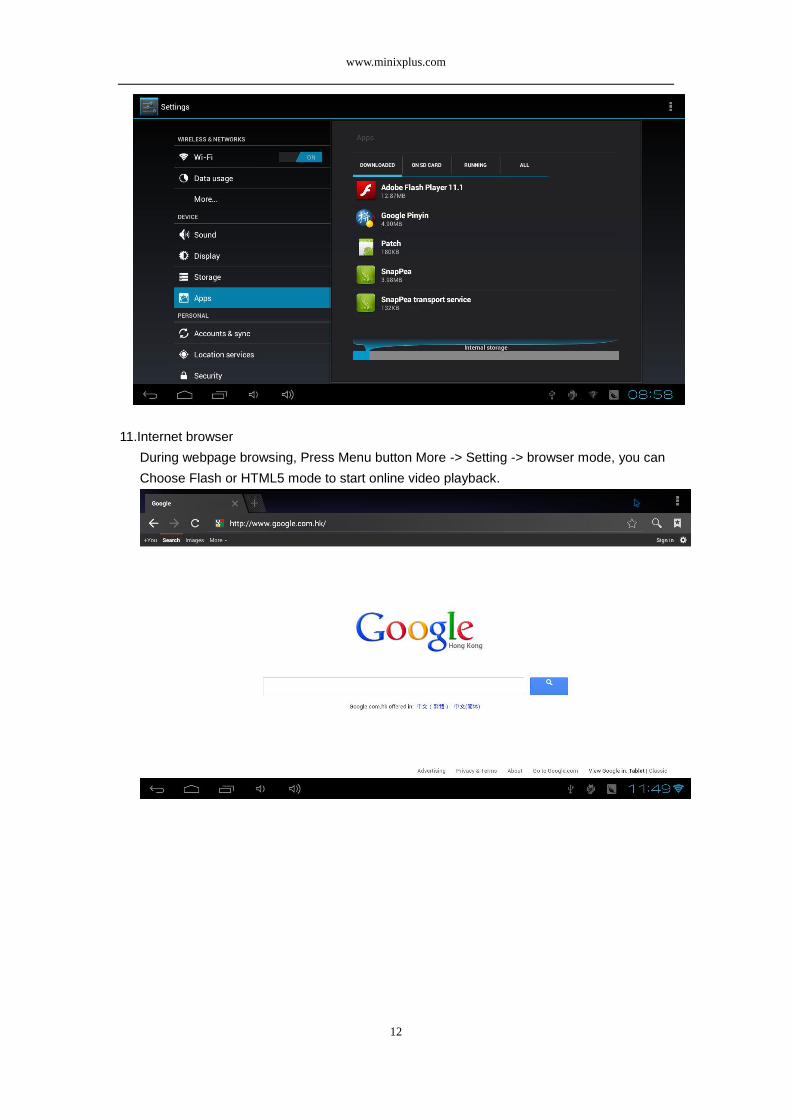
10. APK
All installed applications are list under Applications on main menu.
APK install
Enter into Files Manager to find the .apk stored on your external USB device or TF card.
Select and install the .apk.
To manage applicatios,pls go to Settings/Apps to operate.
www.minixplus.com
12
11.Internet browser
During webpage browsing, Press Menu button More -> Setting -> browser mode, you can
Choose Flash or HTML5 mode to start online video playback.
www.minixplus.com
13
Using USB Devices
1.USB camera
MiniXplus has build in universal camera driver,most of the cameras in market can be
supported.
2.Game console
Most of game joysticks are supported,however not all are guaranteed.
3.Wireless mouse/keyboard
Most of them are supported
4.USB 3G dongle
Consult your reseller for supported 3G dongle list;
5.USB net adapter
Support most USB-RJ45 adapters in market.
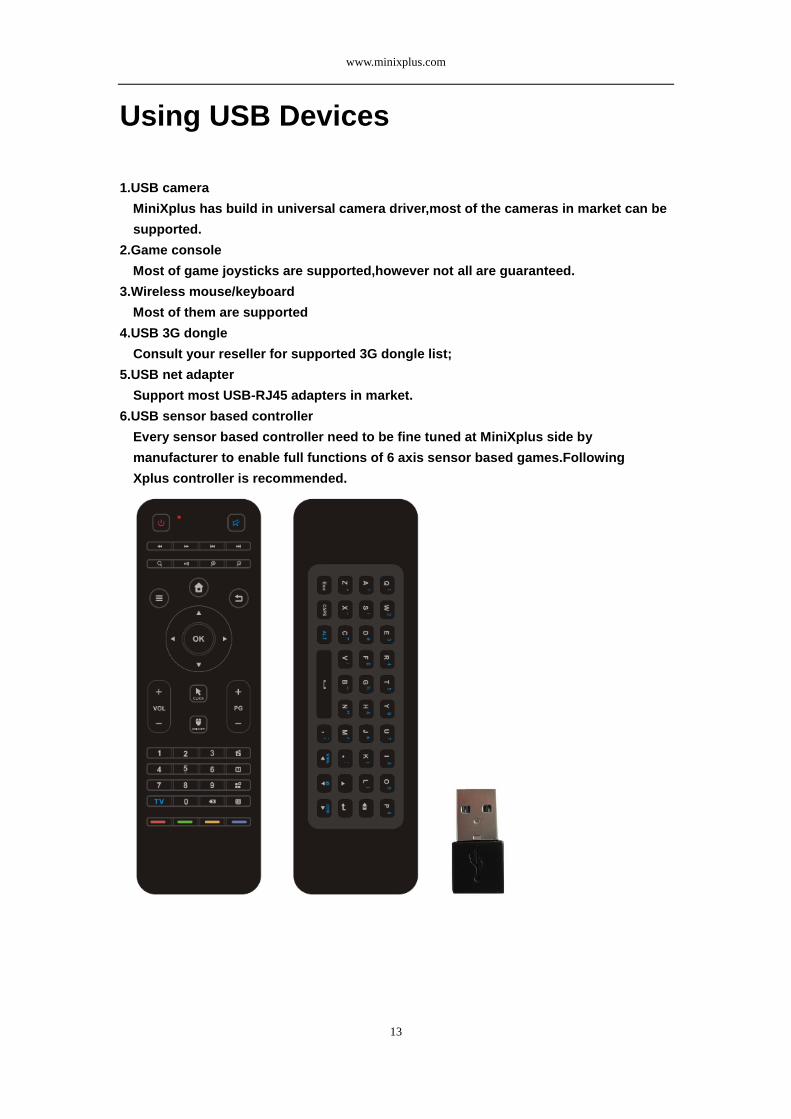
6.USB sensor based controller
Every sensor based controller need to be fine tuned at MiniXplus side by
manufacturer to enable full functions of 6 axis sensor based games.Following
Xplus controller is recommended.

www.minixplus.com
14
E-Control
Minixplus has advanced phone/pad control features, Pls find also the E-control users'
manual in CD for detail.
E-Share MiniXplus has build in DLNA 1.5 DMR,to push multimedia content playing from either
Android phone or iPhone are now supported. Pls also find the E-Share users' manual in
CD for detail.

www.minixplus.com
15
Firmware Upgrading A.Factory mode
This is a factory Burning TF card way to upgrade the system.Pls find PhoenixCard
tool in CD.You need to download a proper version of entire firmware image.
Pls note: MiniXplus will not support this mode for firmware of advanced features.
This is only for those who wants to update to old versions firware,for
example,if you do need a android 2.3 version firmware which is available
on www.minixplus.com,but,there will not be a full function MiniXplus
Android 4.0 v1.2 firmware image on website,so,if you choose to burn
Android 2.3,you'll not able to get back to Android 4.0 v1.2 full fucntion
version. Instead,you can get only a simple vesion of 4.0.
1. Prepare 1 pcs of TF card(the card must be empty) -> insert the card into your computer.
2. Open the burn card tool -> click to
choose the TF card.
3. Click to choose the Upgrade file(the Write mode must
choose )-> Click to start the process.
4. After the burn card finished -> instert the card into the machine -> connect the power
adpter -> the machine will upgrade by itself(in the same time there will be a blue light keep
flashing).
5. When the blue light stop flashing, the upgrade is over,please get off the TF card,and
restart it.
B.Increment mode
By going to www.minixplus.com to download latest OTA increment zip
package,you'l be able to update your MiniXplus to latest features.
1. Directly download from Update application menu,select "Online Update",follow
instructions to update(currently not supported).
2.Download from website the proper .zip using a PC then copy to "apollo" USB drive
(which can be seen when connect MiniXplus to PC),then run "Update" APK, select
the "Local Update",then select file in Local Memory,complete the and reboot.
Pls note both ways need to keep power on constantly
until update finished and system restarts again.

www.minixplus.com
16
Trouble Shootings 1. No signal on the HDTV
(1).Check if the HDMI & AV cable is securely connected.
(2).Check if you have selected the correct HDMI input on your HDTV.
2. AV output no audio on the HDTV
(1).Check if the AV cable is securely connected.
(2).Check if the white and red line is stably connected with TV set.
2. Can not turn on your Mini Xplus.
(1).Check if the power connector has completely plugged into the DC socket of your
Mini Xplus.
(2).Check if the power supply(DC +5V) is correct.
3. No internet connection
(1).Make sure the USB-net cable is securely connected and the Ethernet works well.
(2).Make sure Wi-Fi router is set properly and the security key for is correct.
(3).Make sure you use listed 3G dongle.
4. IR remote control does not work.
(1).Make sure the remotes batteries are good.
(2).Make sure no blocks on top of Mini Xplus IR window .
(3).Make sure the distance between the remotes and Mini Xplus is not more than 5 meters.
5. Some HDTVs cannot display the entire picture.
(1).Setup the screen ratio of your HDTV.
Settings->display->set position

www.minixplus.com
17
Specifications:
Chipset A10(Cotex A8 1.2G+GPU)
OS Android 4.0
DDR 1GB DDR3
Build in NAND Flash 4GB
WiFi Build in Wifi (802.11b/g/n)
USB USB2.0 OTGX1 + HOSTx1
Card TF card
Video Out CVBS(PAL/NTSC), HDMI(up to 1080P)
Audio Out HDMI,L/R stereo
Video Format
AVI, MKV, TS, TP, TRP, M2TS, MPG, MP4, M4V, MOV, VOB,
MVC(3D) ISO, IFO,DAT, WMV, ASF/RM, RMVB, FLV,
Flash(10.3), RTMP,MMS
Audio Format MP3, WMA, OGG, AAC, FLAC, APE, AC3, DTS, ATRA
Photo Format HD BMP, JPG, PNG, GIF
Subtitles SRT, SMI, SSA, ASS
Languages Multi-languages
Control IR remotes,mouse/keyboard/sensor based/voice/E-control
DLNA V1.5,DMR ready
Dimensions 60*63*13mm
Weight(net/packaged) 0.05kg/0.35kg
Operating Temperature 0-70 C degree
Certificates CE/ROHS/FCC
Power Consumption DV +5V,≤600mA