Microsoft Office Access 2003 Số tiết: 30 tiết lý thuyết 60 tiết thực hành Giáo viên:...
25
Microsoft Office Microsoft Office Access 2003 Access 2003 Số tiết: 30 tiết lý thuyết 60 tiết thực hành Giáo viên: Từ thị Xuân Hiền
-
Upload
bartholomew-lewis -
Category
Documents
-
view
221 -
download
1
Transcript of Microsoft Office Access 2003 Số tiết: 30 tiết lý thuyết 60 tiết thực hành Giáo viên:...
Microsoft Office Microsoft Office Access 2003Access 2003
Số tiết: 30 tiết lý thuyết 60 tiết thực hành
Giáo viên: Từ thị Xuân Hiền

CHAPTER 1 FUNDAMENTALS

• Microsoft Access is a powerful database program, you can use to store all kinds of information.
• Once information is stored in a Microsoft Access database, it's easy to find, analyze, and print.
• This chapter is your introduction to Microsoft Access and the world of databases.
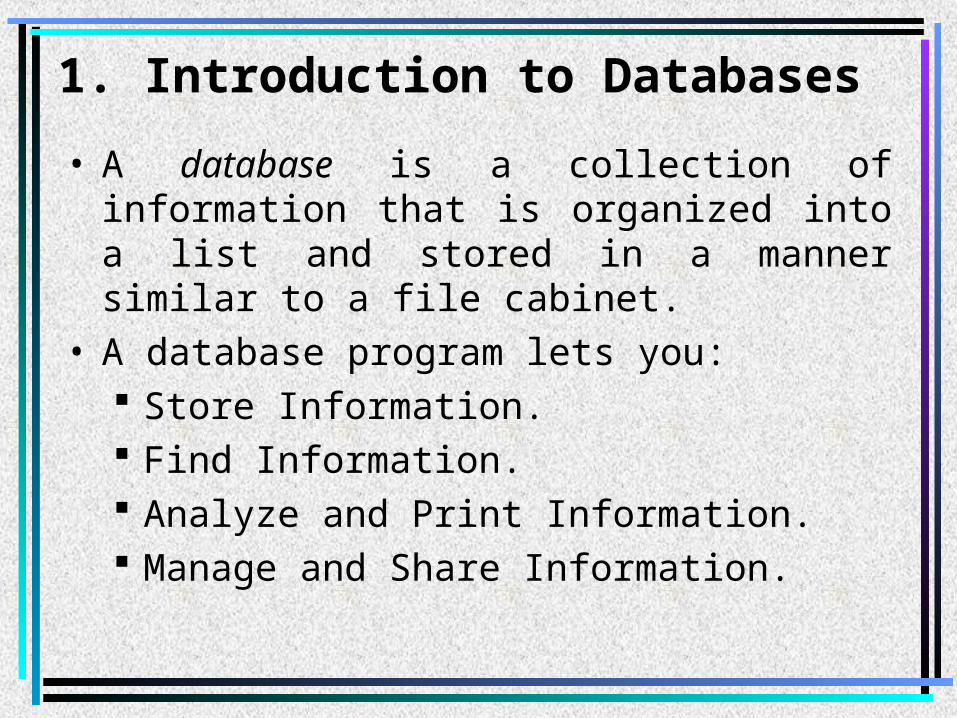
1. Introduction to Databases
• A database is a collection of information that is organized into a list and stored in a manner similar to a file cabinet.
• A database program lets you: Store Information. Find Information. Analyze and Print Information. Manage and Share Information.
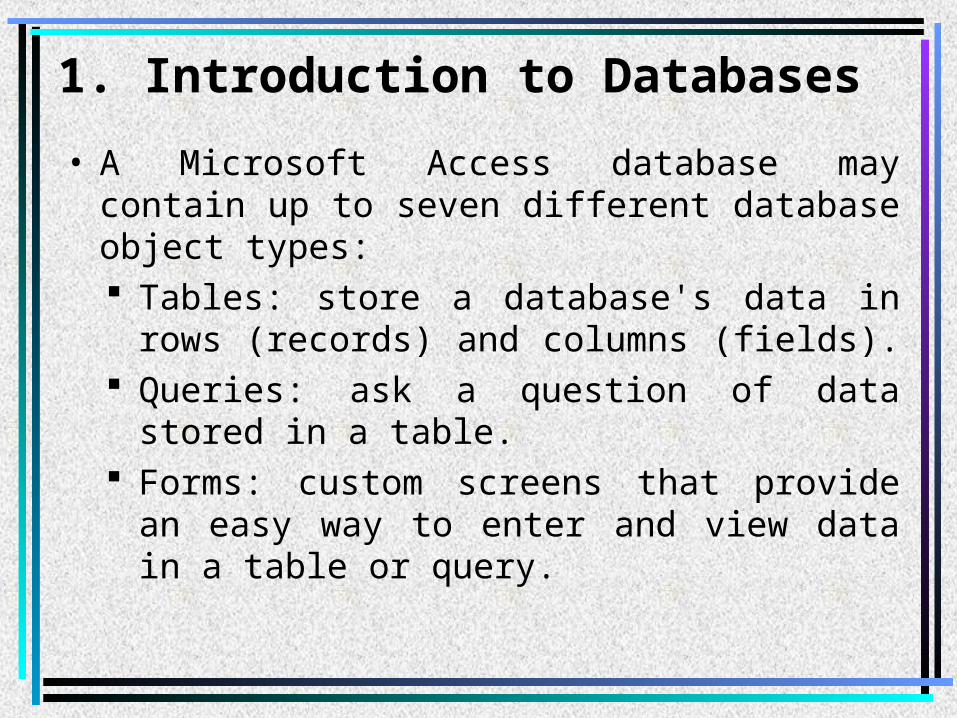
1. Introduction to Databases
• A Microsoft Access database may contain up to seven different database object types: Tables: store a database's data in rows
(records) and columns (fields). Queries: ask a question of data stored
in a table. Forms: custom screens that provide an
easy way to enter and view data in a table or query.
1. Introduction to Databases
Reports: present data from a table or query in a printed format.
Pages: designed for viewing and working with Microsoft Access data from an intranet or over the Internet.
Macros: help you perform routine tasks by automating them into a single command.
Modules: let you create libraries of functions that you can use throughout your application by using language Visual Basic.
1. Introduction to Databases
• Starting Access :– Click the windows start button.– Select all programs microsoft office
2003 microsoft office access 2003.
• Opening a Database:– Click the open button on the toolbar,
or– Select file open from the menu, or
Press ctrl + o.
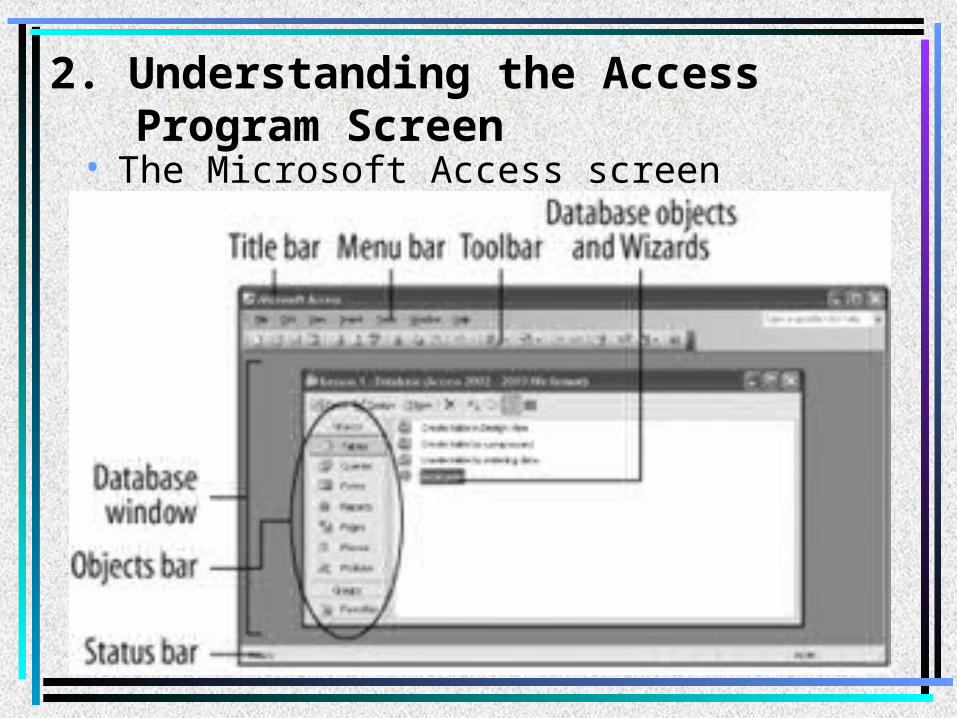
2. Understanding the Access Program Screen
• The Microsoft Access screen
2. Understanding the Access Program Screen• Title bar • Menu bar • Toolbar • Database window • Objects bar • Database objects • Status bar
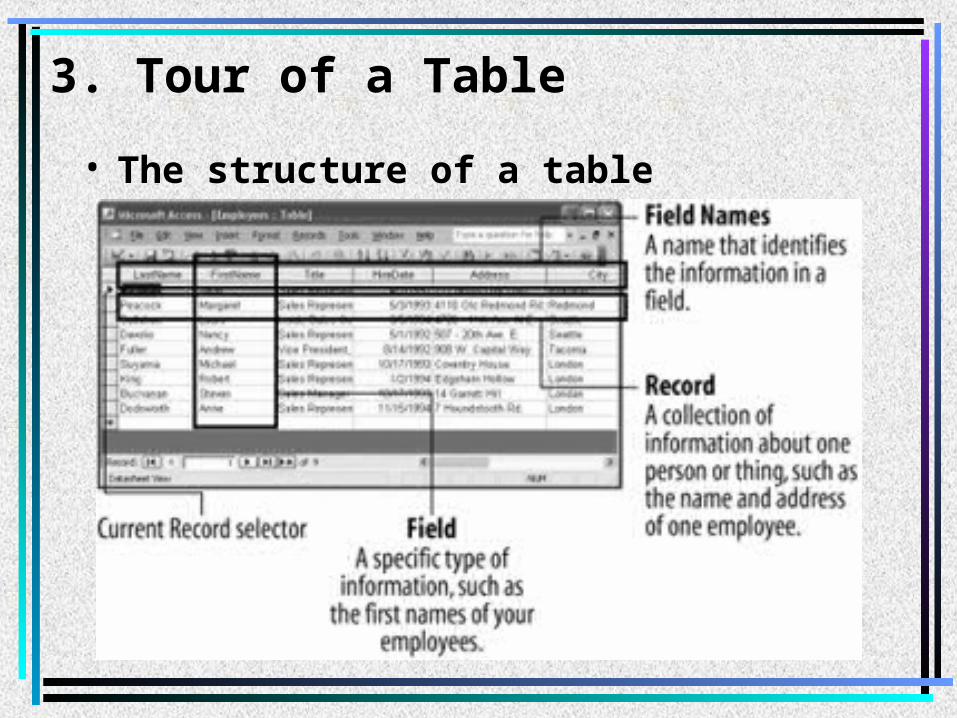
3. Tour of a Table
• The structure of a table
3. Tour of a Table
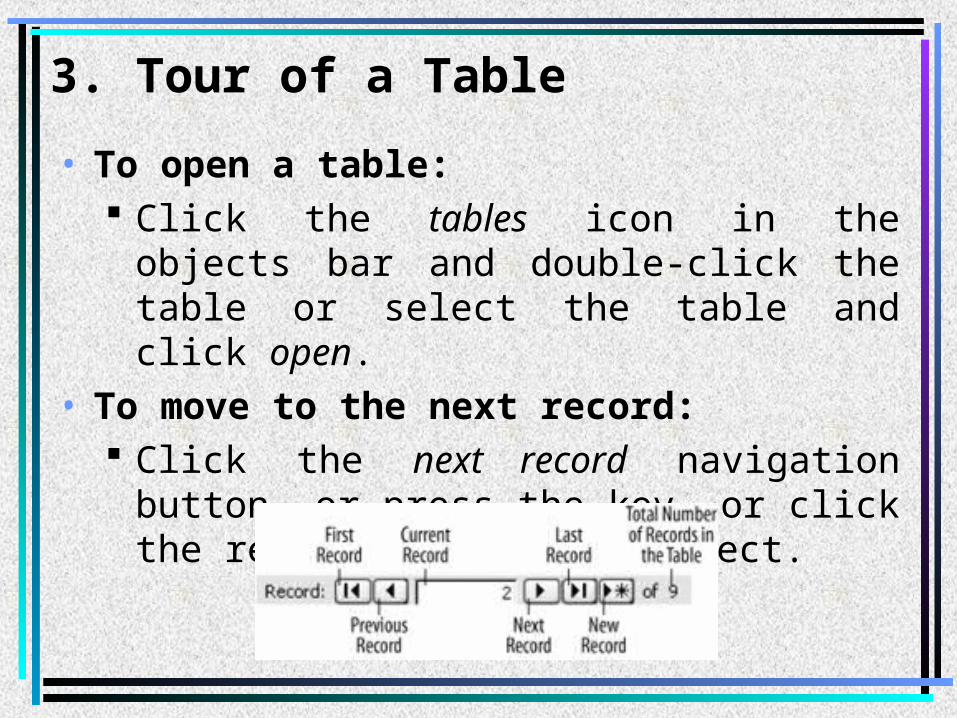
• To open a table: Click the tables icon in the objects bar
and double-click the table or select the table and click open.
• To move to the next record: Click the next record navigation button,
or press the key, or click the record you want to select.
3. Tour of a Table
• To move to the previous record: Click the previous record navigation
button, or press the up arrow key, or click the record you want to select.
• To move to the last record in a table: Click the last record navigation button or
press ctrl + end (when not editing record).• To move to the first record in a table:
Click the first record navigation button or press ctrl + home (when not editing record).
4. Adding, Editing, and Deleting Records• To add a new record:
Click the new record navigation button. Or
Click the new record button on the toolbar.
Enter the record information for the field, pressing tab to move to the next field and shift + tab to move to the previous field.
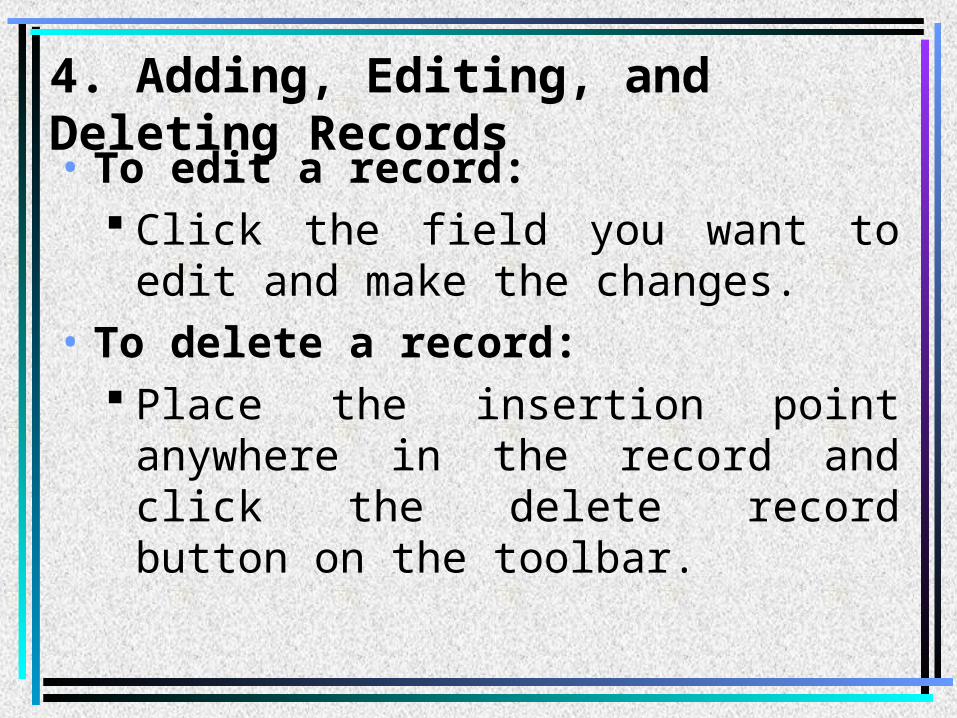
4. Adding, Editing, and Deleting Records• To edit a record:
Click the field you want to edit and make the changes.
• To delete a record: Place the insertion point anywhere
in the record and click the delete record button on the toolbar.
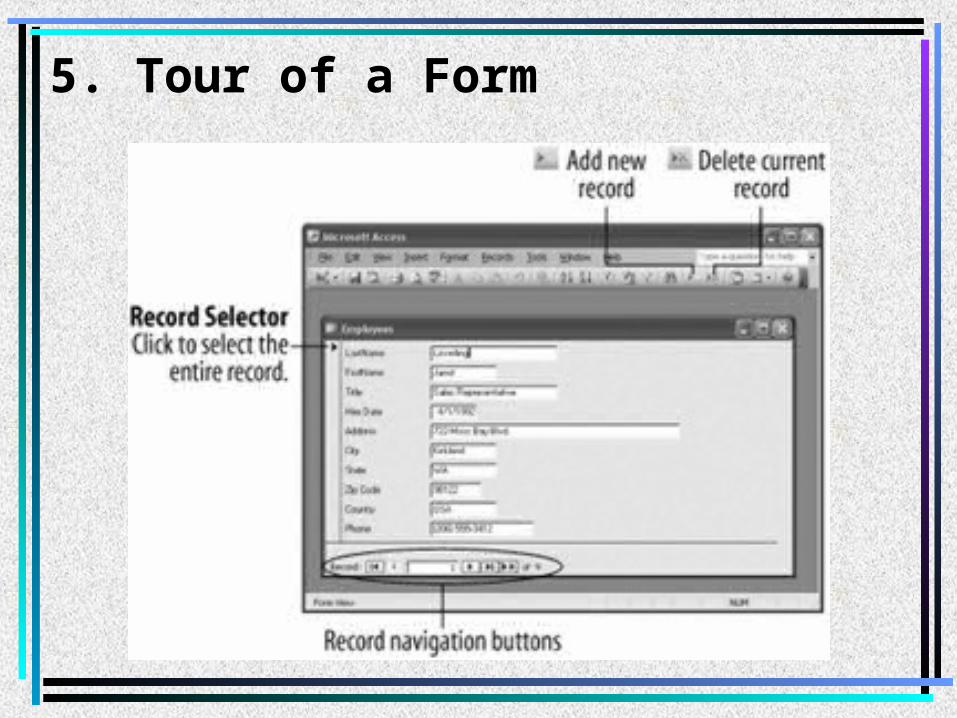
5. Tour of a Form
5. Tour of a Form
• Form which is used for adding, viewing, and modifying information in a database should be straightforward and easy.
• Forms can also contain buttons that allow you to perform other actions, such as running macros to print reports or labels.
• Forms can validate data• To open a form:
– Click the forms icon in the objects bar and double-click the form or select the form and click open.
5. Tour of a Form
• To move between records:– Use the record navigation buttons near
the bottom of the screen.• To delete a record:
– Place the insertion point anywhere in the record and click the delete record button on the toolbar.
• To add a new record:– Click the new record navigation button
6. Tour of a Query
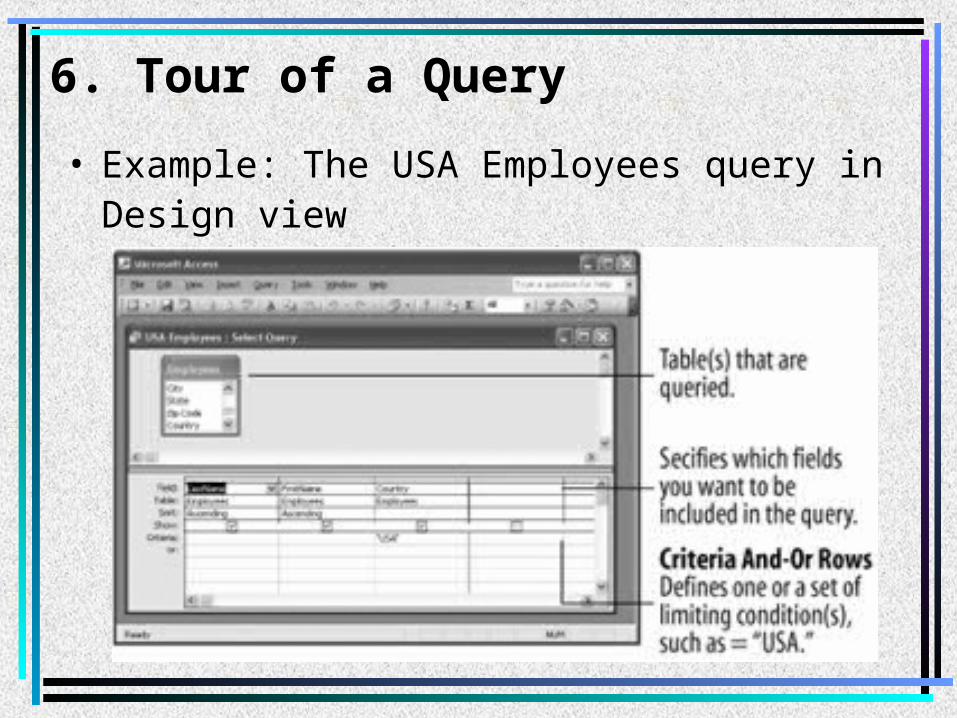
• Example: The USA Employees query in Design view
6. Tour of a Query
• Queries ask a question of the information in a table and then retrieve and display the results.
• To open a query:– Click the queries icon in the objects bar and
double-click the query or select the query and click open.
• To display a query in design view:– Open the query and click the view button
on the toolbar or Click the queries icon in the objects bar, select the query, and click design.
7. Tour of a Report
• With a report, you can print database information from tables and queries
• Reports are the most static of all the database objects.
• Unlike tables and forms, which allow user interaction, reports just sit there, waiting to be printed.
7. Tour of a Report
• To open a report:– Click the reports icon in the objects bar
and double-click the query or select the query and click open.
• To zoom in print preview:– Click the area you want to zoom (either
in or out) with the magnifying glass pointer.
• To print a report:– Click the print button on the toolbar, or
select file print from the menu, or press ctrl + p.
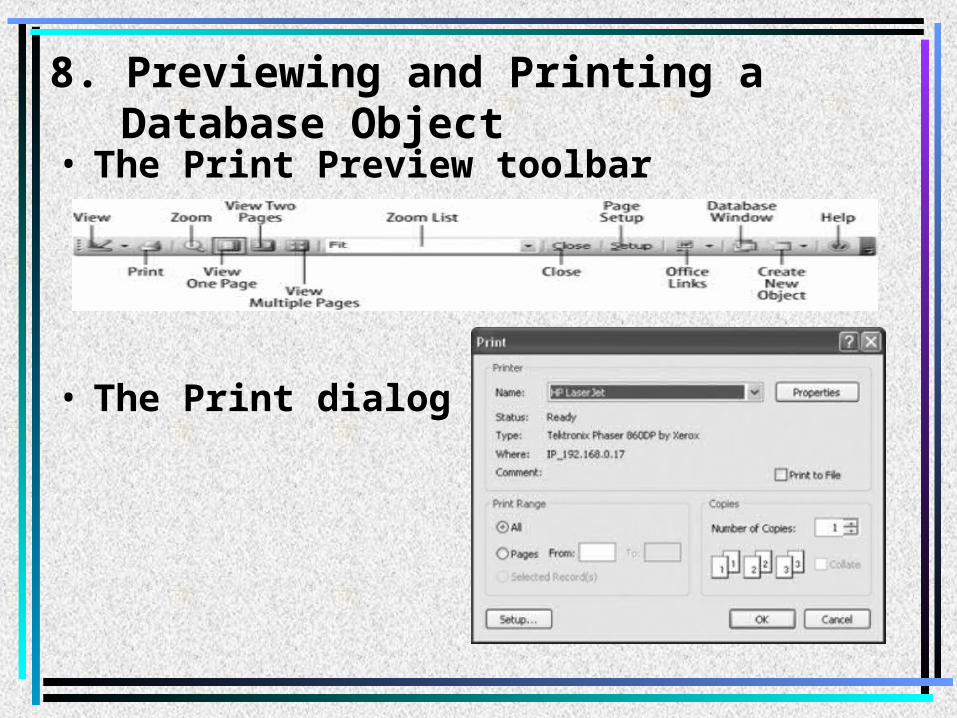
8. Previewing and Printing a Database Object
• The Print Preview toolbar
• The Print dialog box

8. Previewing and Printing a Database Object• To print preview:
– Click the print preview button on the toolbar. or select file print preview from the menu.
• To print:– Click the print button on the
toolbar, or select file print from the menu, or Press ctrl + p.
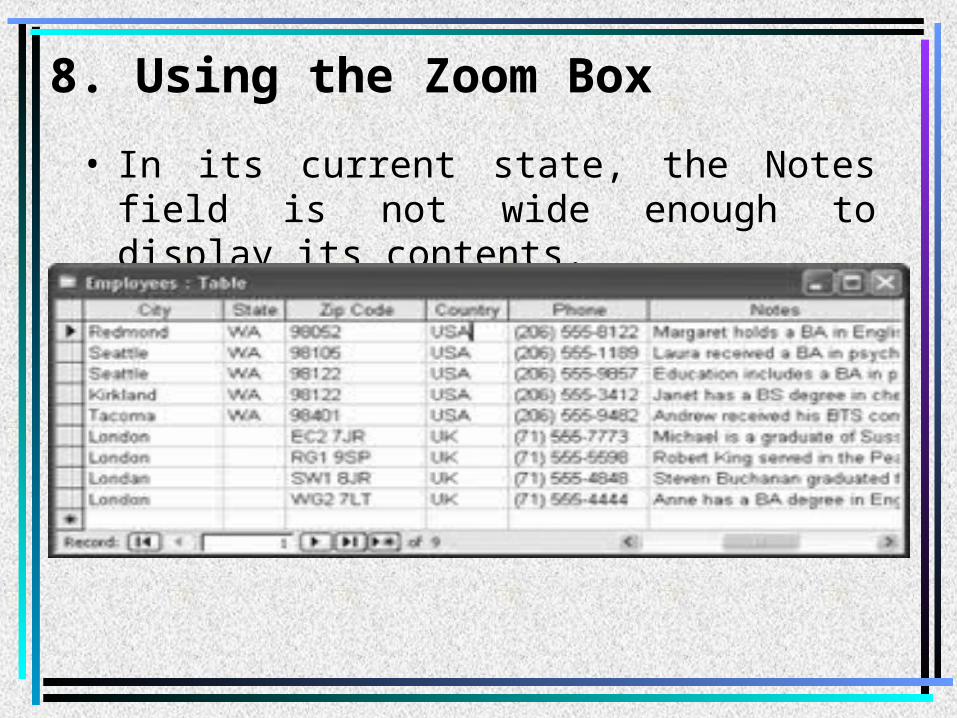
8. Using the Zoom Box
• In its current state, the Notes field is not wide enough to display its contents.
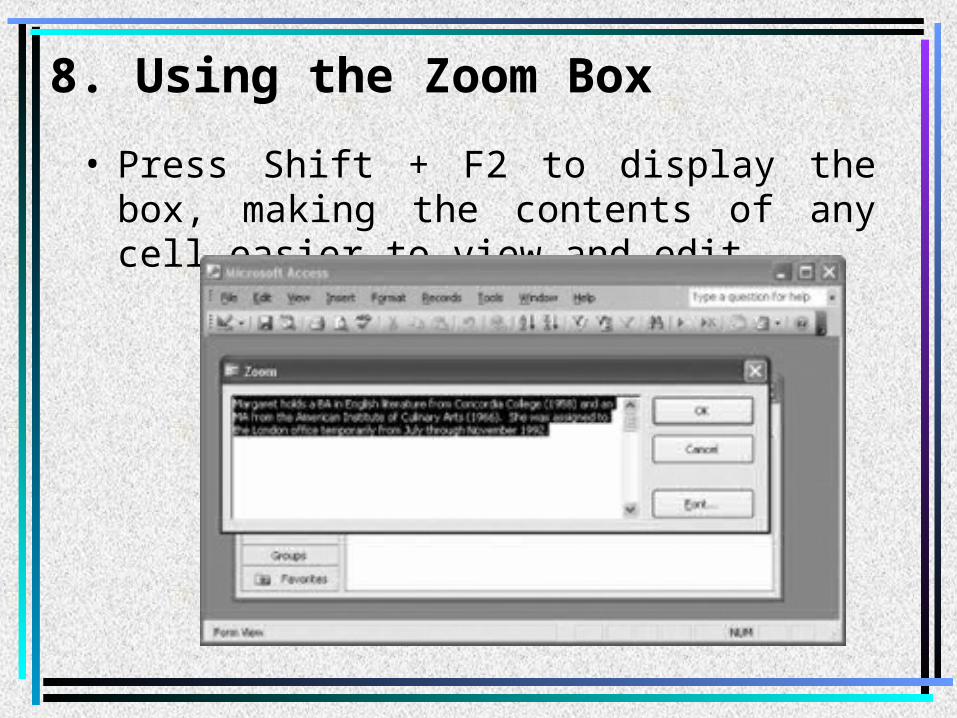
8. Using the Zoom Box
• Press Shift + F2 to display the box, making the contents of any cell easier to view and edit.