Manual
10
-
Upload
jack-hollands -
Category
Documents
-
view
214 -
download
2
description
Manual for a yzf r125
Transcript of Manual

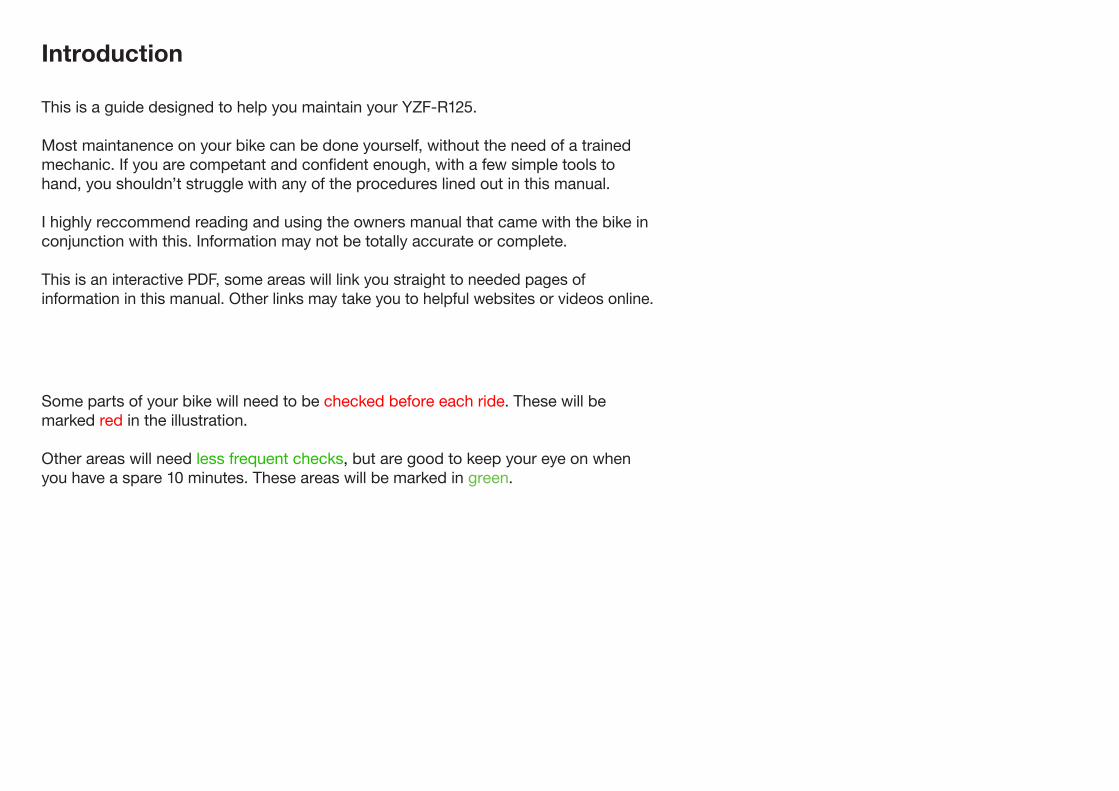
Introduction
This is a guide designed to help you maintain your YZF-R125.
Most maintanence on your bike can be done yourself, without the need of a trained mechanic. If you are competant and confident enough, with a few simple tools to hand, you shouldn’t struggle with any of the procedures lined out in this manual.
I highly reccommend reading and using the owners manual that came with the bike in conjunction with this. Information may not be totally accurate or complete.
This is an interactive PDF, some areas will link you straight to needed pages of information in this manual. Other links may take you to helpful websites or videos online.
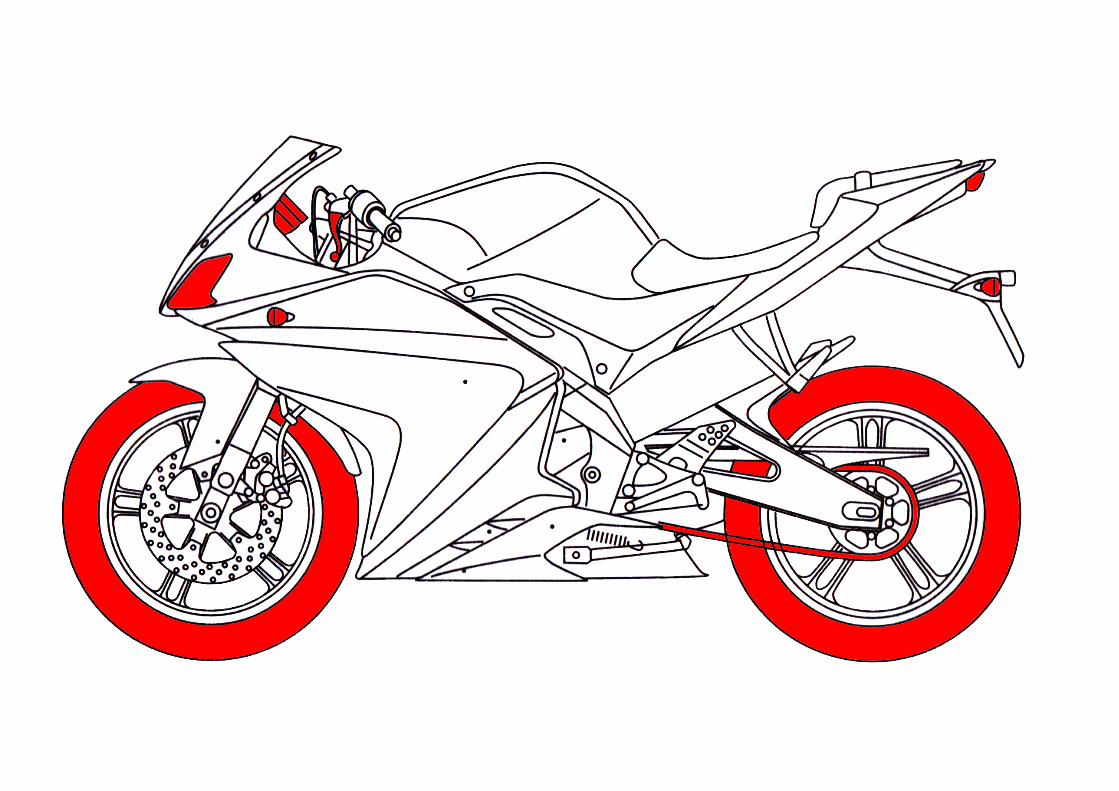
Some parts of your bike will need to be checked before each ride. These will be marked red in the illustration.
Other areas will need less frequent checks, but are good to keep your eye on when you have a spare 10 minutes. These areas will be marked in green.
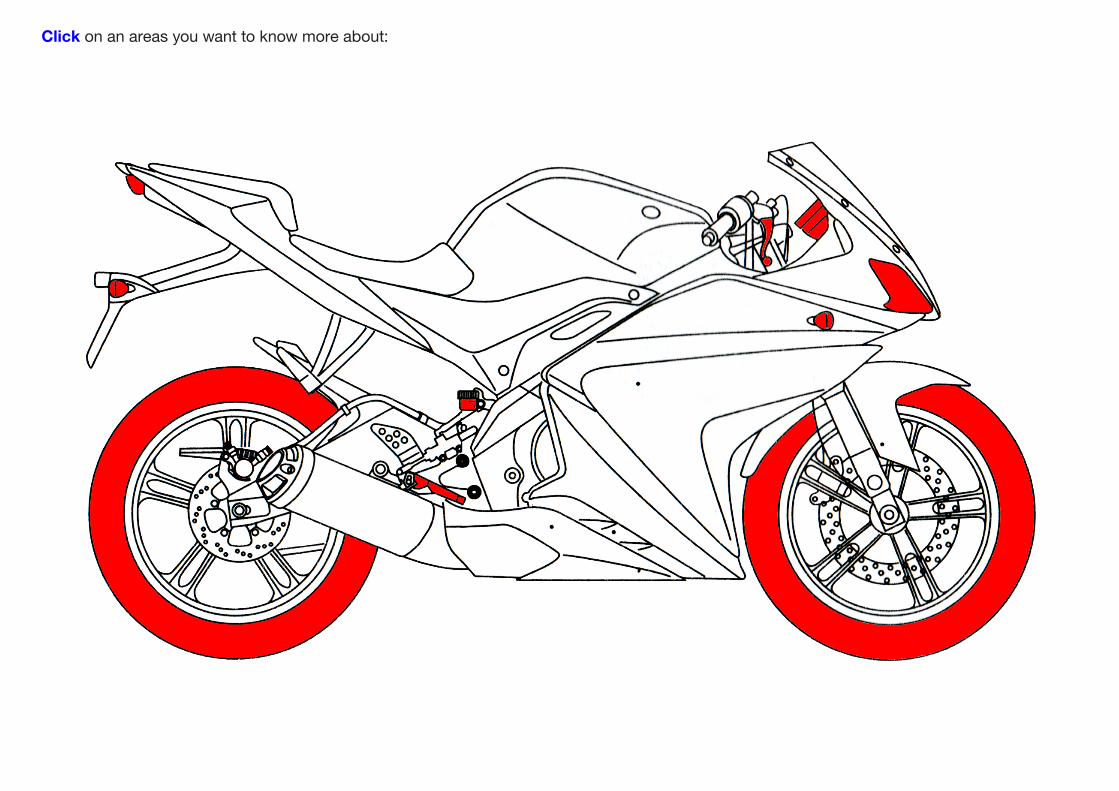
Click on an areas you want to know more about:

Pre-Operation Checks
Pre-operation checks are quick vital checks to conduct before each ride.
Doing these checks every time is well worth the pay off, it should take less than one minute to scan all the vitals on your bike. TIP: By turning the engine on and letting it warm up before each ride you will increase the life of your bike by allowing the oil and metals to expand to operating temperature before putting any stress on them.
You can use this engine warm up time, to do the vital checks and to put on your helmet; including any other apparel you wear whilst riding your bike.
I reccommend using; • motorcycle boots,• armoured motorcycle jacket,• armoured motorcycle gloves,• protective motorcycle trousers.
• Tachometer
• Lights
• Tyres
• Chain
• Brake Fluid
• Brake Levers
Click on the icon to return to illustration
Click above to skip pages

Tachometer
When you turn the key to the ON position; the bikes electrical system runs a self-diagnostic. You must wait for this to end before pressing the ignition button.
All warning lights will display briefly, then turn off.If any lights remain on, it is indicating a problem with the related light.
The tachometer needle will sweep once across r/min range and then return to zero r/min.
Remember: Wait for this check to finish before pressing the ignition button.
Rev needle indicating a cold idle engine (Over 1.5rpm).
Wait for the needle to drop, indicating the engine and oil is warm enough to ride.
Rev needle should sit between 1.3 and 1.5 rpm on a warm idle engine.

Click on needed items:
Lights
With the key turned to ON, the lights come on dim.
The lights will come on fully only when the engine is running.
Only one side is ever on at any one time. This is because each half has a bulb setup deiiferently. The right side is your general beam and the left is your full beam.
Walk around the bike to check the rear light is working fully also check all indicators are functioning properly.
Hint: Your headlight will continually be on, there is no way to turn your lights off once the engine is running. The added light helps you to be noticed, even in the day, by oncoming traffic.
General beam Full beam
Click on needed items:
Tyres
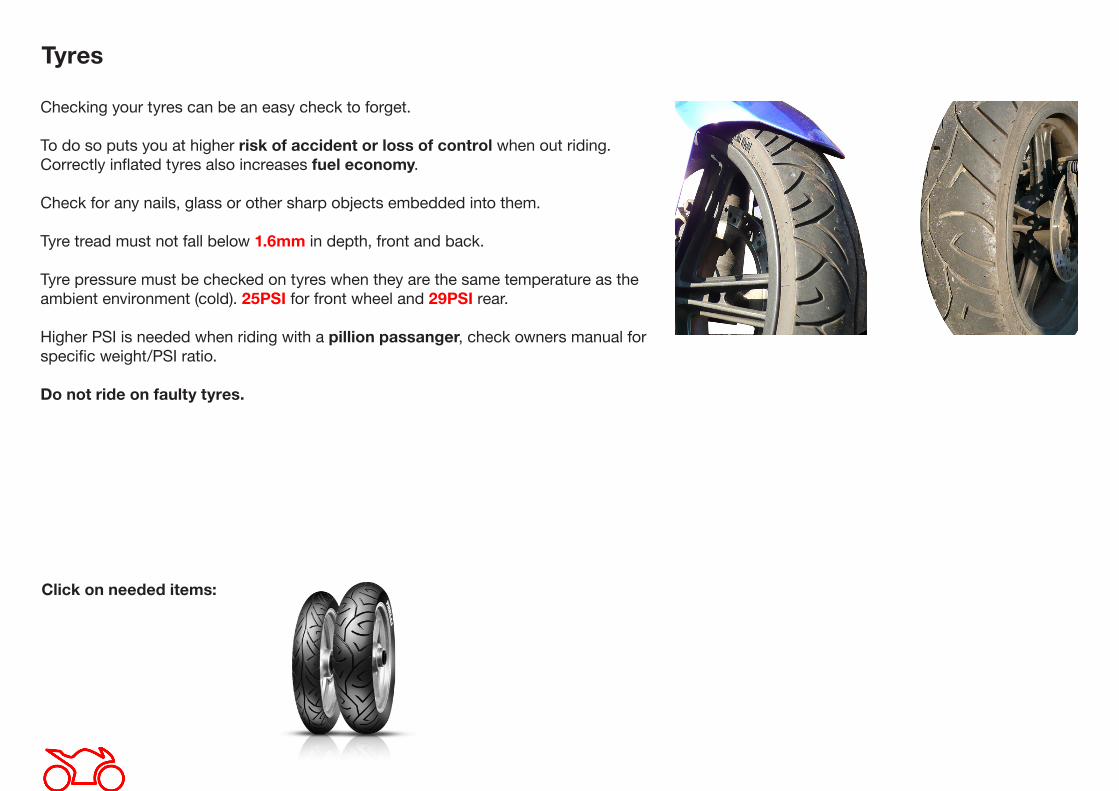
Checking your tyres can be an easy check to forget.
To do so puts you at higher risk of accident or loss of control when out riding. Correctly inflated tyres also increases fuel economy.
Check for any nails, glass or other sharp objects embedded into them.
Tyre tread must not fall below 1.6mm in depth, front and back.
Tyre pressure must be checked on tyres when they are the same temperature as the ambient environment (cold). 25PSI for front wheel and 29PSI rear.
Higher PSI is needed when riding with a pillion passanger, check owners manual for specific weight/PSI ratio.
Do not ride on faulty tyres.
Click on needed items:
Chain
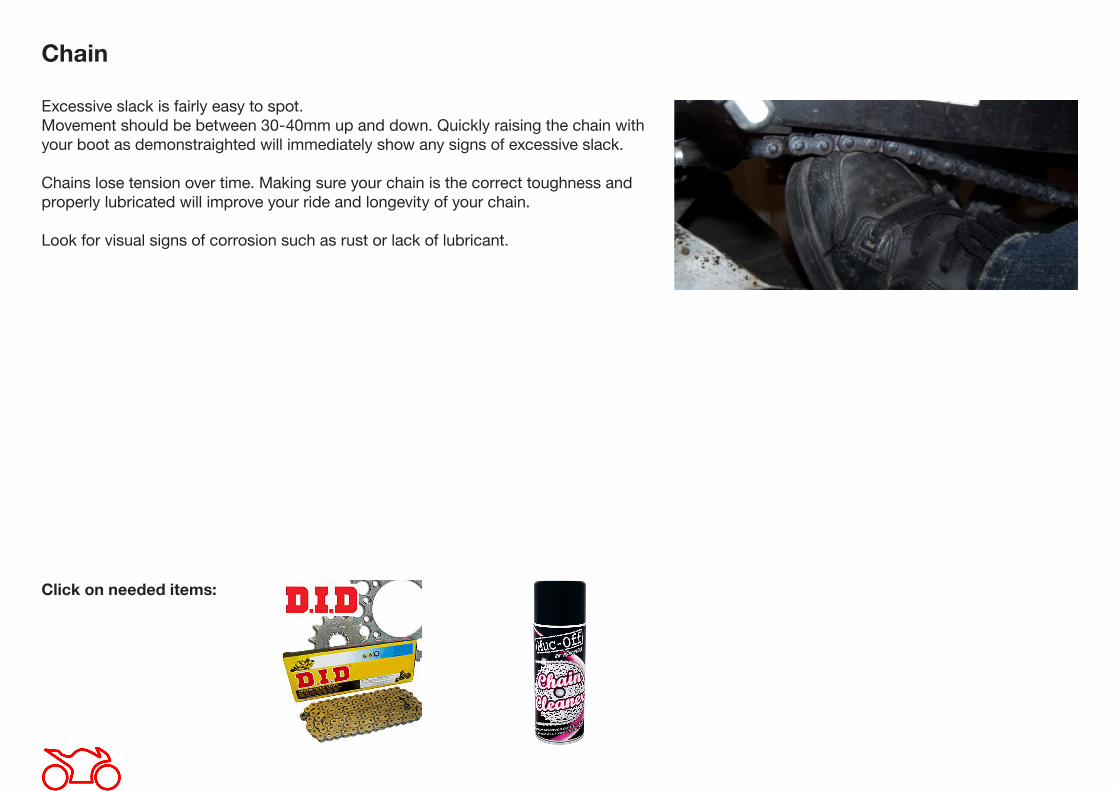
Excessive slack is fairly easy to spot. Movement should be between 30-40mm up and down. Quickly raising the chain with your boot as demonstraighted will immediately show any signs of excessive slack.
Chains lose tension over time. Making sure your chain is the correct toughness and properly lubricated will improve your ride and longevity of your chain.
Look for visual signs of corrosion such as rust or lack of lubricant.
Click on needed items:
Brakes
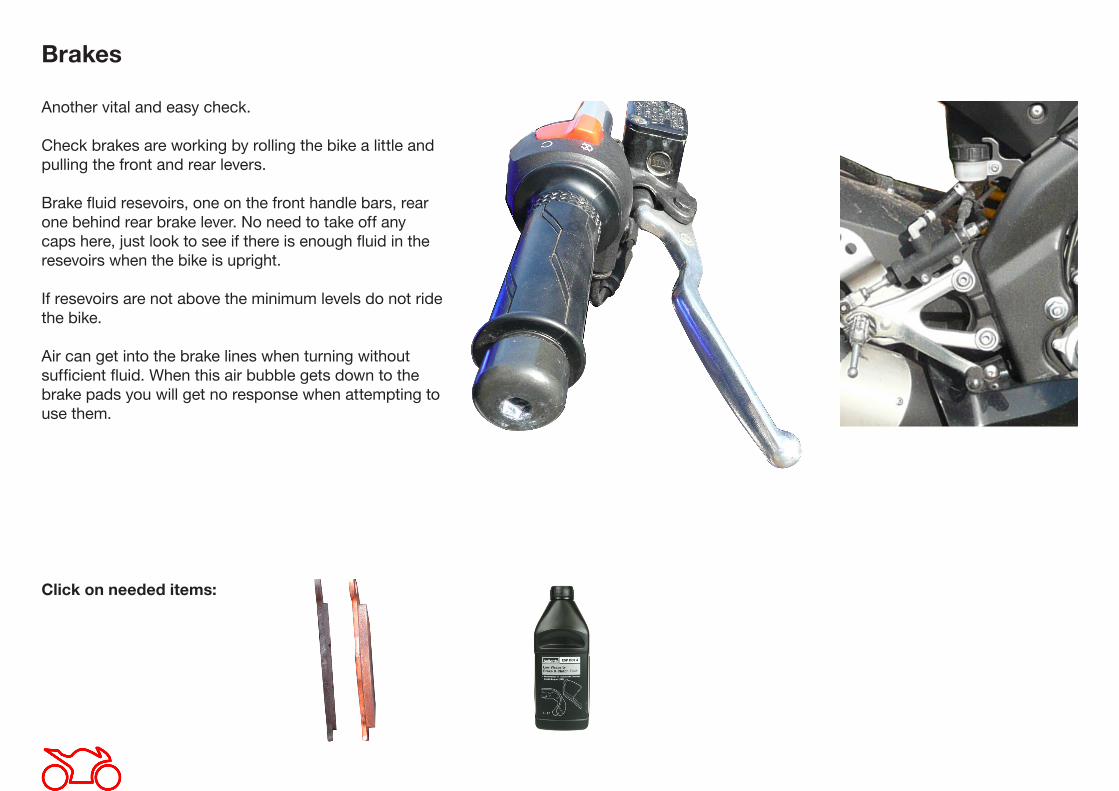
Another vital and easy check.
Check brakes are working by rolling the bike a little and pulling the front and rear levers.
Brake fluid resevoirs, one on the front handle bars, rear one behind rear brake lever. No need to take off any caps here, just look to see if there is enough fluid in the resevoirs when the bike is upright.
If resevoirs are not above the minimum levels do not ride the bike.
Air can get into the brake lines when turning without sufficient fluid. When this air bubble gets down to the brake pads you will get no response when attempting to use them.