MAGAZINE MODERN CHESS · Endgame Series - Part 3 The Secrets of the Sicilian Dragon - Part 3 The...
7
Alapin Variation of Sicilian Defense - Part 2 Attack with an Isolated Pawn - Part 2 Endgame Series - Part 3 The Secrets of the Sicilian Dragon - Part 3 The Importance of the Initiative in the Endgame MODERN CHESS MAGAZINE ISSUE 3
Transcript of MAGAZINE MODERN CHESS · Endgame Series - Part 3 The Secrets of the Sicilian Dragon - Part 3 The...
Alapin Variation of Sicilian Defense - Part 2
Attack with an IsolatedPawn - Part 2
Endgame Series -Part 3
The Secretsof the SicilianDragon - Part 3
The Importanceof the Initiativein the Endgame
MODERN CHESSMAGAZINE
ISSUE 3

Table of contents
12
3
The Importance of the Initiative in the Endgame (GM Boris Chatalbashev)
Carlsen,Magnus (2877) - Naiditsch,Arkadij (2709)Ulibin,Mikhail (2500) - Gurevich,Ilya (2410)Spielmann,Rudolf - Rubinstein,AkibaDervishi,Erald (2290) - Skembris,Spyridon (2505)Zvjaginsev,Vadim (2455) - Onischuk,Alexander (2495)
Honfi – Dorfman (Pecs-A, 1976)Advance of the „f“ pawnBotvinnik – Vidmar (Nottingham 1936)Advance of the „h“ pawnKotov – Khalilbeili (URS-ch, Yerevan 1955)
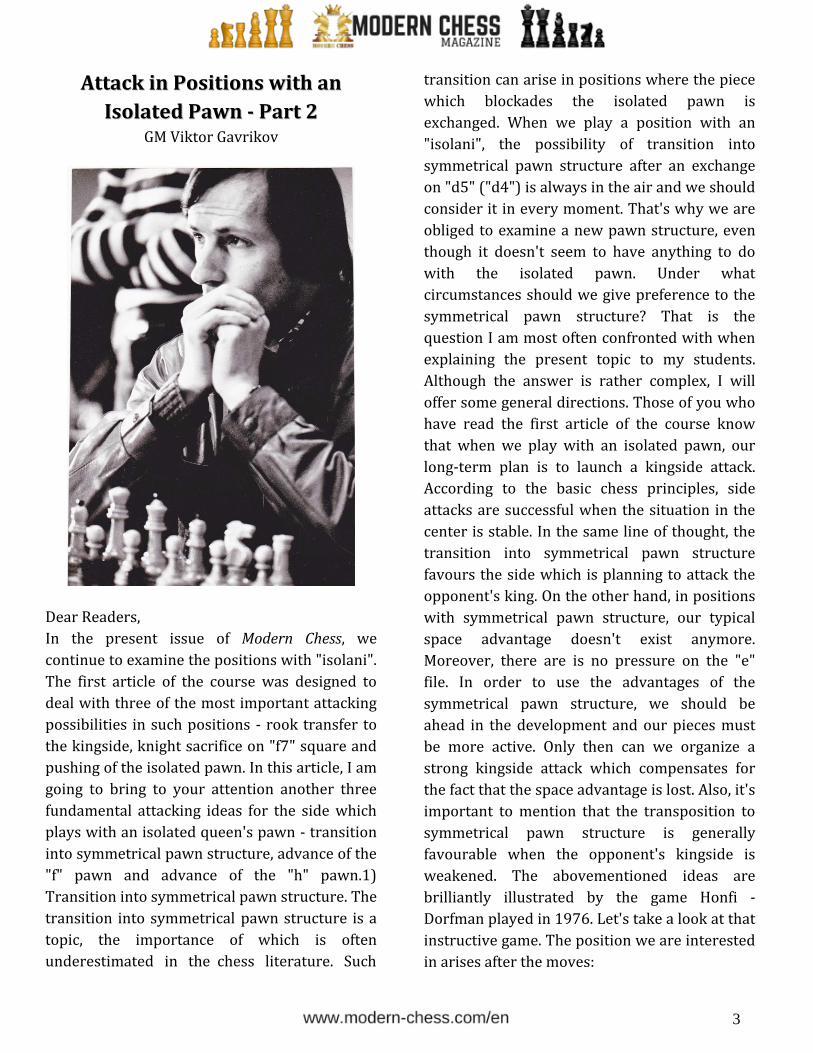
Attack in Positions with an Isolated Pawn - Part 2 (GM Viktor Gavrikov)
Alapin Variation of Sicilian Defense – Part 2 (GM Petar G. Arnaudov)
Dragon Variation in Sicilian Defence - Part 3 (GM Nikolay Ninov)
Endgame Series - Part 3 (GM Davorin Kuljasevic)
Electric pawns – Part 1 - 2Kininger – RichterCommon square – Part 1 - 2Common square – knightCommon square – bishopKi. Georgiev - Rusev
42
4779
10
424445474748
3335363840
2033
3
AAttttaacckk iinn PPoossiittiioonnss wwiitthh aann
IIssoollaatteedd PPaawwnn -- PPaarrtt 22 GM Viktor Gavrikov
Dear Readers,
In the present issue of Modern Chess, we
continue to examine the positions with "isolani".
The first article of the course was designed to
deal with three of the most important attacking
possibilities in such positions - rook transfer to
the kingside, knight sacrifice on "f7" square and
pushing of the isolated pawn. In this article, I am
going to bring to your attention another three
fundamental attacking ideas for the side which
plays with an isolated queen's pawn - transition
into symmetrical pawn structure, advance of the
"f" pawn and advance of the "h" pawn.1)
Transition into symmetrical pawn structure. The
transition into symmetrical pawn structure is a
topic, the importance of which is often
underestimated in the chess literature. Such
transition can arise in positions where the piece
which blockades the isolated pawn is
exchanged. When we play a position with an
"isolani", the possibility of transition into
symmetrical pawn structure after an exchange
on "d5" ("d4") is always in the air and we should
consider it in every moment. That's why we are
obliged to examine a new pawn structure, even
though it doesn't seem to have anything to do
with the isolated pawn. Under what
circumstances should we give preference to the
symmetrical pawn structure? That is the
question I am most often confronted with when
explaining the present topic to my students.
Although the answer is rather complex, I will
offer some general directions. Those of you who
have read the first article of the course know
that when we play with an isolated pawn, our
long-term plan is to launch a kingside attack.
According to the basic chess principles, side
attacks are successful when the situation in the
center is stable. In the same line of thought, the
transition into symmetrical pawn structure
favours the side which is planning to attack the
opponent's king. On the other hand, in positions
with symmetrical pawn structure, our typical
space advantage doesn't exist anymore.
Moreover, there are is no pressure on the "e"
file. In order to use the advantages of the
symmetrical pawn structure, we should be
ahead in the development and our pieces must
be more active. Only then can we organize a
strong kingside attack which compensates for
the fact that the space advantage is lost. Also, it's
important to mention that the transposition to
symmetrical pawn structure is generally
favourable when the opponent's kingside is
weakened. The abovementioned ideas are
brilliantly illustrated by the game Honfi -
Dorfman played in 1976. Let's take a look at that
instructive game. The position we are interested
in arises after the moves:

4
Honfi,Karoly (2460) - Dorfman,Josif D (2405)
Pecs-A, 09.1976
The diagram position is extremely popular and
can arise from a number of opening variations
such as but not limited to Panov attack in Caro-
Kann defense, Semi-Tarrasch defense, Alapin
variation in Sicilian defense and etc. That's why
deep understanding of that position could help
us improve our opening repertoire.
The idea of Black's last move is to free
the "e7" square for the knight. Afterwards, black
is planning to strengthen the control over the
key "d5" square by playing moves like b6 and
or even In general, one of the main
problems for Black consists in finding a suitable
square for the "c6" knight. Even though Black
has managed to solve the above-mentioned
problem, his last move has one very important
negative side. When there is no knight on "f6"
square, the "h7" pawn becomes a target in many
variations.
A popular alternative is
Now the kingside is well protected but the "c6" knight has no good squares. Given the fact that Black's only constructive idea is connected with the manoeuvre , White must play
followed by attacking set up along the "b1 - h7"diagonal.
Very interesting move. In favourable circumstances, White is ready to enter in a position with a symmetrical pawn structure. In the diagram position, the positional threat is with the idea to provoke weaknesses on the kingside. As we already know, the weakened kingside is a sign that a possible transition into a symmetrical pawn structure could be advantageous.

5
A doubtful move. In spite of Black's intention to
increase the control over the critical "d5"square
by means of , White has some additional
possibilities connected to an eventual transition
into a symmetrical pawn structure.
It was preferable to continue with Now, at
any moment, Black is ready to recapture on "d5"
with a piece.
The most typical reaction in response
to the attack against the "h7" pawn. As we have
already pointed out in the first article of our
present course, Black is not advised to play the
move h7–h6. This move not only weakens the
"b1 - h7" diagonal, but at the same time bishop
sacrifices on "h6" are always in the air.
As a rule, in such kind of positions,
the exchange of the black-squared bishops is in
White's favour. The weak dark squares on the
kingside make the transition into symmetrical
pawn structure extremely tempting. Better was
In this position, White should probably
go for the plan connected with the advance of
the "h"pawn.
Just in time! This exchange is necessary, because everything is ready for the change of the structure - White is ahead in development and his pieces are more active, whereas the Black's kingside is very weak.
A typical middlegame position has arisen. White can already claim a clear advantage. His knight dominates Black's bishop which is restricted by his own pawns. In addition, we should mention that White's plan is extremely clear - after putting his knight on the important "e5" square, White can proceed with doubling his rooks along the "e" file. Later, the queen must be transferred to the kingside with the idea to execute the typical h2–h4–h5 pawn advance. At the same time, Black is doomed to passivity.

6
Black's idea is to relocate the bishop, but he wastes too much time.
Maybe it was better to play , but even in that case, White can proceed with his initial plan.
When White's pawn reaches the "h5"square, Black's king is always in potential danger. Now only the queen must enter the attack.
The "d2" square is very suitable for White's queen. From here, the queen not only protects "b2" and "d4" pawns, but at the same time is ready to use the weak dark squares in Black's camp. A possible idea is the advance g2–g4 followed by and
Mistake in a difficult position.
The right idea is executed in a wrong way. Now, with a precise play, Black can enter a Queen endgame where he is only a pawn down.
White should have played the precise !
In this position, we should consider the following forced sequence: 2
White has four pawns for the bishop. His position is completely winning.

7
This move loses on the spot.
Only the tenacious could have left some chances of survival.
With a mate to follow.
1–0