Macro Set Instruction Manual - eScubastatic.escuba.com.au/resources/pdf/macro-lens-manual.pdf ·...
4
For digital & film cameras Macro Set Instruction Manual Item # SL95903 Revised on 10/01/2003 SeaLife Macro Wand and Macro Lenses Great Macro Pictures Made Easy It’s easy to take impressive close-up pictures with the SeaLife Macro Wand and Macro lenses. Simply line up the subject above the end of the Wand and shoot. Fold the Wand out of the way when not in use. The 8X lens is ideal for taking pic- tures of fish that won’t allow you to get too close, like this grouper on the right. The 16X lens allows for super macro pictures of sea life that won’t scare easily, like a sea anemone, sea horses or shell fish. Always remem- ber not to touch the subject. The Macro Wand works with all SeaLife film and digital cameras 4 Attach Macro Wand under camera without flash Place ReefMaster camera and Wand on flat surface when attaching Wand. Make sure pins are correctly aligned with holes under camera housing. If at- tached correctly, Wand will extend parallel with the direction of the camera lens (shown below). Mounting Knob with Spacer must be used or damage may result to the Reefmaster housing. Loosen knob slightly before folding Wand.
Transcript of Macro Set Instruction Manual - eScubastatic.escuba.com.au/resources/pdf/macro-lens-manual.pdf ·...
1
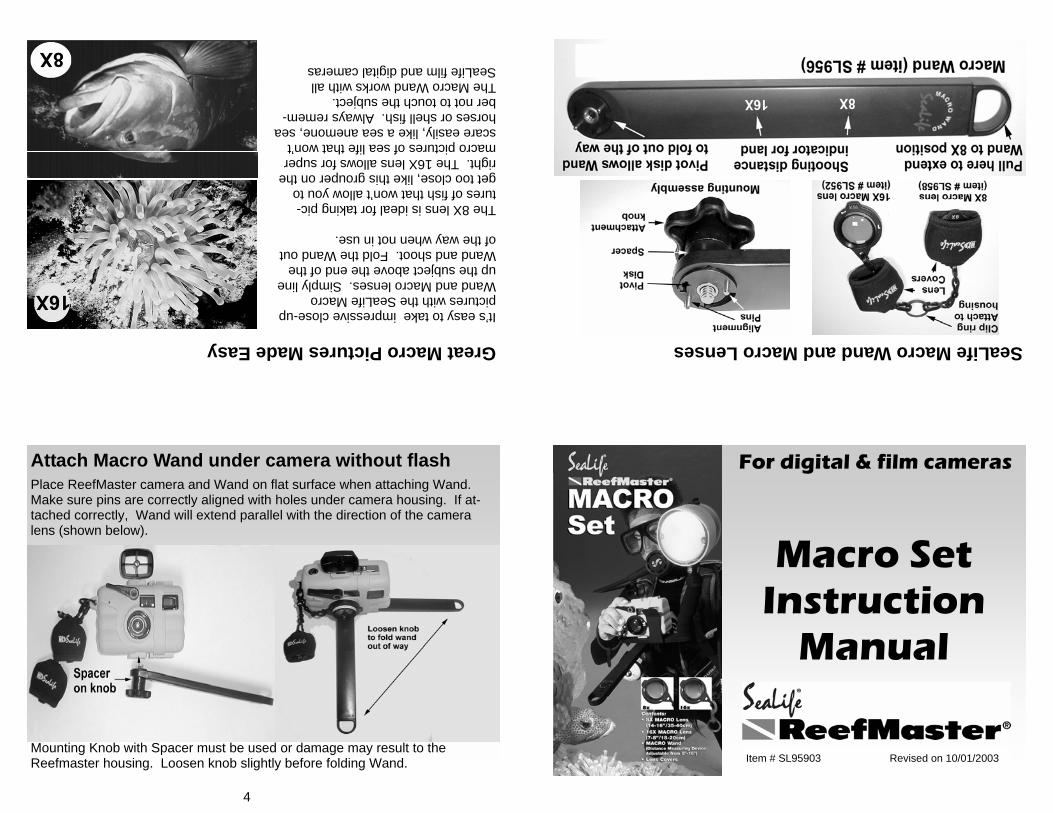
For digital & film cameras
Macro Set Instruction
Manual
Item # SL95903 Revised on 10/01/2003
SeaLife Macro Wand and Macro Lenses Great Macro Pictures Made Easy
It’s easy to take impressive close-up pictures with the SeaLife Macro Wand and Macro lenses. Simply line up the subject above the end of the Wand and shoot. Fold the Wand out of the way when not in use. The 8X lens is ideal for taking pic-tures of fish that won’t allow you to get too close, like this grouper on the right. The 16X lens allows for super macro pictures of sea life that won’t scare easily, like a sea anemone, sea horses or shell fish. Always remem-ber not to touch the subject. The Macro Wand works with all SeaLife film and digital cameras
4
Attach Macro Wand under camera without flash Place ReefMaster camera and Wand on flat surface when attaching Wand. Make sure pins are correctly aligned with holes under camera housing. If at-tached correctly, Wand will extend parallel with the direction of the camera lens (shown below).
Mounting Knob with Spacer must be used or damage may result to the Reefmaster housing. Loosen knob slightly before folding Wand.
5
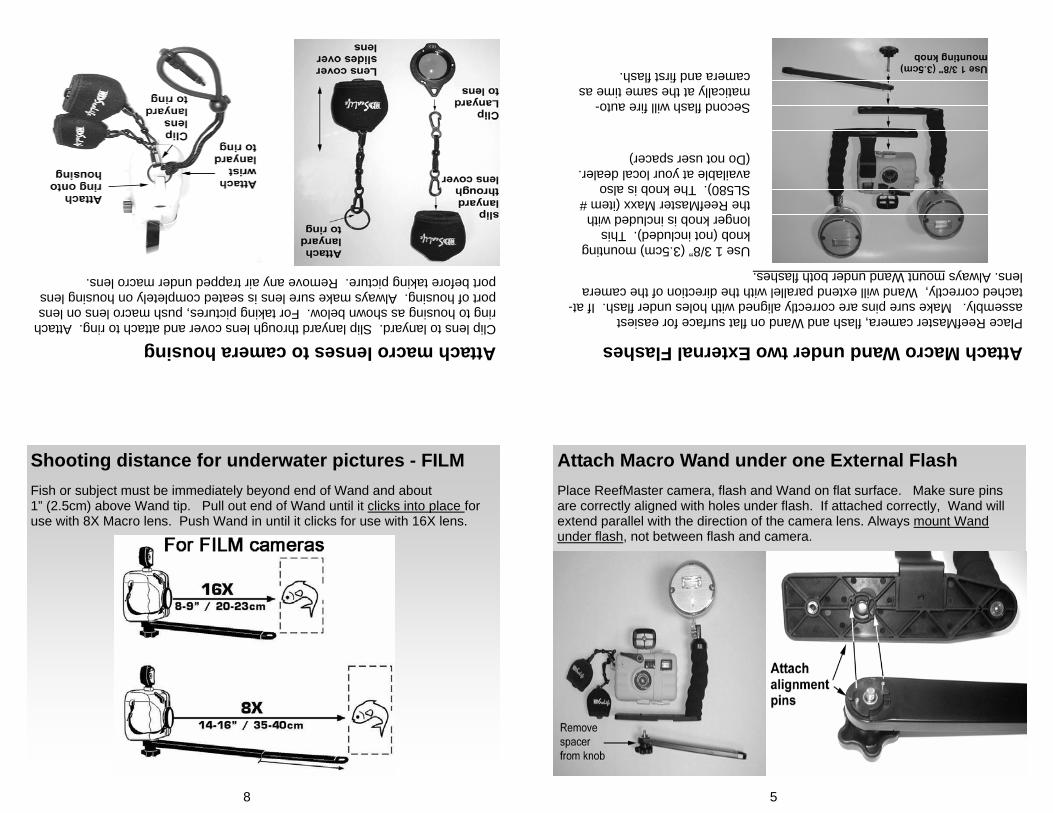
Attach Macro Wand under one External Flash Place ReefMaster camera, flash and Wand on flat surface. Make sure pins are correctly aligned with holes under flash. If attached correctly, Wand will extend parallel with the direction of the camera lens. Always mount Wand under flash, not between flash and camera.
Attach Macro Wand under two External Flashes Place ReefMaster camera, flash and Wand on flat surface for easiest assembly. Make sure pins are correctly aligned with holes under flash. If at-tached correctly, Wand will extend parallel with the direction of the camera lens. Always mount Wand under both flashes.
Use 1 3/8” (3.5cm) mounting knob (not included). This longer knob is included with the ReefMaster Maxx (item # SL580). The knob is also available at your local dealer. (Do not user spacer)
Second flash will fire auto-matically at the same time as camera and first flash.
Attach macro lenses to camera housing Clip lens to lanyard. Slip lanyard through lens cover and attach to ring. Attach ring to housing as shown below. For taking pictures, push macro lens on lens port of housing. Always make sure lens is seated completely on housing lens port before taking picture. Remove any air trapped under macro lens.
8
Shooting distance for underwater pictures - FILM Fish or subject must be immediately beyond end of Wand and about 1” (2.5cm) above Wand tip. Pull out end of Wand until it clicks into place for use with 8X Macro lens. Push Wand in until it clicks for use with 16X lens.

9
Shooting distance for underwater pictures - DIGITAL The focus distance will be slightly different for each SeaLife digital camera. Refer to chart below for correct focus distance. Distances are measured from the camera housing’s black port ring to the subject.
It is recommended to make some refer-ence marks on the Macro Wand, so you remember the correct shooting distance. For example, en-grave distance mark-ings on the wand. Use a ruler to meas-ure the correct dis-tance from the end of the housing port ring.
Picture frame sizes
FILM: You can estimate picture frame size by using sports viewfinder. Keep eye as close to viewfinder as possible. You should be able to approximate frame size without sport viewfinder after a few practices. DIGITAL: The LCD monitor is perfect for framing your image.
16X Macro frame size Underwater = 4” x 5.7” Land = 1.8” x 2.5” 8X Macro frame size Underwater = 7” x 10” Land = 3.5” x 5” Frame size is actual dimension of picture area.
Quick tips from the pro 1) Be patient, calm and approach subject slowly. Even though the Wand has
no framer, most fish will still be frightened and swim away from you. Don’t chase fish, let them come to you.
2) Be observant. Study coral heads closely for sea life. You will be amazed at the abundance of “macro” sea life that dwells within a small area
3) Use the 16X lens for extreme detail and pictures of sea life that isn’t easily frightened or does not move. A sea horse clinging to coral, an eel peeking out of its lair, sea anemone with its foot out or a flamingo tongue shell on brain coral will make for some prize winning pictures.
4) Use the 8X lens for a larger frame size or subjects that won’t allow you to get too close, like a Nassau Grouper or Scorpion fish.
5) Don’t bend Wand against objects or it may show up in your picture. 6) Make sure macro lens is completely seated onto housing lens port to avoid
the lens cropping the outer edges of the picture. 7) Use two external flashes to avoid shadowing and to achieve the best color.
This also results in interesting color effects with translucent subjects. Aim flash head away from subject to avoid overflashing.
8) Take several shots of the same subject at slightly different distances to ensure you get sharp pictures that are perfectly in focus
12
Macro pictures on land Top of Wand has two small markings for measuring focus distance for land pictures. The mark closest to the camera is used for the 16X lens. These dis-tances work for all SeaLife film and digital cameras
13
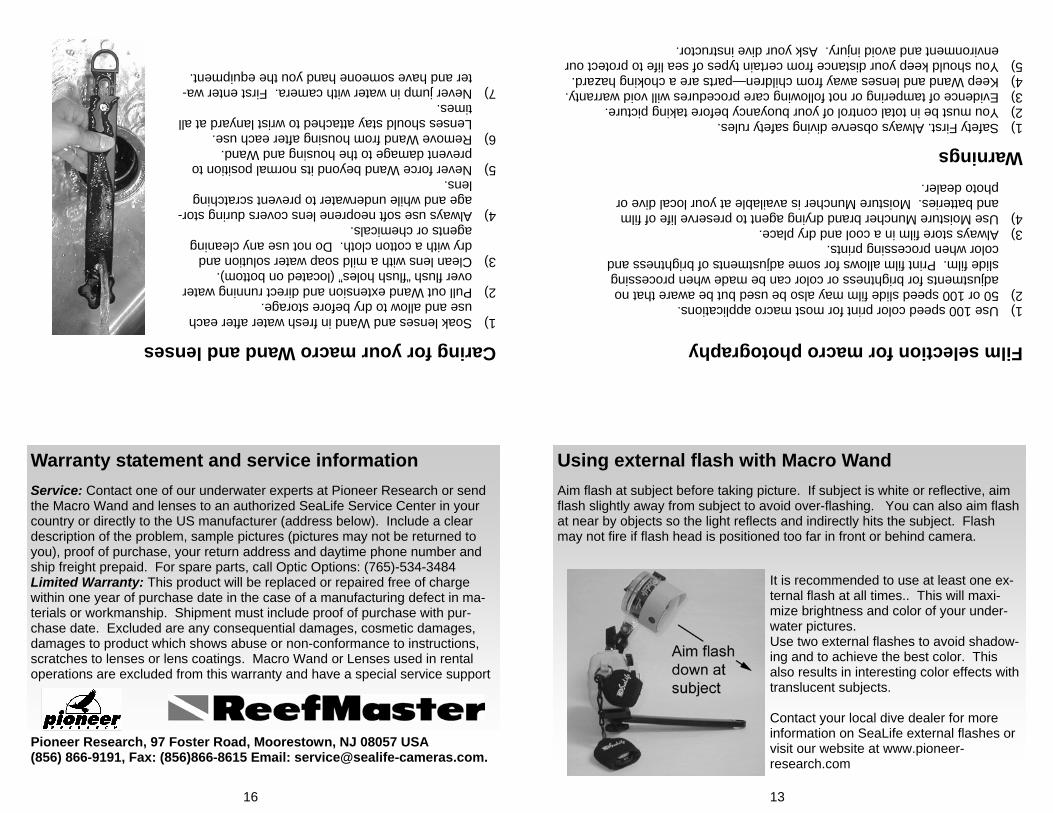
Using external flash with Macro Wand Aim flash at subject before taking picture. If subject is white or reflective, aim flash slightly away from subject to avoid over-flashing. You can also aim flash at near by objects so the light reflects and indirectly hits the subject. Flash may not fire if flash head is positioned too far in front or behind camera.
It is recommended to use at least one ex-ternal flash at all times.. This will maxi-mize brightness and color of your under-water pictures. Use two external flashes to avoid shadow-ing and to achieve the best color. This also results in interesting color effects with translucent subjects. Contact your local dive dealer for more information on SeaLife external flashes or visit our website at www.pioneer-research.com
1) Safety First. Always observe diving safety rules. 2) You must be in total control of your buoyancy before taking picture. 3) Evidence of tampering or not following care procedures will void warranty. 4) Keep Wand and lenses away from children—parts are a choking hazard. 5) You should keep your distance from certain types of sea life to protect our
environment and avoid injury. Ask your dive instructor.
Warnings
1) Use 100 speed color print for most macro applications. 2) 50 or 100 speed slide film may also be used but be aware that no
adjustments for brightness or color can be made when processing slide film. Print film allows for some adjustments of brightness and color when processing prints.
3) Always store film in a cool and dry place. 4) Use Moisture Muncher brand drying agent to preserve life of film
and batteries. Moisture Muncher is available at your local dive or photo dealer.
Film selection for macro photography Caring for your macro Wand and lenses 1) Soak lenses and Wand in fresh water after each
use and allow to dry before storage. 2) Pull out Wand extension and direct running water
over flush “flush holes” (located on bottom). 3) Clean lens with a mild soap water solution and
dry with a cotton cloth. Do not use any cleaning agents or chemicals.
4) Always use soft neoprene lens covers during stor-age and while underwater to prevent scratching lens.
5) Never force Wand beyond its normal position to prevent damage to the housing and Wand.
6) Remove Wand from housing after each use. Lenses should stay attached to wrist lanyard at all times.
7) Never jump in water with camera. First enter wa-ter and have someone hand you the equipment.
16
Warranty statement and service information Service: Contact one of our underwater experts at Pioneer Research or send the Macro Wand and lenses to an authorized SeaLife Service Center in your country or directly to the US manufacturer (address below). Include a clear description of the problem, sample pictures (pictures may not be returned to you), proof of purchase, your return address and daytime phone number and ship freight prepaid. For spare parts, call Optic Options: (765)-534-3484 Limited Warranty: This product will be replaced or repaired free of charge within one year of purchase date in the case of a manufacturing defect in ma-terials or workmanship. Shipment must include proof of purchase with pur-chase date. Excluded are any consequential damages, cosmetic damages, damages to product which shows abuse or non-conformance to instructions, scratches to lenses or lens coatings. Macro Wand or Lenses used in rental operations are excluded from this warranty and have a special service support
Pioneer Research, 97 Foster Road, Moorestown, NJ 08057 USA (856) 866-9191, Fax: (856)866-8615 Email: [email protected].