
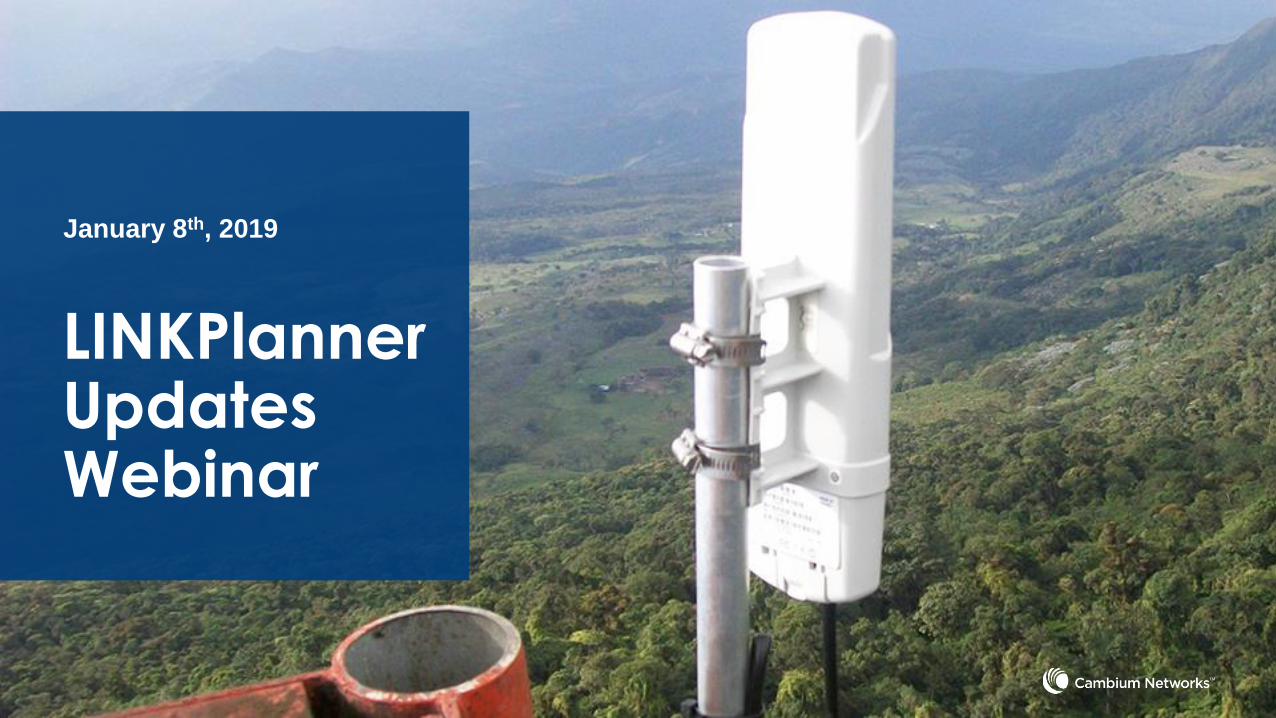
LINKPlanner Updates Webinar
28
LINKPlanner Updates Webinar January 8 th , 2019
Transcript of LINKPlanner Updates Webinar
LINKPlanner Updates Webinar
January 8th, 2019

Agenda
•Products Supported
•New Features in Q3/Q4 2018
•Simplified PMP Design Process
•Coming Soon in 2019
•Question and Answer

Products Supported in LINKPlanner
Products Bands
Sub-6GHz PTP
ePMP 1000ePMP 2000N500PTP 450PTP 450iPTP 670PTP 700
2.4, 4.9 – 5.9 GHz5.1 – 5.8 GHz220, 406-470, 700, 900 MHz900 MHz, 3.5, 3.6, 5.4, 5.8 GHz3.5, 3.6, 4.9 – 5.8 GHz4.8 – 5.9 GHz4.7 – 5.8 GHz
Licensed PTPPTP 800PTP 810PTP 820/820i
6-38 GHz
Point to Multipoint
ePMP 1000ePMP 2000N500PMP 450PMP 450iPTP 670/700 HCMP
2.4, 4.9 - 5.8 GHz5.1 - 5.8 GHz406-470, 700, 900 MHz2.4, 3.5, 3.6, 5.4, 5.8 GHz900 MHz, 3.5, 3.6, 4.9 – 5.8 GHz4.7 – 5.9 GHz
LINKPlanner continues to support obsolete Cambium products

New Features in Q3/Q4 2018

New Features in Q3/Q4 2018 – PMP 450
• PMP 450 family
• Added 3 GHz PMP 450m
• Added UL Mu-MIMO
• Increased PMP 450m EIRP levels for downlink beamforming
• Added 5 GHz PMP/PTP 450b Mid and High Gain
• Added support for min and max modulation modes

New Features in Q3/Q4 2018 – Unlicensed
• cnReach
• Added 406-470 MHz bands to PMP
• Added 700 MHz band to PMP
• Added support for PMP T/R = Any and Unpaired
• PTP 650/670/700
• Added CMM5 to PTP 650
• Obsolete PTP 700 Lite parts and kits
• cnPilot in BOM Estimator
• Added e700
• Added e430H

New Features in Q3/Q4 2018 – Licensed
• PTP 820
• Added PTP 820C HP
• Added PTP 820G Unit Redundancy
• Added 24 GHz in FCC and Canada
• Added PTP 820G Single Ethernet MC-ABC
• Updated PTP 820C and PTP 820S cable drops to use fiber for antenna heights above 90 m (295 ft)

New Features in 2018 – General
• PMP
• Added user SM Transmit Power limit
• Added ability to choose between subscriber site height or fixed height in Best Server Analysis
• Added SM count when adding new SMs to an AP
• Added combined PTP and PMP Proposal Report
• Updated user defined antennas to support Vertical and Horizontal Polarization
• Replaced UGPS with cnPulse
• Changed support email address to [email protected]

Simplified PMP Design Process

Simplified PMP Design Process
• Create a PMP Network in 5 easy steps
1. Import Network and Subscriber Sites
2. Set up PMP Equipment Templates
3. Add New Hubs
4. Run Best Server Analysis
5. Add Channel Plans (optional)

Step 1 – Import Network/Subscriber Sites
• Enter Lat/Long directly• Import from CSV or KML file• Point/Click on Google Mapstm
• PTP and PMP links can also be imported from CSV, which includes site location

Step 1 – Import Network/Subscriber Sites
• Import from CSV or KML file

Step 1 – Sites Added

Step 2 – Set up PMP Equipment Templates
Give the template a title
Enter the AP Parameters the same as on the AP Equipment page

Step 2 – Set up PMP Equipment Templates continued
Set a default subscriber product
Update Performance parameters and add optional extras to the AP and SM if required
Continue by setting up the SM Equipment

Step 3 – Add New Hubs
Adjust parameters as required and then select network sites

Step 3 – New Hubs Added
4 sectors• starting at 0°• 90° separation• 4 km SM RangeAll sites selected

Step 4 – Run Best Server Analysis
Set the Target SM Mode, SM Fade Margin, Antenna Height and SM product and then select “Go”

Step 4 – Best Server Analysis Results
Recommend save the results to a spreadsheet and take note of all SMs which are listed as NMR or OOR
Select Create to apply the results to the network

Step 4 – Best Server Network
PMP Network is now created but can be further optimized by adding a channel plan

Step 5 – Create Channel Plans
Use Increase Channels to add more columns
Use Color to change the color of each channel

Step 5 – Apply Channel Plans
Either through the Offline Map
Or on the Access Point Equipment panel
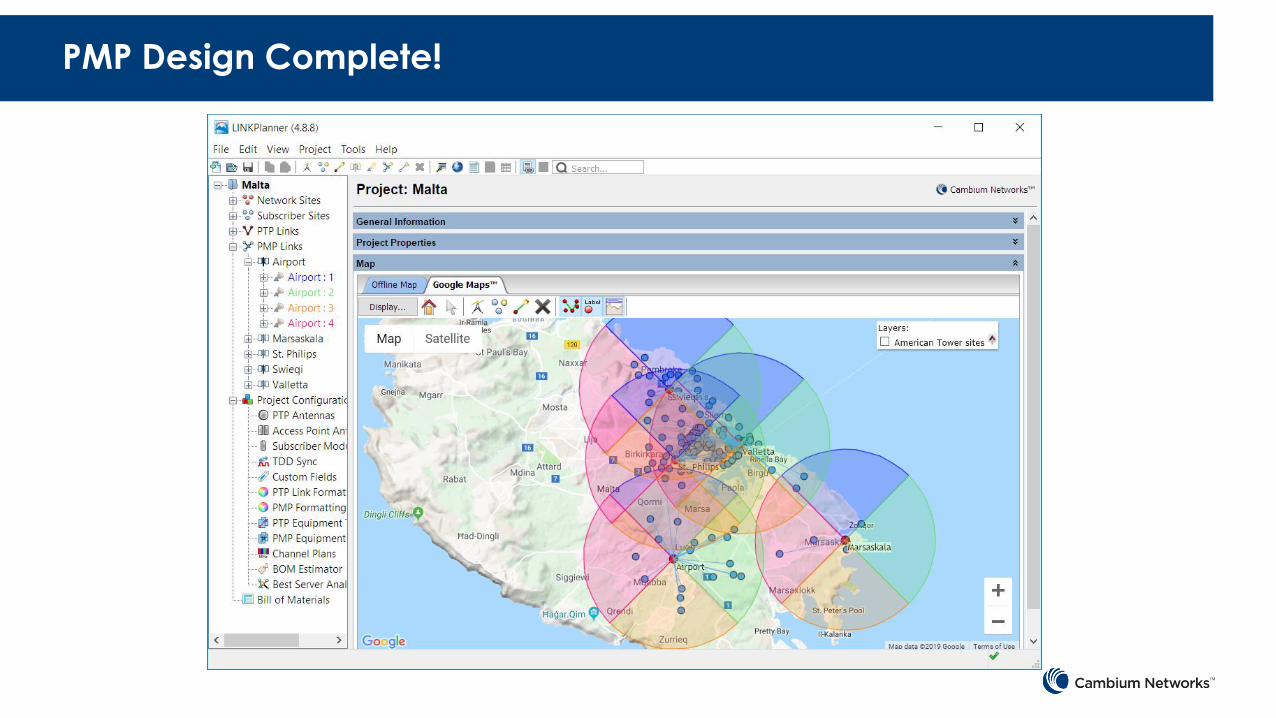
PMP Design Complete!

Coming Soon in 2019

Coming Soon in 2019
• ePMP 3000 and Force 300-16
• cnRanger
• Interoperability between ePMP 1000/2000 and ePMP 3000

Facebook https://www.facebook.com/CambiumNetworks
LinkedInhttps://www.linkedin.com/company/cambium-networks
Twitterhttps://twitter.com/cambiumnetworks
Google+https://plus.google.com/+Cambiumnetworks
Weibohttp://www.weibo.com/CambiumNetworksLtd
Social Media
Follow us to get the latest information

Share Ideas
Community Forumhttp://community.cambiumnetworks.com/
Discussion ForumsProductsNetwork PlanningLanguagesBusiness Issues
Knowledge Base with technical detail documents
Submit development Ideas
Real world connectivity Stories
Learn from network operators around the world


