LaTeX Week 3 - University of Texas at Austin
22
LaTeX Week 4 Math (recap from last session) Formatting (references and more)
Transcript of LaTeX Week 3 - University of Texas at Austin

LaTeX Week 4 Math (recap from last session)
Formatting (references and more)

Past Equation Formatting
• We have covered math environments
o $...$, \begin{equation} ... \end{equation}
• And math expressions
o ^{asdf} _{fdsa} \sqrt[n]{asdf} \int{foo}

Past Matrices
• Matrices in LaTeX are multi-column arrays
o In math mode, they are created with:
\begin{array}{formatting_options} ... \end{array}
The formatting options are l, c and r for left,
center, and right-justification, one each for a
column
o Elements separated by &, end lines with \\
• Amsmath package has some extra features
• http://en.wikibooks.org/wiki/LaTeX/Mathematics
\left(\begin{array}...\end{array}\right]

Past Tables
• Tables use the "tabular" environment instead of the
"array" environment, and are created outside math
mode
• For most "cool" table features, you need the tabularx
package.
• Formatting and element separation identical to matrices
Past Formatting
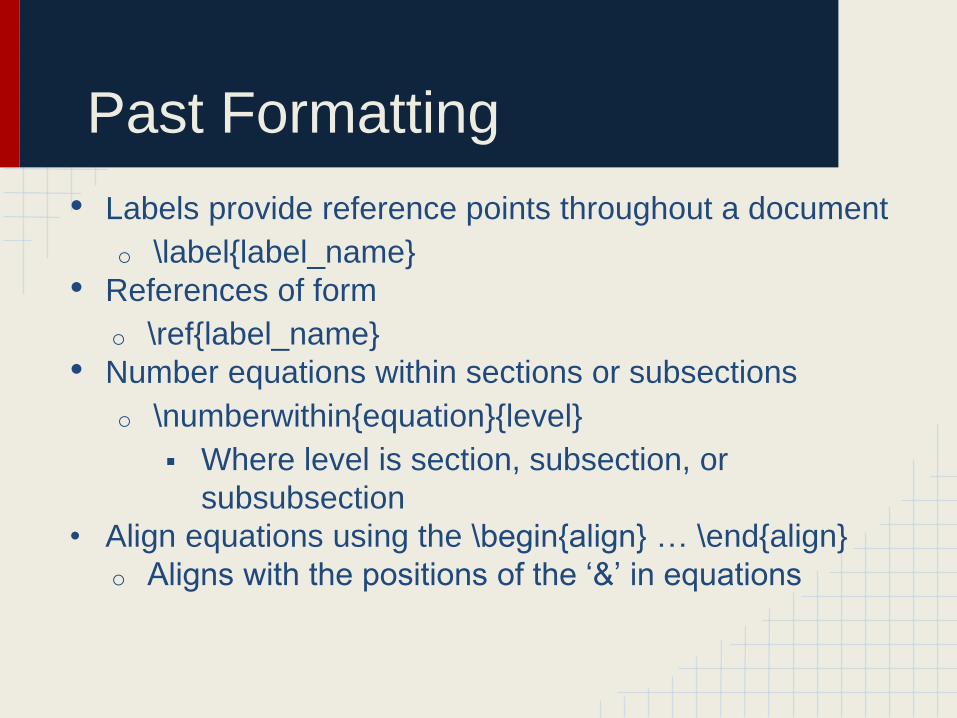
• Labels provide reference points throughout a document
o \label{label_name}
• References of form
o \ref{label_name}
• Number equations within sections or subsections
o \numberwithin{equation}{level}
Where level is section, subsection, or
subsubsection
• Align equations using the \begin{align} … \end{align}
o Aligns with the positions of the ‘&’ in equations

Past Labels
• You may notice that the first time you compile LaTeX
after adding labels, you'll get some "??" where you
referred to a label
• LaTeX uses auxiliary files for references of all kinds, so
you may need to compile twice - once to build files,
once to use them
• Labels are normally plain text...

The hyperref package
• ... but we can make them hyperlinks!
o Clicking on the reference takes you to the label position
o This comes for free with the hyperref package
• hyperref settings
o Defaults are kinda bad - puts a rectangle around each
hyperlink
o Can use \hypersetup{options} in the preamble to fix
things.
o Example: \hypersetup{colorlinks=true, urlcolor=blue,
linkcolor=blue, citecolor=red}
This makes equations blue, urls blue, and citations
(we'll come back to that), and all without lines around
them

The hyperref package
• In addition to the now-better references, we also can
reference websites:
o \url{site} yields the site in mono-spaced font
o \href{site}{text} yields the text "text" but links to the
url "site".
• Very customizable:
http://en.wikibooks.org/wiki/LaTeX/Hyperlinks
• Can also use citations...

Citations
• Easily add a References section, refer to sources
easily.
• LaTeX has a thebibliography environment built-in
• Place this at the very end (not necessary, but
conventional), before \end{document}
• Example:
\begin{thebibliography}{9}
\bibitem{einstein}
A.~Einstein,
\emph{Why I'm Awesome}.
Somewhere, PhysicsLandia,
\dots
\end{thebibliography}
The number of digits in the number
provided here, k, yields the
maximum number of bibliography
entries, 10^k - 1. So, 1 or 9 or 5 all
yield a max of 9 entries. 56, 23, 99
all yield a max of 99 entries
The ~ is a non-breaking
space. That means that A.
and Einstein will never be
split onto separate lines.
The \dots produces ellipsis (…).

Citations
• Code on the previous page yields the following:
• The \emph command gives itallic text. \textbf is bold-faced. Other
options exist (see our resource page).
• Can cite sources in a similar manner to equations, but with
\cite{item_name}.
• In text, shows up as "...[ref_number]..."
• Can use the natbib package for other in-text options.
• http://en.wikibooks.org/wiki/LaTeX/Bibliography_Management

Formatting Images • Images can have captions (text underneath). Inside the figure
environment, use \caption{text} to have text appear. It will say
"Figure n. text"
• To size the image, can use option scale=? where? is .50 for 50%
of original size, 1.5 is 3/2 the original size, etc.
• Can have subfigures (i.e., figures 5a and 5b, each with an optional
caption and with an overall figure 5 caption) - use the subcaption
package then the following:
\begin{figure}
\begin{subfigure}[b]{size}
\includegraphics{..}
\caption{..}
\label{..}
\end{subfigure} .... \caption{...} ... \label{....} ...
\end{figure}
A handy note for "size" is \textwidth,
so you can scale by that. For example,
\begin{subfigure}[b]{.5\textwidth} will
allocate space for the image to be half
the width of the text.

Lists
• Sometimes, you might want bulleted lists or itemized
lists, and LaTeX can do that (may need the enumerate
package)
• The enumerate environment is numbered, but can take
on any form (1,2,3 or a,b,c, or (A),(B),(C) or
(I.),(II.),(III.)):
\begin{enumerate}[style]
\item{cut a hole in a box...}
...
\end{enumerate}
Where style could be "1", "a", "(A)", or "(I.)" to get the
examples above.

Lists
• Bulleted lists are very similar.
• Can use the itemize environment for that.
\begin{itemize}
\item{Bulleted lists are very similar.}
\item{Can use the \textbf{itemize} environment for that.}
\end{itemize}
• The description environment takes optional arguments
in the items for the printed label for the item
• Can nest any of the list types (list of lists)
Subsubsections
• Depending on the size of your document, you may want
to break things up a little or a lot.
• A simple one-page document might have 1 section, or 2
if multicolumn.
• A 10 page paper might have some big sections, where
you want to talk about error analysis in your results
section.
• A 1000 page textbook may have all kinds of sections
with esoteric little baby sections
• LaTeX supports this with sections, subsections, and
subsubsections. You can get more than this with code
available online.

Numbering Sections
• At least for simple things, this is pretty straightforward:
• In the preamble, you can write:
\setcounter{secnumdepth}{n}
where n is the maximum depth with which to number
sections.
n=0 won't number any sections (nice sometimes)
n=1 will label sections, but not subsections
n=2 will label sections and subsections, but not
subsubsections.
n=4 adds paragraphs, n=5 adds subparagraphs
• Paragraphs have label on same line, and won't be
included in a ...

Table of Contents
• ... Table of Contents!
• You'll see a lot of LaTeX documents online have one.
• You probably won't need one most of the time
• Just add \tableofcontents wherever you want it and it'll
do it for you (may have to compile twice)
• Will go down to subsubsections in terms of inclusion
• If you use the hyperref package, the items in the ToC
will be hyperlinked in the document (in addition to
having the sections be present for viewing in Adobe)

Custom Formatting & More
• LaTeX is a programming language, and as such, you
can make new commands.
• If I were writing up solutions to my quantum mechanics
class, I might want to use Dirac notation (looks like this)
• The first part <x| is the bra, the |y> is called the ket (bra-
ket notation).
• Maybe I want a function to make the bra, one to make
the ket and one to make the combination (so I don't
have two bars in the middle):

Bra-Ket example
• I can use the \def\function_name{value} command in
the preamble to define a simple replacement
(essentially like an acronym where if I put
\function_name in my code, value will appear
• If I want parameters / arguments, I can use:
\newcommand{\cmnd_name}[num_vars]{...#n...}
in the preamble.
• Again, \cmnd_name is the new function name, but I tell
it how many variables I can want (1 for the individual
bras and kets, 2 for the braket), then use them to create
a full "macro" to substitute, using #n to get the value of
the n-th variable.

Bra-Ket example
• So, to get the <x|y> that we saw before, I could write:
\newcommand{\braket}[2]{
\ensuremath{\left\langle{#1}\middle|{#2}\right\rangle}}
in the preamble.
• \ensuremath makes sure we're in math mode, and if
not, does so for this command
• \left, \middle and \right indicate the item(s) that will
determine the height of the following symbol
• \langle and \rangle are the angle braces.
• In code, I would write \braket{x}{y} to get
• I could write similar codes for just the bra or the ket

Title-Abstract Example
• If you want a two-column document with a centered abstract
spanning both columns, you pretty much can't do this in a
twocolumn document the way you want
o Will have abstract appear in one column
o Will have abstract take up full page width
o Just painful
• Here's where the multicols package comes in.
\begin{multicols}{num_cols}
...
\end{multicols}
• Now, can make the document onecolumn so the abstract will look
good, but then have text be twocolumn where ever you want.
• Unfortunately, multicol doesn't deal with floats well.
• If you need floats, \usepackage{abstract} …

Title-Abstract Continued
• If you only need a two-column document with a one-column abstract, and
you want floats (i.e. figures), try the following:
\documentclass[twocolumn]{article}
\usepackage{abstract}
\begin{document}
\title{Using even more packages in \LaTeX}
\author{Donald Knuth \dots in spirit}
\twocolumn[
\maketitle
\begin{onecolabstract}
The abstract package provides single column abstracts in two-column
documents.\\
\end{onecolabstract}
]
Note: The \twocolumn environment is
designed to end the current page and
start a new page with two columns,
headed by the enclosed text as a one
column header, spanning the page.
To prevent it from starting a new
page, we stick our \maketitle inside!
Page Formatting
• Like the abstract bit, some useful little tricks for pages
• \newpage forces the new page then continues
• \clearpage will stop, print all floating things (remember
the issue with pictures?), then continue.
o This is a nice compromise for breaking up text and
images if you're lazy
o If you're not lazy, you'll re-scale things until LaTeX
does it without having to \clearpage - but this is for
people crazy enough to teach a LaTeX seminar
@_@