Juniper - House of Technologymars.tekkom.dk/mediawiki/images/a/aa/01.01_-_Juniper_Basicsv2.pdf ·...
42
Juniper IJOS: Juniper Intro Rasmus Elmholt V1.0
Transcript of Juniper - House of Technologymars.tekkom.dk/mediawiki/images/a/aa/01.01_-_Juniper_Basicsv2.pdf ·...
Juniper
IJOS: Juniper Intro
Rasmus Elmholt V1.0

Junos OS
• Bygger på FreeBSD Unix Kerne
– Samme SW til alle platforme(*)
– Kører på x86/PowerPC arkitektur
– Vedligeholder information omkring:
• Konfiguration
• Routing protokoller
• Route tabellen
• Forwarding Table
Pro
tokolle
r
Inte
rface m
gm
t
Chassis
Mgm
t
SN
MP
Security
Junos
Junos OS
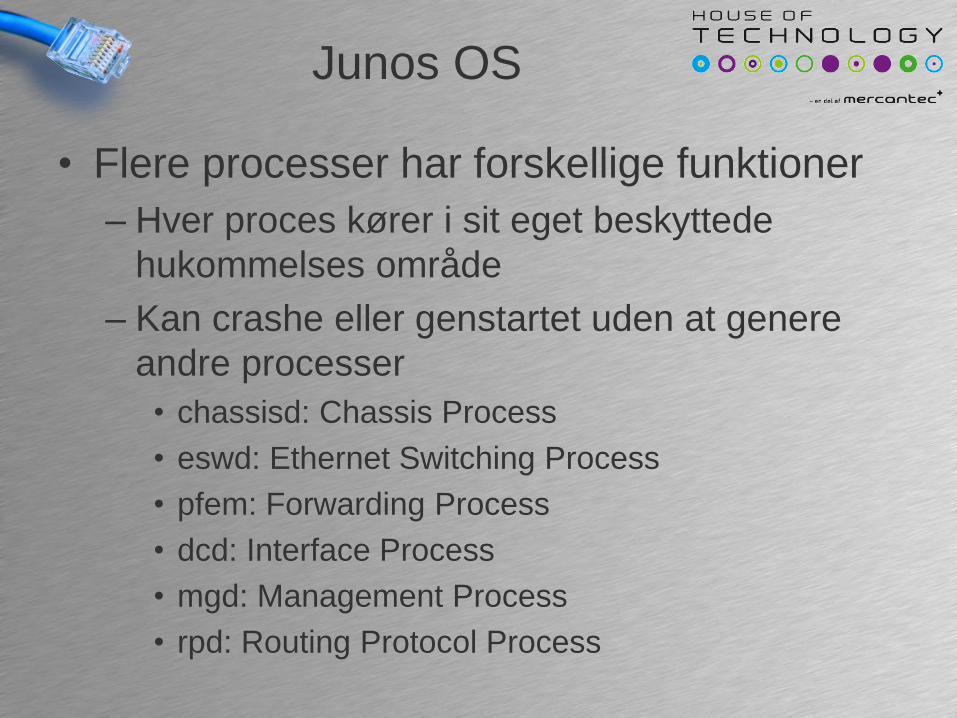
• Flere processer har forskellige funktioner
– Hver proces kører i sit eget beskyttede
hukommelses område
– Kan crashe eller genstartet uden at genere
andre processer
• chassisd: Chassis Process
• eswd: Ethernet Switching Process
• pfem: Forwarding Process
• dcd: Interface Process
• mgd: Management Process
• rpd: Routing Protocol Process
Junos OS
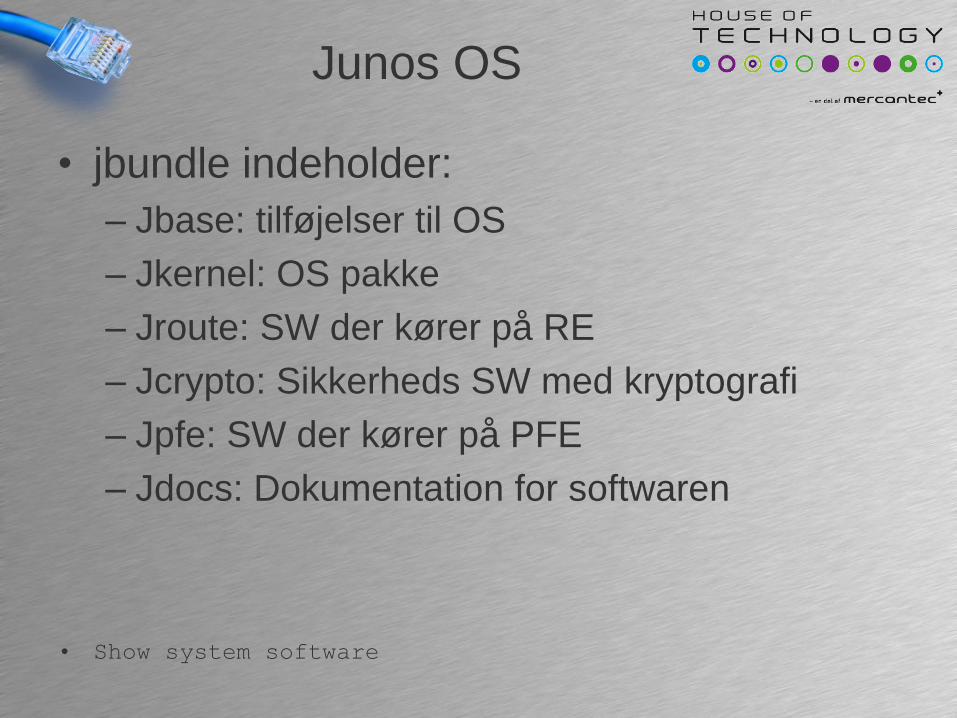
• jbundle indeholder:
– Jbase: tilføjelser til OS
– Jkernel: OS pakke
– Jroute: SW der kører på RE
– Jcrypto: Sikkerheds SW med kryptografi
– Jpfe: SW der kører på PFE
– Jdocs: Dokumentation for softwaren
• Show system software

Juniper Indmad
• RE og PFE opdelingen tillader bl.a.
– Graceful Routing Engine switchover (GRES)
– Nonstop Active Routing (NSR)
– Unified In-Service Software Upgrades (ISSUs)
HDDRouting Engine:Software upgradeRouting Protocols
Management & ConfigurationTelnet/Ping/Traceroute
Calculates Routing table and updates Forwarding table
on the Routing Engine
Forwarding Table
Flash
Routing Engine(Intel PCI Motherboard)
Packet Forwarding Engine
Internal Link
Software
Forwarding Table
Routing Table
Configuration
Backup Software
Different ASICs Manufactured by IBMData Data
PIC Consentrator
NIC
Swithcing Control Board
NIC
The PFE contains Policers that provide rate limiting, stateless firewall filters, and class of service (CoS)

Trafik Flow
• PFE– Pakke forwarding
– Unicast
– Multicast
– Nogle ICMP fx. TTL Expired
• RE– Pakker til Chassiet(SSH, OSPF, MGMT)
– Pakker med IP Options felt
– Generering af og svar på ICMP beskeder

Trafik Flow
HDDRouting Engine:Software upgradeRouting Protocols
Management & ConfigurationTelnet/Ping/Traceroute
Forwarding Table
Flash
Routing Engine(Intel PCI Motherboard)
Packet Forwarding Engine
Internal Link
Software
Forwarding Table
Routing Table
Configuration
Backup Software
Different ASICs Manufactured by IBM
PIC Consentrator
NIC
Swithcing Control Board
NICTransit traffic
RE traffic Processing
Built-In Rate Limit

Junos CLI
Operation Mode
Configuration Mode

CLI Setup
• Tekst baseret– Konsol port
– RJ-45 RS-232 ved 9600Baud 8/1/N
– Telnet
– SSH

CLI Setup
• Brugere kommer automatisk ind i CLI
Login: rael
Password:
--- JUNOS 9.5R1.8 built 2009-04-13 20:03:09 UTC
rael@SRX240>
Login: root
Password:
--- JUNOS 9.5R1.8 built 2009-04-13 20:03:09 UTC
root@SRX240% cli
root@SRX240>
• Root skal selv starte CLI

CLI Setup
• Operational Mode
– Monitor - show, test, ping
rael@SRX240>
[edit]
rael@SRX240#
• Configuration Mode
– Konfiguration – protokoller, brugere, interfaces

HJÆLP!!
• Man kan altid bruger ? Til at få kontekst
tilrettet hjælprael@SRX240> ?
Possible completions:
clear Clear information in the system
configure Manipulate software configuration information
file Perform file operations
rael@SRX240> show ?
Possible completions:
accounting Show accounting profiles and records
analyzer Show analyzer information
arp Show system Address Resolution Protocol table entries

HJÆLP!!
• Help topic kommandoen– Viser hvordan man bør bruge kommandoer
rael@SRX240> help topic interfaces address
Configuring the Interface Address
You assign an address to an interface by specifying the address when
configuring the protocol family. For the inet family, configure the
interface's IP address. For the iso family, configure one or more
addresses for the loopback interface. For the ccc, tcc, mpls, tnp, and
vpls families, you never configure an address.
To assign an address to an interface, include the address statement:
address address {
broadcast address;
destination address;
preferred;
primary;
}
Prøv det
HJÆLP!!
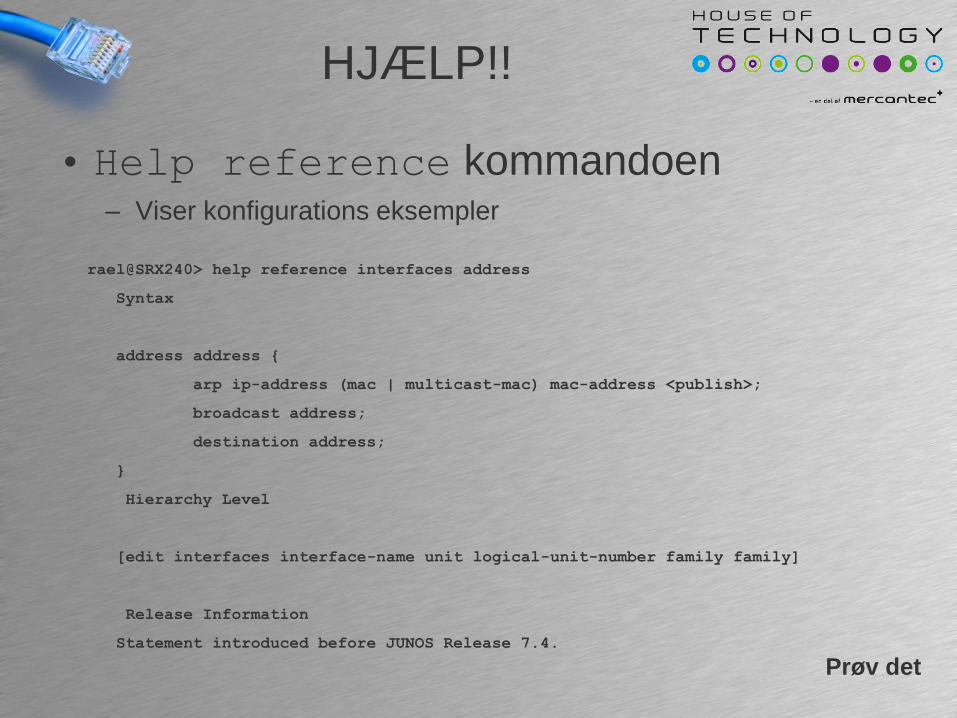
• Help reference kommandoen– Viser konfigurations eksempler
rael@SRX240> help reference interfaces address
Syntax
address address {
arp ip-address (mac | multicast-mac) mac-address <publish>;
broadcast address;
destination address;
}
Hierarchy Level
[edit interfaces interface-name unit logical-unit-number family family]
Release Information
Statement introduced before JUNOS Release 7.4.
Prøv det

HJÆLP!!
• Help apropos kommandoen– Viser kontekst tilrettet kommandoer
rael@SRX240> help apropos ospf
clear ospf
Clear Open Shortest Path First information
clear ospf neighbor
Clear OSPF neighbors
clear ospf neighbor area <area>
OSPF area ID
[edit protocols]
rael@SRX240# help apropos ospf
set ospf
OSPF configuration
set ospf disable
Disable OSPF Prøv det

Lucky Luke
• Tab og Space completion på alt
• EMACS-style editing– Ctrl+a = Home
– Ctrl+e = End
– Ctrl+b = Back 1 char
– Ctrl+f = Forward 1 char
– Ctrl+d = Delete
– Ctrl+k = Delete to the end of the line
– Ctrl+u = Delete the entire line
– Esc+d = Delete 1 word to the right
Prøv det

| the Pipe
• Output kan sorteres med Pipe
rael@SRX240> show interfaces | ?
Possible completions:
count Count occurrences
display Show additional kinds of information
except Show only text that does not match a pattern
find Search for first occurrence of pattern
hold Hold text without exiting the --More-- prompt
last Display end of output only
match Show only text that matches a pattern
no-more Don't paginate output
request Make system-level requests
resolve Resolve IP addresses
save Save output text to file
trim Trim specified number of columns from start of line
Prøv det

CLI Operational Mode
Kommando hierarki

Operational Mode
• Kommandoerne er hierarkisk opbygget
Arp Ipv6
Clear Monitor ShowSet
VersionOspf
Interface OverviewNeightbor Statistics

CLI Configuration Mode
Opsætning

Konfig håndtering
• Batch Configuration model– Alle ændringer træder i kræft ved commit
• Active Configuration
– Running Config og Startup Config er den samme
• Candidate Configuration
– Viderebygger på den aktive konfiguration
– Bliver aktiv ved commit

Konfig håndtering
CandidateConfiguration
ActiveConfiguration
1 2 3 ... 49
Commit
Configure
Rollback 0
Rollback n
Konfig Modes
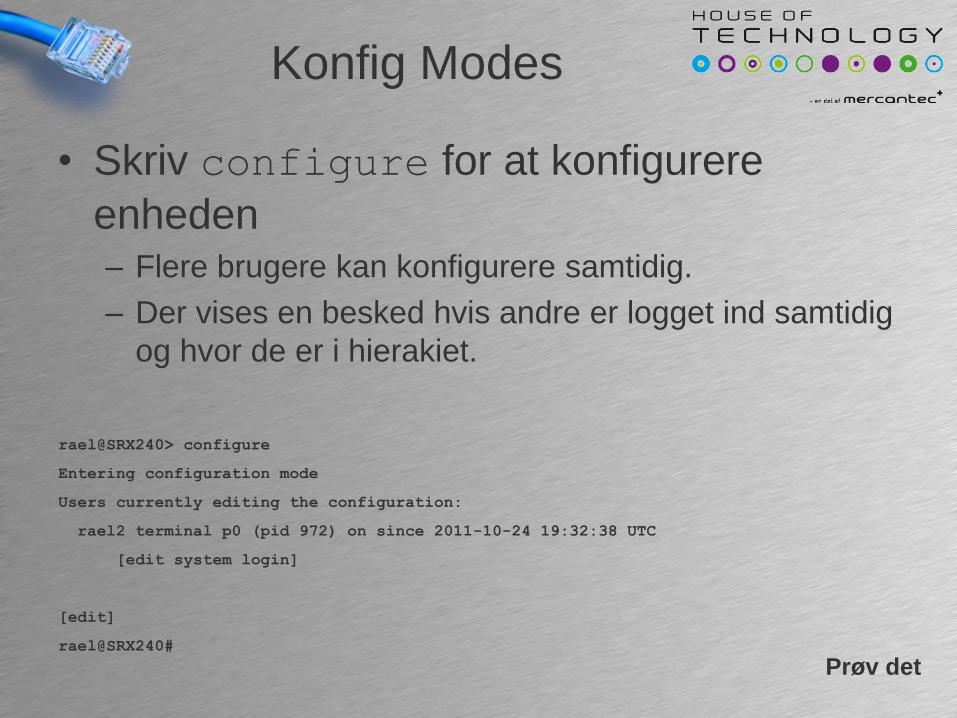
• Skriv configure for at konfigurere
enheden– Flere brugere kan konfigurere samtidig.
– Der vises en besked hvis andre er logget ind samtidig
og hvor de er i hierakiet.
rael@SRX240> configure
Entering configuration mode
Users currently editing the configuration:
rael2 terminal p0 (pid 972) on since 2011-10-24 19:32:38 UTC
[edit system login]
[edit]
rael@SRX240#
Prøv det
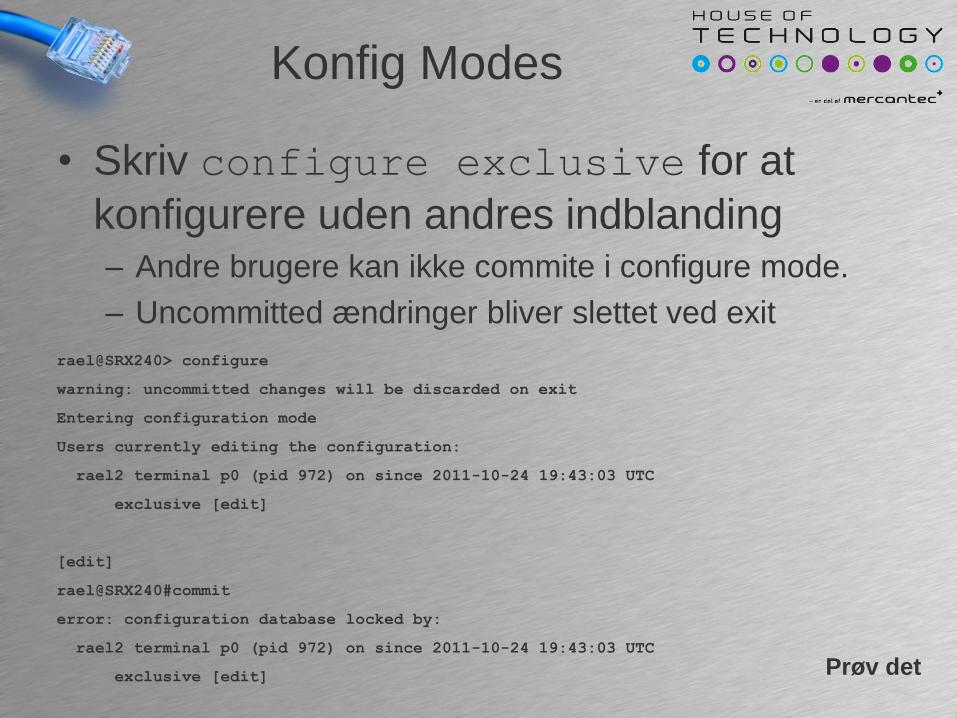
Konfig Modes
• Skriv configure exclusive for at
konfigurere uden andres indblanding– Andre brugere kan ikke commite i configure mode.
– Uncommitted ændringer bliver slettet ved exit
rael@SRX240> configure
warning: uncommitted changes will be discarded on exit
Entering configuration mode
Users currently editing the configuration:
rael2 terminal p0 (pid 972) on since 2011-10-24 19:43:03 UTC
exclusive [edit]
[edit]
rael@SRX240#commit
error: configuration database locked by:
rael2 terminal p0 (pid 972) on since 2011-10-24 19:43:03 UTC
exclusive [edit] Prøv det
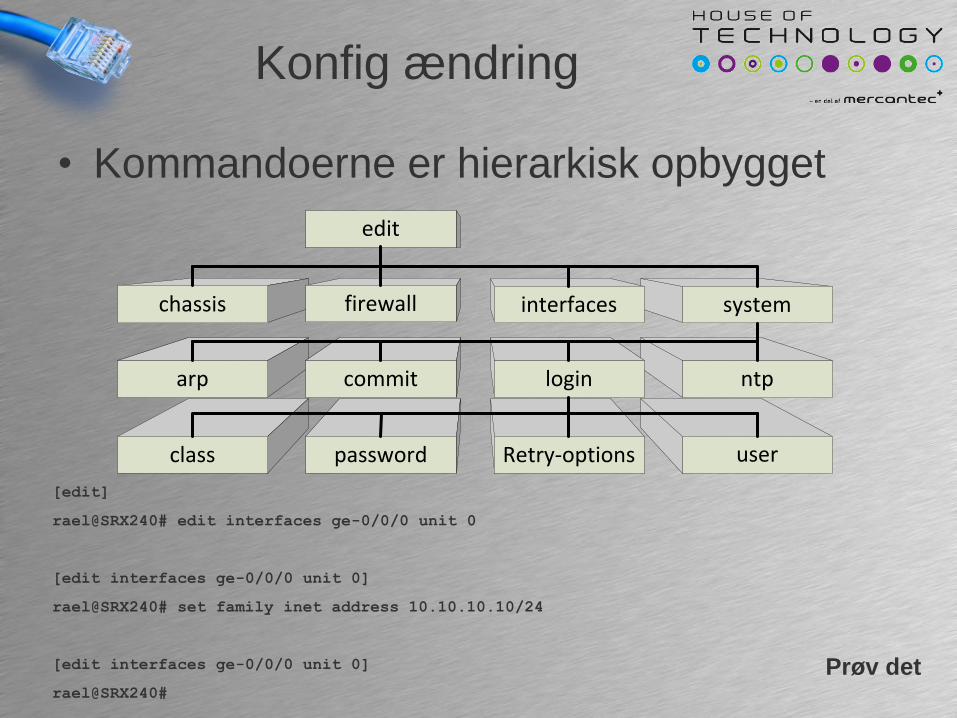
Konfig ændring
• Kommandoerne er hierarkisk opbygget
[edit]
rael@SRX240# edit interfaces ge-0/0/0 unit 0
[edit interfaces ge-0/0/0 unit 0]
rael@SRX240# set family inet address 10.10.10.10/24
[edit interfaces ge-0/0/0 unit 0]
rael@SRX240#
arp commit
chassis firewall systeminterfaces
ntplogin
class Retry-optionspassword user
edit
Prøv det
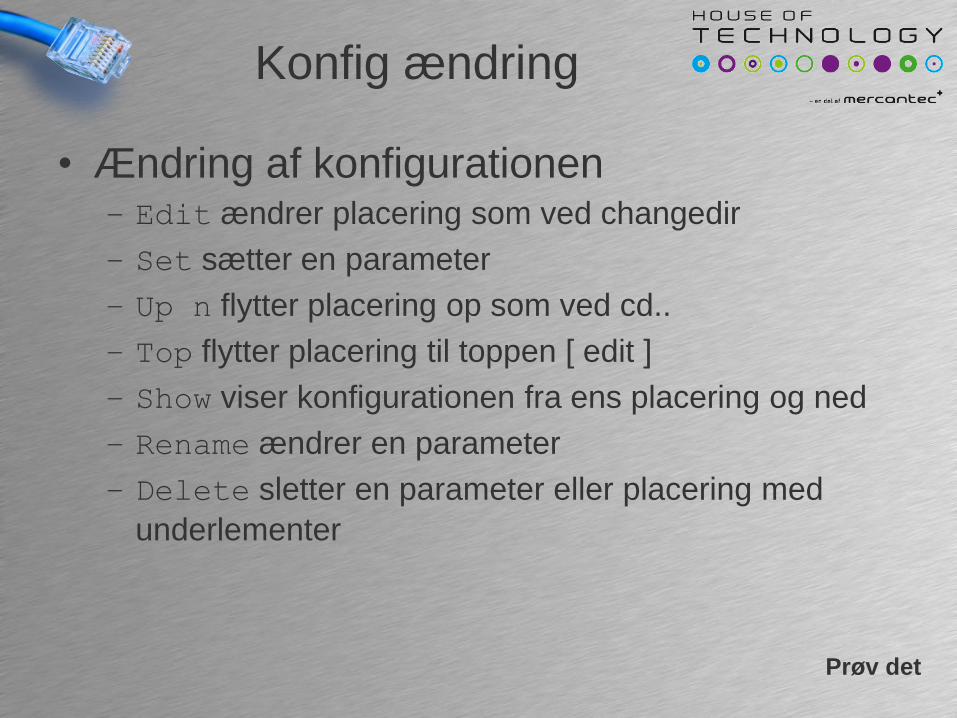
Konfig ændring
• Ændring af konfigurationen– Edit ændrer placering som ved changedir
– Set sætter en parameter
– Up n flytter placering op som ved cd..
– Top flytter placering til toppen [ edit ]
– Show viser konfigurationen fra ens placering og ned
– Rename ændrer en parameter
– Delete sletter en parameter eller placering med
underlementer
Prøv det

Konfig ændring
• Kommandoerne kan blandes
[edit system login user rael]
rael@SRX240# top edit interfaces ge-0/0/0 unit 0
[edit interfaces ge-0/0/0 unit 0]
rael@SRX240#
[edit system login user rael]
rael@SRX240# up 2 edit login user rael2
[edit system login user rael2]
rael@SRX240#

Konfig test
• Hvordan aktiverer man et interface igen
efter det er blevet disabled?
– Set interface ge-0/0/7 disable
[edit]
rael@SRX240# show interfaces ge-0/0/2
disable;
unit 0 {
family inet {
address 172.18.1.1/24;
}
}
Prøv det

Konfig ændring
• Wildcard sletninger
[edit system login]
rael@SRX240# show
message "Dette er min Juniper";
user rael {
full-name Rasmus;
class super-user;
}
user rael2 {
full-name "Rasmus 2";
class super-user;
}
[edit system login]
rael@SRX240#
[edit system login]
rael@SRX240# wildcard delete user ra*
matched: rael
matched: rael2
Delete 2 objects? [yes,no] (no) yes
[edit system login]
rael@SRX240# show
message "Dette er min Juniper";
[edit system login]
rael@SRX240#
Prøv det

Konfig ændring
• Ninja kommandoer– Rename kan omdøbe et element
– Replace pattern erstatter i alle underelementer
– Copy kopierer et elemente til et andet
[edit system login]
rael@SRX240# rename user rael to user rael2
[edit system login]
rael@SRX240# replace pattern super-user with read-only
[edit system login]
rael@SRX240# copy user rael to user rael2
Prøv det

Show kommandoer
• Prøv nogle show kommandoer– Show
– Show system login
– Edit system login -> show
– Show | display set
– Show | display ?
– Show | compare rollback 0

Konfig Ændring
• Deactivate kommandoen deaktiverer et
element og underlementer– Deactivate interface ge-0/0/2
[edit]
rael@SRX240# show interfaces ge-0/0/2
##
## inactive: interfaces ge-0/0/2
##
unit 0 {
family inet {
address 172.18.1.1/24;
}
}
Prøv det
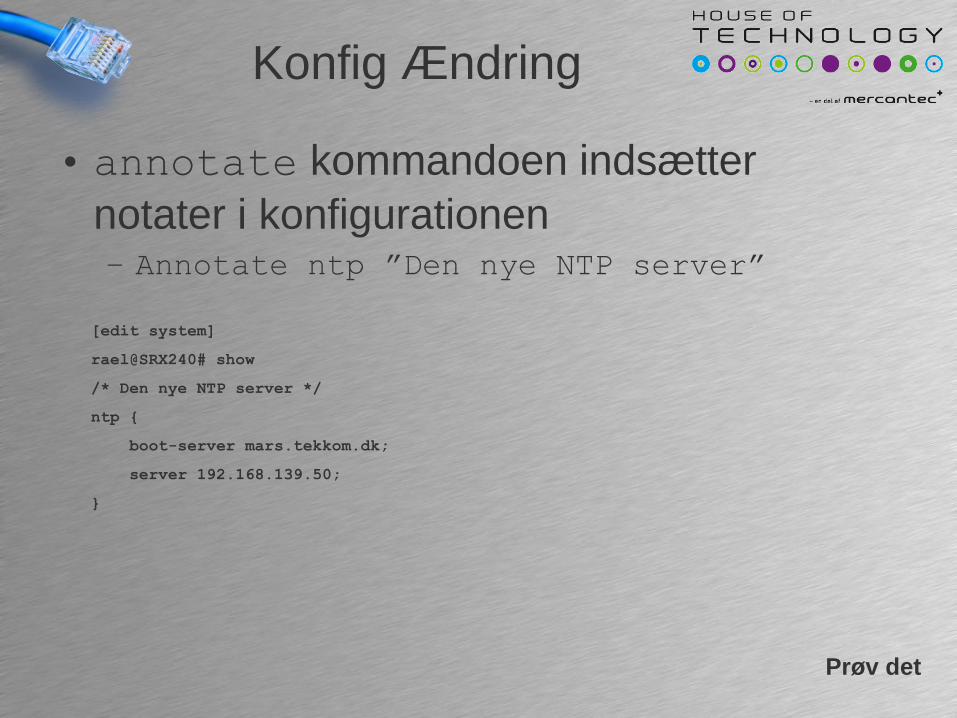
Konfig Ændring
• annotate kommandoen indsætter
notater i konfigurationen– Annotate ntp ”Den nye NTP server”
[edit system]
rael@SRX240# show
/* Den nye NTP server */
ntp {
boot-server mars.tekkom.dk;
server 192.168.139.50;
}
Prøv det

Commit metoder
• Brug commit for at aktivere ændringer
• Brug commit check for at tjekke for fejl
[edit]
rael@SRX240# commit
commit complete
[edit]
rael@SRX240# commit check
configuration check succeeds

Commit metoder
• Brug commit confirmed til midlertidig
commit
• Brug commit at for at commite på et
andet tidspunkt
[edit]
rael@SRX240# commit confirmed
commit confirmed will be automatically rolled back in 10 minutes unless confirmed
commit complete
[edit]
rael@SRX240# commit at 16:00
configuration check succeeds
commit at will be executed at 2011-10-30 16:00:00 UTC
Exiting configuration mode

Commit metoder
• Brug commit comment for at
kommenterer et commit
• Brug commit and-quit for at commite
og gå til operational mode
[edit]
rael@SRX240# commit comment “Ændring af CoS parametre”
commit complete
[edit]
rael@SRX240# commit and-quit
commit complete
Exiting configuration mode
rael@SRX240>

Konfig sammenligning
• Sammenlign den aktive og candidate
konfigurationen:
– #show | compare
• Sammenlign den aktive og en rollback
configuration:– >show configuration | compare rollback 10
– >show configuration | compare <filename>
– #show | compare rollback 10

Konfig rollback
• For at resette candidate konfigurationen til
den aktive konfiguration bruges:
– # rollback
• Vil man gerne spole tiden længere tilbage:– # rollback n
• Husk at commite når man har lavet en
rollback

Gem Konfigurationen
• For at gemme configurationen kan man
bruge save kommandoen:
– Save <filnavn>
• Gemmes automatisk i brugerens hjemmefolder
• Man kan også gemme til netværket– Save ftp://bruger:kode@servernavn/filnavn
– Save scp://bruger@servernavn/filnavn
Load Konfigurationen
• Indlæs en konfiguration med load
kommandoen
– Load merge relative terminal
• Alle efterfølgende kommandoer bliver merget
sammen med konfigurationen relativ til ens
placering
• Husk at lave en commit for at gemme

Load Konfigurationen
• Load parametre– Merge: Sætter det nye konfiguration ind i det eksisterende
– Override: Overskriver alt konfiguration med det du sætter ind
– Patch: Tilretter konfigurationen ud fra en fil lavet med save | compare
| save
– Replace: Erstatter eksisterende konfig med det indtastede.
– Set: Tillader at man loader set kommandoer i stedet for hierakiske.
– Terminal: Bruger input fra terminale. Afslut med Ctrl+d
– Relative: Indsætter relativ til ens placering

Run kommandoen
• Run svarer til andres producenters do
kommando– Run show interface terse
– Understøtter tab completion og ?
• I modsætning til andre producenter