Intro to Robotics Using EV3 Final - Meetupfiles.meetup.com/11434242/Intro to Robotics Using EV3...
34
www.devoxx4kids.org @Devoxx4Kids facebook.com/Devoxx4Kids Introduction to Robotics using Lego Mindstorms EV3 Shreya Reddy & Kiran Raja RoboAvatars Robotics Team FTC7303 Roboavatars.com [email protected]
Transcript of Intro to Robotics Using EV3 Final - Meetupfiles.meetup.com/11434242/Intro to Robotics Using EV3...
www.devoxx4kids.org @Devoxx4Kidsfacebook.com/Devoxx4Kids
Introduction to Robotics using Lego Mindstorms EV3
Shreya Reddy & Kiran Raja
RoboAvatars Robotics Team FTC7303
Roboavatars.com [email protected]
www.devoxx4kids.org
Robotics using EV3
Are we ready to go Roboticists…?
– Does each group have at least one laptop?
– Do you have EV3-G software installed on the laptop?
– If you have a question at any time please raise your hand and we will help you
2

www.devoxx4kids.org
Robotics using EV3
– What is a Robot?
– What are some of the robots you know..?
3
www.devoxx4kids.org
Robotics using EV3
– What is a Robot?
• A robot is a powered system that can perform specific tasks by itself without human help
4

www.devoxx4kids.org
– Some well known robots (Real and Fictional)
Robotics using EV3
5
www.devoxx4kids.org
Robotics using EV3
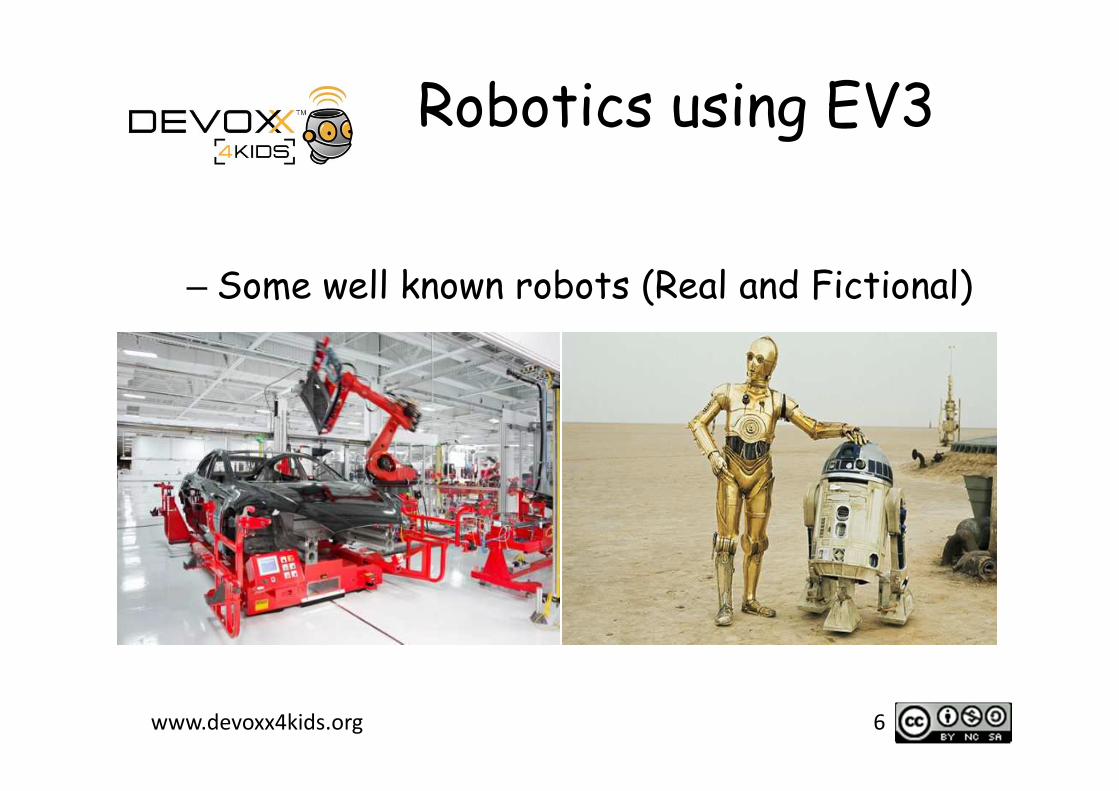
– Some well known robots (Real and Fictional)
6
www.devoxx4kids.org
Robotics using EV3
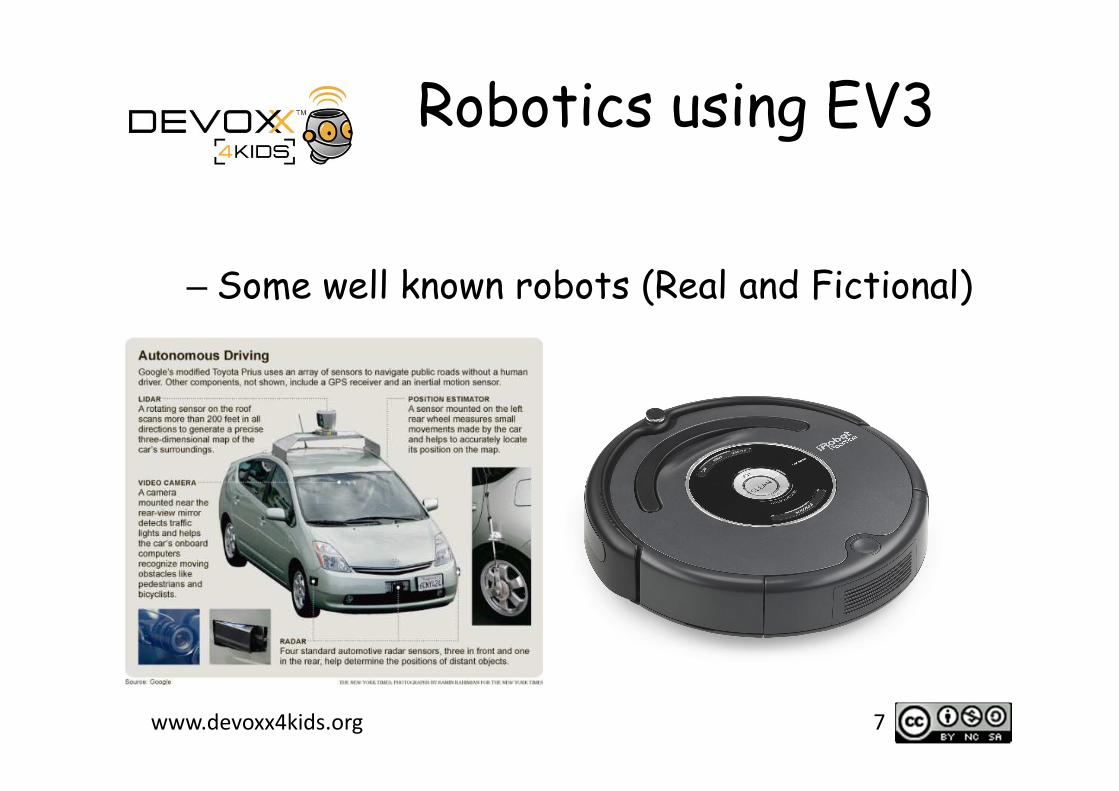
– Some well known robots (Real and Fictional)
7

www.devoxx4kids.org
Robotics using EV3
8
Who built the Mindstorms EV3?
- EV3 is built by that you all know and love…
- Originally introduced as RCX in 1998
- 2nd generation NXT released in 2006
- 3rd generation EV3 released in 2013

www.devoxx4kids.org
Robotics using EV3
– Parts of a Robot (Human analogy)
9
• Power source
• Controller
• Structural elements
• Motors
• Sensors

www.devoxx4kids.org
Robotics using EV3
– The EV3 Brick
10
Battery power
Brick name
Back button
Up/Down and
Left/Right
buttons
Select button
Screen tabs:
- Recent programs
- File navigation
- Applications
- Settings

www.devoxx4kids.org
Robotics using EV3
– The EV3 Brick
11
Motor ports
Sensor ports
Speaker
Micro USB to
PC
SD Memory
slot
USB slotUSB
download
cable

www.devoxx4kids.org
Robotics using EV3
– Lego structural elements
12
Axles
Connectors Gears
Beams
Wheels &
Treads

www.devoxx4kids.org
Robotics using EV3
– Motors
13
Large motor:– Higher Torque (power) but slower speed- Axle is perpendicular to motor
Medium motor – Lower Torque but higher speed- Axle goes through the motor

www.devoxx4kids.org
Robotics using EV3
– Sensors
14
Ultrasonic
Color
Touch
Gyro
Infrared
www.devoxx4kids.org
Robotics using EV3
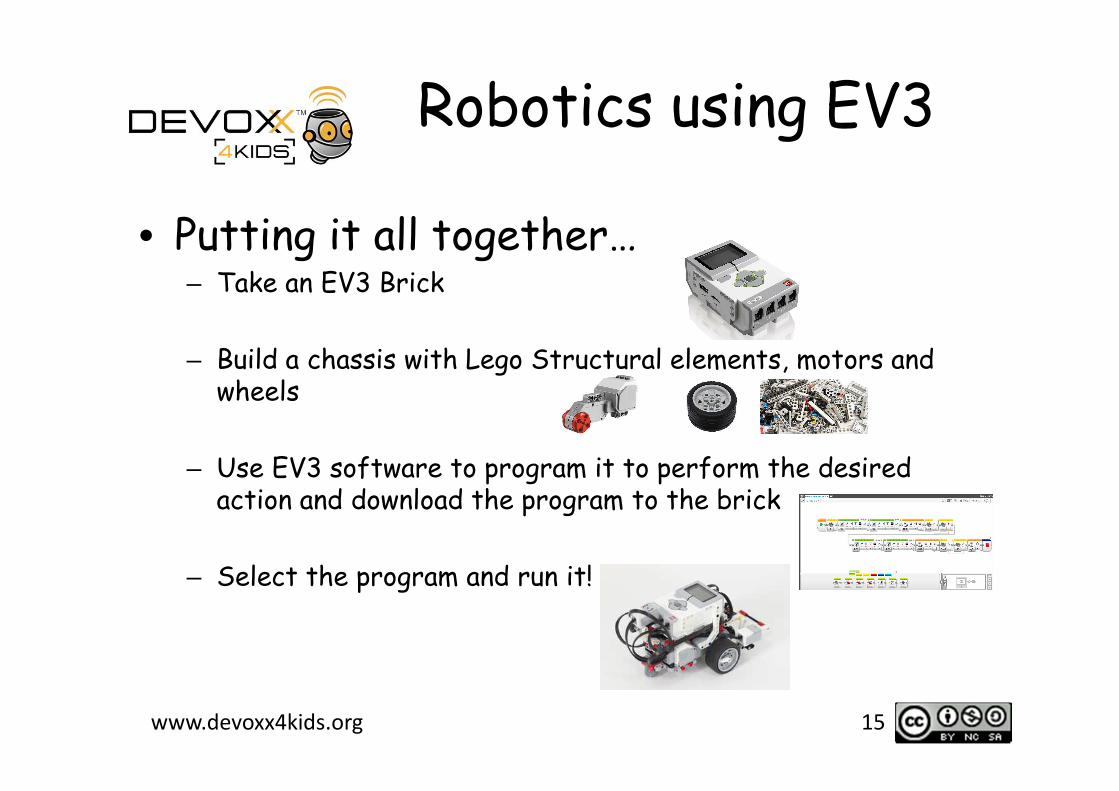
• Putting it all together…– Take an EV3 Brick
– Build a chassis with Lego Structural elements, motors and wheels
– Use EV3 software to program it to perform the desired action and download the program to the brick
– Select the program and run it!
15
www.devoxx4kids.org
Robotics using EV3
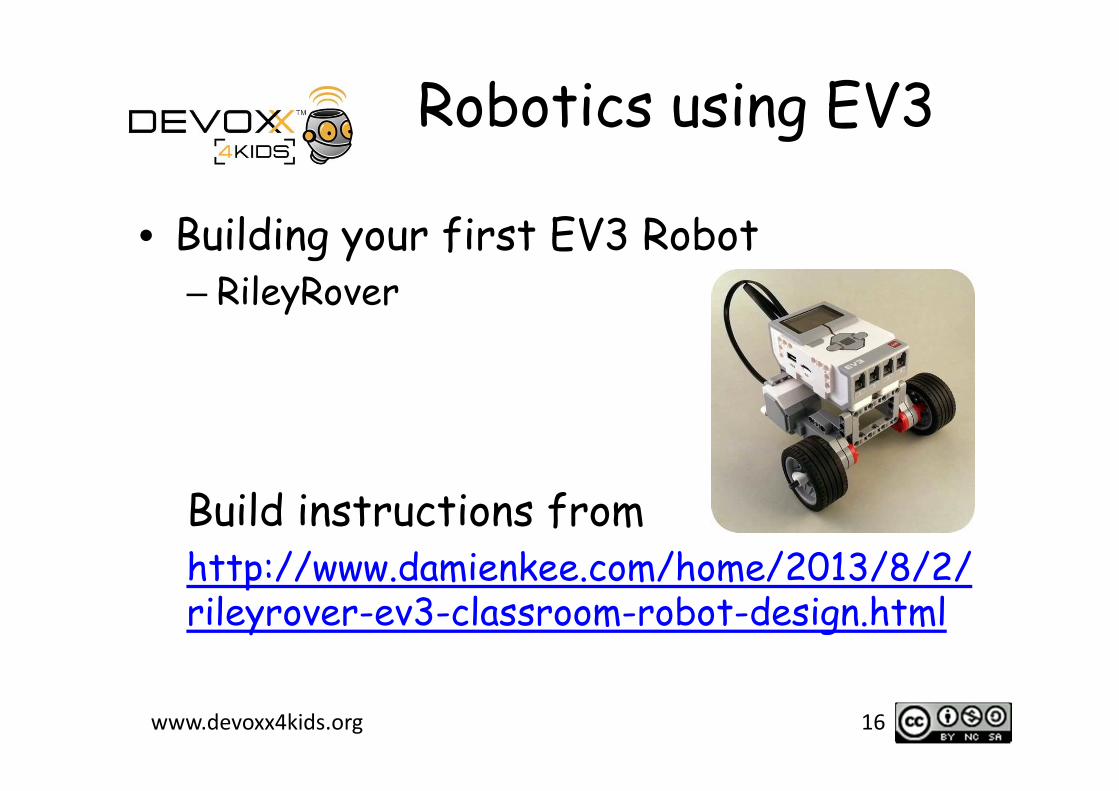
• Building your first EV3 Robot– RileyRover
Build instructions fromhttp://www.damienkee.com/home/2013/8/2/rileyrover-ev3-classroom-robot-design.html
16

www.devoxx4kids.org 17

www.devoxx4kids.org 18

www.devoxx4kids.org 19

www.devoxx4kids.org 20

www.devoxx4kids.org 21

www.devoxx4kids.org 22

www.devoxx4kids.org
Robotics using EV3
• Basic EV3 programming– Moving forwards and in reverse
– Turns – Swing and Pivot turns
– Wait block
– Loop control
– Challenge program
23

www.devoxx4kids.org
Moving Forwards
24
Speed Setting
How far should
we go?
(1 rotation
selected)
Movement
Selection
FRONT
Motors selected
Both motors move in
forward direction at the
set speed for specified #
of rotations
www.devoxx4kids.org
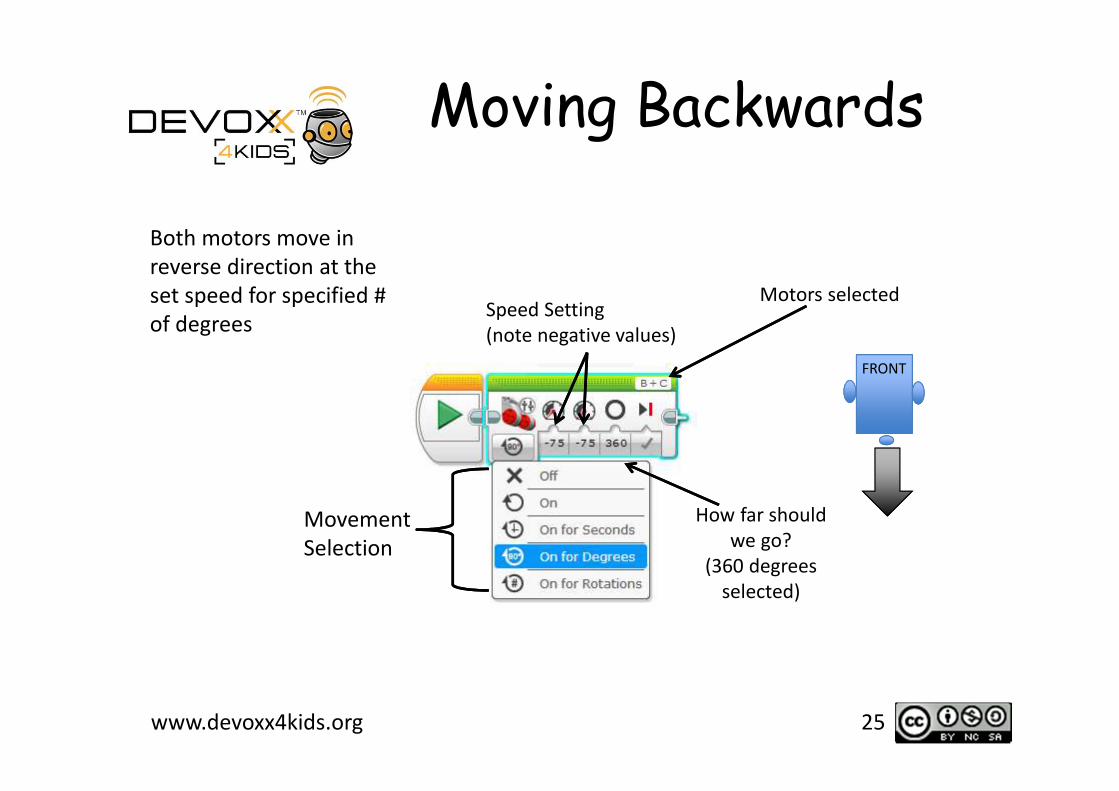
Moving Backwards
25
FRONT
Speed Setting
(note negative values)
Movement
Selection
How far should
we go?
(360 degrees
selected)
Motors selected
Both motors move in
reverse direction at the
set speed for specified #
of degrees

www.devoxx4kids.org
SwingTurn
26
FRONT
FR
ON
T
Swing turn is done by
moving one motor
forward while the other is
stationary
Note that degrees are not geometrical
degrees of turn of the robot but degrees
of rotation of the motor
(360 degrees = 1 rotation)

www.devoxx4kids.org
Pivot Turn
FRONT
FR
ON
T
Pivot point
Speed Setting
(note B is + and C is -)
Pivot turn is done by moving
one motor forwards and the
other motor backwards

www.devoxx4kids.org
Wait till Button#2
28
Turn B+C
motors ON
Wait for button #2
(middle button) to be
pressed
www.devoxx4kids.org
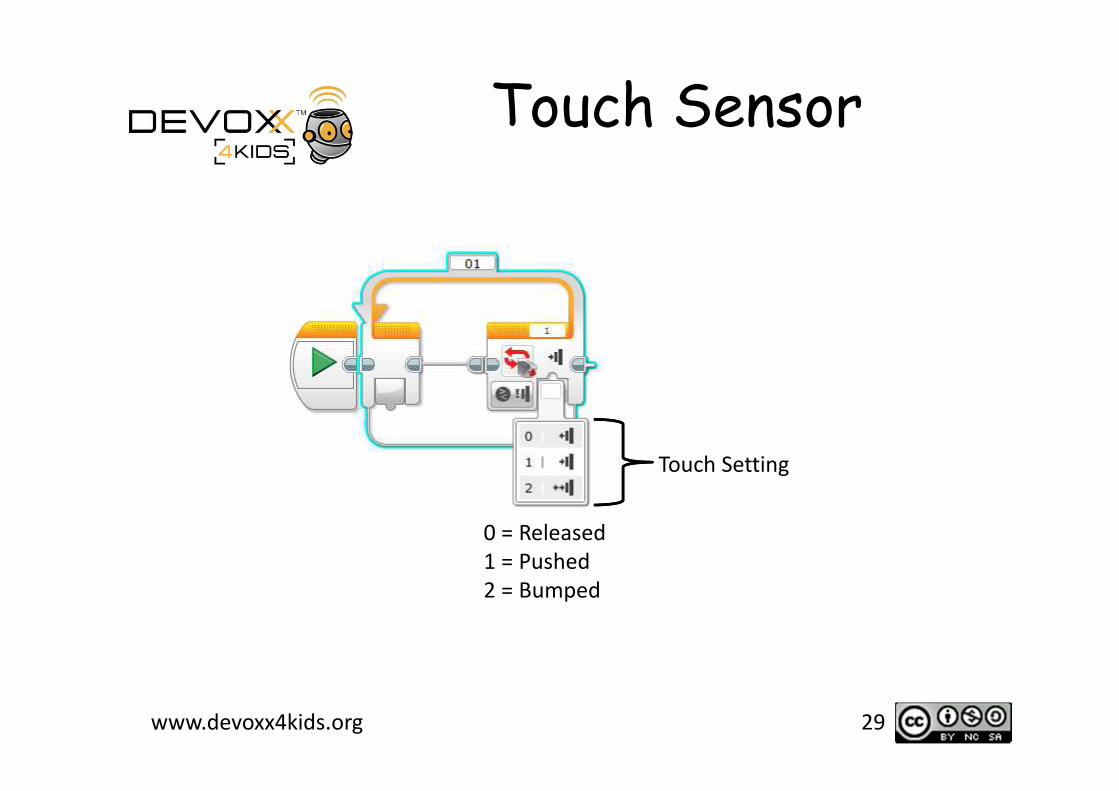
Touch Sensor
29
Touch Setting
0 = Released
1 = Pushed
2 = Bumped
www.devoxx4kids.org
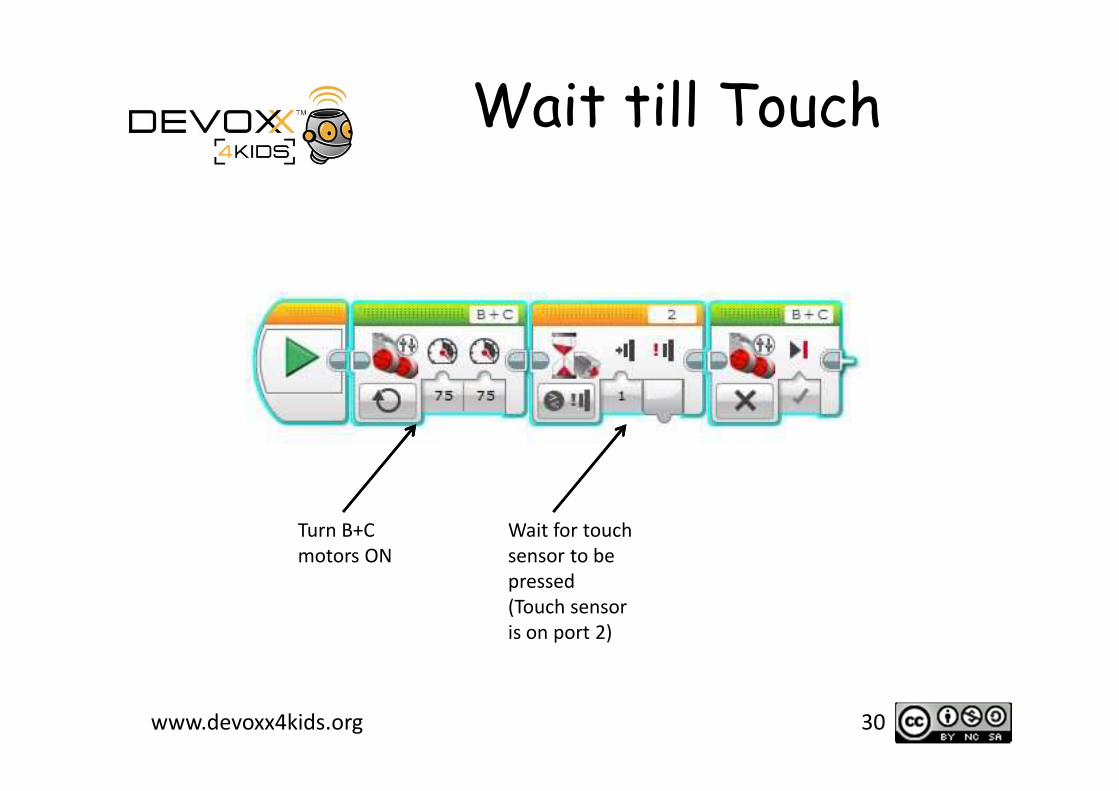
Wait till Touch
30
Turn B+C
motors ON
Wait for touch
sensor to be
pressed
(Touch sensor
is on port 2)
www.devoxx4kids.org
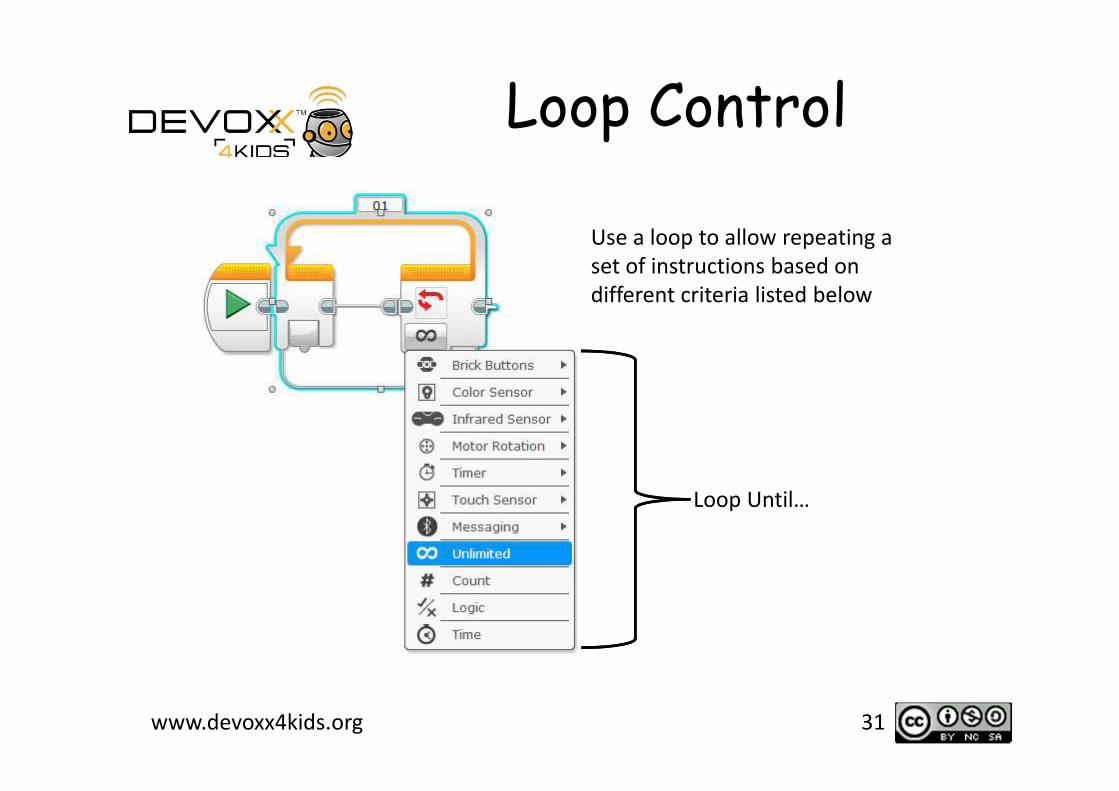
Loop Control
31
Loop Until…
Use a loop to allow repeating a
set of instructions based on
different criteria listed below

www.devoxx4kids.org
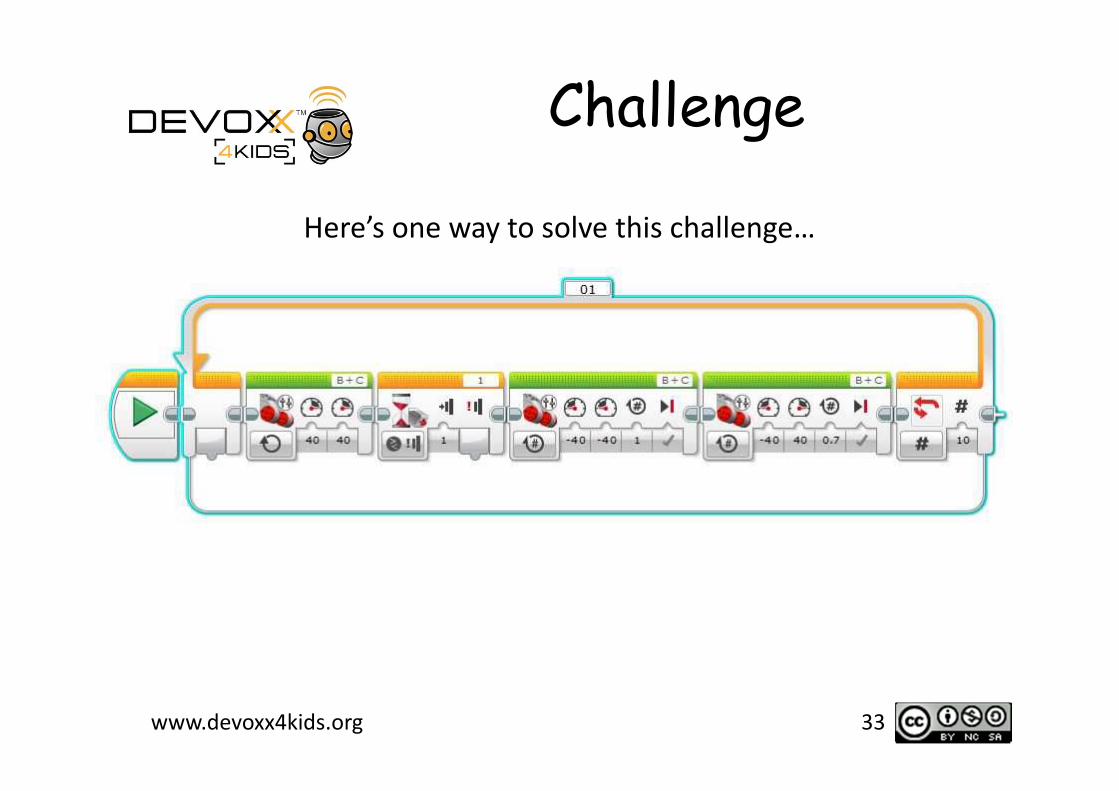
Challenge
• Program the robot to move forward continuously at 40% power. Every time it hits an obstacle as indicated by a touch sensor, the robot should move back one rotation, turn at about 120 degrees and continue. Robot should stop after 10 bumps.
32
www.devoxx4kids.org
Challenge
33
Here’s one way to solve this challenge…

www.devoxx4kids.org
Robotics using EV3
– Web resources…• Legomindstorms.com
• Bricklink.com
• http://www.damienkee.com/home/2013/8/2/rileyrover-ev3-classroom-robot-design.html
34