
Interactive Classroom Scrapbook Click to continue.
16
Interactive Classroom Scrapbook Click to continue
-
Upload
dawson-milnes -
Category
Documents
-
view
219 -
download
0
Transcript of Interactive Classroom Scrapbook Click to continue.
Interactive Classroom Scrapbook
Click to continue
Assignment
The last project is to create an interactive Scrapbook (presentation) that contains pictures and text of your fellow classmates to remember them by.

Example
Click here to see an example
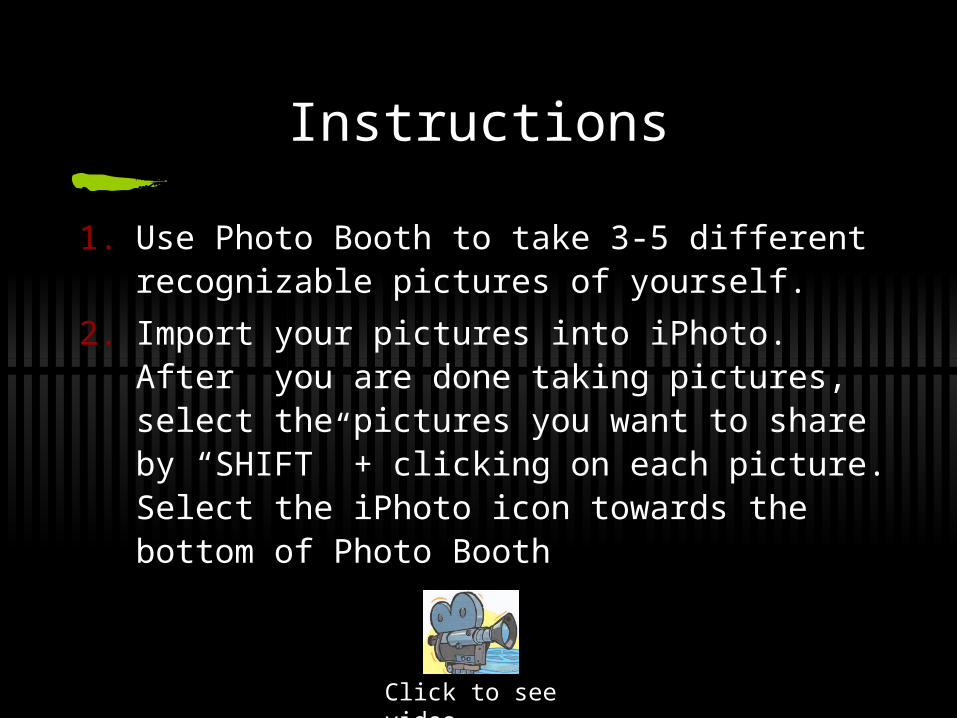
Instructions
1. Use Photo Booth to take 3-5 different recognizable pictures of yourself.
2. Import your pictures into iPhoto. After you are done taking pictures, select the pictures you want to share by “SHIFT” + clicking on each picture. Select the iPhoto icon towards the bottom of Photo Booth
Click to see video

Video - Photo Booth
QuickTime™ and aAnimation decompressor
are needed to see this picture.
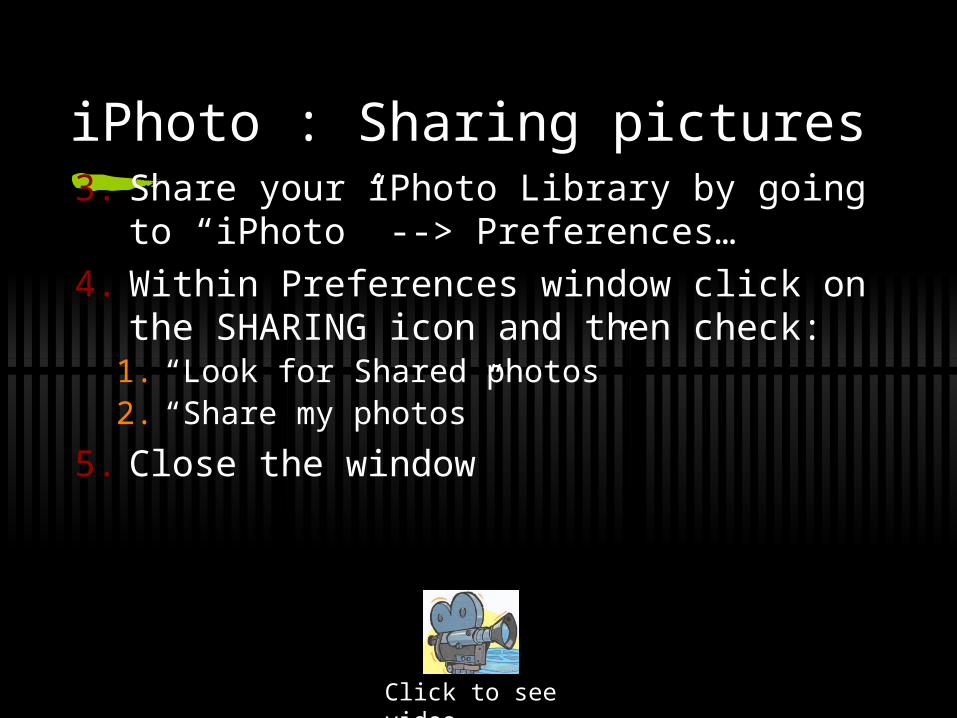
3. Share your iPhoto Library by going to “iPhoto” --> Preferences…
4. Within Preferences window click on the SHARING icon and then check:
1. “Look for Shared photos”2. “Share my photos”
5. Close the window
Click to see video
iPhoto : Sharing pictures

Video - iPhoto: Sharing
QuickTime™ and aAnimation decompressor
are needed to see this picture.
Importing Classmates’ pictures
5. Import your classmate’s pictures from the shared section of iPhoto.
1. Find the picture you want to import
2. Click and drag the picture to the left panel until a blue outline surrounds the whole left panel and a green circle with a “+” (plus) sign is visible.
3. Release the mouse button
4. Rename the Album with the student’s name
Click to see video

Video - iPhoto: Importing
QuickTime™ and aAnimation decompressor
are needed to see this picture.
Neo Office- Presentation
6. OPEN Neo Office, after you have imported ALL of your students’ pictures into iPhoto.
7. You will create 2 NeoOffice files:a) One with a Title Page and the class collage
SAVE AS: “Collage”
b) One that contains your picture and text SAVE AS: ”<YOUR NAME> card”
Click to see video
Video: Neo Office
QuickTime™ and aAnimation decompressor
are needed to see this picture.
Neo Office- Presentation
8. For the “Collage” file:1. Insert all the pictures of your class onto the 2nd
slide; make a collage
9. For the “<YOUR NAME> card” file:1. On the 1st slide INSERT YOUR picture
2. Next to your picture type the following information:
10. WHEN YOU STARETED 3rd STREET
11. MEMORABLE 3rd St El STORY:
12. HOBBIES:
13. FUTURE DREAMS:14. And anything else you would like to add Click to see video

Video: Collage
QuickTime™ and aAnimation decompressor
are needed to see this picture.
Neo Office- Presentation
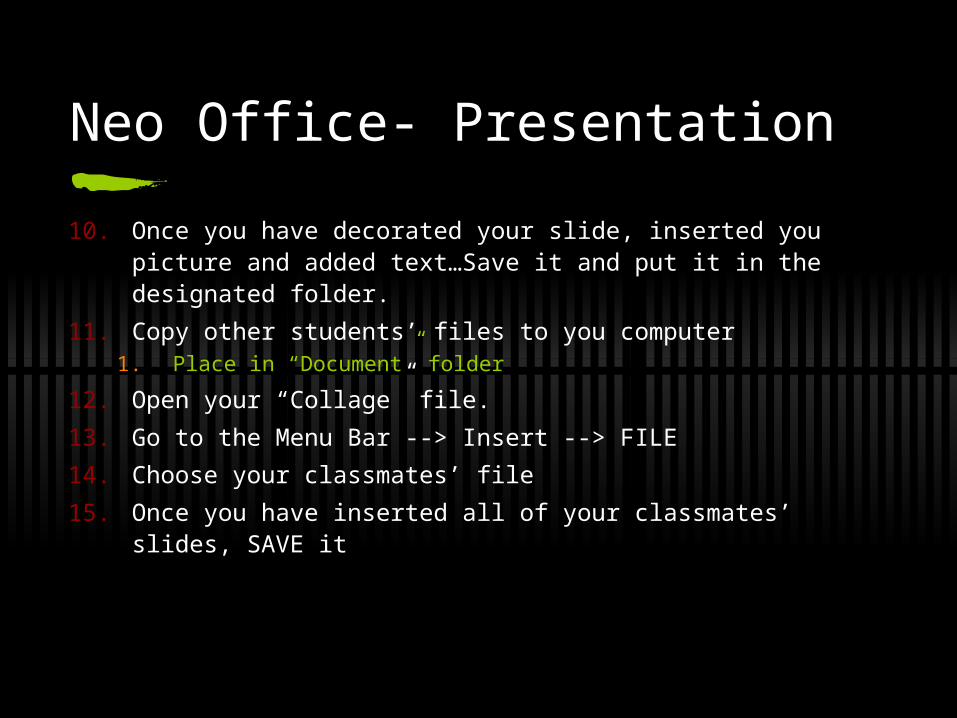
10. Once you have decorated your slide, inserted you picture and added text…Save it and put it in the designated folder.
11. Copy other students’ files to you computer1. Place in “Document” folder
12. Open your “Collage” file.
13. Go to the Menu Bar --> Insert --> FILE
14. Choose your classmates’ file
15. Once you have inserted all of your classmates’ slides, SAVE it
Interactive buttons
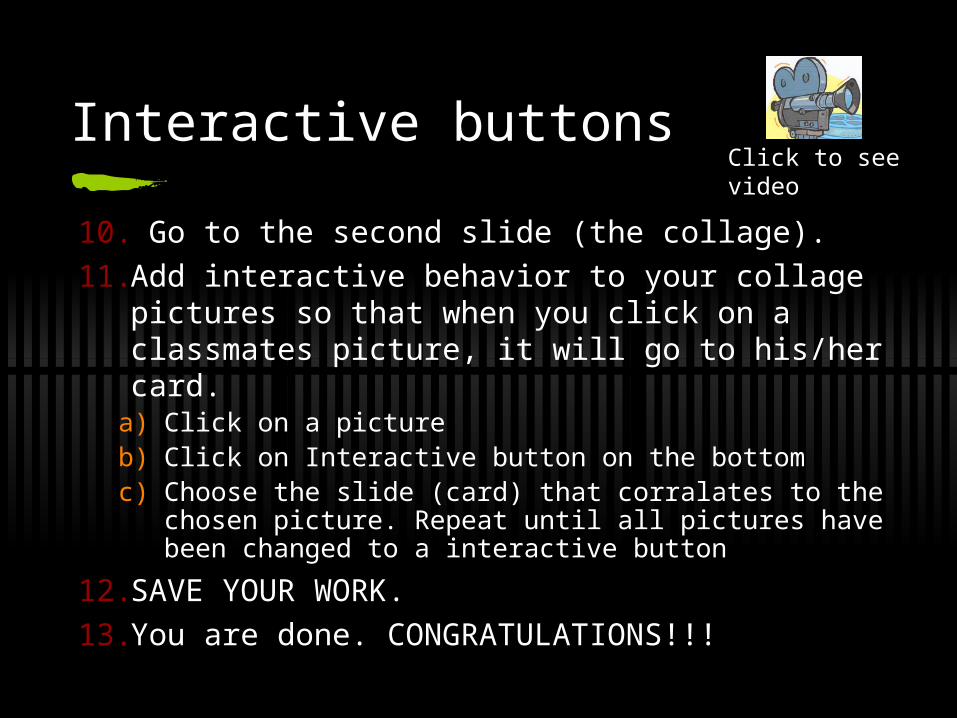
10. Go to the second slide (the collage).
11. Add interactive behavior to your collage pictures so that when you click on a classmates picture, it will go to his/her card.
a) Click on a pictureb) Click on Interactive button on the bottomc) Choose the slide (card) that corralates to the
chosen picture. Repeat until all pictures have been changed to a interactive button
12. SAVE YOUR WORK.
13. You are done. CONGRATULATIONS!!!
Click to see video
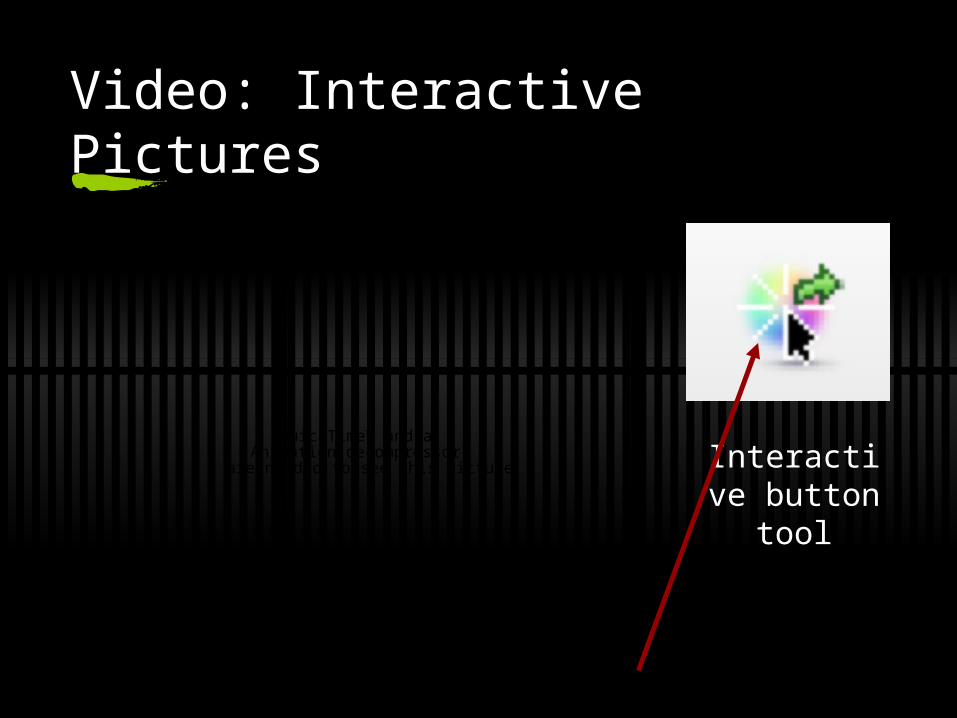
Video: Interactive Pictures
QuickTime™ and aAnimation decompressor
are needed to see this picture. Interactive button tool