Installation of Fiberglass Columns Coverkits · Installation of Fiberglass Columns Coverkits.com...
11
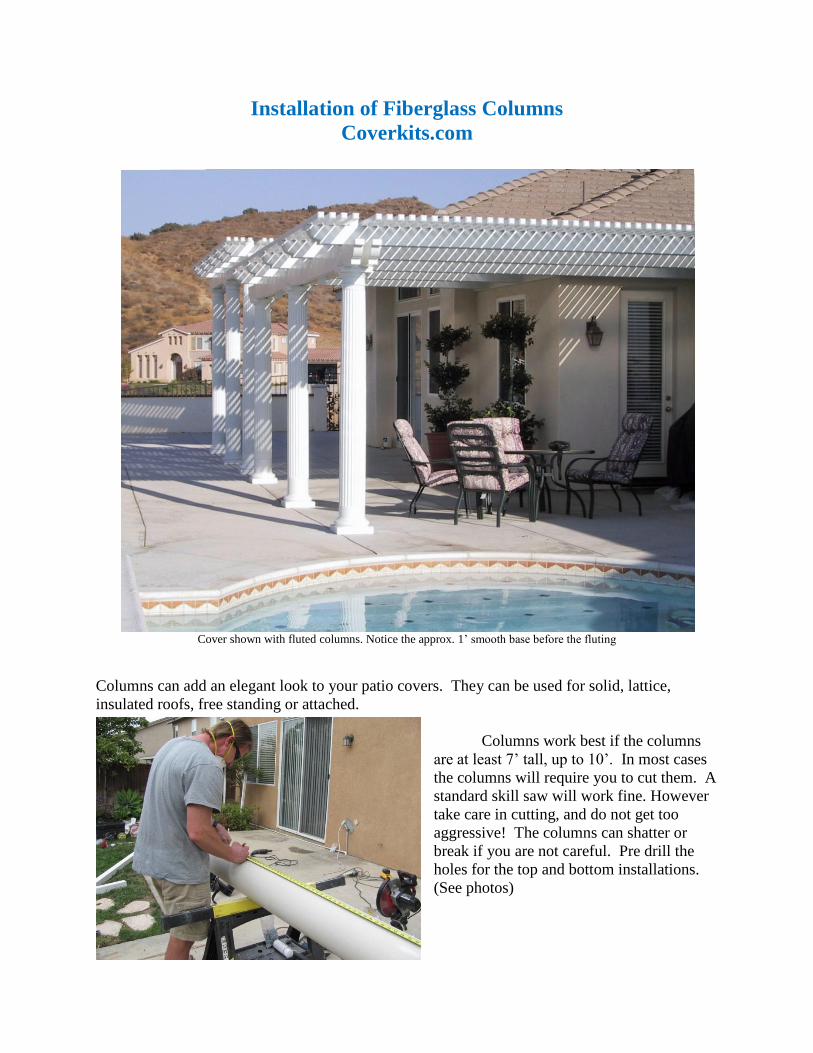
Installation of Fiberglass Columns Coverkits.com Cover shown with fluted columns. Notice the approx. 1’ smooth base before the fluting Columns can add an elegant look to your patio covers. They can be used for solid, lattice, insulated roofs, free standing or attached. Columns work best if the columns are at least 7’ tall, up to 10’. In most cases the columns will require you to cut them. A standard skill saw will work fine. However take care in cutting, and do not get too aggressive! The columns can shatter or break if you are not careful. Pre drill the holes for the top and bottom installations. (See photos)
Transcript of Installation of Fiberglass Columns Coverkits · Installation of Fiberglass Columns Coverkits.com...
Installation of Fiberglass Columns
Coverkits.com
Cover shown with fluted columns. Notice the approx. 1’ smooth base before the fluting
Columns can add an elegant look to your patio covers. They can be used for solid, lattice,
insulated roofs, free standing or attached.
Columns work best if the columns
are at least 7’ tall, up to 10’. In most cases
the columns will require you to cut them. A
standard skill saw will work fine. However
take care in cutting, and do not get too
aggressive! The columns can shatter or
break if you are not careful. Pre drill the
holes for the top and bottom installations.
(See photos)

Take your time when cutting the column; it can shatter if too aggressive.
The diameter of the columns is an esthetic issue, but the common thought is the 8’’ diameter
columns. They are flared, being wider at the base, tapered at the top. Always cut from the
bottom of the column.
The smooth base columns are the most common, but if you use the fluted columns
beware that the base of the fluted columns are smooth for a foot or so in dimension, and make
sure that that area is roughly the same from each column. Also make sure that you order the right
height for the fluted column and not cut the smooth area completely off, exposing the fluting into
the bottom cap area (see photo on the last page). If your cover is going to be inspected during the
permit process, they will need to see the post brackets prior to installation. Do not get trapped in
covering up the post brackets and the inspector challenges you to expose them. Set your post
brackets and ledgers, then call for an in-process inspection, or make arrangements with the
inspector by taking photos of the process.
The columns will come unpainted. A paint chart is in the planning for your convenience.
You may also take a piece of the metal from the project and have the color matched at Lowe’s or
Home Depot. The semi gloss exterior paint works best, Valspar or Behr paint. Lightly sand the
columns with 120 grit or finer wet/dry sand paper. Use mineral spirits to remove dust and dirt.
You will need at least two coats of paint. A small roller or brush works fine.
To install the columns, set the column in place and setting on blocks to have it raised
above the post brackets (see the planning for the Laguna, Newport or Maxx cover for more
detail) install the post into the brackets then slide out the blocks. Make sure you have the caps
and base in place on the column for future installation.
If you are placing a column over an embedded post take extra care and have plenty of help! You
will need two 10’ ladders and sturdy folks to lift the column over the post. The columns will
weigh approx. 80 pounds, and are awkward to lift and keep steady. Do not do it if it is windy!
Note: the covers look best with a double header beam when using columns. This is because of
the mass of the columns in relation to the standard 3’’ by 8’’ header beam. The double header
will also open the space between the columns sometimes making fewer columns, and a more
open look.
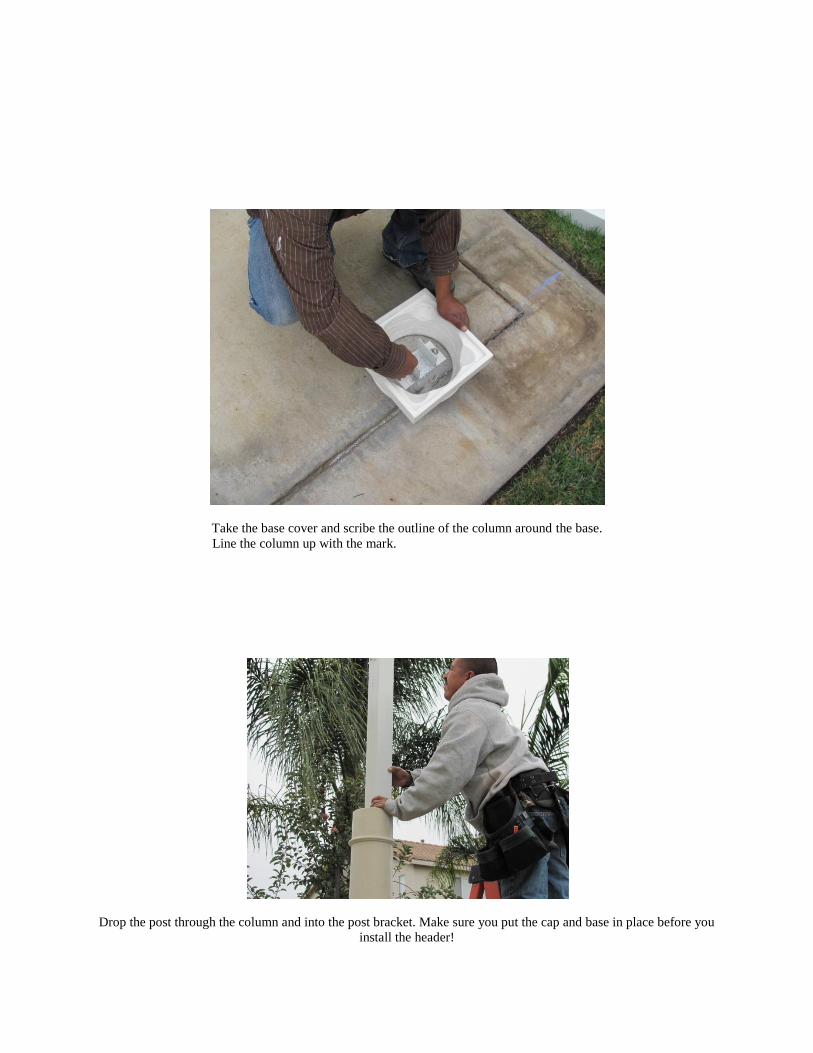
Take the base cover and scribe the outline of the column around the base.
Line the column up with the mark.
Drop the post through the column and into the post bracket. Make sure you put the cap and base in place before you
install the header!
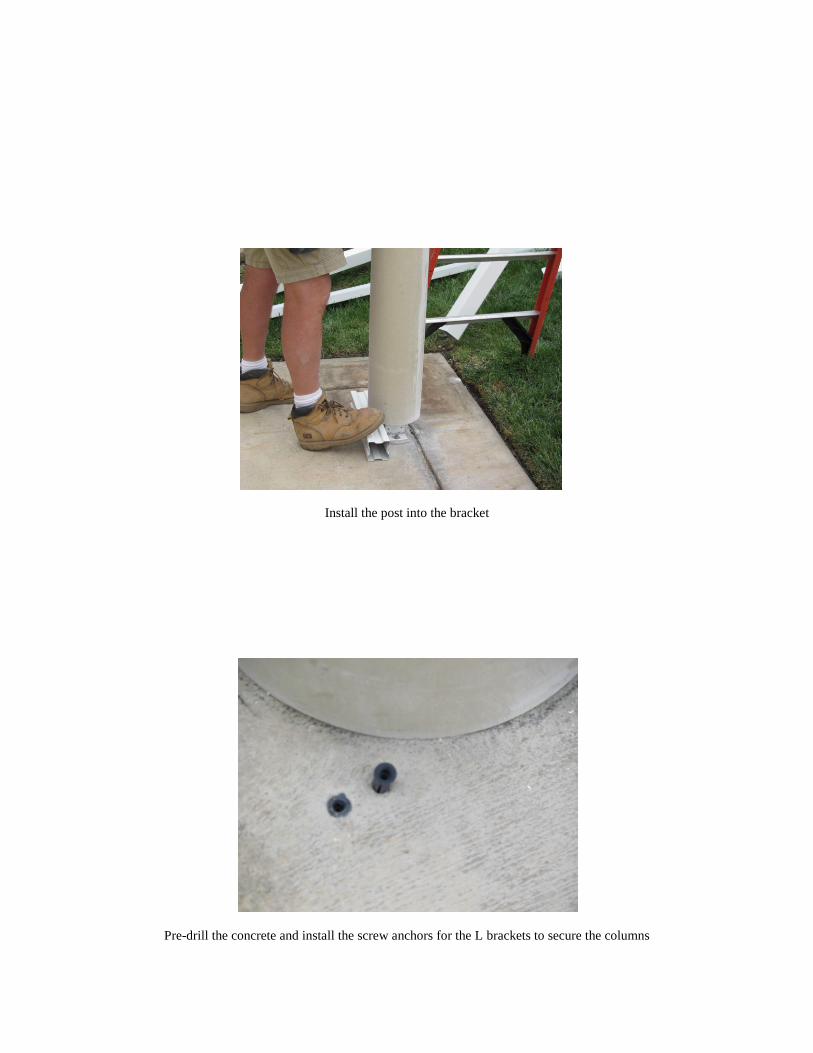
Install the post into the bracket
Pre-drill the concrete and install the screw anchors for the L brackets to secure the columns

Installation of the L brackets
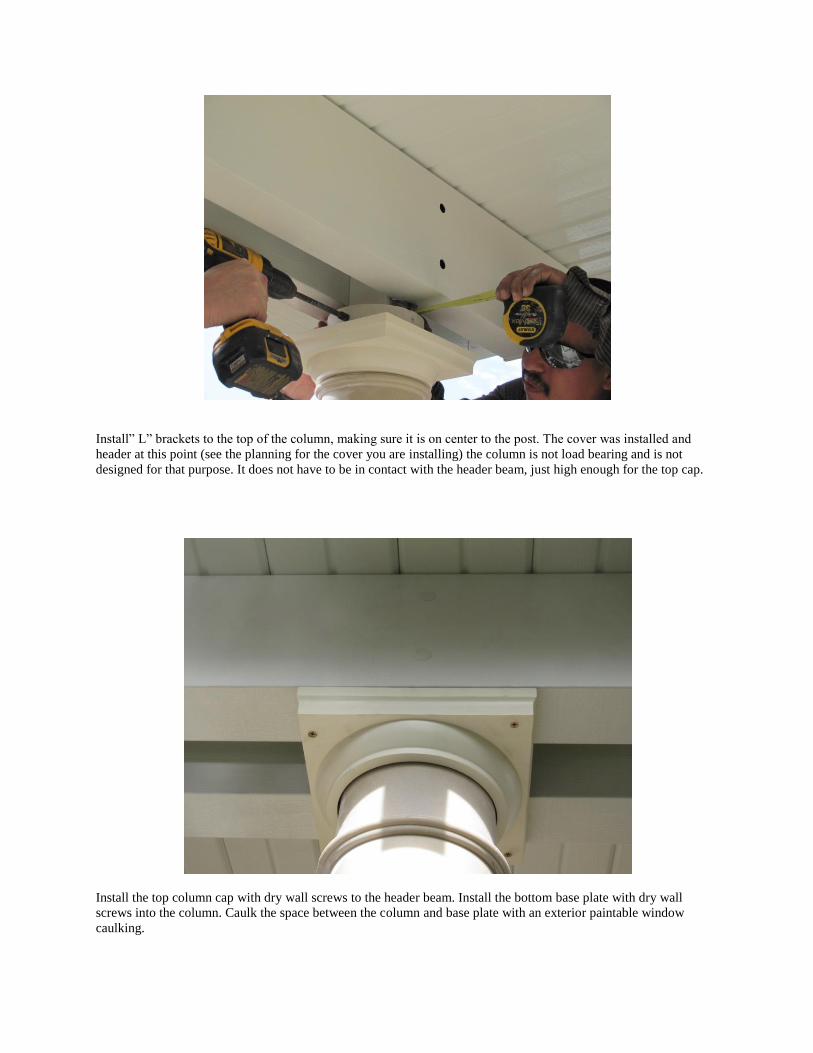
Install” L” brackets to the top of the column, making sure it is on center to the post. The cover was installed and
header at this point (see the planning for the cover you are installing) the column is not load bearing and is not
designed for that purpose. It does not have to be in contact with the header beam, just high enough for the top cap.
Install the top column cap with dry wall screws to the header beam. Install the bottom base plate with dry wall
screws into the column. Caulk the space between the column and base plate with an exterior paintable window
caulking.
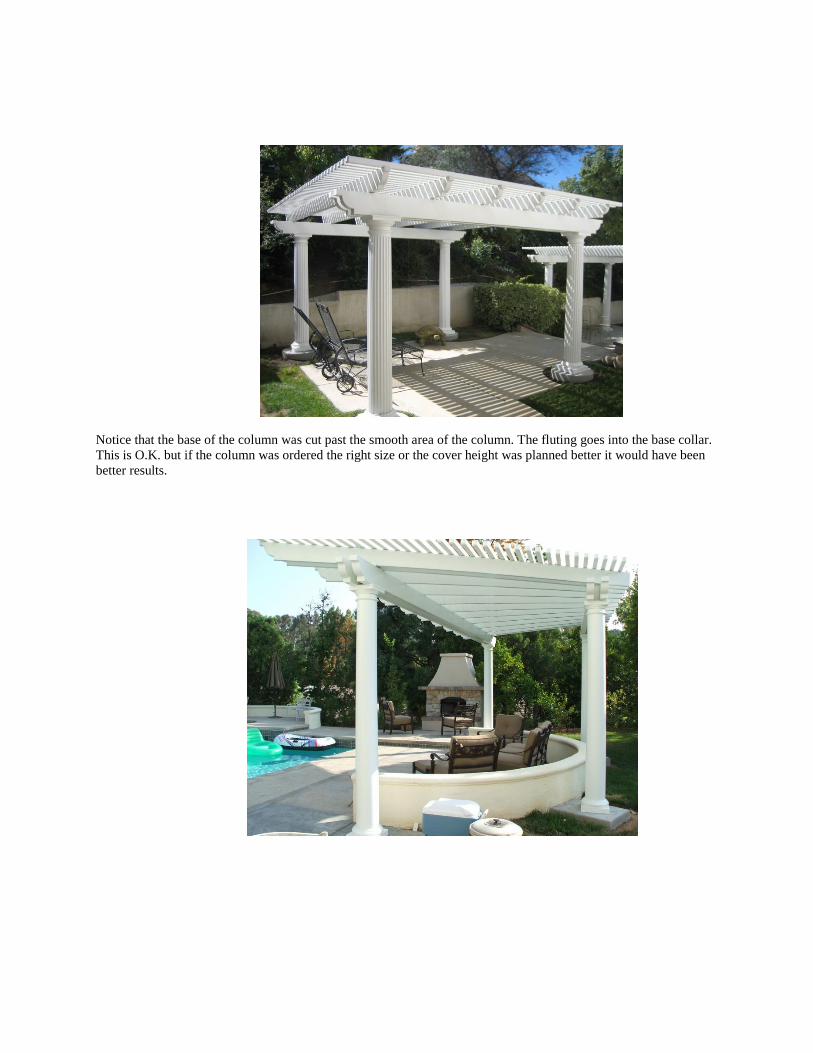
Notice that the base of the column was cut past the smooth area of the column. The fluting goes into the base collar.
This is O.K. but if the column was ordered the right size or the cover height was planned better it would have been
better results.
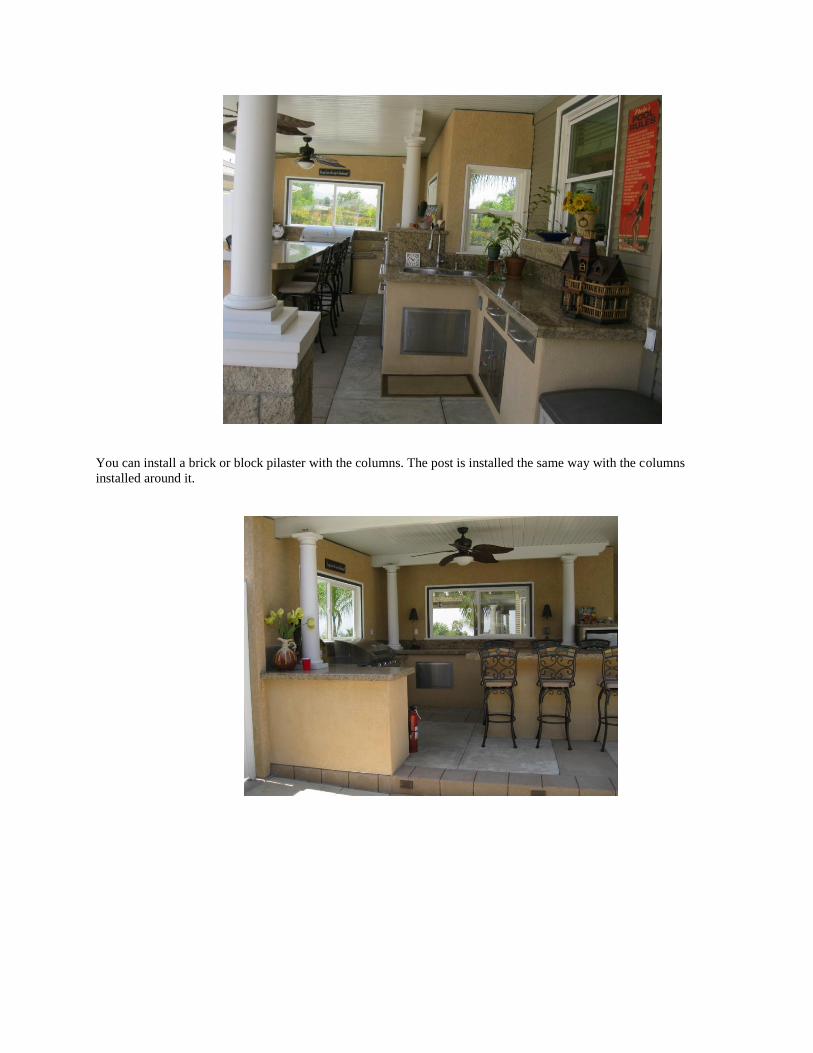
You can install a brick or block pilaster with the columns. The post is installed the same way with the columns
installed around it.
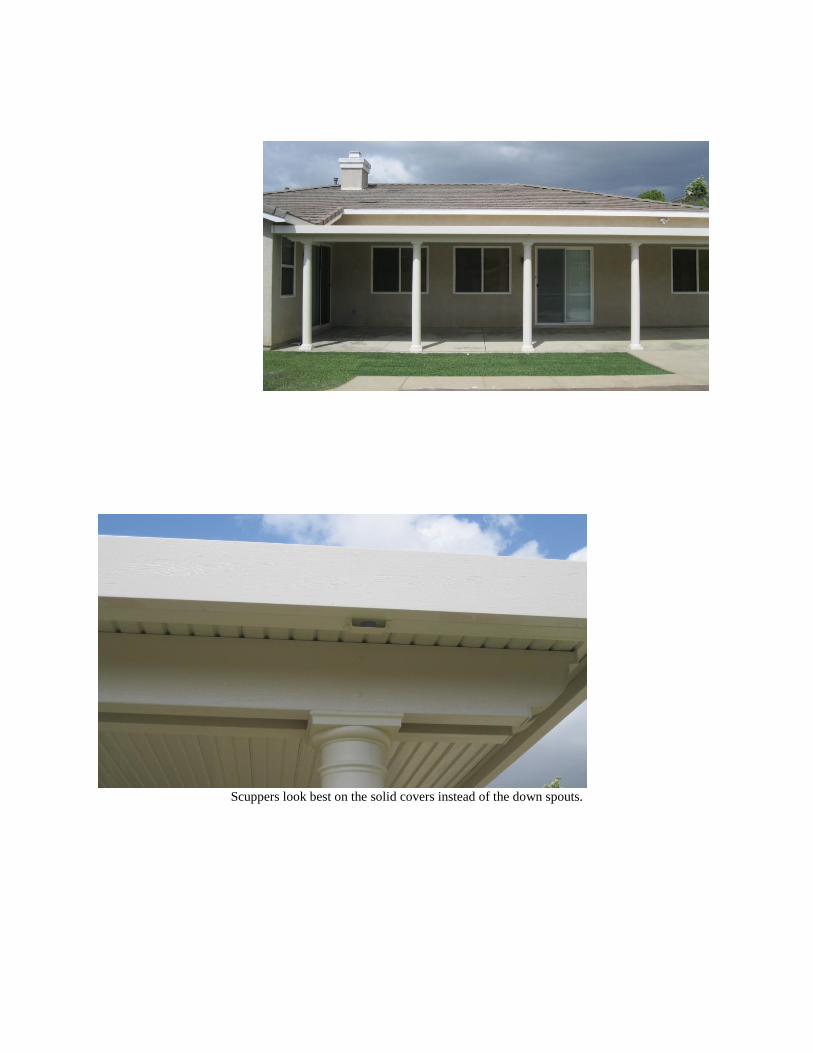
Scuppers look best on the solid covers instead of the down spouts.