INITIAL SETUP OF WINDOWS 10 WITH A LOCAL ACCOUNT · 3 SUMMARY Here are the detailed steps for the...
96
INITIAL SETUP OF "WINDOWS 10" WITH A "LOCAL ACCOUNT"
Transcript of INITIAL SETUP OF WINDOWS 10 WITH A LOCAL ACCOUNT · 3 SUMMARY Here are the detailed steps for the...

2
Web location for this
presentation:
http://aztcs.org
Click on “Meeting
Notes”2

3
SUMMARY
Here are the detailed steps for
the initial setup of "Windows
10" with a "local account".
This non-default configuration
reduces Microsoft's data
gathering and makes your
computer run more efficiently.3
4
TOPICS
• Reasons for Setting Up
"Windows 10" with a Local
Account
• Detailed Steps
4
5
REASONS FOR SETTING UP
"WINDOWS 10" WITH A "LOCAL
ACCOUNT"
• Reduces amount of data that
Microsoft's server farms gather
about you
• Frees up Internet bandwidth,
RAM, and CPU processor cycles
5

6
REASONS FOR SETTING UP
"WINDOWS 10" WITH A "LOCAL
ACCOUNT" (continues)
• Reduces complexity in "File
Explorer" so that the new user of
"Windows 10" does not have to
deal with the complexities of
Microsoft's "OneDrive" cloud
storage6
7
DETAILED STEPS
Step 1:
If it is not powered up, press the power
on button of the computer.
7
88
99
10
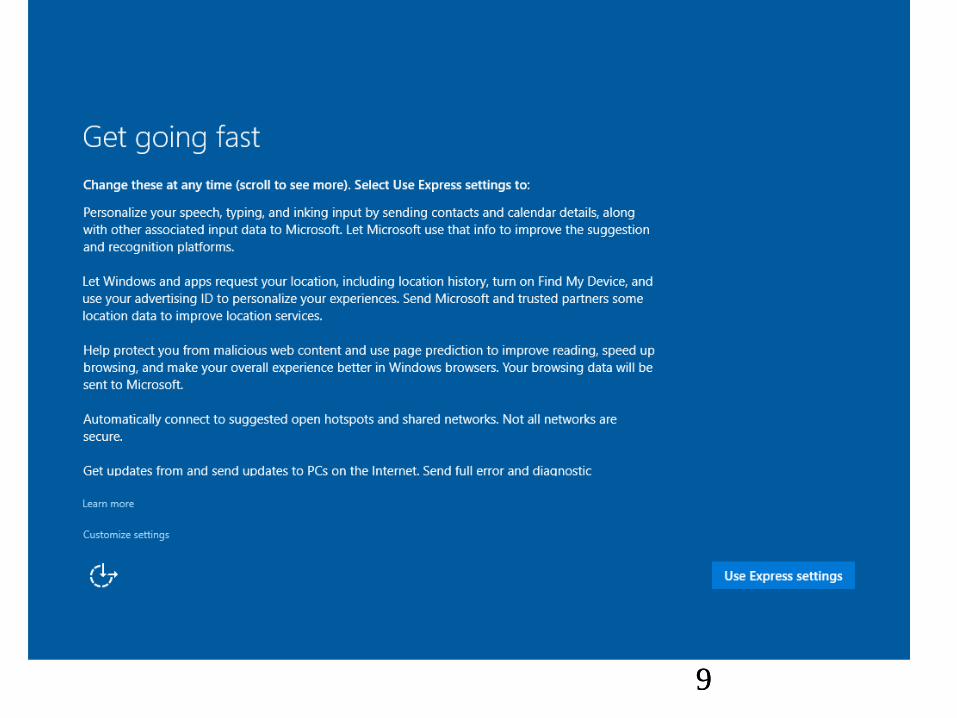
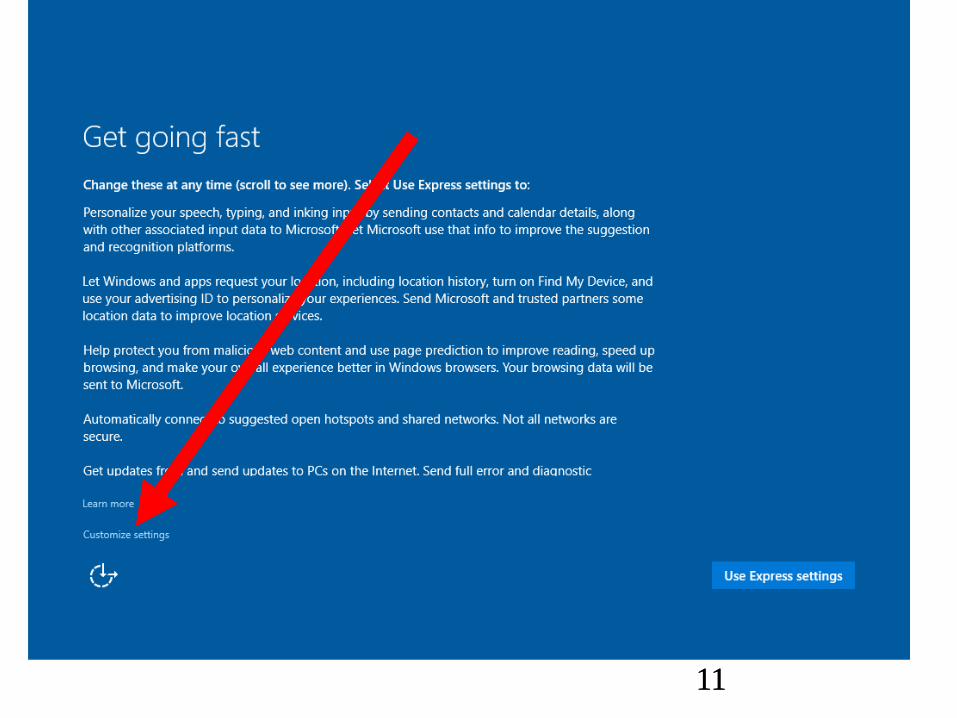
DETAILED STEPS
Step 2:
Click on "Customize settings":
10
1111
12
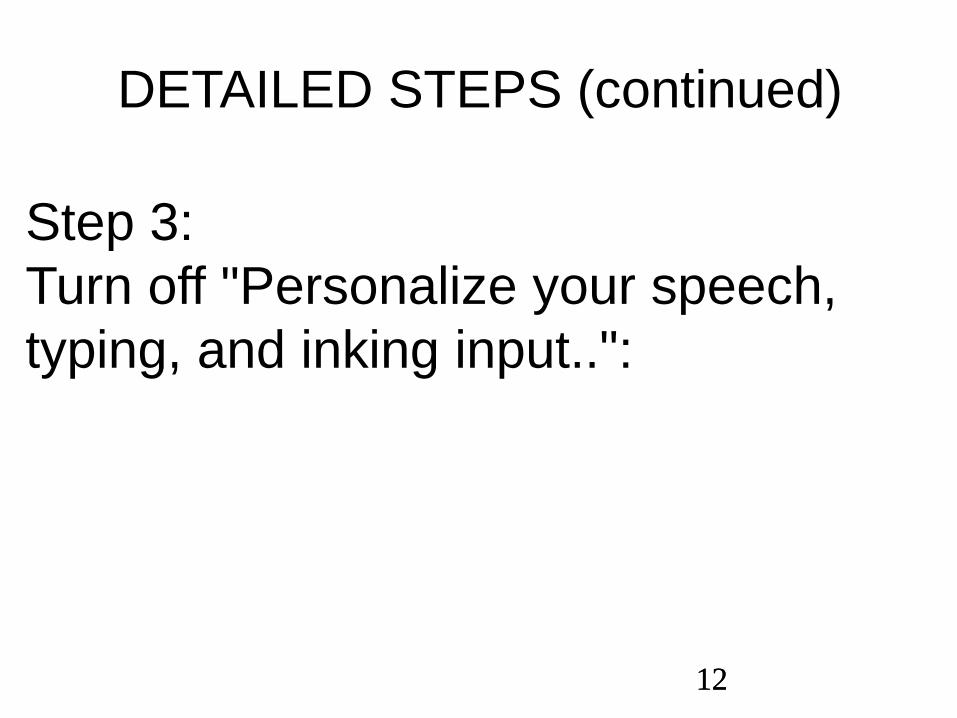
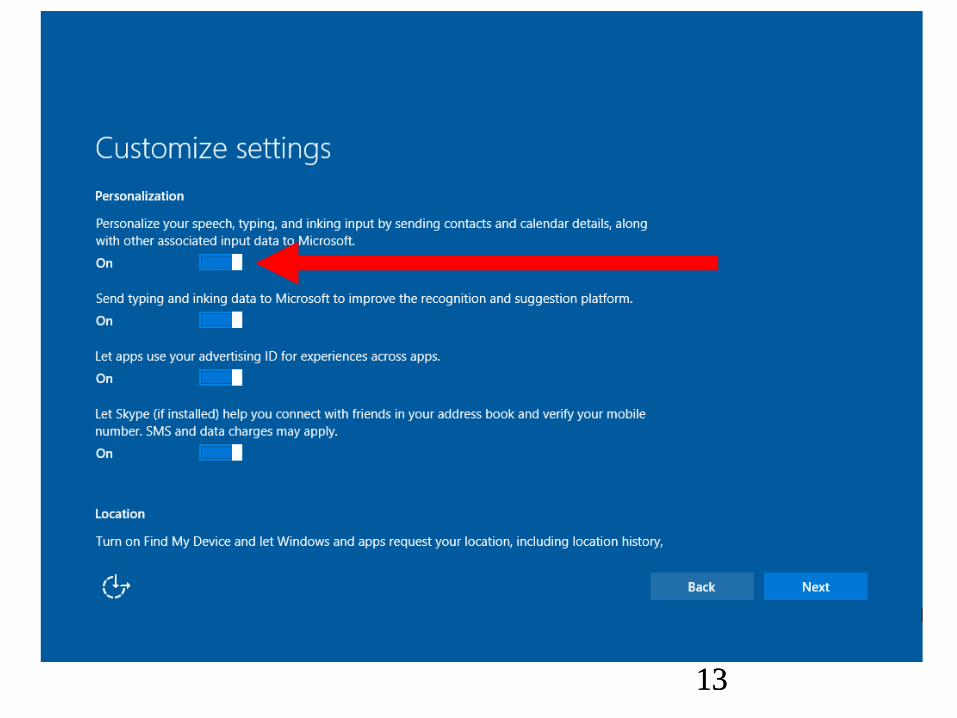
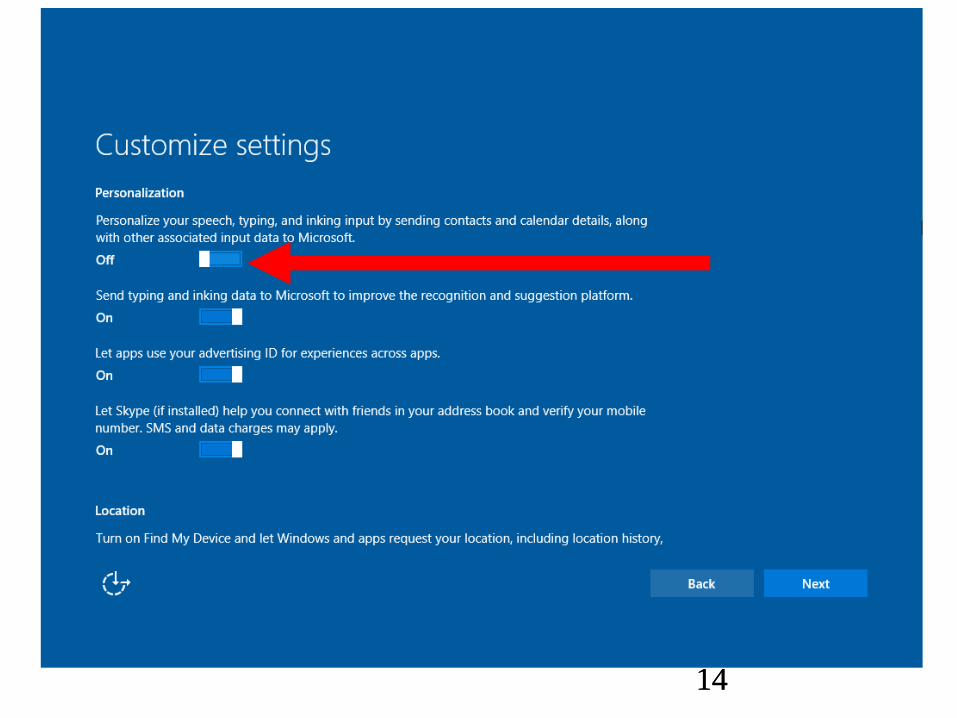
DETAILED STEPS (continued)
Step 3:
Turn off "Personalize your speech,
typing, and inking input..":
12
1313
1414
15
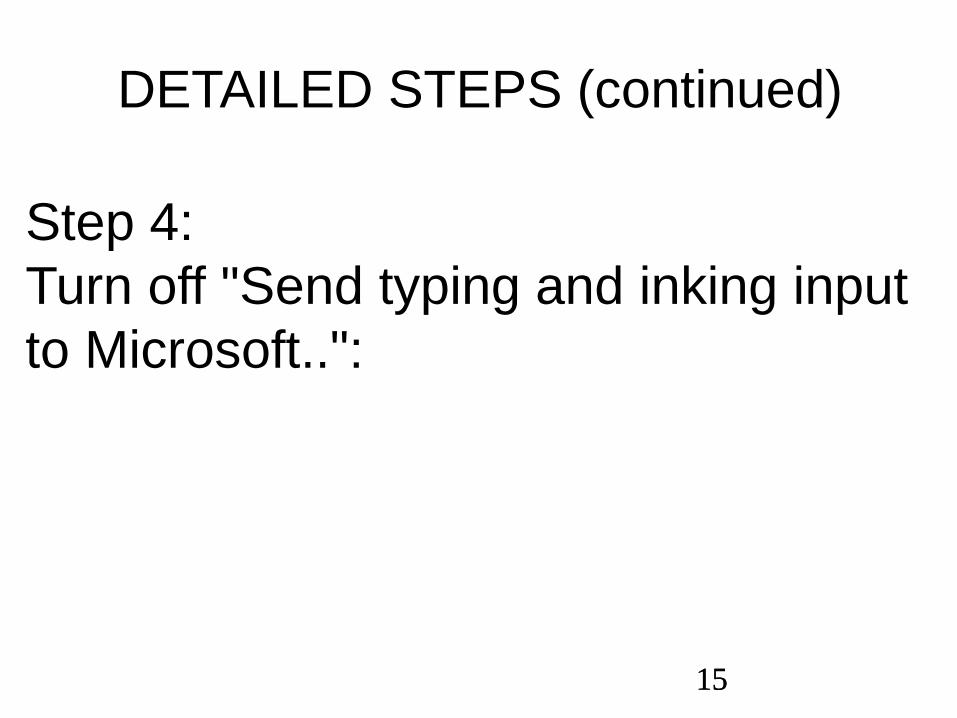
DETAILED STEPS (continued)
Step 4:
Turn off "Send typing and inking input
to Microsoft..":
15
1616

17
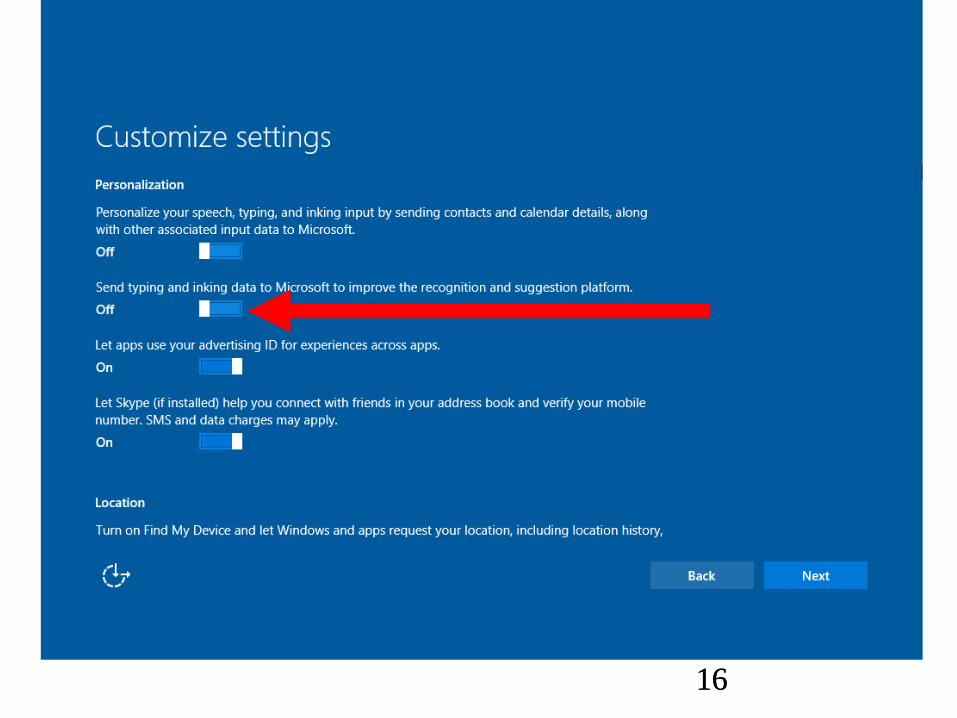
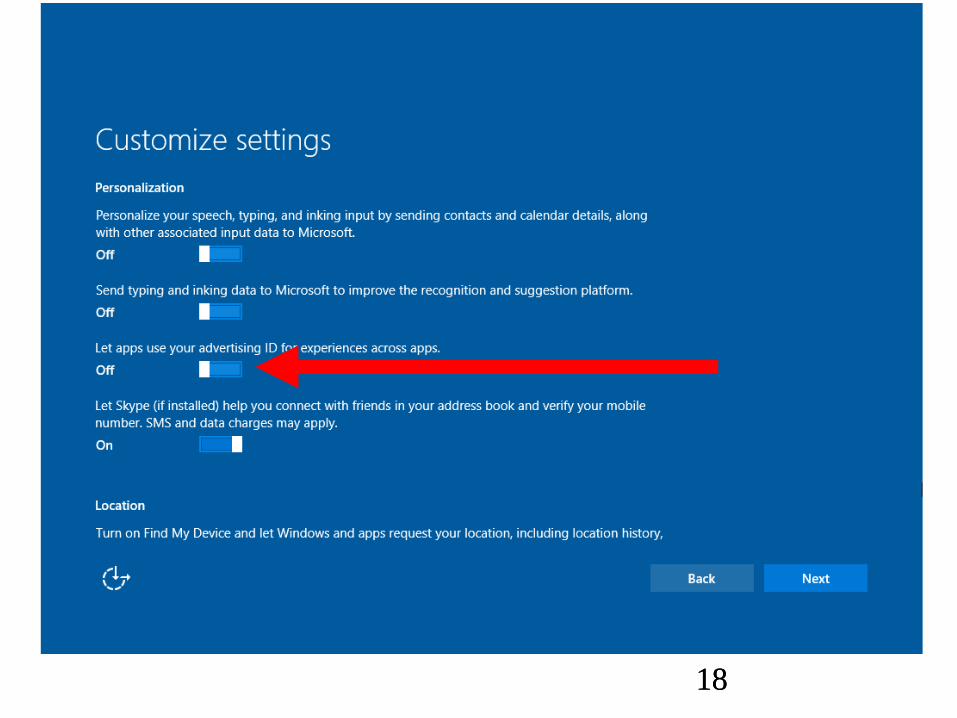
DETAILED STEPS (continued)
Step 5:
Turn off "Let apps user your
advertising ID..":
17
1818

19
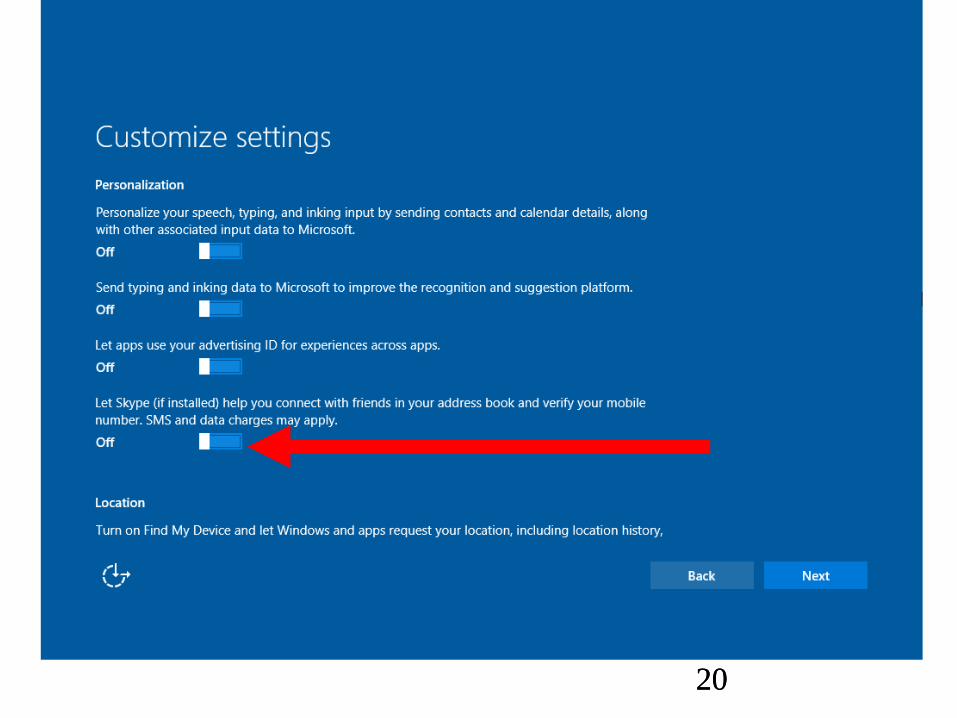
DETAILED STEPS (continued)
Step 6:
Turn off "Let Skype (if installed) help
you connect with friends in your
address book..":
19
2020
21
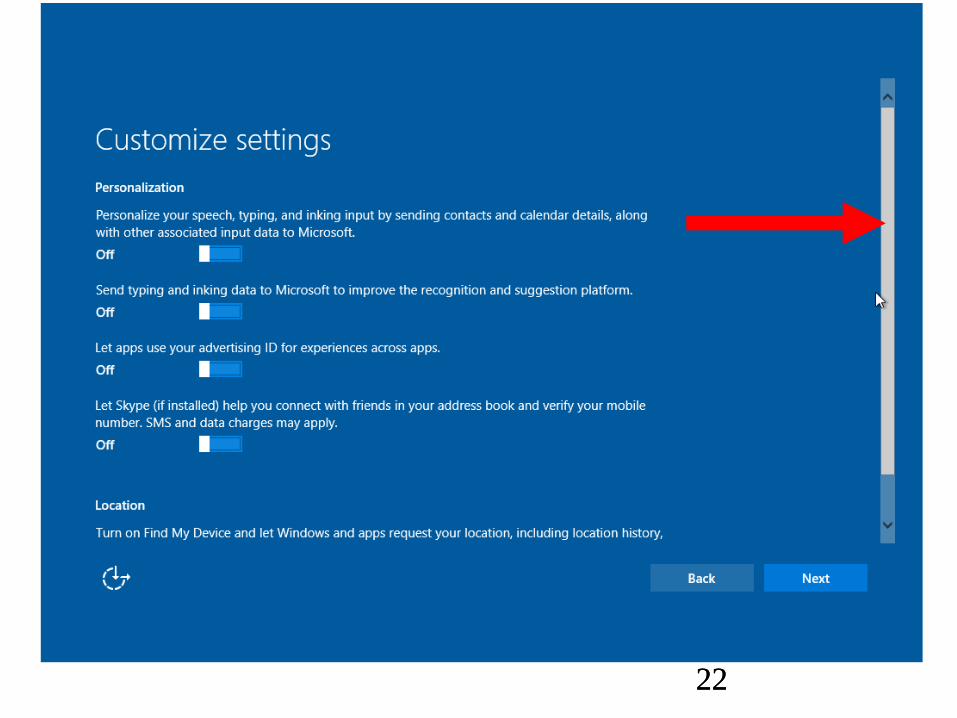
DETAILED STEPS (continued)
Step 7:
Hover the mouse pointer over the left
side of the monitor screen to make the
vertical scroll bar show up:
21
2222

23
DETAILED STEPS (continued)
Step 8:
Use the mouse pointer to drag
downward on the vertical scroll bar:
23

2424

25
DETAILED STEPS (continued)
Step 9:
Turn off "Find my device..":
25

2626

27
DETAILED STEPS (continued)
Step 10:
Click on the "Next" button:
27

2828
29
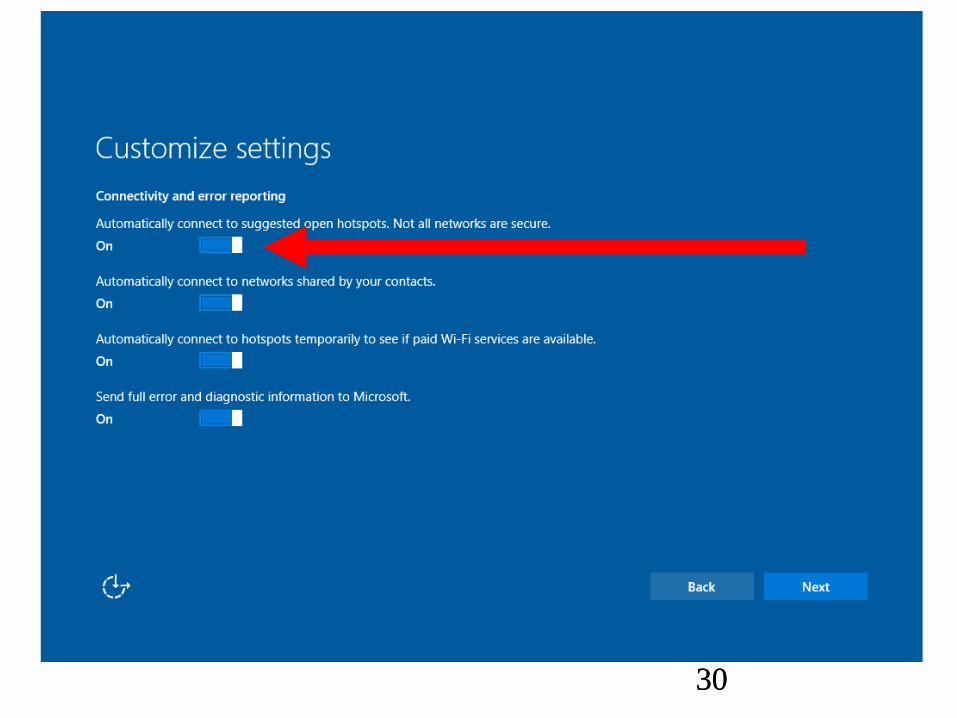
DETAILED STEPS (continued)
Step 11:
Turn off "Automatically connect to
suggested..":
29
3030

31
32
DETAILED STEPS (continued)
Step 12:
Turn off "Automatically connect to
networks shared by your contacts..":
32

33
34
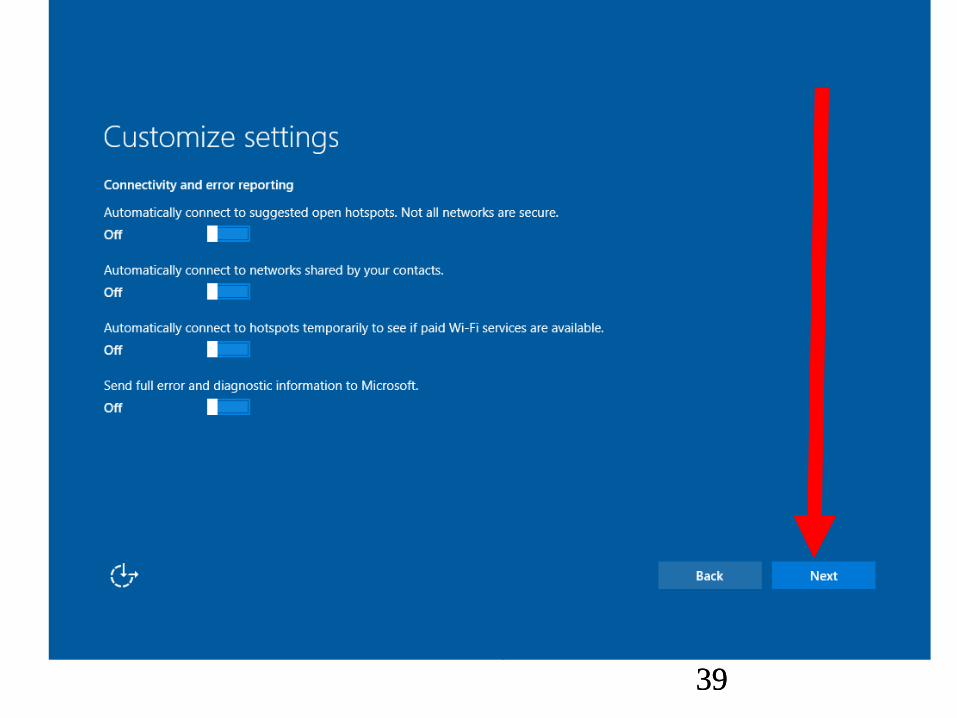
DETAILED STEPS (continued)
Step 13:
Turn off "Automatically connect to
hotspots..":
34

35

36
DETAILED STEPS (continued)
Step 14:
Turn off "Send full error and diagnostic
information to Microsoft.":
36

3737

38
DETAILED STEPS (continued)
Step 15:
Click on the "Next" button:
38
3939
40
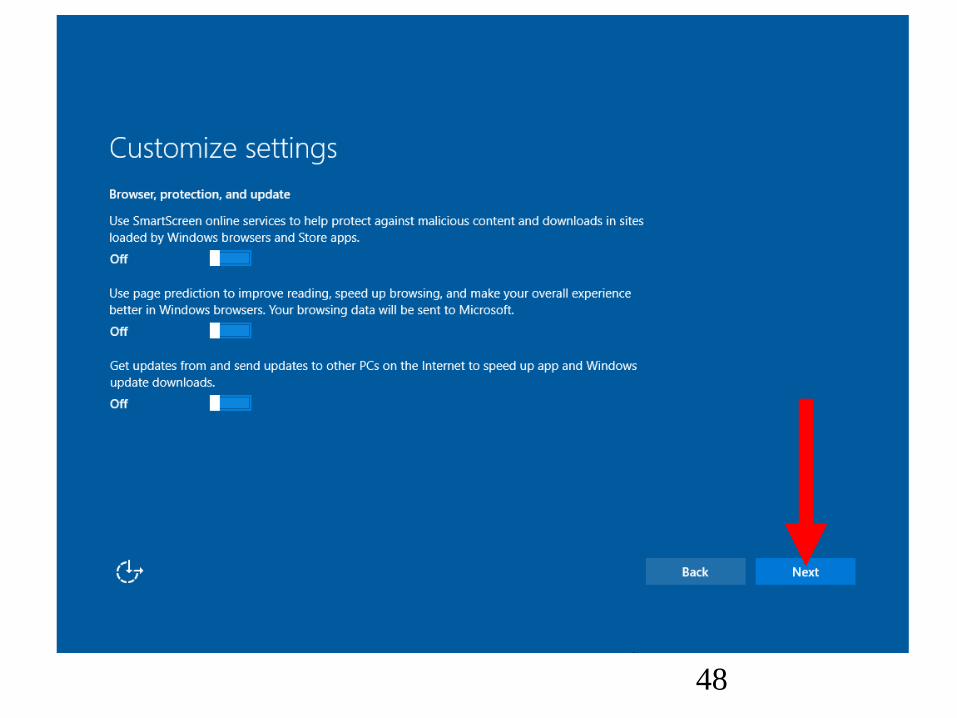
DETAILED STEPS (continued)
Step 16:
Turn off "Use SmartScreen online
services..":
40

4141

4242

43
DETAILED STEPS (continued)
Step 17:
Turn off "Use page prediction..":
43

4444

45
DETAILED STEPS (continued)
Step 18:
Turn off "Get updates and send
updates to other PCs on the Internet..":
45

4646

47
DETAILED STEPS (continued)
Step 19:
Click on the "Next" button:
47
48
49
DETAILED STEPS (continued)
Step 20:
The computer will run by itself for a
while:
49

50
51
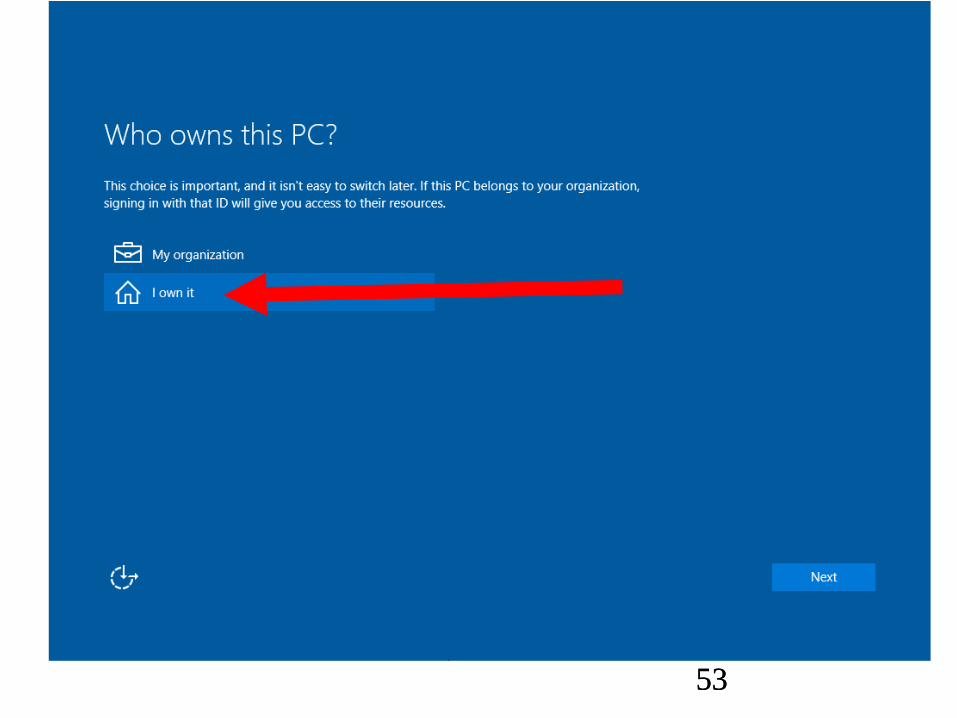
DETAILED STEPS (continued)
Step 21:
Click on the "I own it" button:
51

52
5353
54
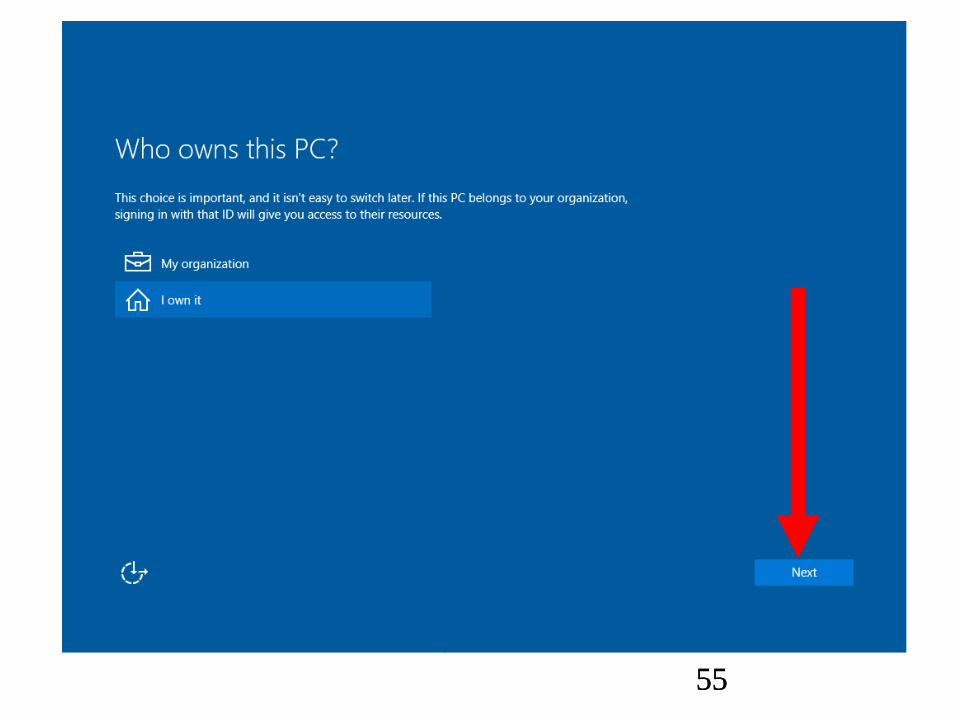
DETAILED STEPS (continued)
Step 22:
Click on the "Next" button:
54
5555
56
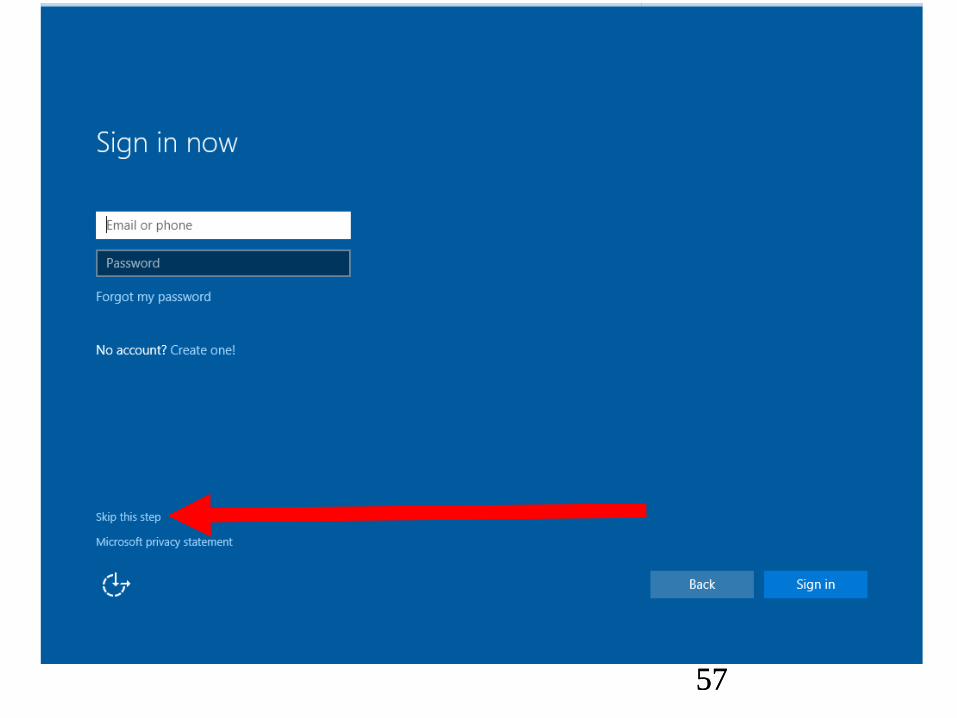
DETAILED STEPS (continued)
Step 23:
At this point, do not sign in with your
existing "Microsoft Account", even if
have one.
Click on "Skip this step" instead:
56
5757
58
DETAILED STEPS (continued)
Step 24:
A "Create an account for this PC" form
will be displayed:
58

5959
60
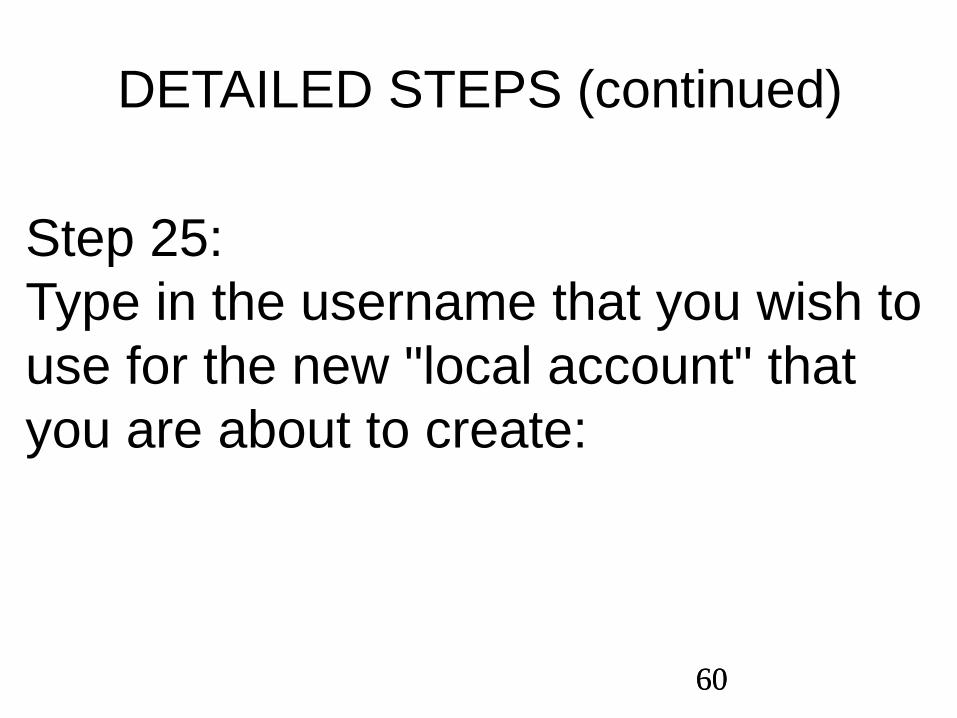
DETAILED STEPS (continued)
Step 25:
Type in the username that you wish to
use for the new "local account" that
you are about to create:
60
6161

62
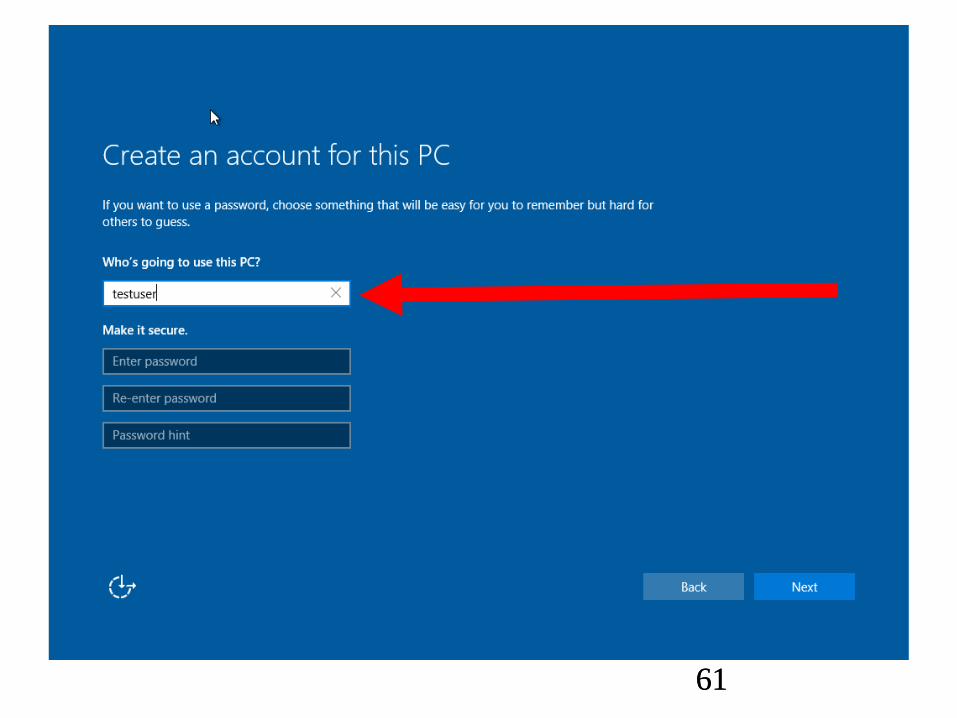
DETAILED STEPS (continued)
Step 26:
Type in the password that you wish to
use for the new "local account" that
you are about to create:
62

63

64
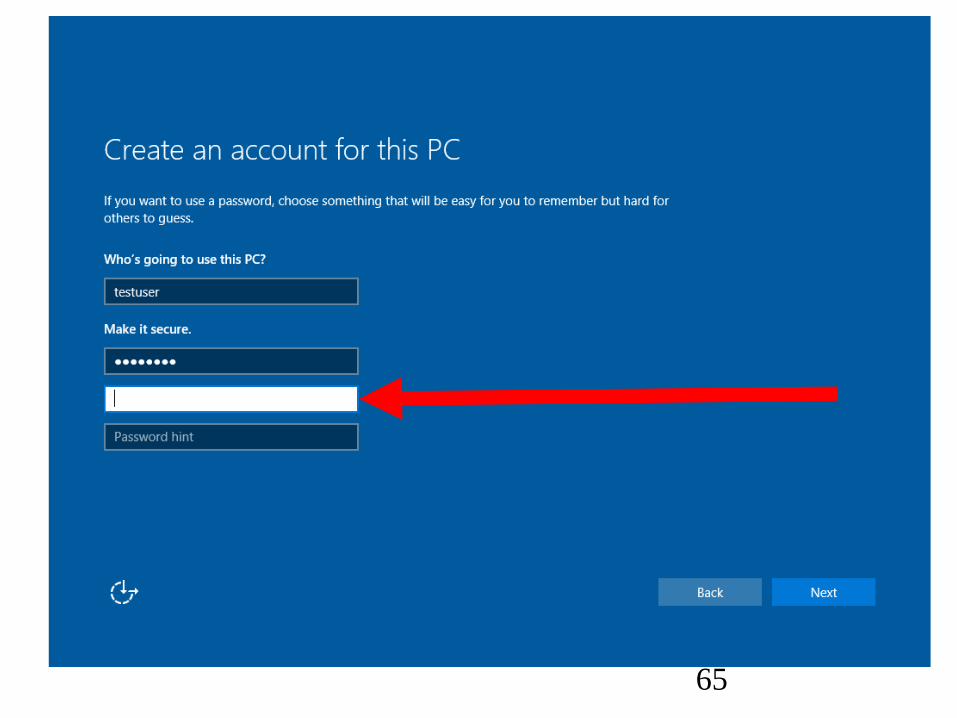
DETAILED STEPS (continued)
Step 27:
For a second time, type in the
password that you wish to use for the
new "local account" that you are about
to create:
64
65

66

67
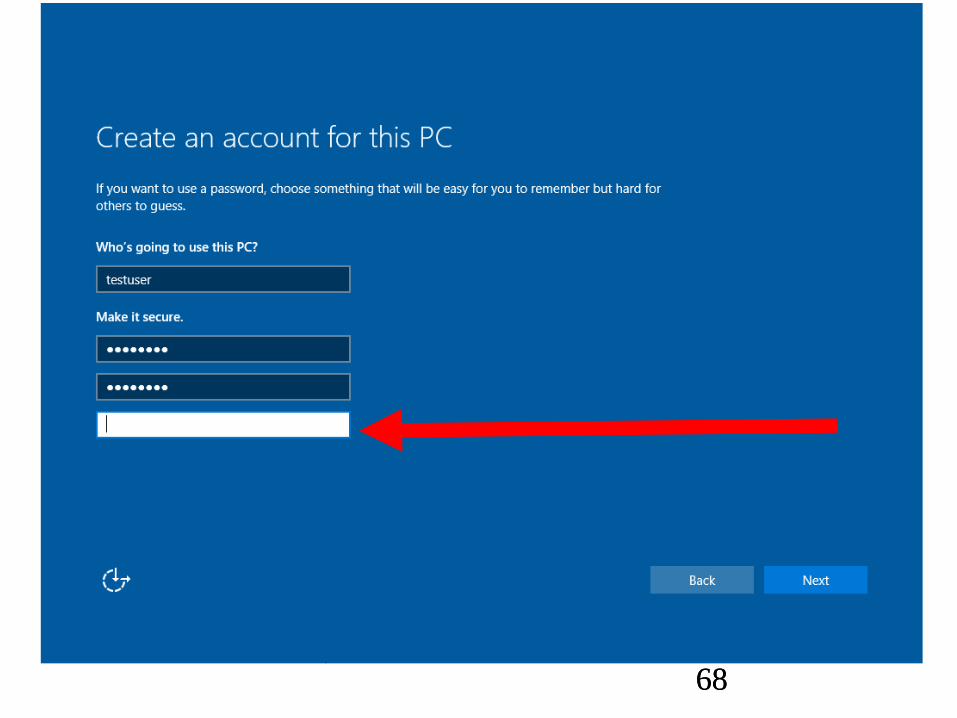
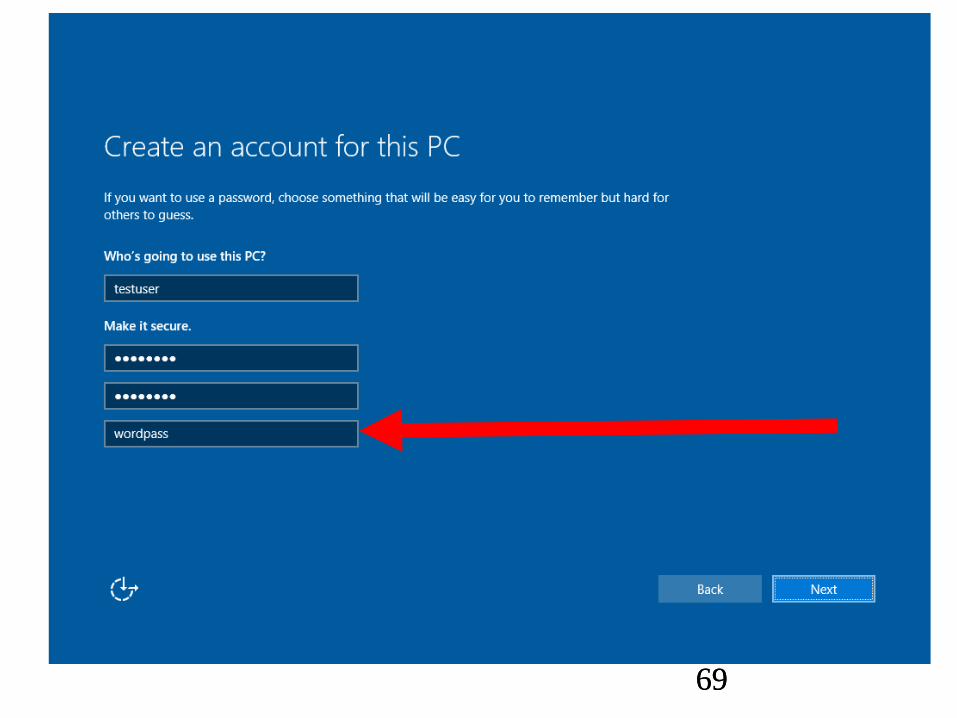
DETAILED STEPS (continued)
Step 28:
Type in a "password hint" that you wish
to use for the new "local account" that
you are about to create:
67
6868
6969
70
DETAILED STEPS (continued)
Step 29:
Click on the "Next" button :
70

7171

72
DETAILED STEPS (continued)
Step 30:
The computer will run by itself for a
while:
72

7373

7474
7575

7676

77
DETAILED STEPS (continued)
Step 31:
The Windows 10 "Desktop" will be
displayed:
77

78

79
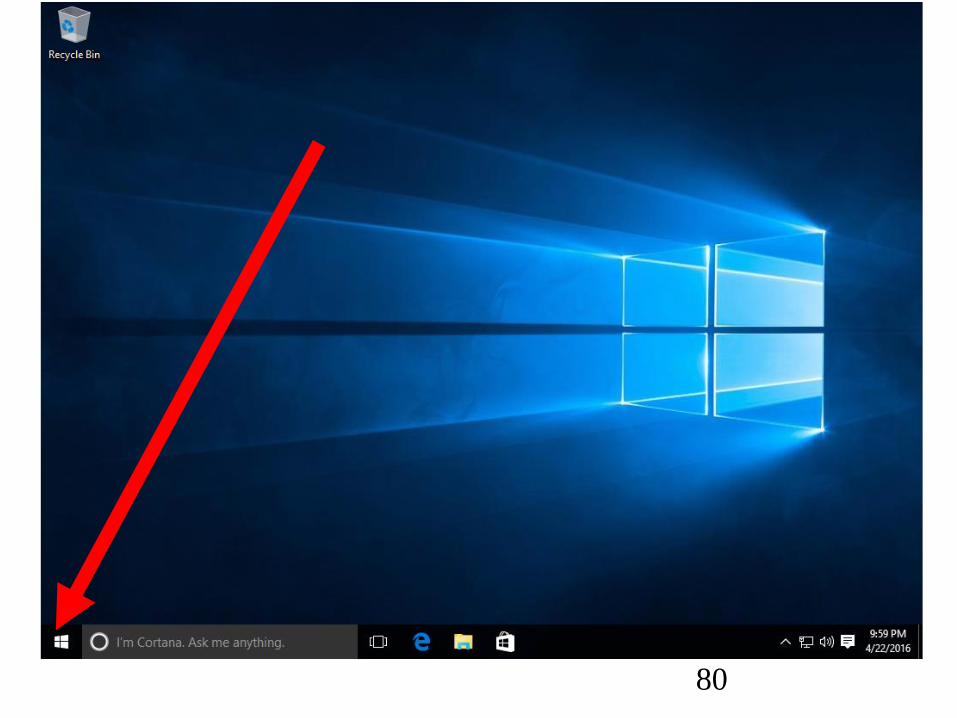
DETAILED STEPS (continued)
Step 32:
Use the RIGHT mouse button to click
on the Start button
or
press Windows key + x key with the
keyboard: :
79
80
81
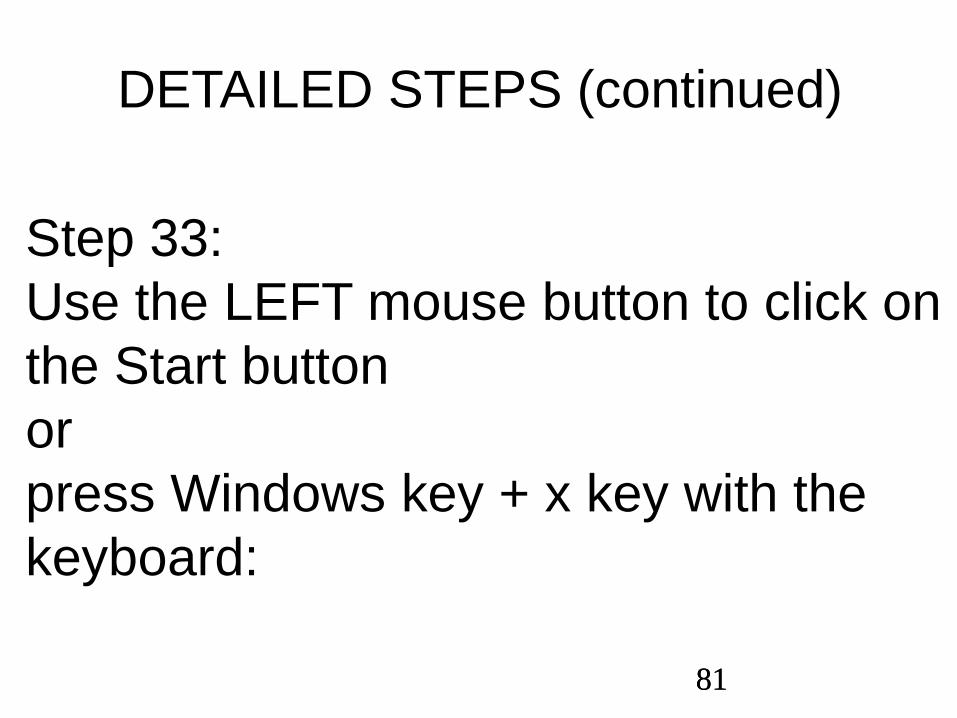
DETAILED STEPS (continued)
Step 33:
Use the LEFT mouse button to click on
the Start button
or
press Windows key + x key with the
keyboard:
81

82

83
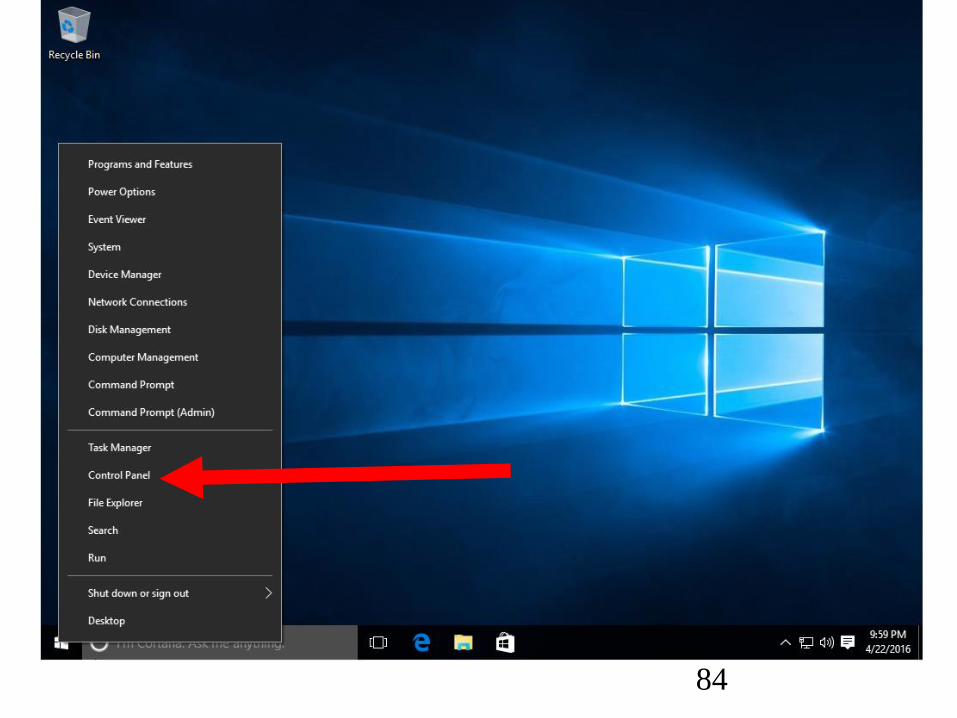
DETAILED STEPS (continued)
Step 34:
Use the left or right mouse button to
click on "Control Panel" in the pop-up
context menu:
83
84
85
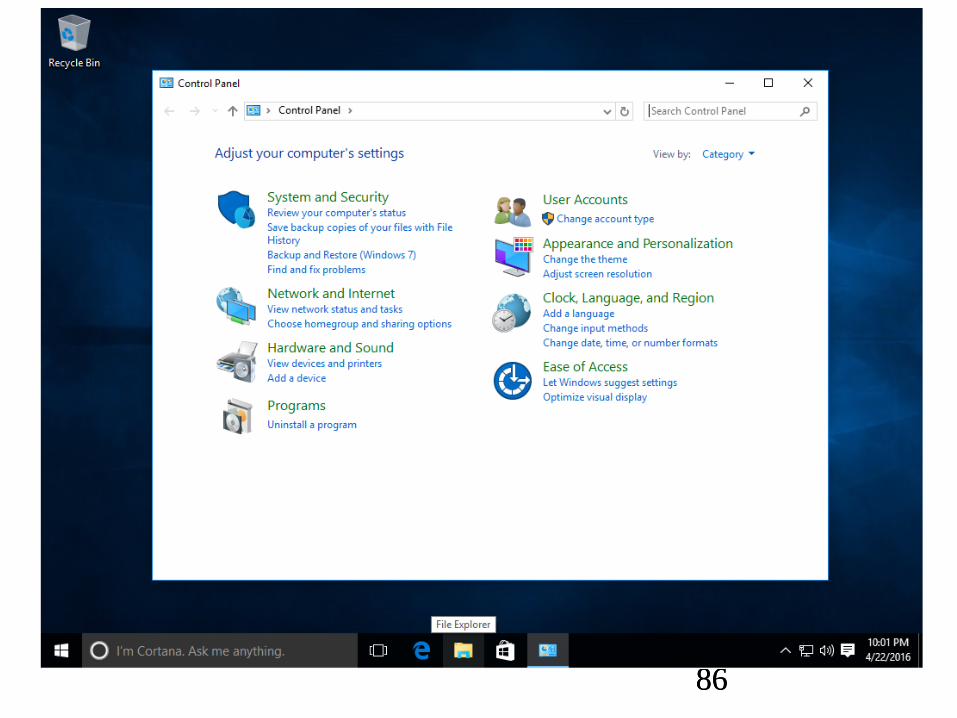
DETAILED STEPS (continued)
Step 35:
A "Control Panel" window will be
displayed:
85
8686
87
DETAILED STEPS (continued)
Step 36:
Click on "System and Security" or
"System":
87

8888

89
DETAILED STEPS (continued)
Step 37:
Click on "System":
89

9090
91
DETAILED STEPS (continued)
Step 38:
A "System" window will be displayed:
91

9292

93
DETAILED STEPS (continued)
Step 39:
In the "Windows Activation" section,
make sure that it says that
"Windows is activated":
93

9494

95
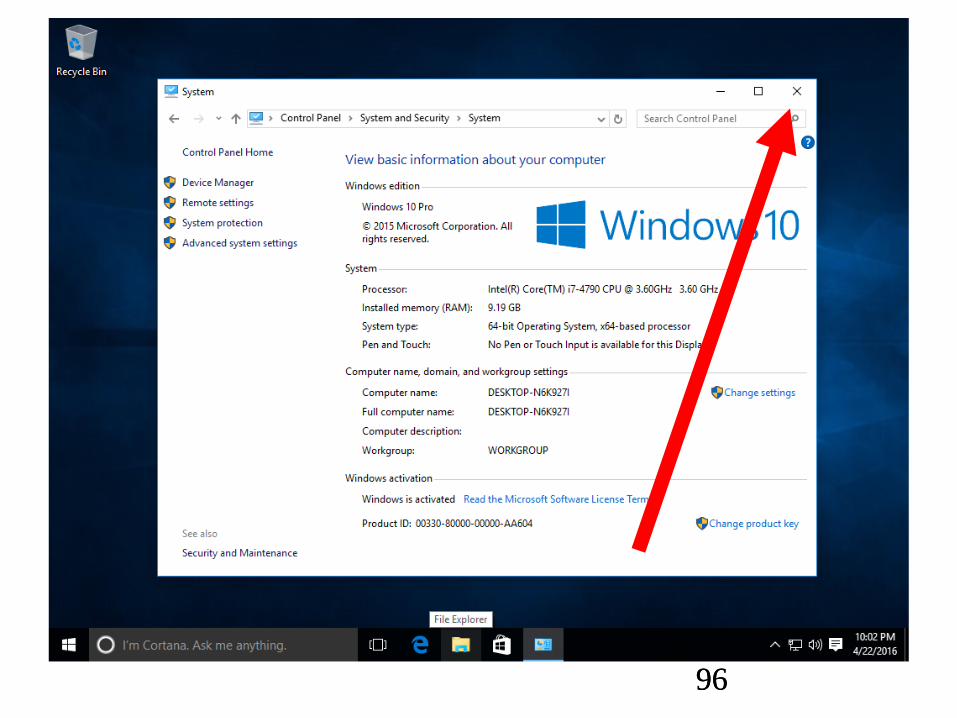
DETAILED STEPS (continued)
Step 40:
Close the "System" window by clicking
on the "x" button in the upper-right
corner:
95
9696