How to Use the Dimension Elite 3D Printer - CMU Engineering · How to Use the Dimension Elite 3D...
9
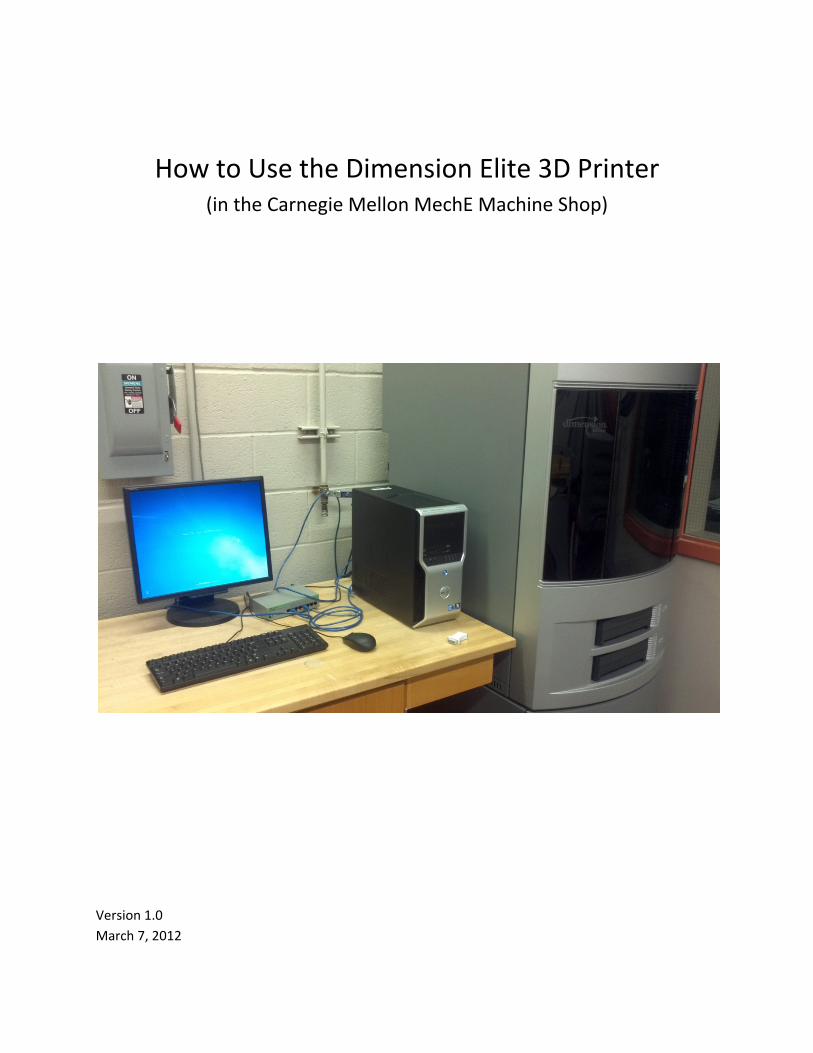
How to Use the Dimension Elite 3D Printer (in the Carnegie Mellon MechE Machine Shop) Version 1.0 March 7, 2012
Transcript of How to Use the Dimension Elite 3D Printer - CMU Engineering · How to Use the Dimension Elite 3D...
How to Use the Dimension Elite 3D Printer (in the Carnegie Mellon MechE Machine Shop)
Version 1.0 March 7, 2012

Exporting from Solidworks:
1) The machine prints ABS plastic. You can select this material in SolidWorks to get a rough idea of the weight, stiffness, etc. of your part. 2) Save your SolidWorks part or assembly as an STL. Select File‐>Save As and set “Save as type” to STL (Note: your part must fit within the 8in x 8in x 10in printable volume).
3) Put this file on a USB key and walk over to the machine shop (HH C124).
1/8
Preparing File for Printing:
1) The 3D printer is in the undergraduate area of the shop, by the safety glasses, lasercutters, etc.
2) Login to the computer beside the 3D printer using your Andrew username and password (Note: at the time of writing this document this does not work, ask one of the shop staff to log in for you).
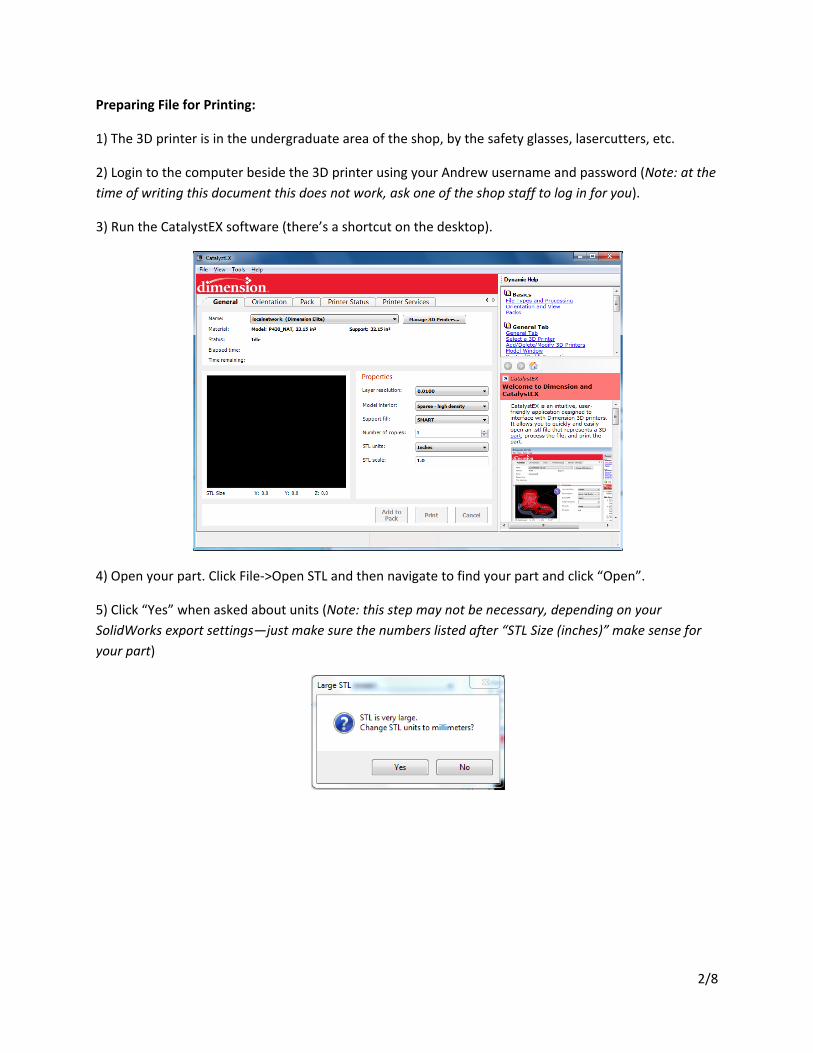
3) Run the CatalystEX software (there’s a shortcut on the desktop).
4) Open your part. Click File‐>Open STL and then navigate to find your part and click “Open”.
5) Click “Yes” when asked about units (Note: this step may not be necessary, depending on your SolidWorks export settings—just make sure the numbers listed after “STL Size (inches)” make sense for your part)
2/8

6) Select print properties: Layer Resolution: 0.007 (inches) (vs. 0.010) will give you a part with nicer finish and will preserve fine features better, but will take longer to print. Model Interior: Solid is what you want if your part is going to experience significant loading, this will create a solid body as you defined in SolidWorks. The sparse options will cut down on material use and speed up the printing but will leave unfilled pockets in your part. Support Fill: This tells the printer how to lay down the material that supports the ABS during printing (later dissolved away). For most situations, SMART is the appropriate choice. Number of Copies: Set this to 1, multiple copies can be added later. STL Units/Scale: You may have to adjust these if your SolidWorks export settings differ from the defaults
3/8

7) Select the “Orientation” tab
8) Adjust the orientation of your part using the panel on your right. Usually you can achieve the desired rotation simply by clicking X, Y, or Z to rotate 90 degrees about these axes. Points to consider:
Support Material: The orientation of your part affects the quantity of support material used when printing. The printer cannot lay down the ABS material without support material beneath. Thus, you should minimize the amount of overhanging material that needs to be supported. Layer Orientation: The printer builds layers in the x‐y plane, stacking them up in the z direction. Parts are weakest in shear between these layers. Minimize the likelihood that your part will experience large shear loads in this direction. Part Dimensions: You will need to orient your part such that it fits in the 8in x 8in x 10in printing volume.
4/8
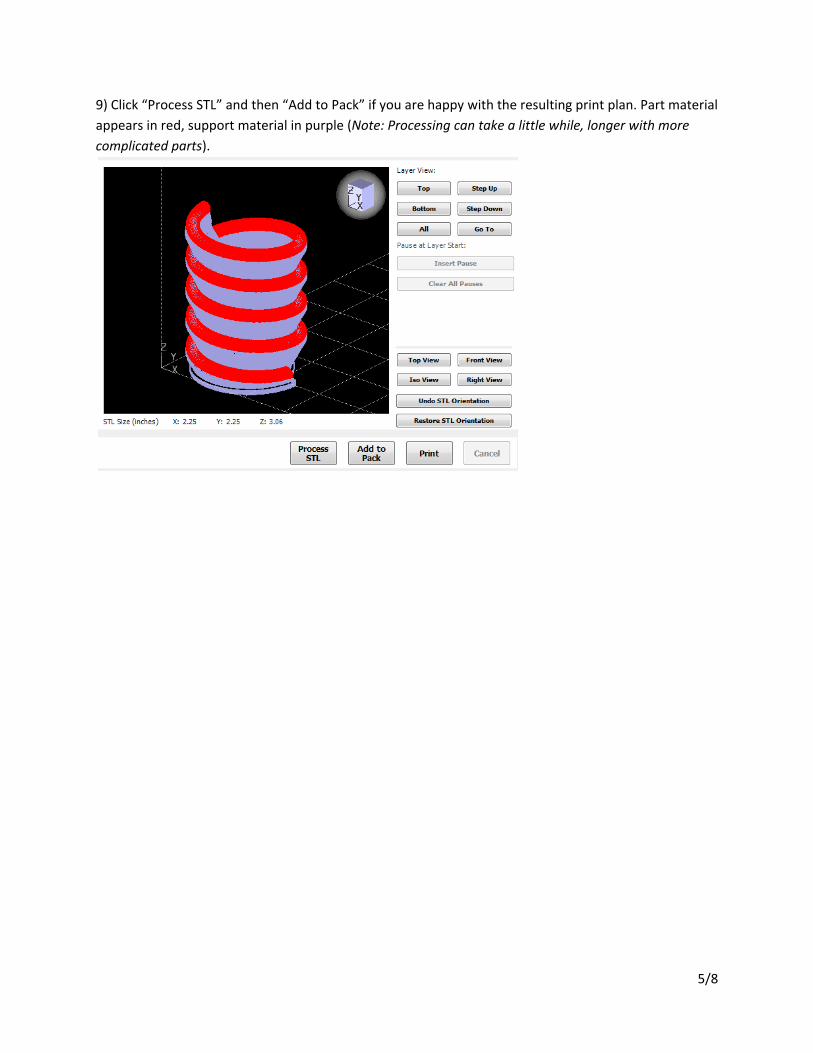
9) Click “Process STL” and then “Add to Pack” if you are happy with the resulting print plan. Part material appears in red, support material in purple (Note: Processing can take a little while, longer with more complicated parts).
5/8

10) Select the “Pack” tab.
11) Position your part by clicking and moving it around in the Preview screen. Avoid placing the part over any of the 4 circles (if this is unavoidable, it is probably OK).
12) At this point you can repeat the process of adding a part to the pack (click on the Orientation tab and open a new STL). This way you can add copies of the part or different parts to the pack and print them in one batch.
13) On the right you will see the quantity of material used and the duration of printing (in hours:minutes). If your part uses more than the available material (seen on the top beside “Material:”) you will want to coordinate with one of the shop staff. If the machine runs out of material it will pause, can be refilled, and then printing can resume. Finally, plan on about the same amount of time to print for the support material to dissolve (more on that later).
6/8

Initiate Printing
1) Click “Print”!
2) Move to the 3D printer. Make sure a clean tray is loaded in the machine. Trays are located behind the door at bottom of machine. To remove the old tray, open the door on the front of the machine, rotate the blue tabs outward and slide tray forward. Reverse the process for inserting a new tray, closing the door gently (Note: a tray that is not brand new could cause your part printing to fail).
3) Locate the LCD screens on the right side of the printer. If the machine does not say ILDE and your part name, talk to one of the shop staff. Press the button for “Start Model”.
4) Watch the machine until it starts to lay down material, most likely the machine will finish without errors after this point.
7/8

Finalizing Part
1) Come back after the estimated print time has passed. If your part is done, remove the tray and place in lye bath (Note: if the part is small, place tray in one of the mesh bags sitting at the bottom of cart). Open the bath by lifting handle at top of bath (Note: you may want to use gloves, apron, and/or face shield). Press switch on front of bath to activate it.
2) Check on your part every few hours to see if all of the black support material has dissolved. Depending on the quantity of support material and the nature of any cavities filled with support material in your part, time in the bath could vary greatly.
3) Once the part is done, remove from the bath, take to the sink (in the non‐student area of the machine shop), and rinse until the part no longer feels slippery.
4) You’re done!
8/8