How to Properly Clean your Trumpet - Sites at Penn...
5
Page 1 of 5 How to Properly Clean your Trumpet It’s a few days before your first day of band camp and you’re ecstatic to get started on your next marching season. You pack your sunscreen, water bottle, hats, snacks, sunglasses and of course your music. But wait…you realize you haven’t touched your trumpet since the end of concert band in May. Your values and tuning slides might be sluggish or even stuck. Don’t worry, this guide will explain how to properly clean your trumpet so you will be ready for another exciting season. What You Need Cleaning your instrument will take about 45 minutes – 1 hour. Take your time and do not rush. Proper cleaning will ensure a long Soft cloth rags Trumpet Cleaning Kit Brasso Metal Polish Slide Oil Valve Oil Dish Soap (preferred Dawn) Paper Towels Toothbrush Small Hammer (optional) Disassembly 1. Fill a large container with warm water. A bath or stationary tub will work well, but any large container big enough to hold the trumpet will work. 2. Lay out a large towel for your trumpet and its parts. Be sure to layout all of the parts on the towel so they can be organized and have a place to dry after they are washed. See Figure 1 below. WARNING: Be very careful when handling parts of the trumpet. The tuning slides and valves are precisely made and dropping or forcing parts into the instrument can cause permanent damage. Handle them with extra care when disassembling the trumpet.
Transcript of How to Properly Clean your Trumpet - Sites at Penn...
Page 1 of 5
How to Properly Clean your Trumpet
It’s a few days before your first day of band camp and you’re ecstatic to get started on your next marching season. You pack your sunscreen, water bottle, hats, snacks, sunglasses and of course your music. But wait…you realize you haven’t touched your trumpet since the end of concert band in May. Your values and tuning slides might be sluggish or even stuck. Don’t worry, this guide will explain how to properly clean your trumpet so you will be ready for another exciting season.
What You Need
Cleaning your instrument will take about 45 minutes – 1 hour. Take your time and do not rush. Proper cleaning will ensure a long
Soft cloth rags
Trumpet Cleaning Kit
Brasso Metal Polish
Slide Oil
Valve Oil
Dish Soap (preferred Dawn)
Paper Towels
Toothbrush
Small Hammer (optional)
Disassembly
1. Fill a large container with warm water. A bath or stationary tub will work well, but any large container big enough to hold the trumpet will work.
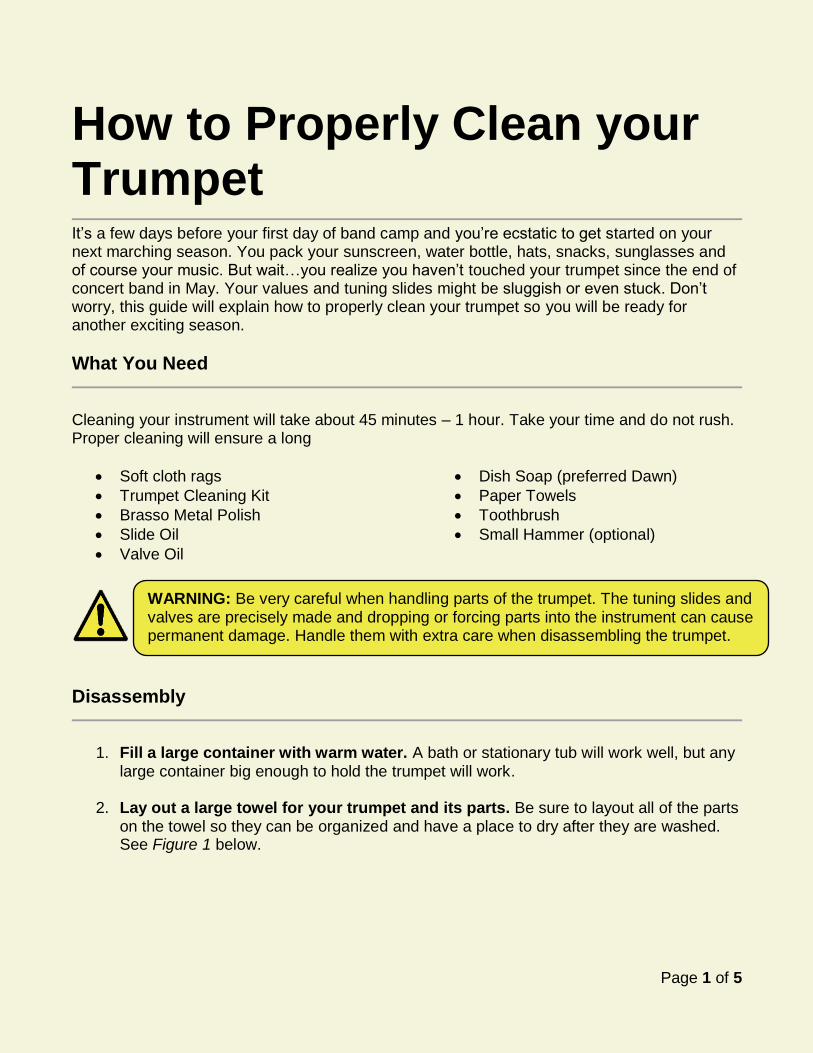
2. Lay out a large towel for your trumpet and its parts. Be sure to layout all of the parts on the towel so they can be organized and have a place to dry after they are washed. See Figure 1 below.
WARNING: Be very careful when handling parts of the trumpet. The tuning slides and valves are precisely made and dropping or forcing parts into the instrument can cause permanent damage. Handle them with extra care when disassembling the trumpet.
Page 2 of 5
3. Unscrew all of the values and place them in order on the towel. Typically values have a number from 1—3 stamped on their side. Lay them in order. This will be important for when you assemble the instrument.
4. Unscrew the value caps beneath each value casing.
a. Wrap the value cap with a small towel. This is to protect the cap and the surrounding brass.
b. Using a small hammer, lightly tap the cap in a clockwise direction. c. Check the cap to see if you can unscrew by hand. If you cannot repeat steps
a & b. ** If steps a – c do not work, you will need to take your trumpet to a local music shop to remove the caps. **
Tip —Valve caps commonly get stuck and will not come off by hand. If this is your
case, use the following steps:
Valves
Valve Caps
Main Tuning Slide
3rd Valve Tuning Slide
2nd Valve Tuning Slide
1st Valve Tuning Slide
Valve Casing
Figure 1: Disassembled trumpet and named parts
Page 3 of 5
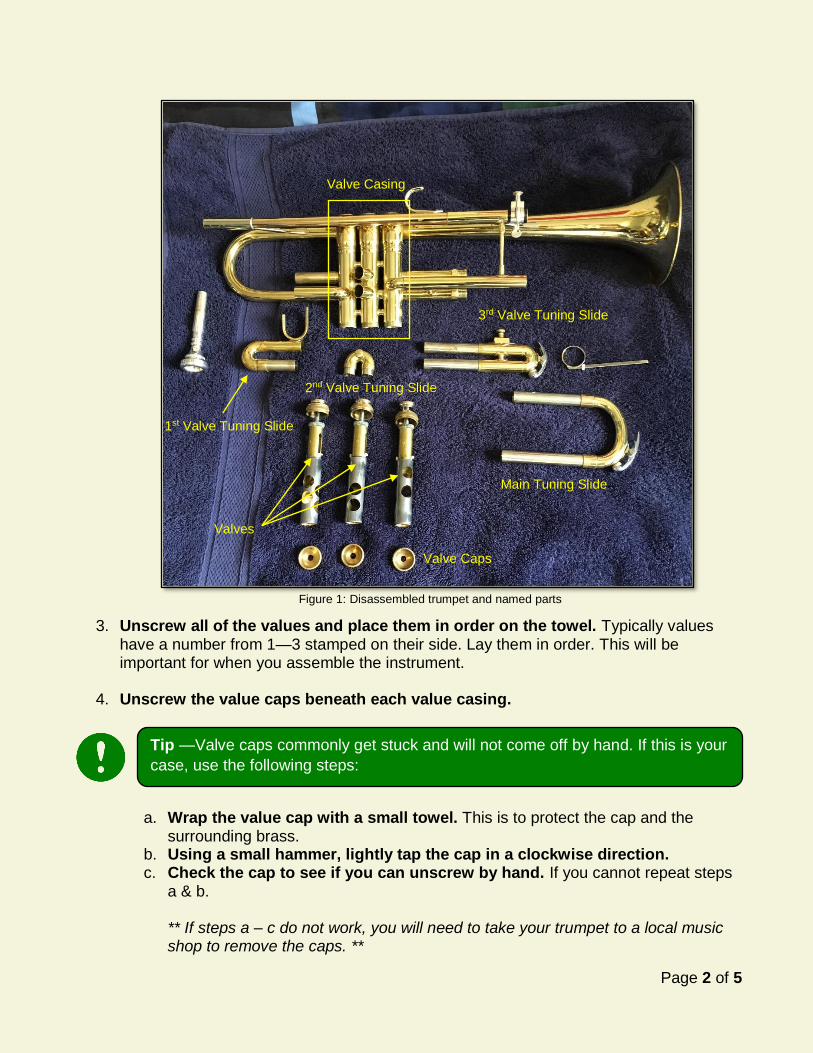
5. Remove the main, first, and second value tuning slides
Cleaning
1. Submerge all parts into the water EXCEPT the valves.
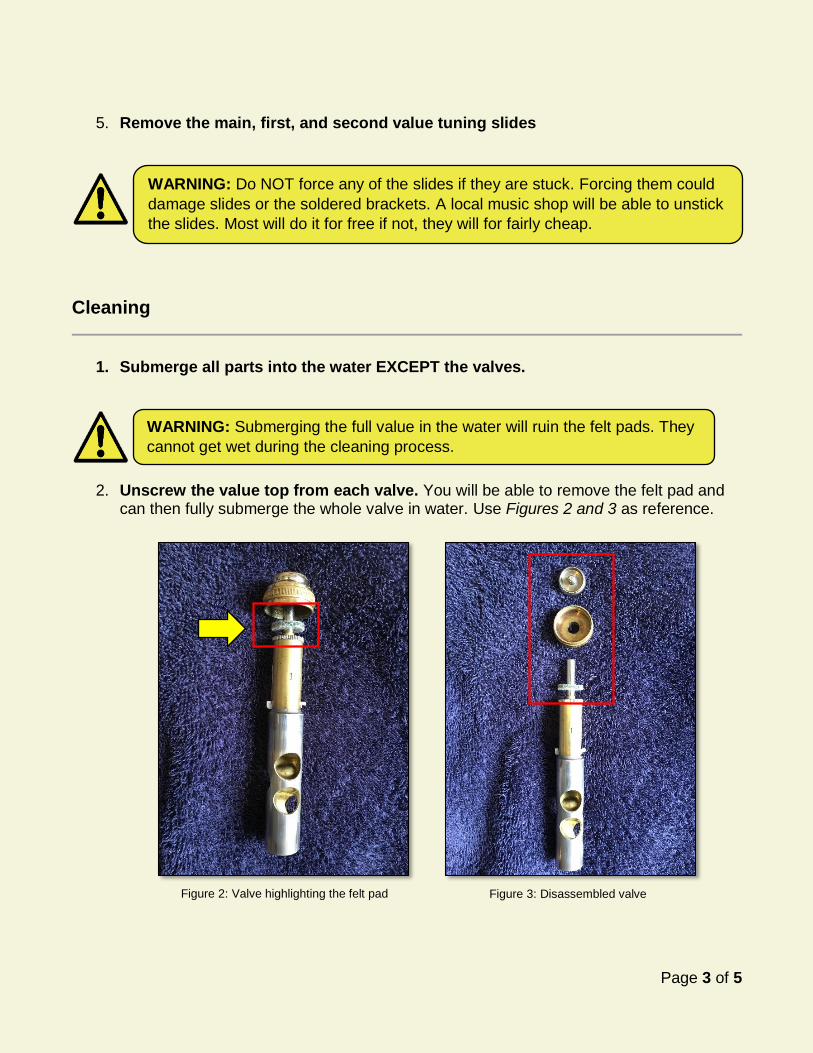
2. Unscrew the value top from each valve. You will be able to remove the felt pad and
can then fully submerge the whole valve in water. Use Figures 2 and 3 as reference.
WARNING: Do NOT force any of the slides if they are stuck. Forcing them could
damage slides or the soldered brackets. A local music shop will be able to unstick
the slides. Most will do it for free if not, they will for fairly cheap.
WARNING: Submerging the full value in the water will ruin the felt pads. They
cannot get wet during the cleaning process.
Figure 2: Valve highlighting the felt pad Figure 3: Disassembled valve
Page 4 of 5
3. Using a wet rag with dish soap, massage the outside of the trumpet and all other components. Add more dish soap as needed. This removes any dirt and oil that may build up from use.
4. With the straight brush form the cleaning kit, add dish soap and clean the value ports. Simply run water through the spring. Brushing the spring is not necessary.
5. Using the same brush, clean the inside of the value casings. Doing this removes any saliva build up as well as other particulates.
6. Using the snake brush from the cleaning kit and dish soap, slide the brush through all removed slides and ones on the body of the trumpet. Make sure you take time to clean all tubes thoroughly. The curves in the tubing are where most dirt builds up.
7. Take the toothbrush and clean any hard to reach areas. Also use the toothbrush to clean the bottom value caps.
8. Rinse all of the parts of the trumpet with clean water and lay them back on the towel. Dry as much as you can with another towel. Let the rest of the trumpet air dry.
9. Once drying is complete, take the main tuning slide and apply a line of Brasso on the length of the slide. The copper on the slides can become tarnished from mineral buildup due to usage over time.
10. Spread the Brasso evenly over the slide with your finger.
11. Take a soft cloth rag and buff the area covered in Brasso. For hard to reach areas, use paper towels instead.
12. Complete steps 9 – 11 on each of the tuning slides. You may repeat steps 9 – 11 if not all of the buildup is removed. Your slides will move much easier once they are cleaned off.
WARNING: Do not get any Brosso on the finish of your trumpet. Brasso will
damage lacquer and silver plating. Be careful when cleaning the slides.
Page 5 of 5
Reassembly
1. Apply a line of slide oil (similar to the line of Brasso in cleaning step 9) to the main tuning slide. Insert the tuning slide and wipe away any excess oil. Move the slide in and out to ensure the whole slide is full lubricated.
2. Repeat step 1 for the 1st, 2nd, and 3rd valve tuning slides. All of the slides should be
inserted back into the trumpet.
3. Replace the felt pads that were removed from each valve and reassemble each part.
4. Oil each value and place it back in its proper value casing. Screw the caps bac on as well. Use the following tip if you are unsure which value goes where.
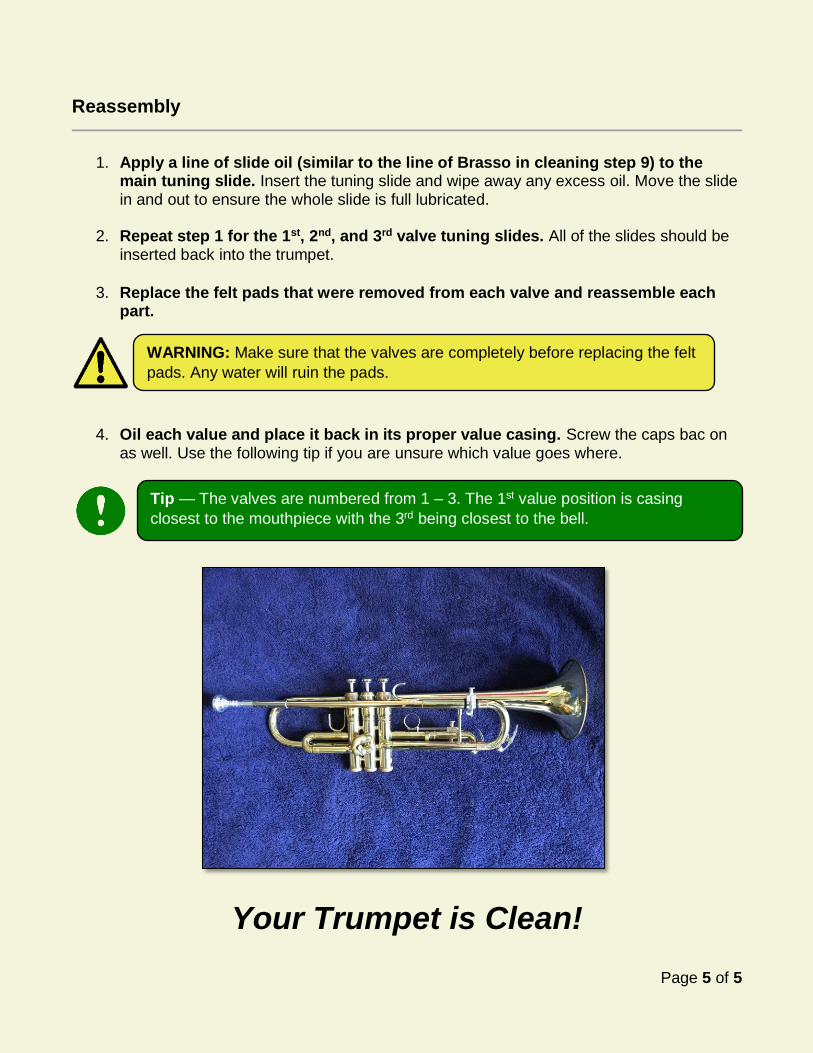
Your Trumpet is Clean!
WARNING: Make sure that the valves are completely before replacing the felt
pads. Any water will ruin the pads.
Tip — The valves are numbered from 1 – 3. The 1st value position is casing
closest to the mouthpiece with the 3rd being closest to the bell.