Letterpress to Laser. A modern flat-bed printing pressflat-bed printing press PRINTING.
Upload
swapnil-acharyaCategory
view
58download
0
How not to piss off your Printing Press
Swapnil Acharya


Design DisastersI’ve made more mistakes than I’ve handled successful print projects.
Trust me!


Ever wondered why your design looks terrific on screen but dull
and dim on print?


Before you start to design
• Understanding your tools
• Understanding what you’re designing
• Understanding the media format

Know your tools.• Adobe InDesign is the mostly commonly found, and most commonly used
publishing tool for designers.
• Adobe Photoshop is great for image optimizing.For content creation - a big NO-NO!
• A number of Adobe software might work together. eg. InDesign for publishing, Photoshop for editing and Illustrator for drawing.

What you’re designingUnderstand the process, components and concept

Step 1: Content Design• Content is the King. Without content, no design can exist.
• Get the content together (paragraphs of text, data, images)
• Generally done by an Editor, but you as a designer can chip in.
• PRO TIP: Do not proceed to design until the content is finalized.

Step 2: Image Processing• Get the photos/media/artwork together
• Compose
• Optimize
Compiling Artwork

Vector Art Bitmap Art
Illustrations
Clip Art
Icons
Patterns
Photos
Paintings
Scans
Visualizations
Composing and Image Editing


Optimization
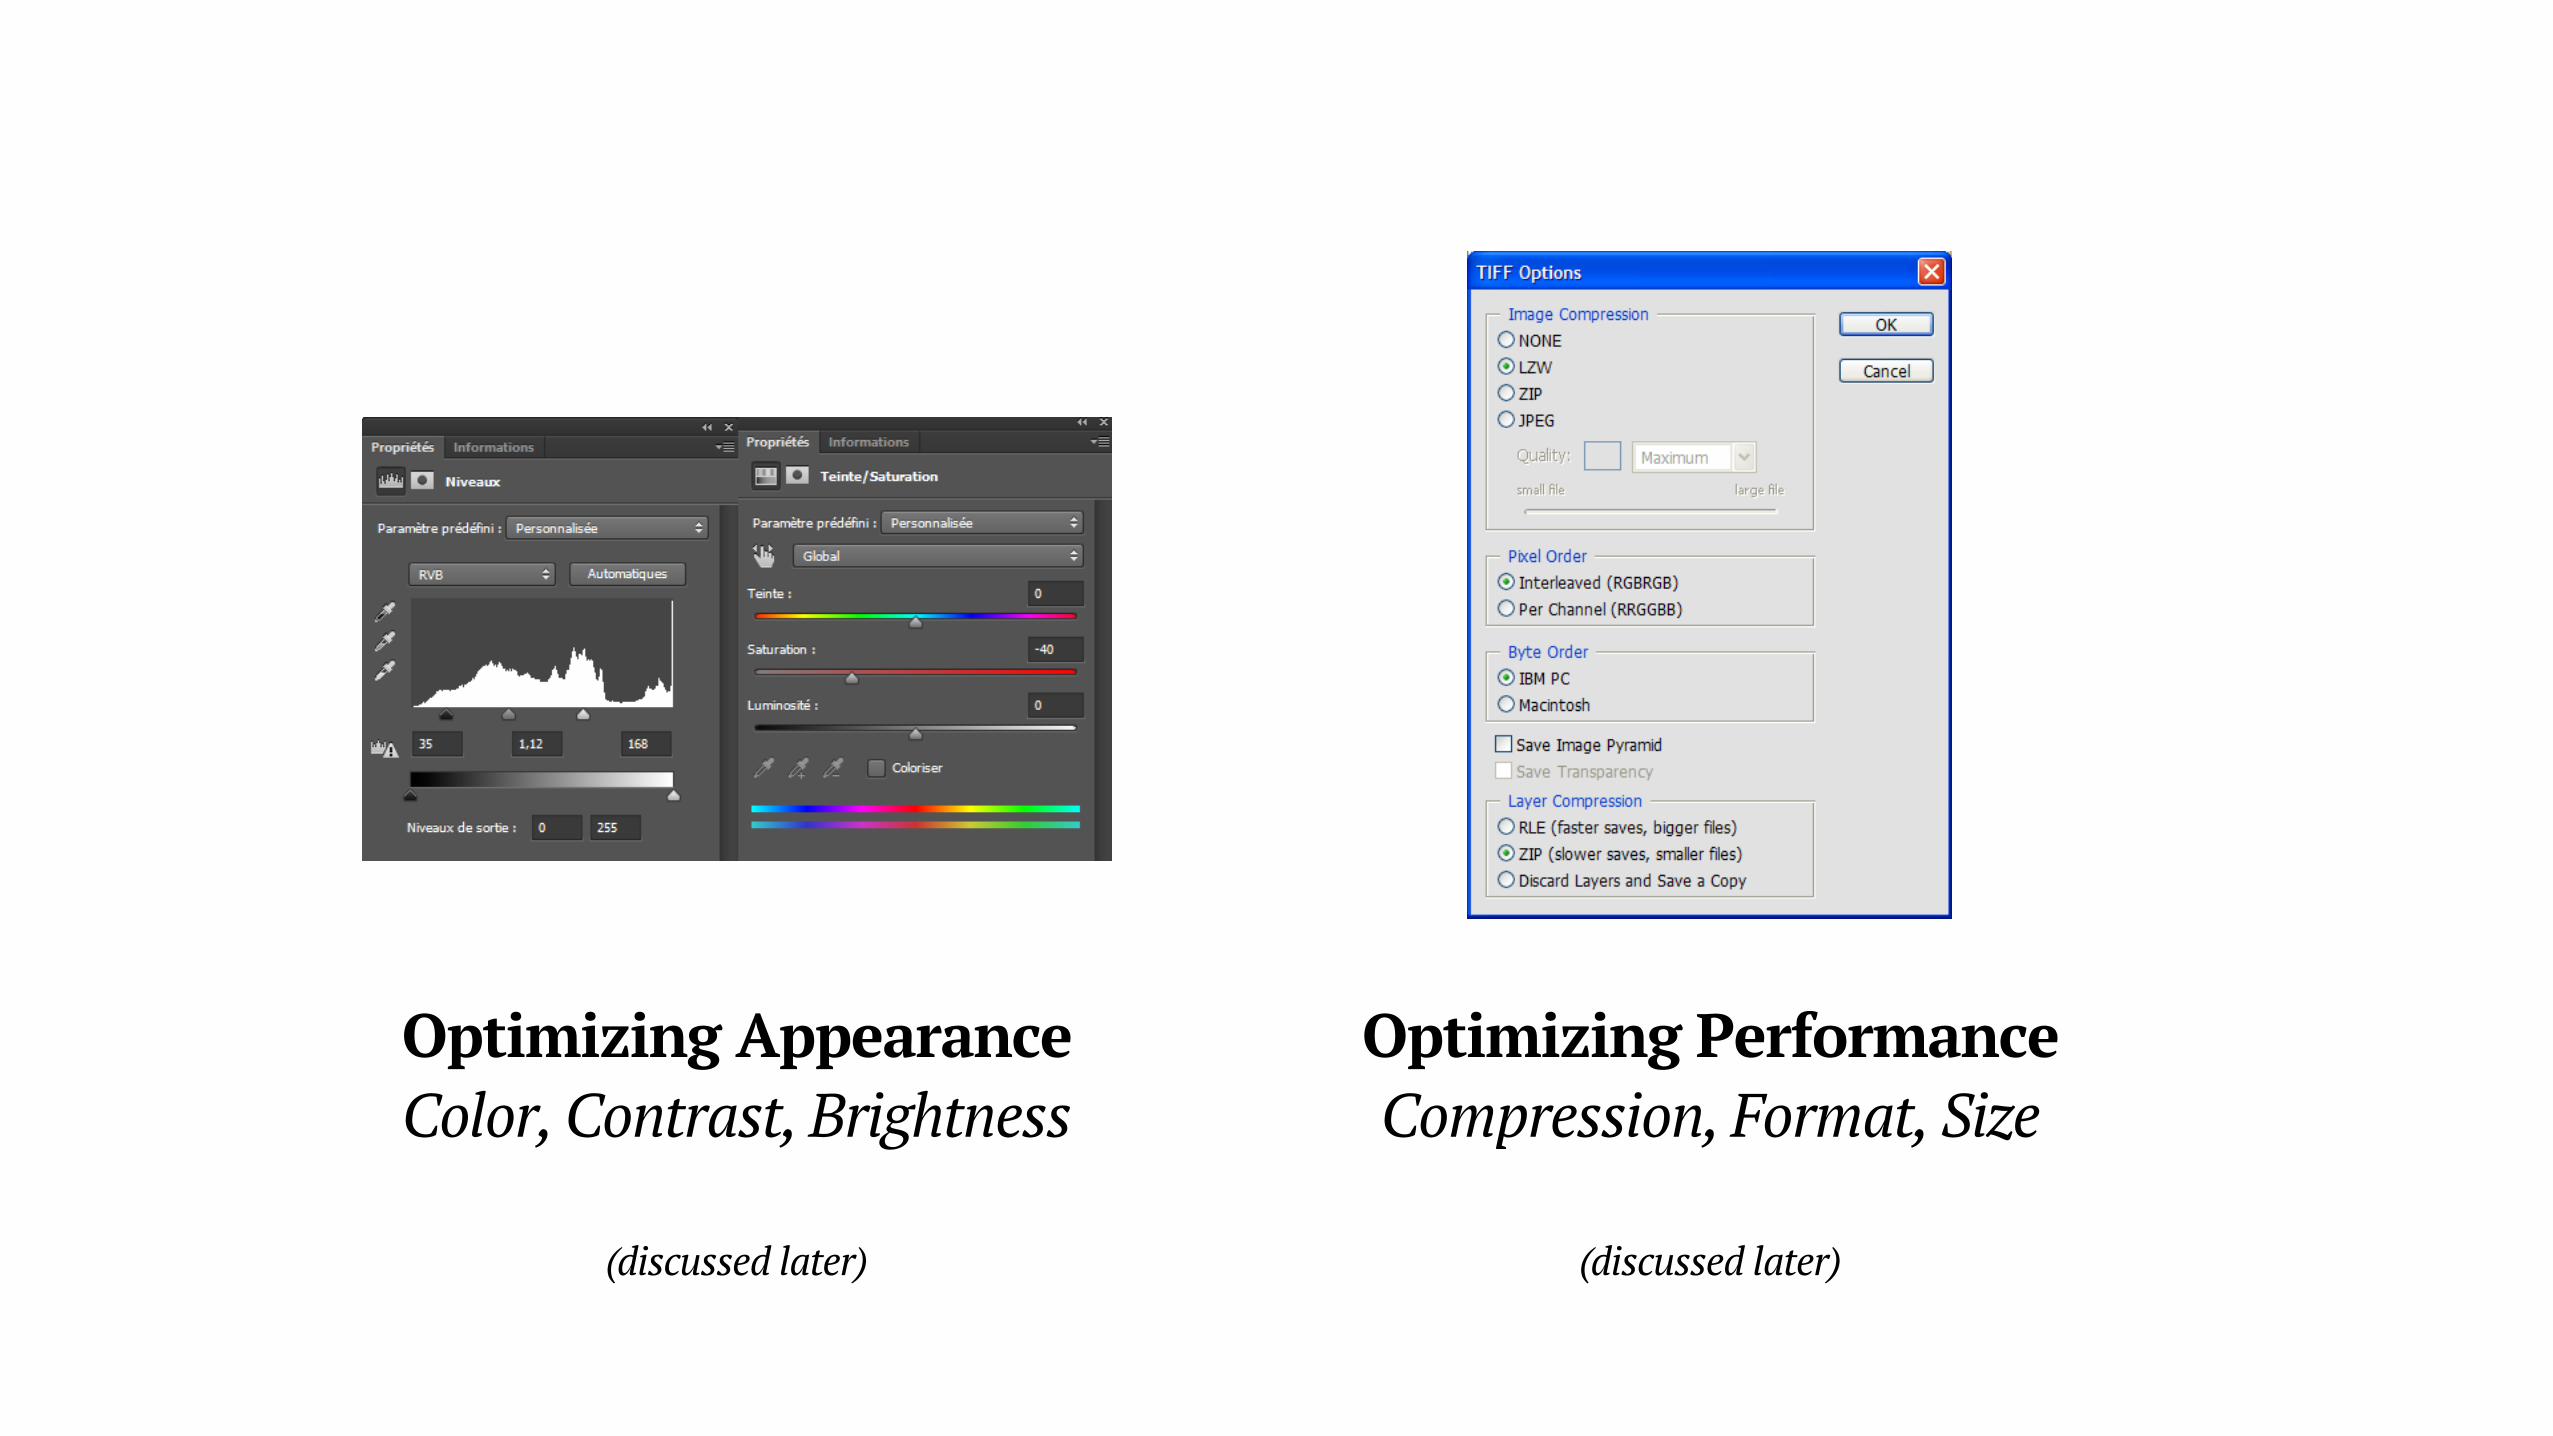
Optimizing Appearance Color, Contrast, Brightness
(discussed later)
Optimizing Performance Compression, Format, Size
(discussed later)
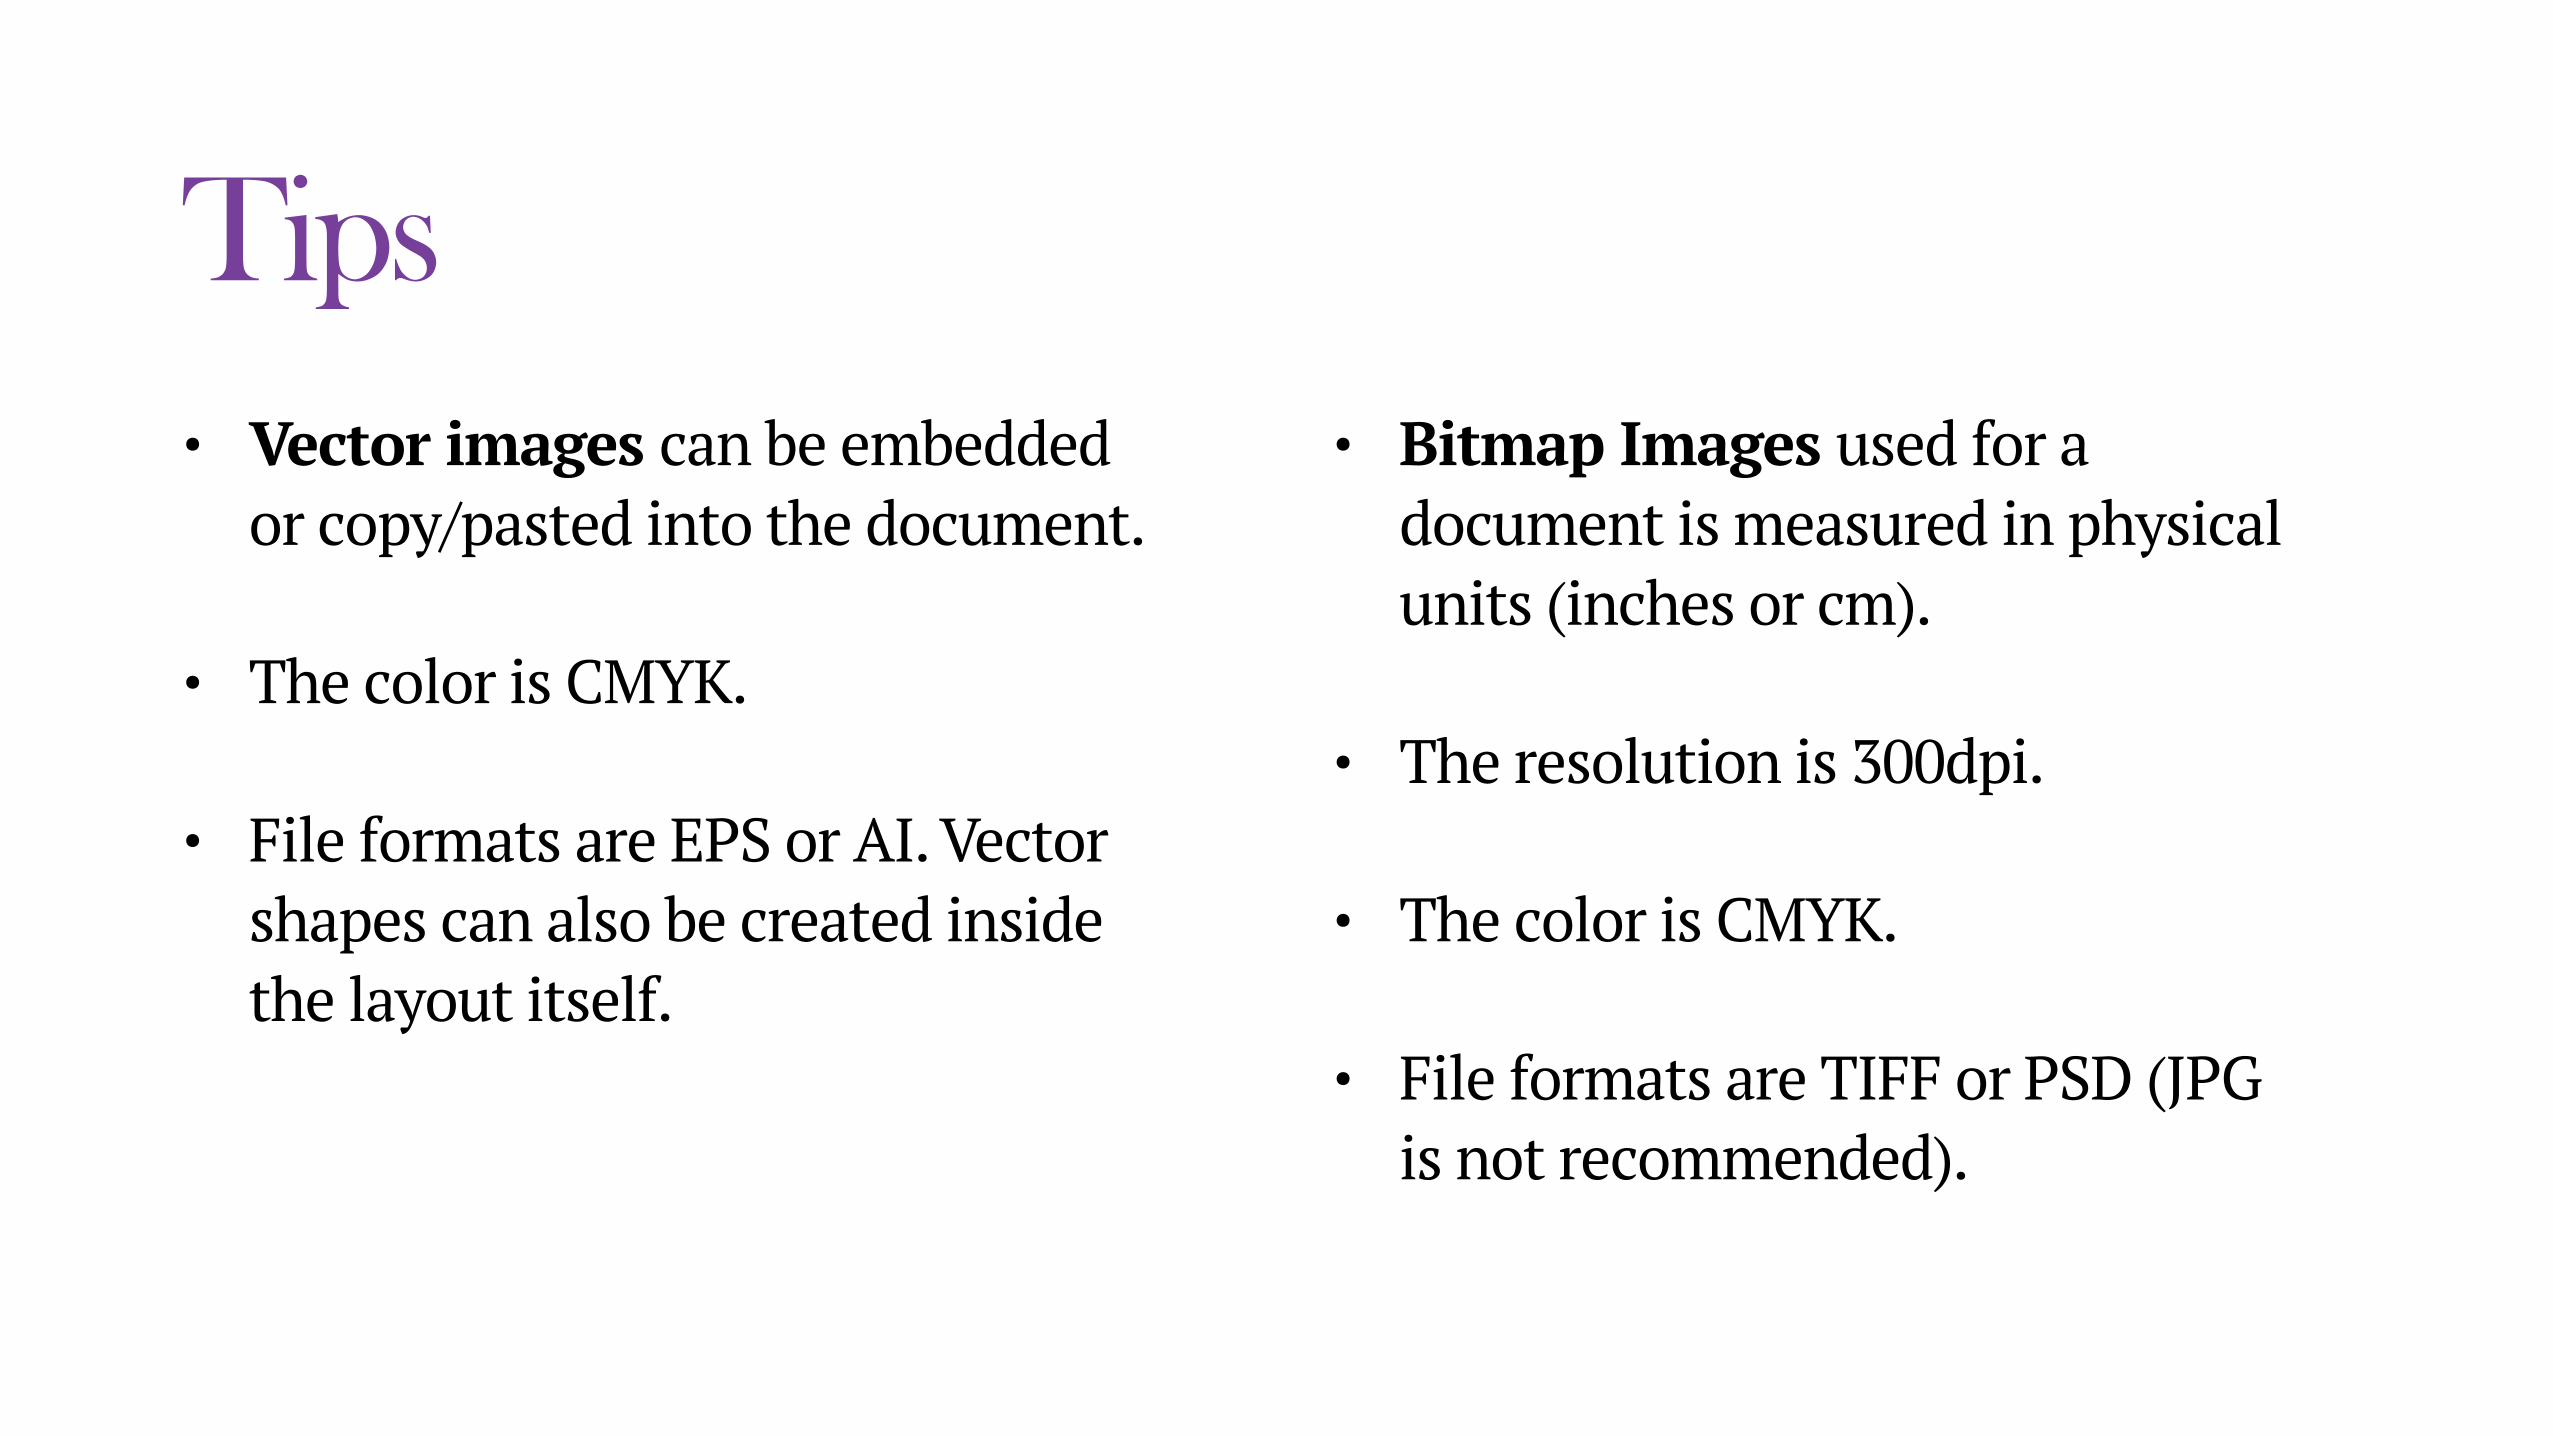
Tips• Vector images can be embedded
or copy/pasted into the document.
• The color is CMYK.
• File formats are EPS or AI. Vector shapes can also be created inside the layout itself.
• Bitmap Images used for a document is measured in physical units (inches or cm).
• The resolution is 300dpi.
• The color is CMYK.
• File formats are TIFF or PSD (JPG is not recommended).

Step 3: Layout and Composition• Page Setup
• Font
• Colors
• Links

Page Setup

• PAGE (or trim) is the actual printing area of a document.
• BLEED is compensation for printing machines to hold the paper without tampering the actual print area.
• MARGIN is a space allowing document to be formatted for functional reading.

• COLUMNS are vertical blocks of contents.
Lorem Ipsum is simply dummy text of the printing and typesetting industry. Lorem Ipsum has been the industry's standard dummy text ever since the 1500s, when an unknown printer took a galley of type and scrambled it to make a type specimen book. It has survived not only five centuries, but also the leap into electronic typesetting, remaining essentially unchanged. It was popularised in the 1960s with the release of Letraset sheets containing Lorem Ipsum passages, and more recently with desktop publishing software like Aldus PageMaker including versions of Lorem Ipsum.
• GUTTERS are spaces between the columns.
• PARAGRAPH INDENTATION is the space around a paragraph.
• PARAGRAPH SPACING is spaces between paragraphs.

Understanding the plate system• Each of the four colors used in a
document use an aluminum plate as the blueprint.
• The printing machine uses the blueprint template to “draw” the design on paper, using the ink that’s fed in.
• A plate can fit multiple pages. Pages of a folded design (eg. book magazine) are laid out in multiple numbers.
• A plate also has the ink concentration information, so a printer can tell you if your design is sipping up too much ink!


Fonts

The thing about fonts• Each font has a personality.
• Each font has a purpose.
• Styles come and go like a fad; utility is eternal.
• Promote legibility and readability with fonts.


Use fonts for clarity.
Use fonts to reflect an emotion.
Use fonts to make a Statement.
Use fonts like you wear a suit to a ballroom dinner.

Tips• If you’re going to print from
someone’s else’s computer, make sure they have the font installed.
• Unlike Photoshop, without correct fonts installed in the printing computer, your document will not be able to use that font.
• Some fonts are not embeddable in a document for various reasons.
• Licensing a major reason why fonts do not appear correctly on a rendered PDF.

Color

Understanding colors• They’re different in a sense because they’re not composed of how
we see them on screen.
• CMYK colors are basically one color overlapping on top of another to produce a shade.
• Spot colors are pigmented ink (imagine wall paint).
• Your printer doesn’t understand the language of RGB. Don’t let it misinterpret you!


Tips• Use native spot percentage values
to render a color.
• Try as little overlapping of colors for best color results.
• Make sure your image is optimized to match the colors.
• Long streaks of text are always pure black (K100).
• Always check your document for color concentration before sending it out to the press.

DEMO Adjusting colors of an image in
Photoshop.

Consider this text in pure Cyan.
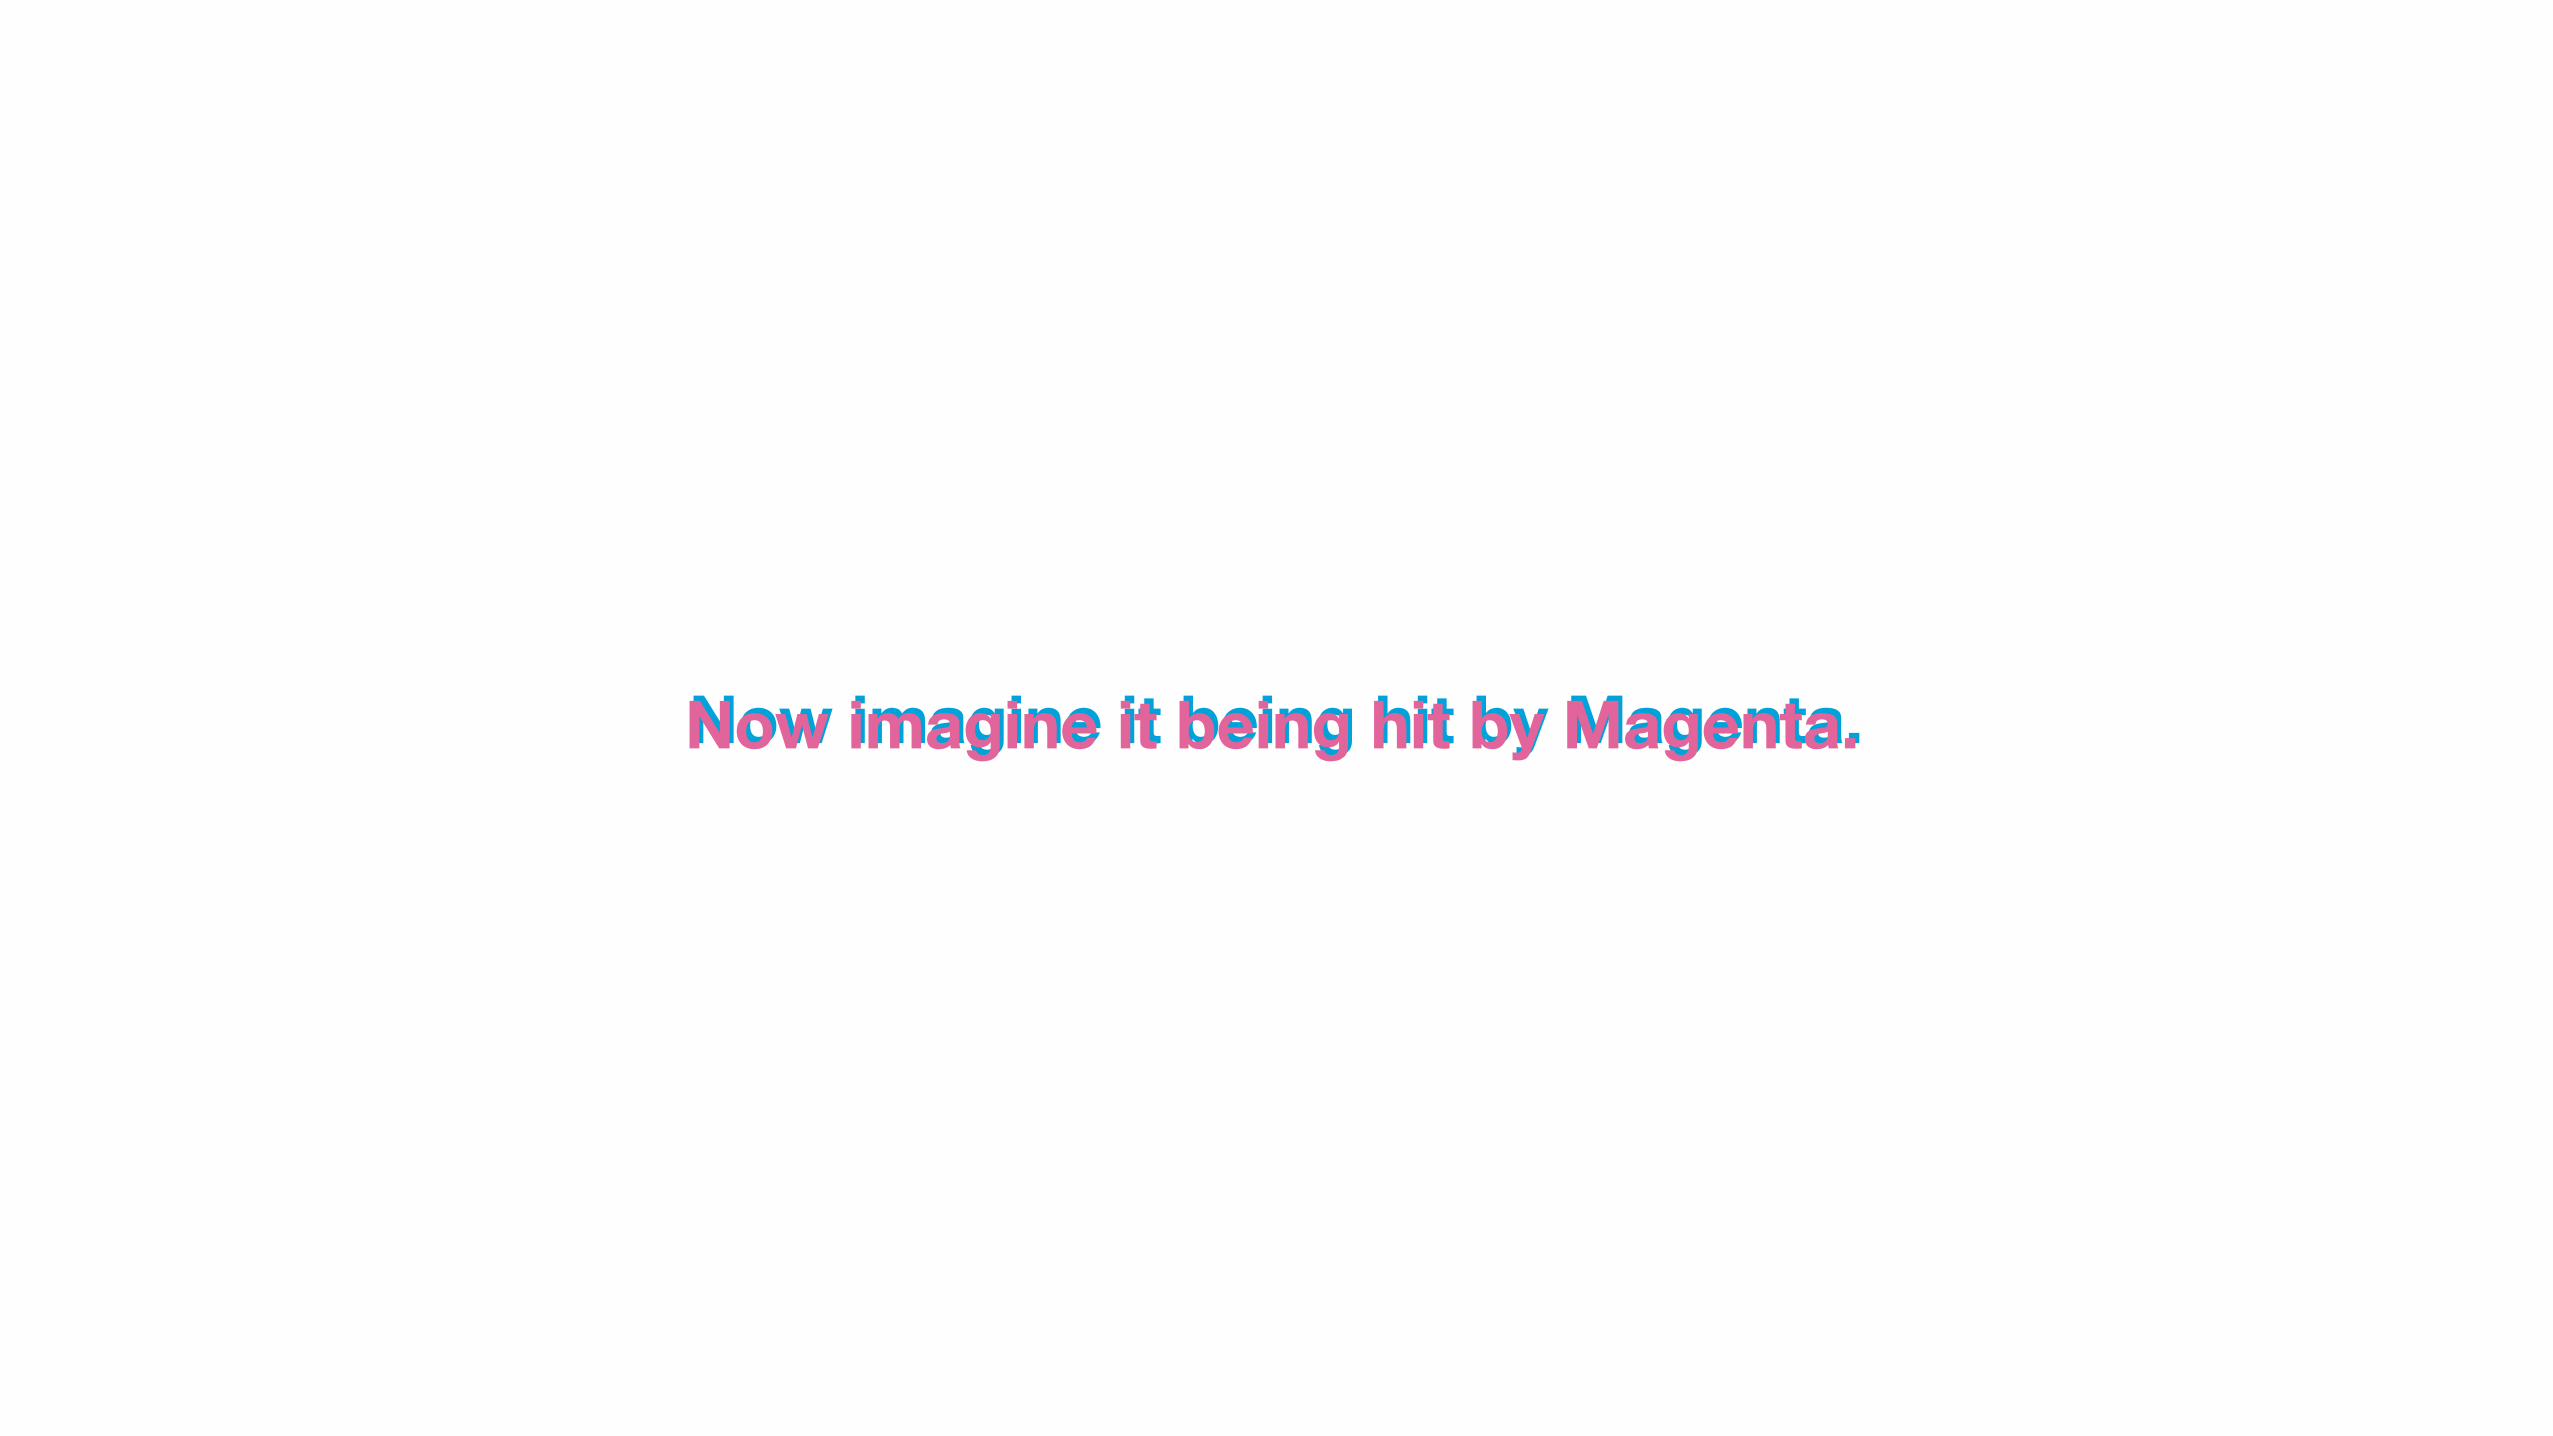
Now imagine it being hit by Magenta.Now imagine it being hit by Magenta.

…and then hit by the color Yellow.…and then hit by the color Yellow.…and then hit by the color Yellow.

and then again Black!and then again Black!and then again Black!and then again Black!

DEMO Applying and adjusting colors in
InDesign.

Links
Links are external resources.• Publishing software save images/graphics separately outside the
main program.
• Links are crucial for the document to render the graphics. This is like an HTML page with a missing <img> source.
• Bitmaps are the most common link resources used in printing.
• This gives flexibility to edit and optimize the graphics separately.

Step 4: Proofing and Packaging• Optimizing size and performance
• Creating proofs
• Bundling the package
• Sending it to the Printer

File Size

Why worry?• For best result, use UNCOMPRESSED images in links. This ensures
the best fidelity print.
• Lower resolution links will appear blurred. They’ll look terrible on print.
• Save your file as TIFF (or PSD).
• Don’t worry much about InDesign. It’s all XML in the backend so doesn’t really matter!

DEMO Optimizing links in Photoshop.
Proofs

Proofs are binding• Meaning, this is what you tell the press the design looks like.
• Check for correct use of colors, broken links, bleed and trim.
• It also involves checking for typos, facts, page numbering, page ordering.
• Once your proof is locked, you cannot really blame the printer after this.

Packaging

The Final Checklist• Put all the images in links folder.
• Put all the fonts in fonts folder.
• Put a copy of proof in jpg in proof folder.
• Put the final design file in source folder.
• Put a PDF or PS file with bleed in the root folder.

Also check• If you have proper ordering of the pages.
• If your bleed size is correct.
• If all vectors appear okay in the document.

DEMO Exporting the file.

Understanding the Media Format
• There are multiple formats printing job can be carried out on.
• Various size and format of paper requires different printing machine.
• Design has to be optimized across media to match suitability.

Four-color printing

Process printing• This is the standard 4-color printing using the
four inks.
• Offset machines, sheet feeders and digital printers use CMYK colors.
• Offset machines are best for small-scale printing.
• Sheet feeder machines are extremely fast and can produce up to 150 pages per minute.
Pigment Printing

Pigment printing• PANTONE (Spot Colors) use a shade of
ink to print.
• The color is directly exposed on the paper to make the impression.
• Screen print is the more basic style of printing in one ink.

Further Discussions