Freehand Sketching Images from Technical graphics, P O’Callaghan; Technical Graphics, D O’...
11
Freehand Sketching Images from Technical graphics, P O’Callaghan; Technical Graphics, D O’ Connor
-
Upload
marsha-wood -
Category
Documents
-
view
237 -
download
2
Transcript of Freehand Sketching Images from Technical graphics, P O’Callaghan; Technical Graphics, D O’...
Freehand Sketching
Images from Technical graphics, P O’Callaghan; Technical Graphics, D O’ Connor

J.Byrne 2013 2
Freehand Sketching Why do we sketch? A picture is worth a thousand words.Describe the Klismos Chair.
As designers the ability to sketch is fundamental to what we do. To be able to quickly produce a representation of what we are discussing can prove to be invaluable in the establishment of a client brief.
J.Byrne 2013 3
Freehand Sketching Sketching allows us to put multiple
ideas down on paper quickly and each sketch provides us with a starting point to help develop our ideas.
Sketches should never be thrown away, as they are a snapshot in time of how we were interrupting a particular idea or concept. Designers often find themselves going back to one of their original sketches.

J.Byrne 2013 4
The art of sketching / freehand drawing
Some people possess a natural talent for drawing, but everybody can be taught the basic principles and with practice become proficient.
Fig 1 shows the correct way to hold the pencil (2B) about 50mm from its point and lightly held between the thumb
and first two fingers.
J.Byrne 2013 5
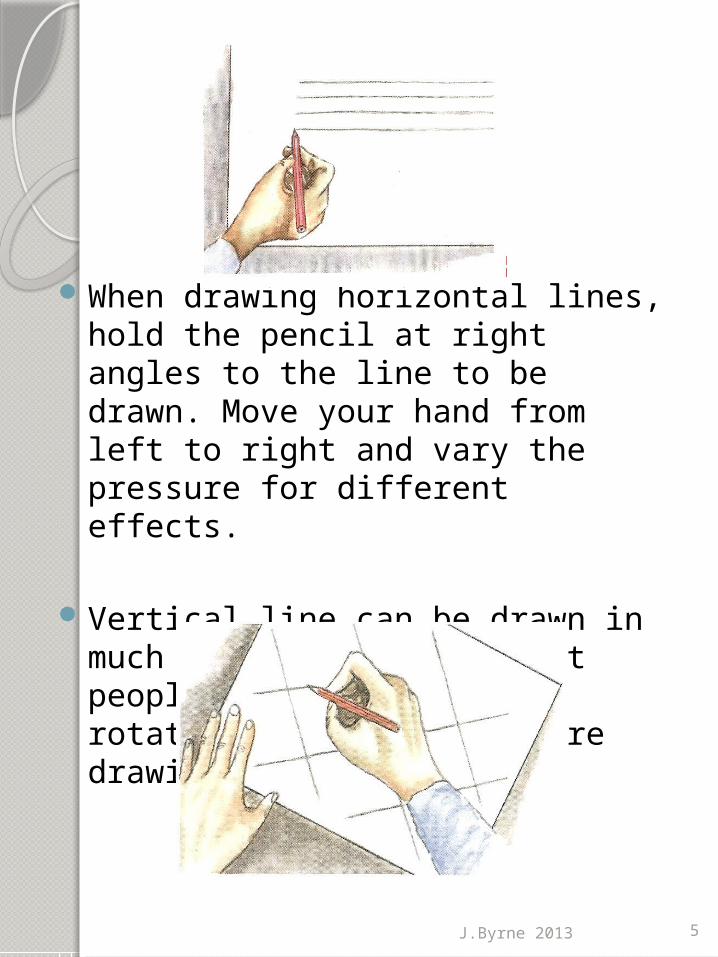
When drawing horizontal lines, hold the pencil at right angles to the line to be drawn. Move your hand from left to right and vary the pressure for different effects.
Vertical line can be drawn in much the same way but most people find it easier to rotate the page so they are drawing horizontally.
J.Byrne 2013 6
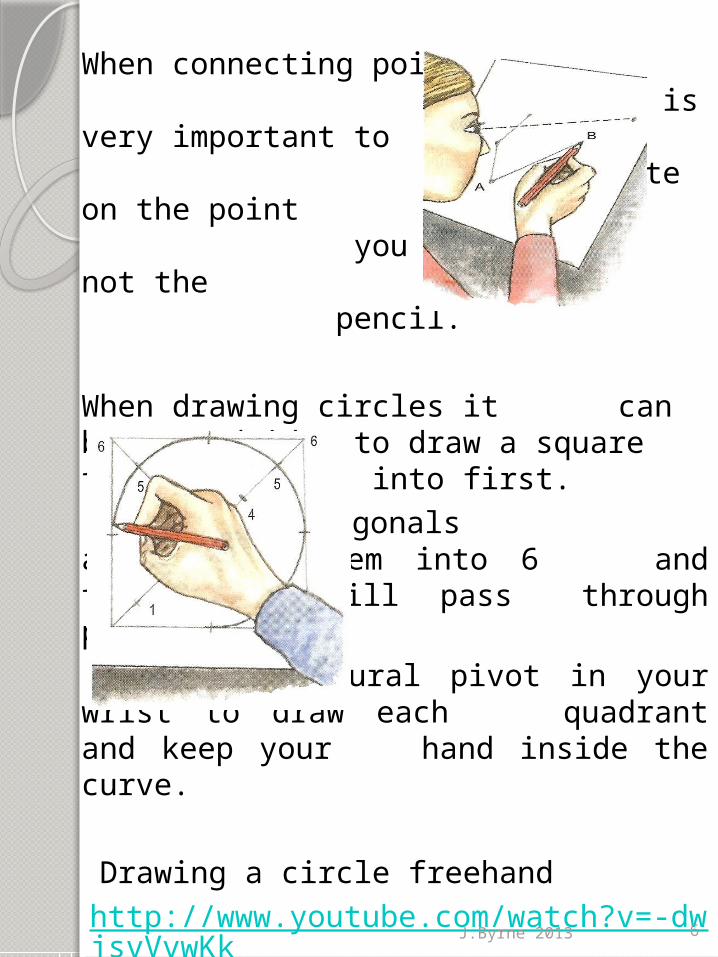
When connecting points it is very important to concentrate on the point you are going to not the pencil.
When drawing circles it can be a good idea to draw a
square the circle fits into first. Draw the diagonals
and divide them into 6 and the circle will pass through points 1 and 5.
Use the natural pivot in your wrist to draw each quadrant and keep your hand inside the curve. Drawing a circle freehand http://www.youtube.com/watch?v=-dwjsvVvwKk
J.Byrne 2013 7
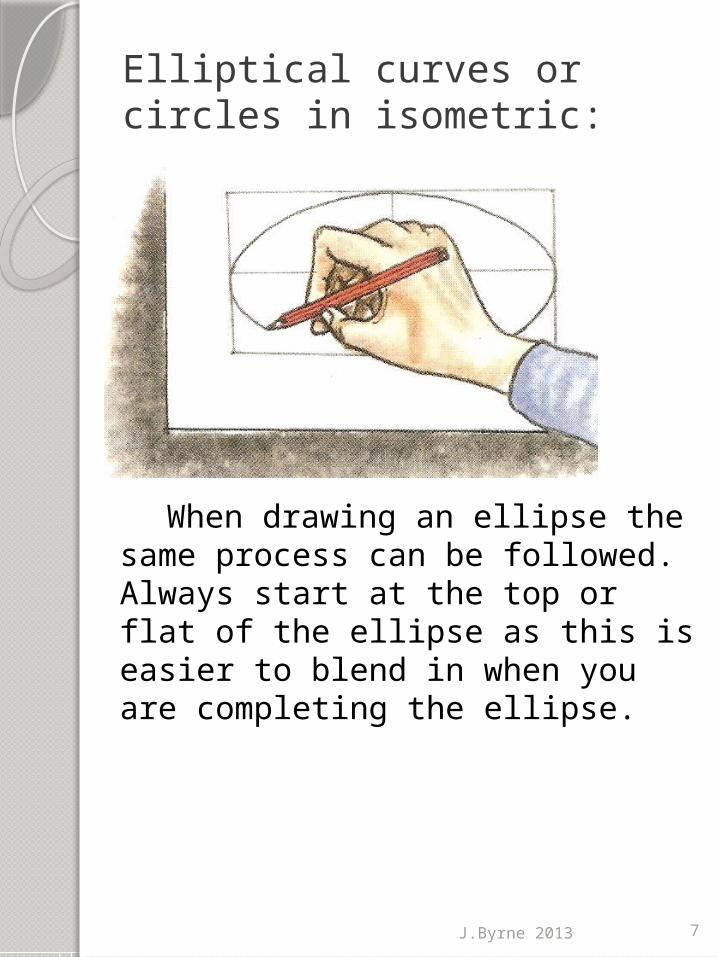
Elliptical curves or circles in isometric:
When drawing an ellipse the same process can be followed. Always start at the top or flat of the ellipse as this is easier to blend in when you are completing the ellipse.
J.Byrne 2013 8
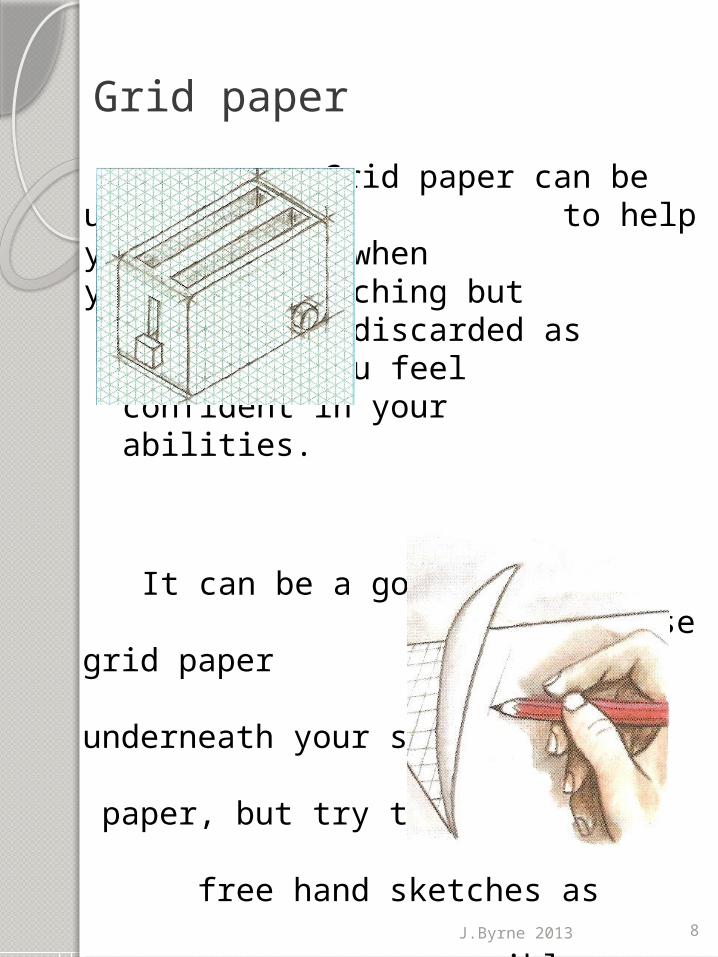
Grid paper
Grid paper can be used to help you initially when you start sketching but should be discarded as soon as you feel confident in your abilities.
It can be a good idea to use grid paper underneath your sketch paper, but try to get to free hand sketches as soon as possible.
J.Byrne 2013 9
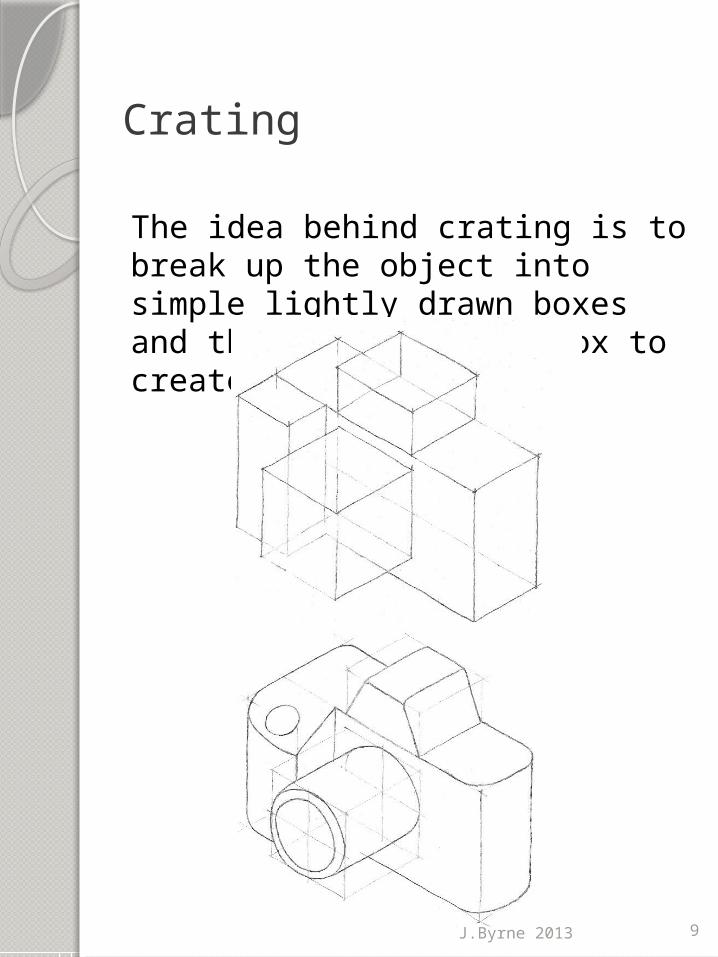
Crating
The idea behind crating is to break up the object into simple lightly drawn boxes and then work on each box to create the detail.
J.Byrne 2013 10
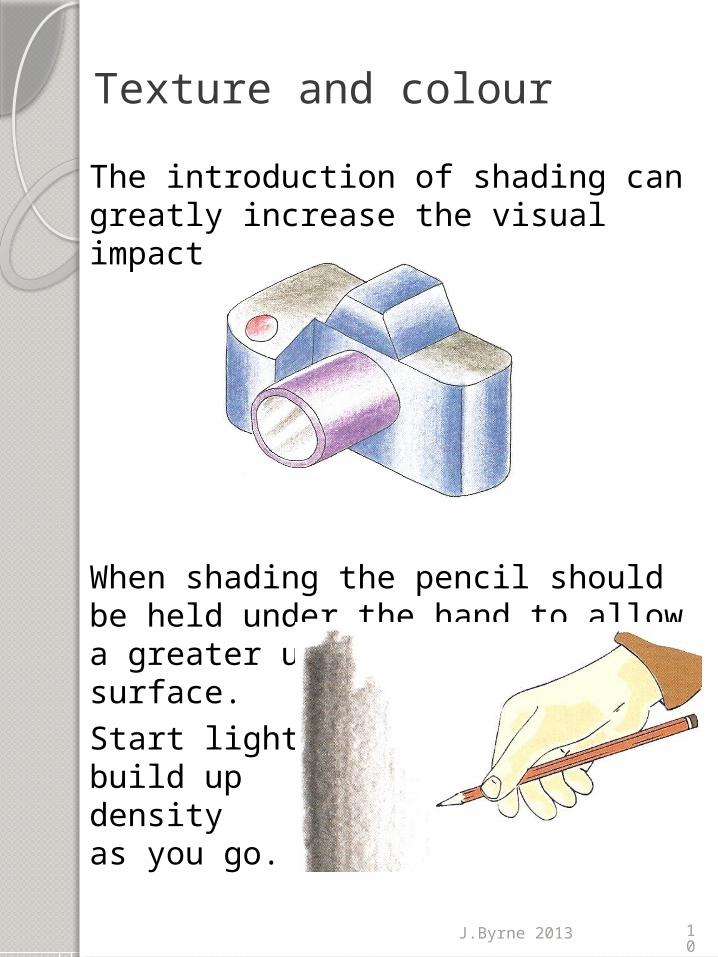
Texture and colour
The introduction of shading can greatly increase the visual impact of the sketch.
When shading the pencil should be held under the hand to allow a greater use of the drawing surface. Start lightly
and build up the density
as you go.
J.Byrne 2013 11
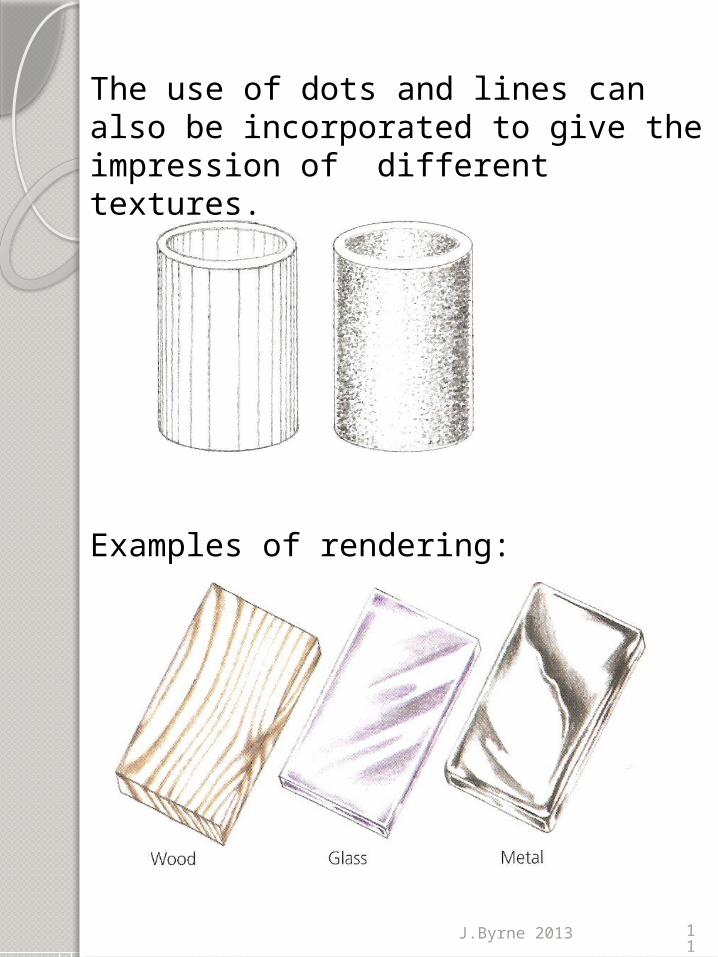
The use of dots and lines can also be incorporated to give the impression of different textures.
Examples of rendering: