FPV Drone Build - NVRC · Brushless Motors - 2205, 2206, or 2306 with 2300-2600kv rating ESC -...
19
INTRO TO PARTS AND TOOLS REQUIRED TO BUILD AN FPV DRONE FPV DRONE BUILD
Transcript of FPV Drone Build - NVRC · Brushless Motors - 2205, 2206, or 2306 with 2300-2600kv rating ESC -...

INTRO TO PARTS AND TOOLS REQUIRED TO BUILD AN FPV DRONE
FPV DRONE BUILD
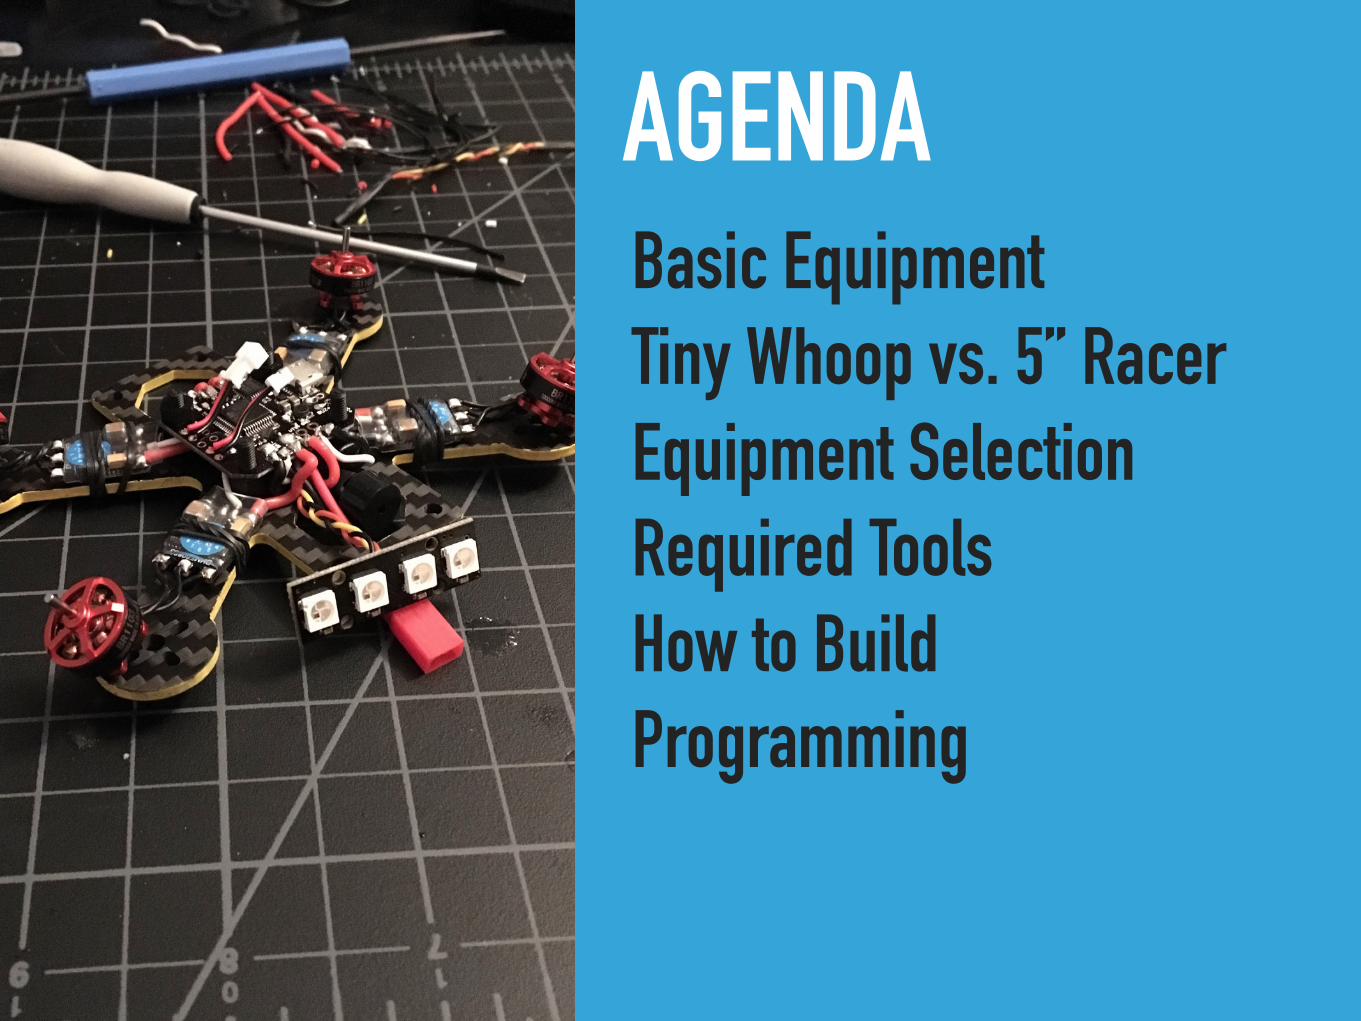
AGENDABasic Equipment Tiny Whoop vs. 5” Racer Equipment Selection Required Tools How to Build Programming

FPV DRONE EQUIPMENT▸ Frame
▸ Motors
▸ Electronic Speed Control (ESC)
▸ Flight Controller - Betaflight, RaceFlight, or KISS
▸ FPV Camera
▸ Video Transmitter (VTX) - 5.8ghz
▸ Control Transmitter (TX) and Receiver (RX) - 2.4ghz
▸ Battery
▸ FPV Monitor or Goggles
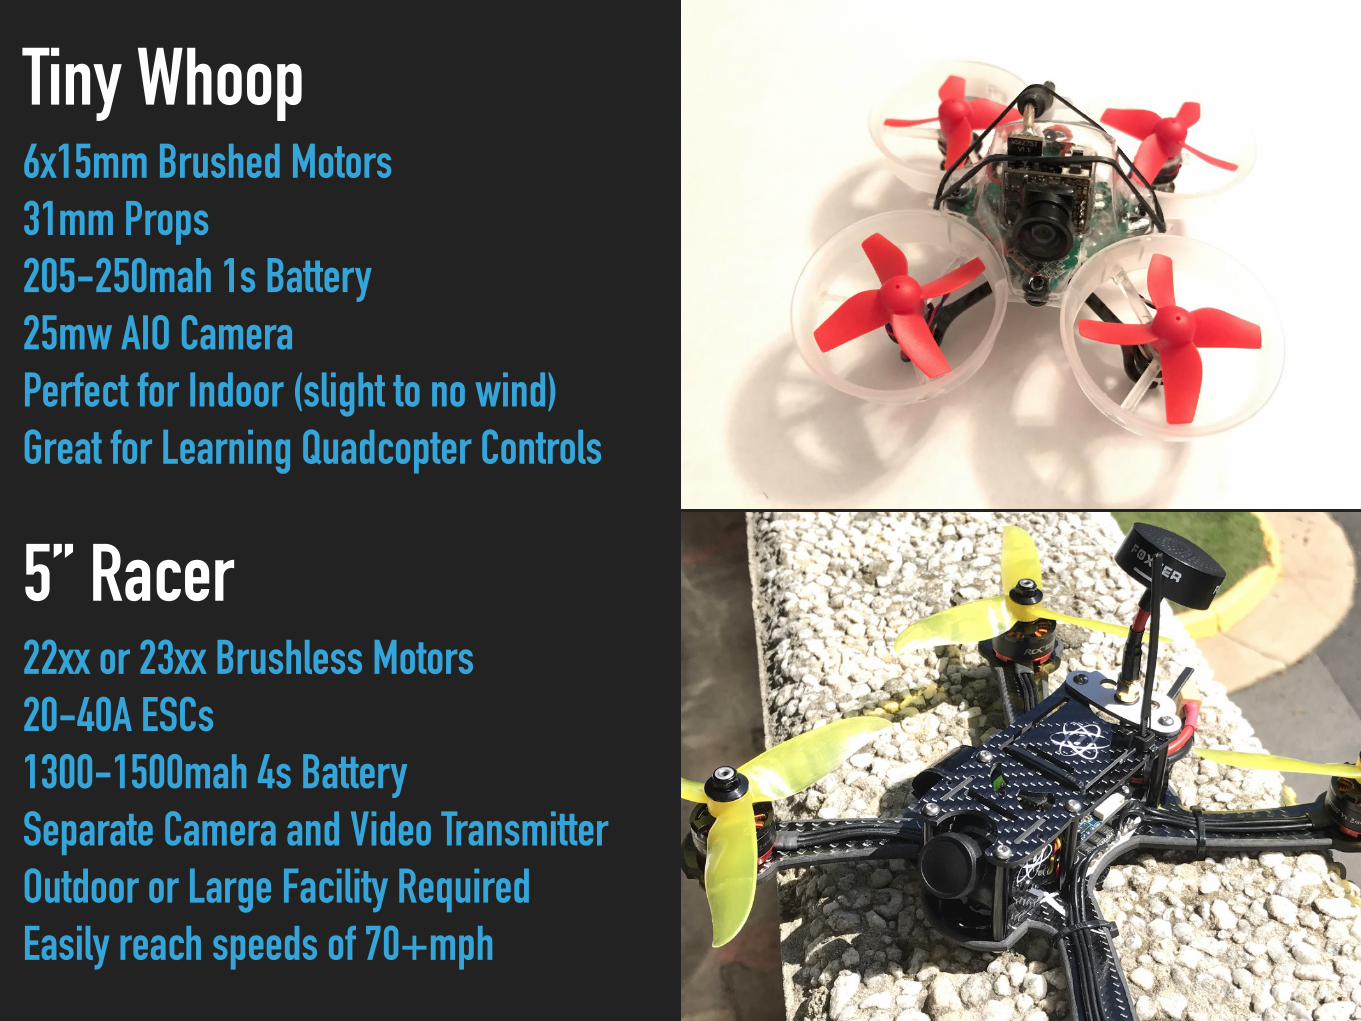
Tiny Whoop 6x15mm Brushed Motors 31mm Props 205-250mah 1s Battery 25mw AIO Camera Perfect for Indoor (slight to no wind) Great for Learning Quadcopter Controls
5” Racer 22xx or 23xx Brushless Motors 20-40A ESCs 1300-1500mah 4s Battery Separate Camera and Video Transmitter Outdoor or Large Facility Required Easily reach speeds of 70+mph
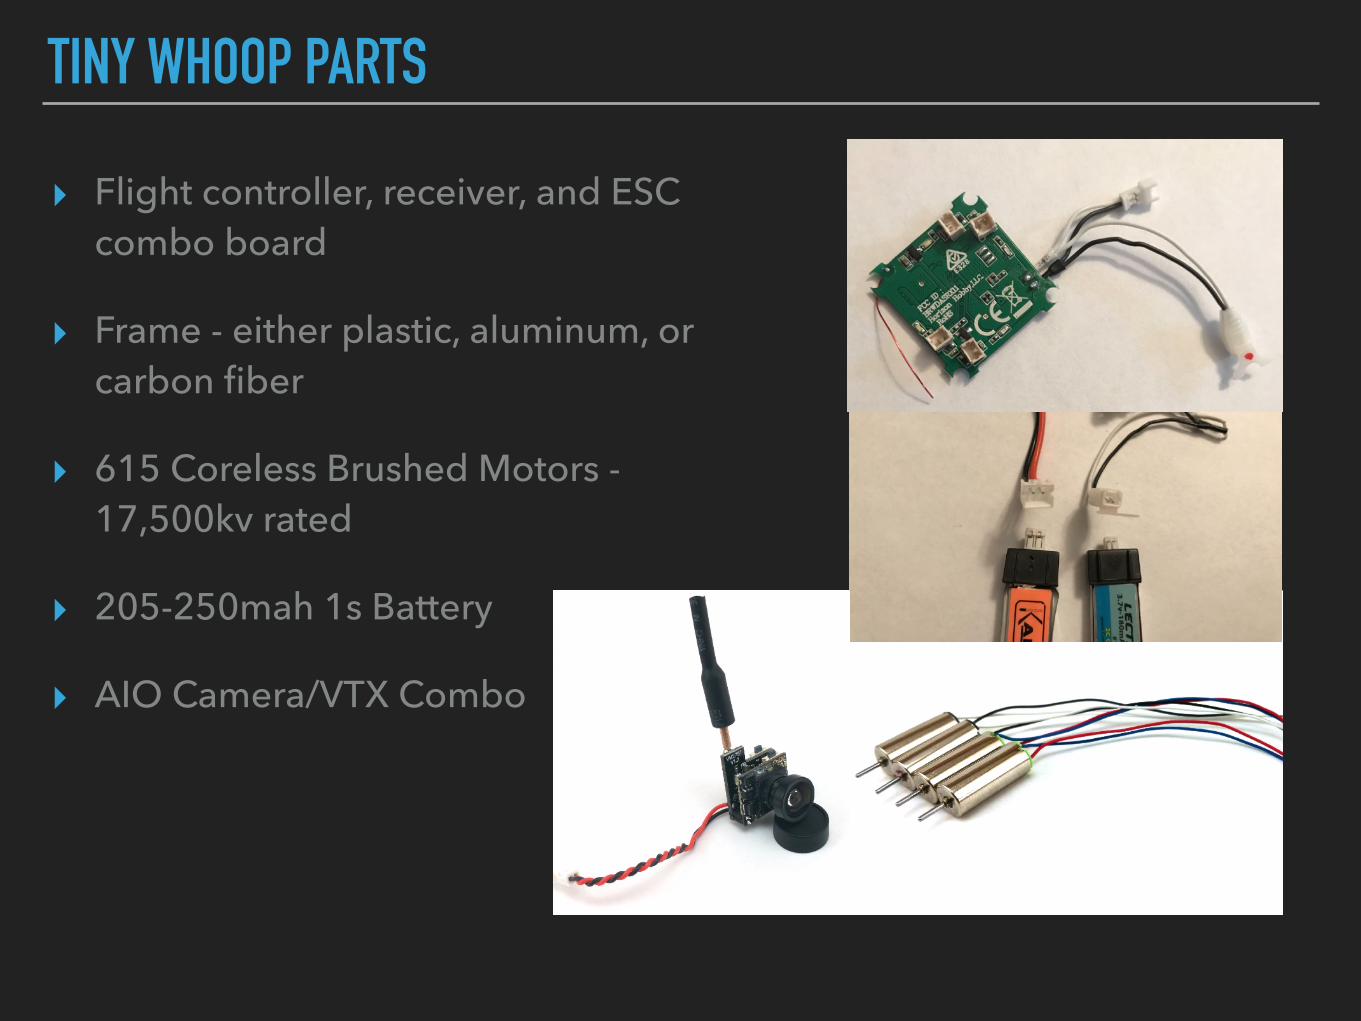
TINY WHOOP PARTS
▸ Flight controller, receiver, and ESC combo board
▸ Frame - either plastic, aluminum, or carbon fiber
▸ 615 Coreless Brushed Motors - 17,500kv rated
▸ 205-250mah 1s Battery
▸ AIO Camera/VTX Combo
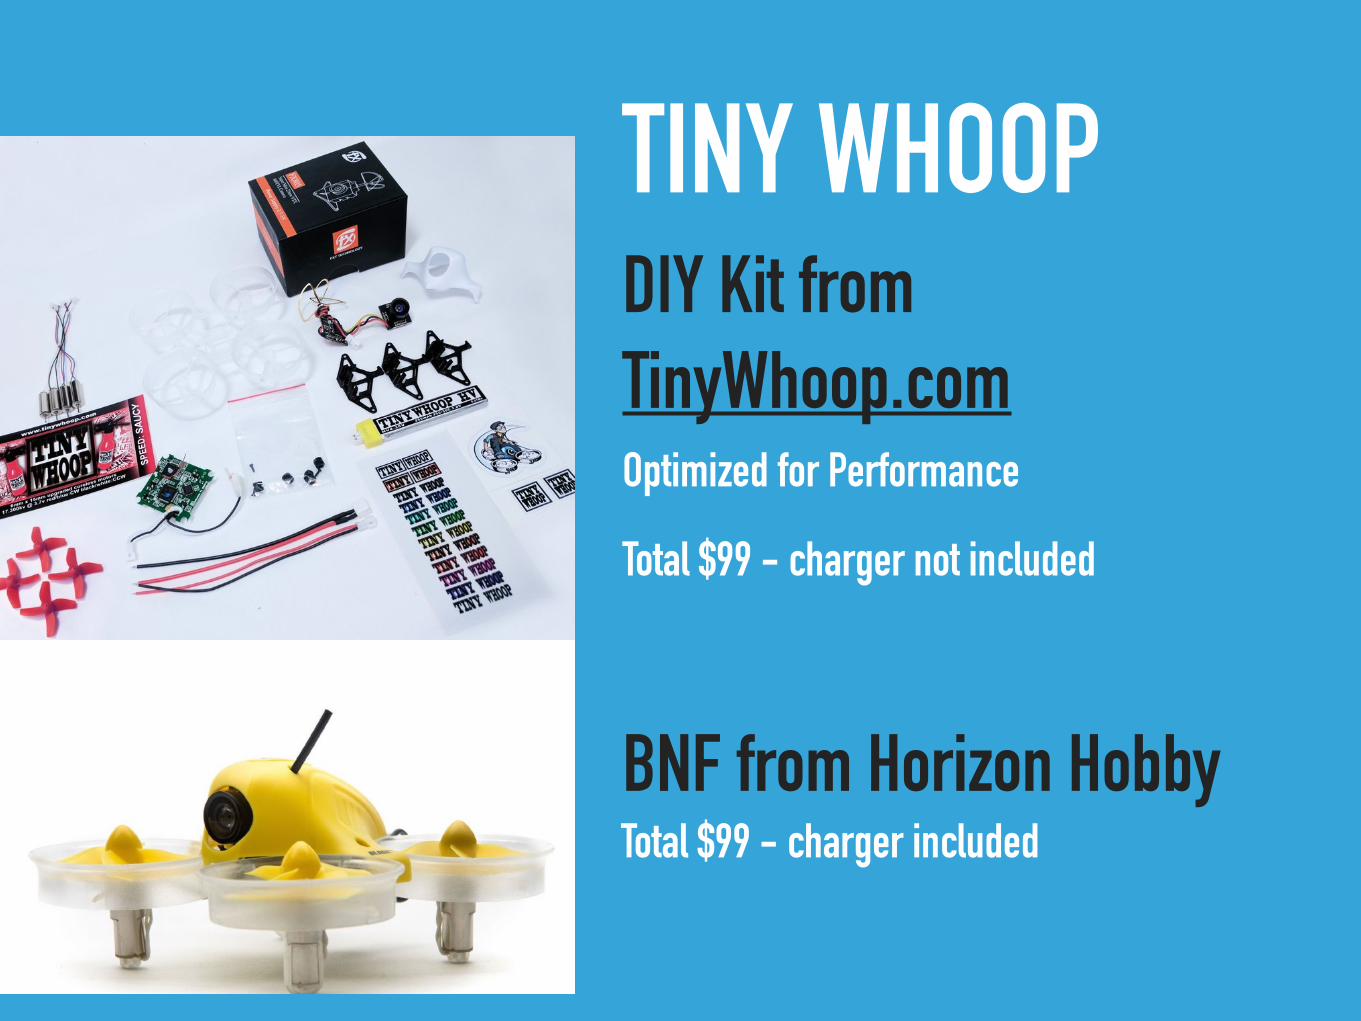
TINY WHOOPDIY Kit from TinyWhoop.com
BNF from Horizon Hobby
Optimized for Performance
Total $99 - charger not included
Total $99 - charger included

5” RACER PARTS
▸ Frame - Carbon Fiber
▸ Brushless Motors - 2205, 2206, or 2306 with 2300-2600kv rating
▸ ESC - minimum 20A rating, depends on motor and prop selection
▸ Flight Controller - minimum F3, F4 is preferred with built-in PDB.
▸ Camera - CCD 600tvl
▸ VTX - adjustable 25-200mw 5.8ghz
▸ RC Receiver

RACEDAYQUADS 5” RACER
Based in Orlando Fast and Free Shipping Great Customer Support RaceDayQuads.comTotal $221.93

BANGGOOD 5” RACER
Cheaper Free shipping from China Slow Customer Support Banggood.comTotal $179.93

TOOLS AND BUILDING SUPPLIES
▸ Soldering iron and solder.
▸ Hex drivers - 1.5, 2, 2.5, and 3mm
▸ Small Screwdriver
▸ Wire cutters
▸ Multimeter
▸ Heat shrink tubing
▸ Electrical Tape
▸ Zip Ties
▸ Smoke Stopper

CHECK PARTS BEFORE BUILDING
▸ Verify flight controller works by connecting it to Betaflight and installing the latest firmware.
▸ Check continuity of motor leads to verify there are no open circuits.
▸ Bind the RC receiver to the transmitter before connecting it to the flight controller.
▸ Verify motors spin by hand without too much effort or binding up.
▸ Verify edges of the carbon fiber frame where the battery strap touches is not sharp, sand or file as necessary.

HOW TO WIRE UP THE FLIGHT CONTROLLER
MOCK UP TO VERIFY COMPONENT LOCATION AND WIRE LENGTHS
▸ Build frame with motors and flight controller mounted.
▸ Lay ESCs on the arms and trim ESC wires to the FC to the correct length.
▸ Place camera, vtx, and rx on frame and trim wires to correct length. Plan on running the wires to the bottom of the FC. This keeps the wires tucked in and makes for a clean build.
▸ Trim battery cable lead to proper length and solder to the FC.
▸ Verify no electrical shorts at the battery lead solder joint.
▸ Plug battery into the battery lead using the Smoke Stopper. The light will not turn on unless there is a short.

BEGIN CONNECTING COMPONENTS TO THE FLIGHT CONTROLLER
▸ Remove FC from the frame to begin soldering the following:
▸ Buzzer
▸ VTX and Camera - use common ground for best video
▸ RC Receiver
▸ LEDs (optional)
▸ Pre-tin the wires, insert them from the bottom of the FC through the correct hole and solder into place.

CONNECT ESCS TO FLIGHT CONTROLLER
▸ Install flight controller into frame.
▸ Pre-tin the solder pads for all the ESC wires.
▸ Pre-tin the ESC wires.
▸ Solder the ESC wires to the correct pads.
▸ Power wires are thicker and connect to the bigger pads.
▸ Signal wires are smaller and connect to the small pads.

CONNECT MOTORS TO ESCS
▸ Ensure ESCs are electrically isolated from the carbon fiber frame. Use either heat shrink tubing over the arm or a piece of foam tape on the arm, if needed.
▸ Pre-tin the ESC motor pads.
▸ Cut motor wires to proper length and pre-tin wires.
▸ Solder motor wires to ESC motor pads.
▸ Secure ESCs to arms using electrical tape or heat shrink tubing.

Eachine E013
Eachine EV800
Eachine LCD5802D
Fatshark Attitude v4


QUESTIONS?