
FLAT PEYOTE STITCH PEYOTE STITCH Tutorial APRIL 18, 2013 SERENDIPITY BEADS Howick, Auckland, New...
5
FLAT PEYOTE STITCH Tutorial APRIL 18, 2013 SERENDIPITY BEADS Howick, Auckland, New Zealand
Transcript of FLAT PEYOTE STITCH PEYOTE STITCH Tutorial APRIL 18, 2013 SERENDIPITY BEADS Howick, Auckland, New...

FLAT PEYOTE STITCH
Tutorial
APRIL 18, 2013
SERENDIPITY BEADS
Howick, Auckland, New Zealand
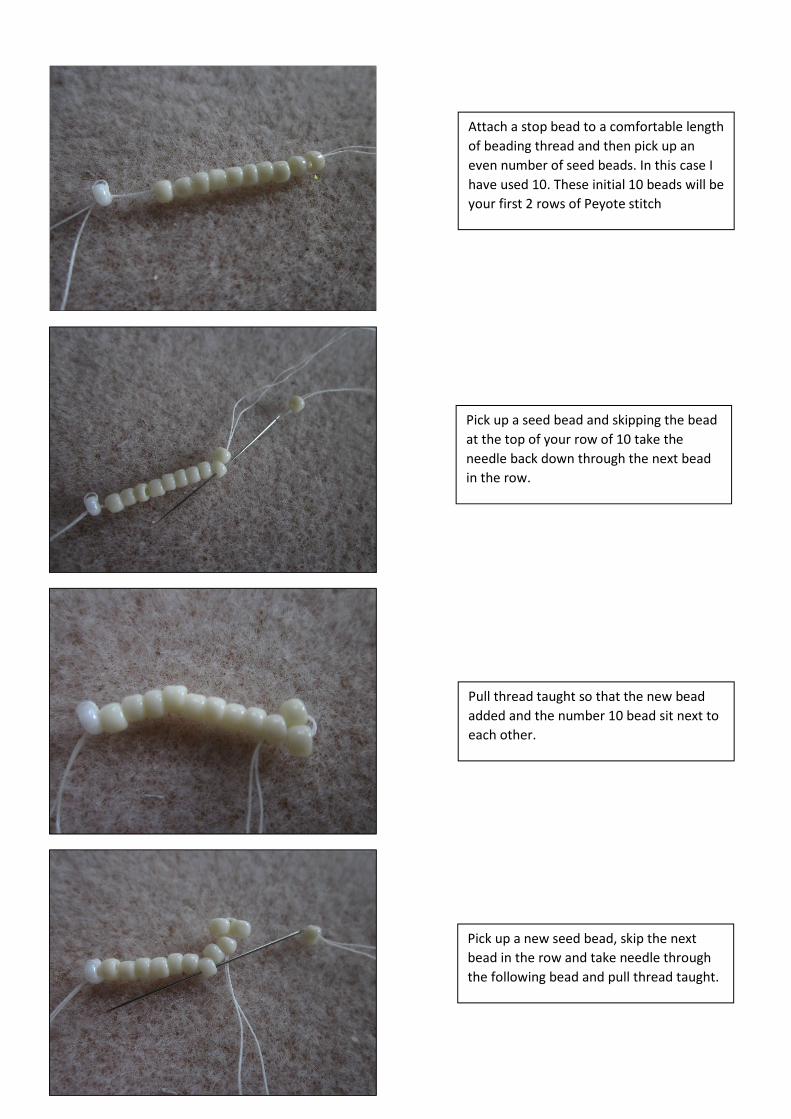
Attach a stop bead to a comfortable length
of beading thread and then pick up an
even number of seed beads. In this case I
have used 10. These initial 10 beads will be
your first 2 rows of Peyote stitch
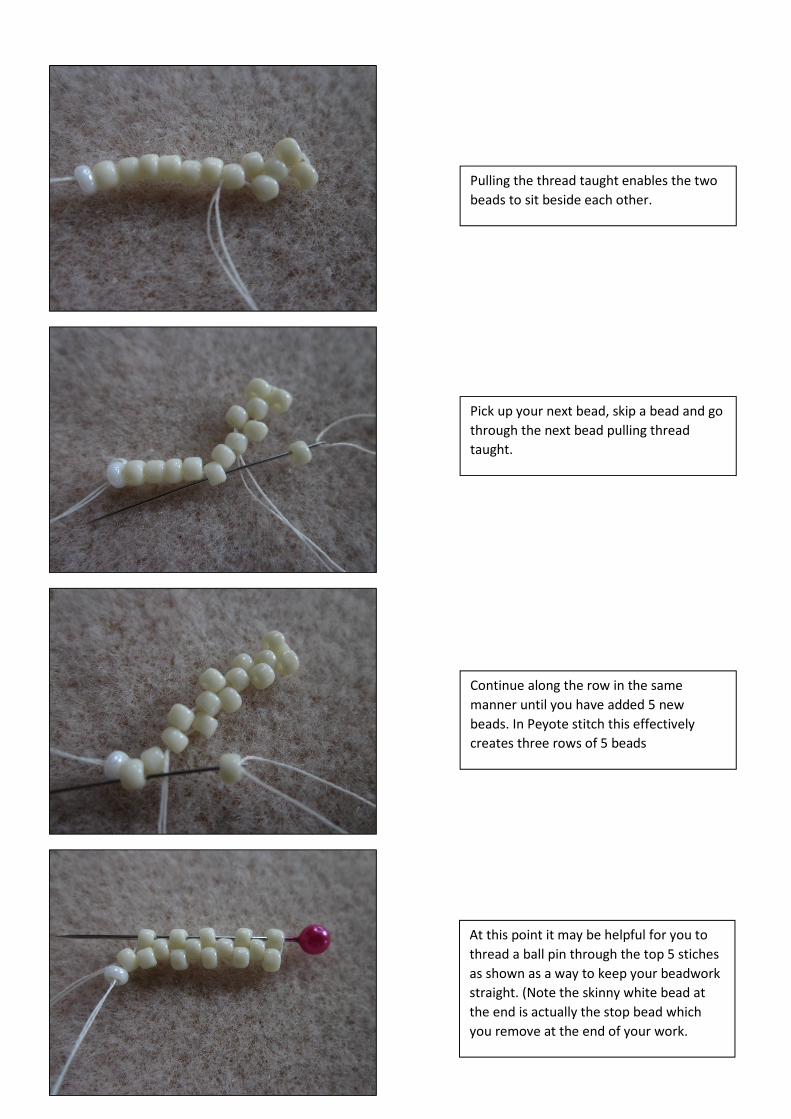
Pick up a seed bead and skipping the bead
at the top of your row of 10 take the
needle back down through the next bead
in the row.
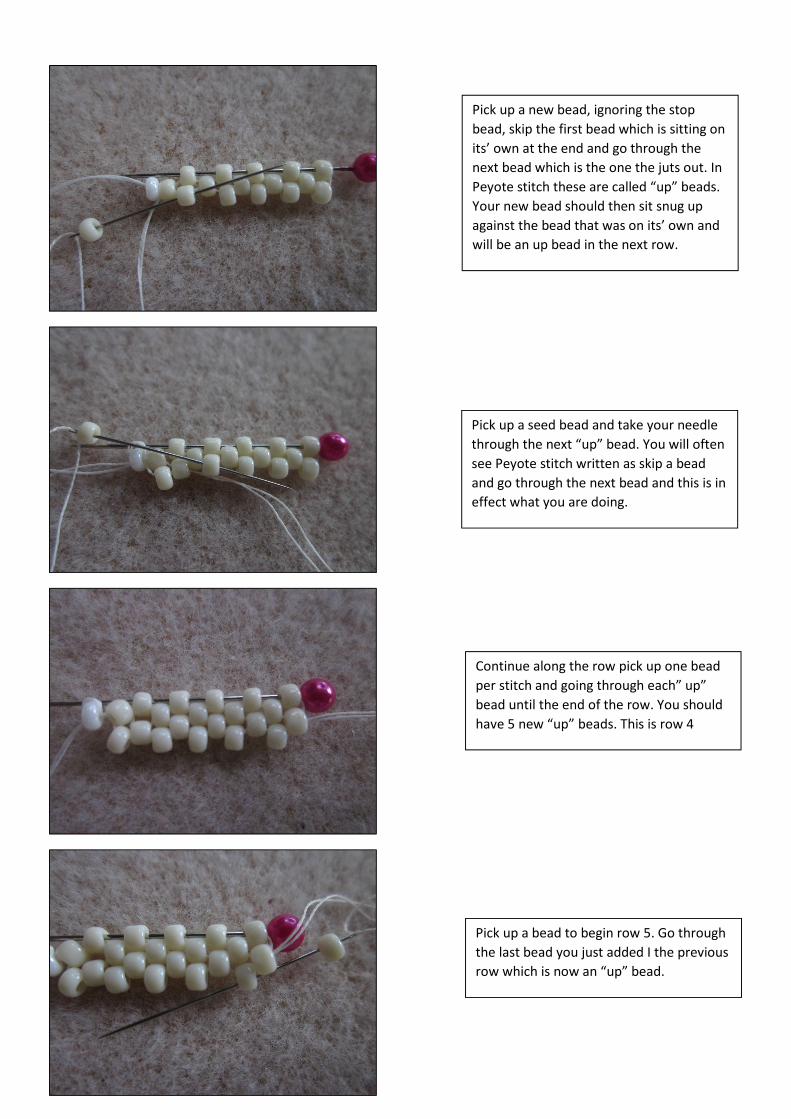
Pull thread taught so that the new bead
added and the number 10 bead sit next to
each other.
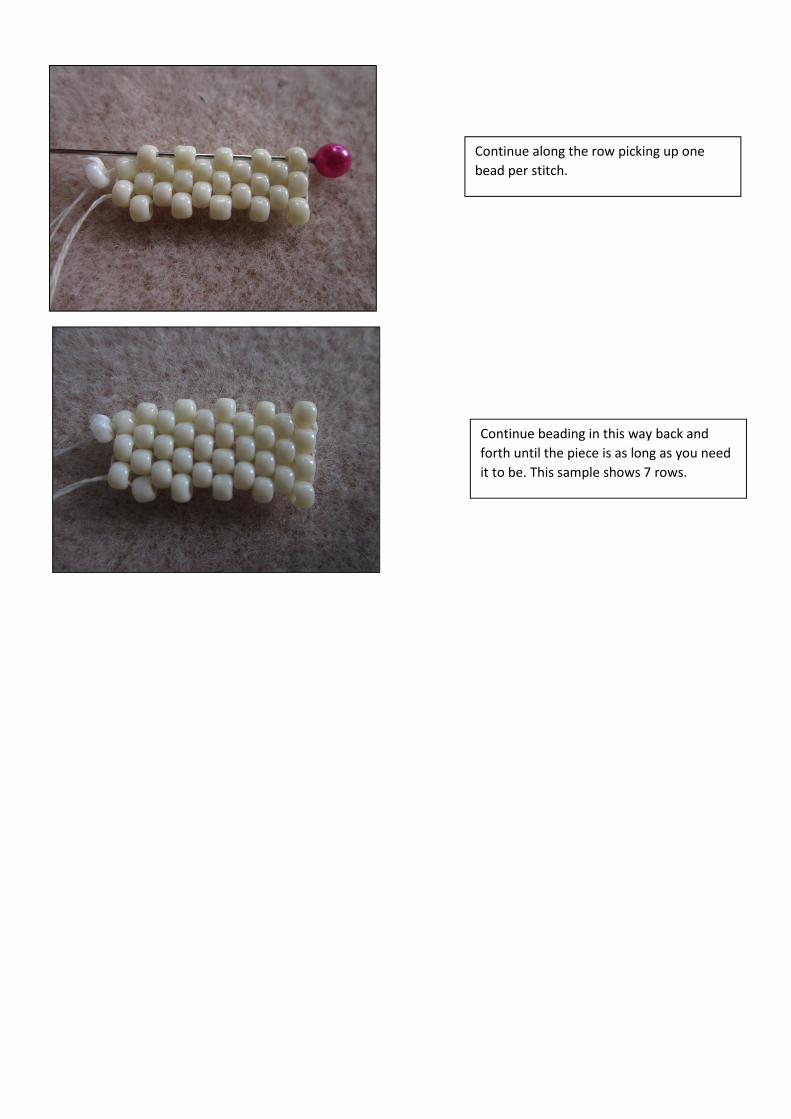
Pick up a new seed bead, skip the next
bead in the row and take needle through
the following bead and pull thread taught.
Pulling the thread taught enables the two
beads to sit beside each other.
Pick up your next bead, skip a bead and go
through the next bead pulling thread
taught.
Continue along the row in the same
manner until you have added 5 new
beads. In Peyote stitch this effectively
creates three rows of 5 beads
At this point it may be helpful for you to
thread a ball pin through the top 5 stiches
as shown as a way to keep your beadwork
straight. (Note the skinny white bead at
the end is actually the stop bead which
you remove at the end of your work.
Pick up a new bead, ignoring the stop
bead, skip the first bead which is sitting on
its’ own at the end and go through the
next bead which is the one the juts out. In
Peyote stitch these are called “up” beads.
Your new bead should then sit snug up
against the bead that was on its’ own and
will be an up bead in the next row.
Pick up a seed bead and take your needle
through the next “up” bead. You will often
see Peyote stitch written as skip a bead
and go through the next bead and this is in
effect what you are doing.
Continue along the row pick up one bead
per stitch and going through each” up”
bead until the end of the row. You should
have 5 new “up” beads. This is row 4
Pick up a bead to begin row 5. Go through
the last bead you just added I the previous
row which is now an “up” bead.
Continue along the row picking up one
bead per stitch.
Continue beading in this way back and
forth until the piece is as long as you need
it to be. This sample shows 7 rows.