Excel Chapters -5,6. Pivot Table When you have a lot of data, it can sometimes be difficult to...
17
Excel Chapters -5,6
-
Upload
brandon-lindsey -
Category
Documents
-
view
214 -
download
0
Transcript of Excel Chapters -5,6. Pivot Table When you have a lot of data, it can sometimes be difficult to...

Excel Chapters -5,6

Pivot Table
When you have a lot of data, it can sometimes be difficult to analyze all of the information in your worksheet.
PivotTables can help make your worksheets more manageable by summarizing data and allowing you to manipulate it in different ways.
2

Pivot Table Example
Suppose we wanted to answer the question: "What is the amount sold by each salesperson?" for the sales data in the example.
3

Create a Pivot Table
Select the table or cells (including column headers) containing the data you want to use.
From the Insert tab, click the PivotTable command.
The Create PivotTable dialog box will appear. Choose your settings, then click OK
A blank PivotTable and Field List will appear on a new worksheet.
4

Create a Pivot Table
Once you create a PivotTable, you'll need to decide which fields to add. Each field is simply a column header from the source data. In the PivotTable Field List, check the box for each field you wish to add. In our example, we want to know the total amount sold by each salesperson, so we'll check the Salesperson and Order Amount fields.
5

Create a Pivot Table
The selected fields will be added to one of the four areas below the Field List. In our example, the Salesperson field has been added to the Rows area, while the Order Amount has been added to the Values area. Alternatively, you can click, hold, and drag a field to the desired area.
The PivotTable will calculate and summarize the selected fields. In our example, the PivotTable shows the amount sold by each salesperson.
6

question
"What is the total amount sold in each month?"

Filters
Sometimes you may want focus on just a certain section of your data. Filters can be used to narrow down the data in your PivotTable, allowing you to view only the information you need.

To add a filter
Drag a field from the Field List to the Filters area.
The filter will appear above the PivotTable. Click the drop-down arrow, then check the box next to Select Multiple Items.
Uncheck the box for any items you don't want to include in the PivotTable.
The PivotTable will adjust to reflect the changes.

Slicers
Slicers make filtering data in PivotTables even easier. Slicers are basically just filters, but they're easier and faster to use, allowing you to instantly pivot your data .
If you frequently filter your PivotTables, you may want to consider using slicers instead of filters.
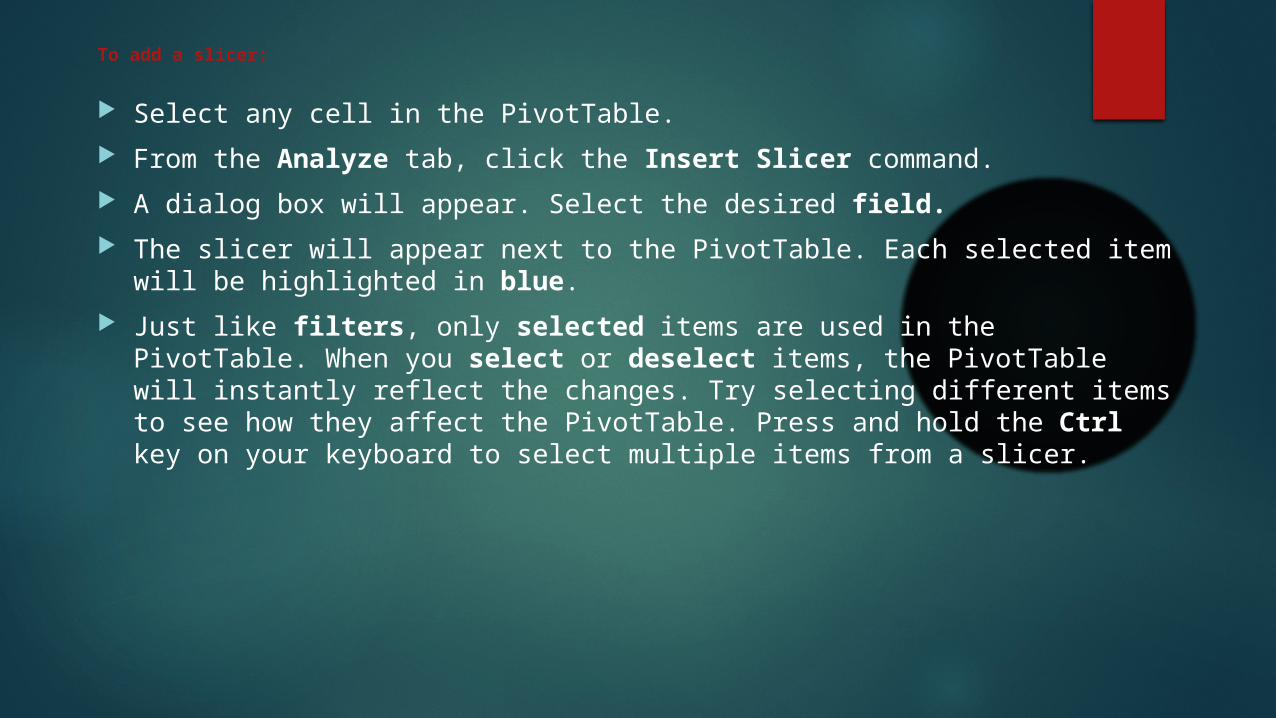
To add a slicer:
Select any cell in the PivotTable.
From the Analyze tab, click the Insert Slicer command.
A dialog box will appear. Select the desired field.
The slicer will appear next to the PivotTable. Each selected item will be highlighted in blue.
Just like filters, only selected items are used in the PivotTable. When you select or deselect items, the PivotTable will instantly reflect the changes. Try selecting different items to see how they affect the PivotTable. Press and hold the Ctrl key on your keyboard to select multiple items from a slicer.

Pivot Charts
PivotCharts are like regular charts, except that they display data from a PivotTable. Just like regular charts, you'll be able to select a chart type, layout, and style that will best represent the data.

To create a PivotChart
Select any cell in your PivotTable.
From the Insert tab, click the PivotChart command.
The Insert Chart dialog box will appear. Select the desired chart type and layout, then click OK.
The PivotChart will appear.

Goal Seek
Whenever you create a formula or function in Excel, you put various parts together to calculate a result.
Goal Seek works in the opposite way: It lets you start with the desired result, and it calculates the input value that will give you that result.

Goal seek Example
Select the cell whose value you wish to change. Whenever you use Goal Seek, you'll need to select a cell that already contains a formula or function.
From the Data tab, click the What-If Analysis command, then select Goal Seek from the drop-down menu

A dialog box will appear with three fields:
Set cell: This is the cell that will contain the desired result. In our example, cell B7 is already selected.
To value: This is the desired result. In our example, we'll enter 70 because we need to earn at least that to pass the class.
By changing cell: This is the cell where Goal Seek will place its answer. In our example, we'll select cell B6 because we want to determine the grade we need to earn on the final assignment.

When you're done, click OK.
The dialog box will tell you if Goal Seek was able to find a solution. Click OK.
The result will appear in the specified cell.