
EPAF - University of Northern Colorado - Greeley Colorado... the student is considered a new hire....
37
EPAF Electronic Personnel Action Forms What is EPAF? On-line form for student hourly and salary jobs
Transcript of EPAF - University of Northern Colorado - Greeley Colorado... the student is considered a new hire....
EPAF Electronic Personnel Action Forms
What is EPAF?
On-line form for student hourly and salary jobs

Use EPAF to…
• Set up a student hourly or salary job –Work study (hourly)
Non-work study (hourly and salary)
Job for international student (hourly and salary)
• Change the rate of pay on a student hourly job
• Change the Time Sheet Org on a student hourly or salary job
• Change the FOAP on a student hourly or salary job
• Term a student hourly or salary job (change the job ending date)

Do not use EPAF for…
• Temporary positions--University Aides and Technical Professionals
• TH9999 & TS9999 positions; contact Human Resources for these jobs.
• TAs and GAs (TA9999 & GA9999 positions)• Use the TAGA Payroll Data form and existing procedure through Graduate School.
• Involuntary termination of student hourly, salary or work study position.
• Please contact Payroll for any involuntary termination of a student employee.
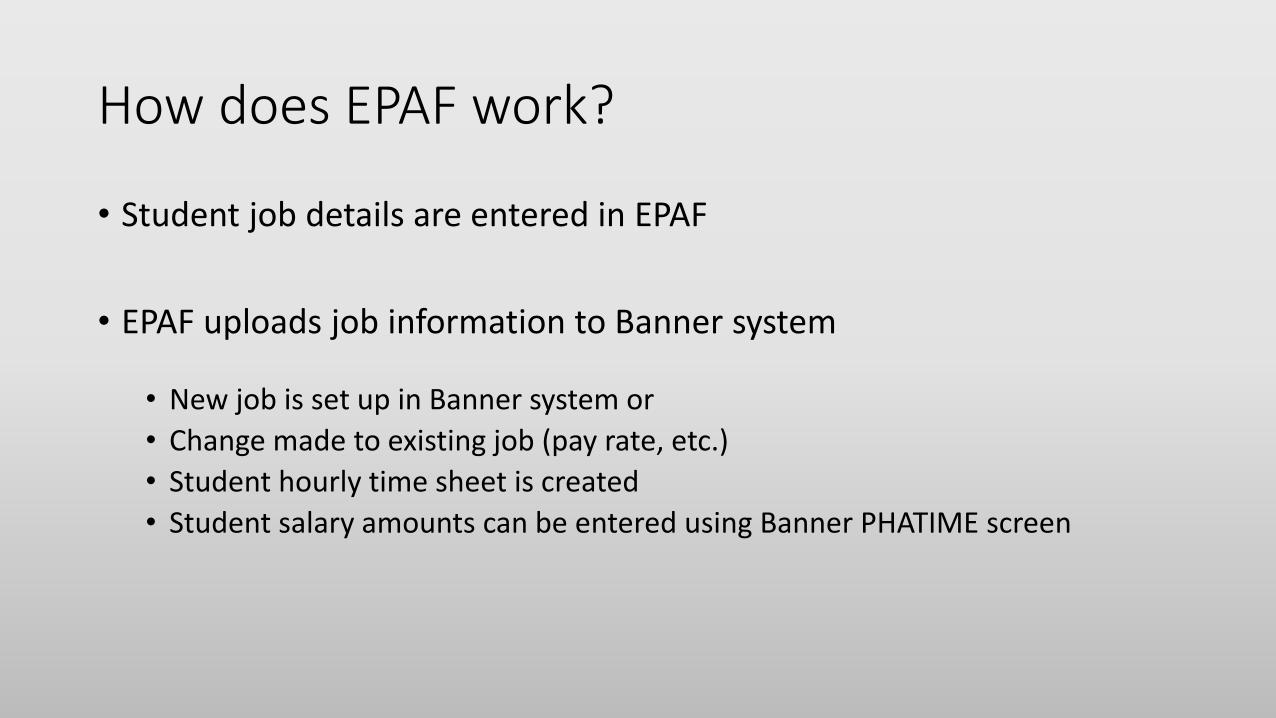
How does EPAF work?
• Student job details are entered in EPAF
• EPAF uploads job information to Banner system
• New job is set up in Banner system or
• Change made to existing job (pay rate, etc.)
• Student hourly time sheet is created
• Student salary amounts can be entered using Banner PHATIME screen
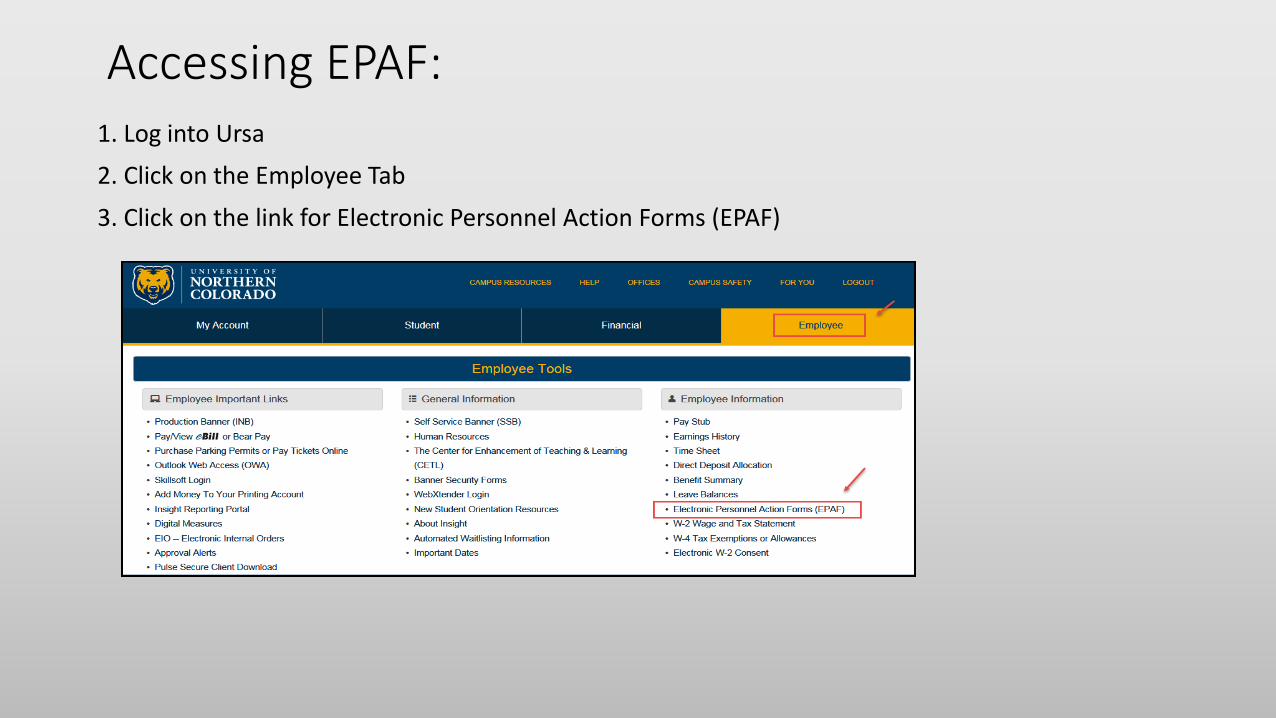
Accessing EPAF:1. Log into Ursa
2. Click on the Employee Tab
3. Click on the link for Electronic Personnel Action Forms (EPAF)

4. Click on New EPAF
All EPAFs start with New EPAF

New EPAF Person Selection:• The first steps for all EPAFs:
• Enter the student Bear ID, the effective date of the EPAF and select an Approval Category.

Student’s Bear ID:1. In the ID field, type in the student’s Bear ID and press the Tab key.
• Student’s name will populate.

EPAF Effective Date
2. The Effective Date defaults to Today’s date.
• Change the Effective date as follows:

Change Today’s date to:
• For new jobs, use the first day of work OR the first day of the work period during which the student begins work.
• The Effective Date becomes the starting date for the hourly time sheet.
• For pay rate changes, FOAP changes, etc., use the actual effective date of the change.
• When terming a job, use the last day of work or the last day of the work period during which the student stops work.

Helpful hints for the Effective Date:
• For new jobs, make sure the job start date includes the first day of work. This may need to be a prior pay period.
• If terming or changing an existing job, check the Last Paid Date. Changes to existing jobs must be dated after the Last Paid Date.
The new ending date must be equal to or after the Last Paid Date.
• Check the employee’s time sheet! If there are hours in the current work period, use the last day of the current work period as the job ending date.
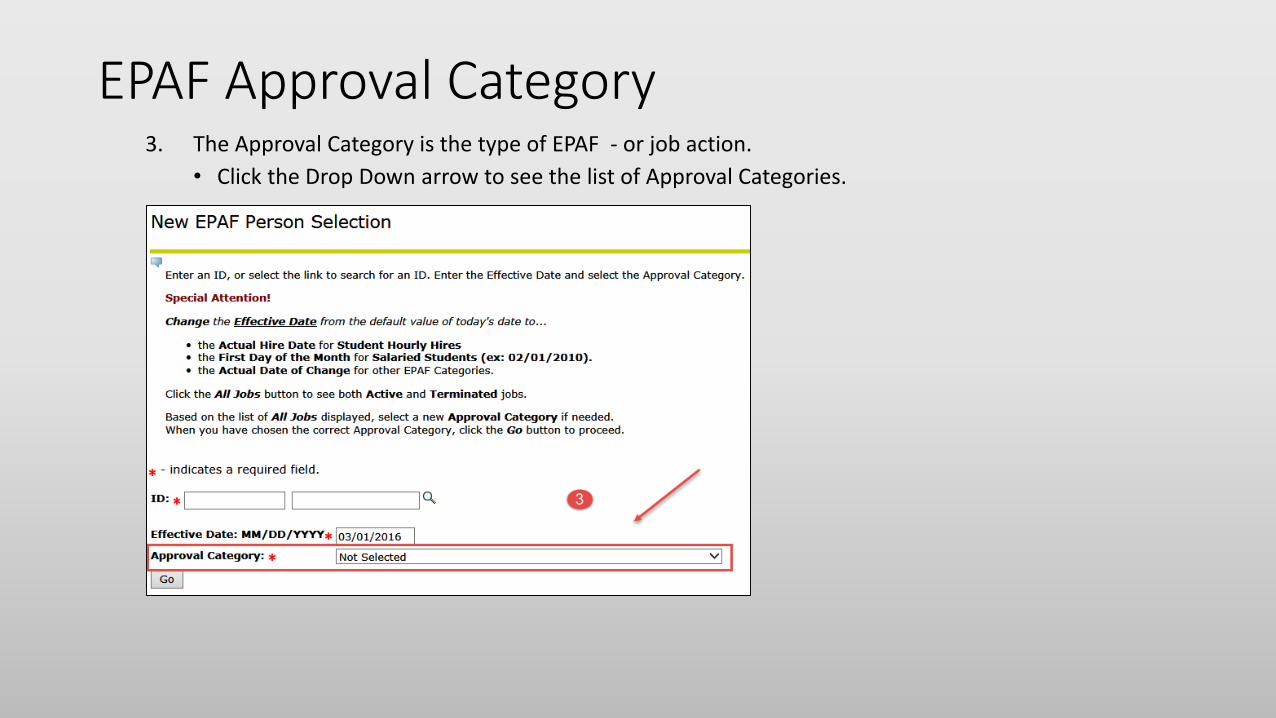
EPAF Approval Category3. The Approval Category is the type of EPAF - or job action.
• Click the Drop Down arrow to see the list of Approval Categories.

Select the Approval Category

After you select an Approval Category…
• Once you select the Approval Category, a list of active jobs for the student is returned.
• For a new hire, there should not be any jobs listed.
• Click the All Jobs button to see the complete job history for the student, both active and termed jobs.
• Review the student’s job history.

Evaluate the Approval Category:
• Have I selected the Approval Category I need?
• Review the student’s job history.
• If there is NO job history, the student is considered a new hire. Make sure you have selected one of the categories for a new hire.
• Hire New Student Hourly Employee, SH001
• Hire New Student Salary Employee, SS001

Evaluate the Approval Category:
• If there IS job history, the student is not a new hire. Make sure you have selected one of the categories for a student who is working or who has worked in the past.
• Add a Student Hourly Job, SH002 or
• Reactivate a Student Hourly Job, SH004
• Add a Student Salary Job, SS002 or
• Reactivate a Student Salary Job, SS004
• How do I know if I need to Add a job or Reactivate a job?
• What does it mean to Reactivate a job?

What is reactivating a job?
• Reactivating a job is “re-using” a job by adding new dates and job details to a previously termed job.
• Why choose this option? • Keeps student job history to a minimum.
• When reactivating, look at job number and suffix.• Make sure the job you select to reactivate is the job number and suffix type
(academic year or summer) as the job you will set up.

Do I Add a job or Reactivate a job?
• You will Add a job when the job “type” you are hiring a student for does not appear in the student’s job history.
• Example: You are hiring a student in a federal work study job and the student’s job history shows they have a non-work study hourly job but no federal work study job(s). You will Add your job as a new federal work study job.
• Example: You are hiring a student in a semester salary job and the student’s job history does not show any academic year salary jobs. You will Add your job as a new student salary job.

Do I Add a job or Reactivate a job?
• You will Add a job when the student’s job history shows there is an Active job of the same “type” of job you are setting up.
• Example: You are hiring a student in a state work study job and the student’s job history shows an Active state work study job in another department on campus. You will Addyour job as an additional state work study job.
• Example: You are hiring a student in a summer salary job and the student’s job history shows a current summer salary job in another department on campus. You will Add your job as an additional summer salary job.

Choose to Reactivate a job when:
• You will Reactivate a job when the job “type” you are setting up matches a previous (termed status) job in student’s job history.
• Example: If you are setting up a student hourly job (position SH9999), you can reactivate a previously termed student hourly job (SH9999). Do not choose another position number to reactivate.
• Example: If you are setting up a student salary job (position SS9999), you can reactivate a previously termed student salary job (SS9999). Do not choose another position number to reactivate.

Choose to Reactivate a job when:
• Example: If you are setting up a state work study job (position SH9997), you can reactivate a previously termed state work study hourly job (SH9997). Do not choose a federal work study hourly job to reactivate.
• Example: If you are setting up a summer job (summer suffixes begin with the letter “S” - S0, S1, etc.), you can reactivate a previously termed summer job (job with a summer suffix). Do not choose a job with an academic year suffix (00, 01, etc.)
Select a new Approval Category if needed!
• After reviewing the job history, you can select a new Approval Category if needed.
• Once you select a new Approval Category, a list of active jobs for the student is again returned.
• Click the All Jobs button to see the complete job history for the student.
• Use the Radio Button to select the job you need if you are reactivating or making a change to an existing job.
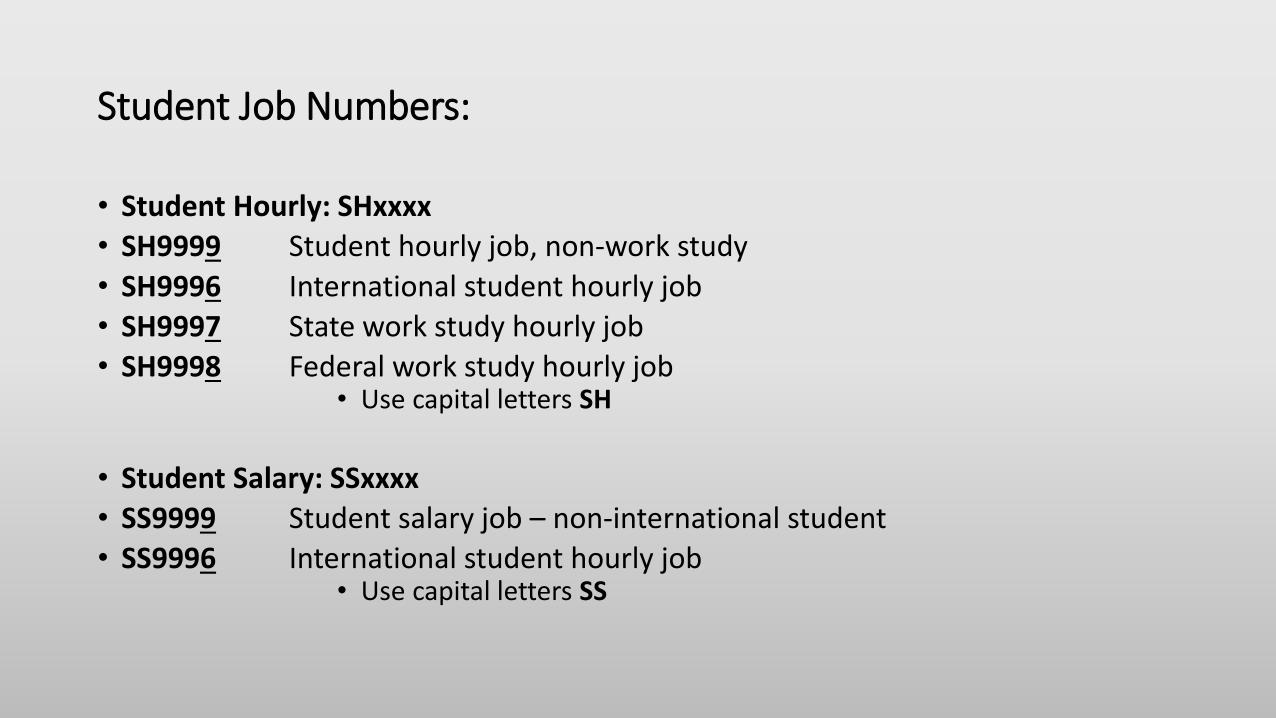
Student Job Numbers:
• Student Hourly: SHxxxx
• SH9999 Student hourly job, non-work study
• SH9996 International student hourly job
• SH9997 State work study hourly job
• SH9998 Federal work study hourly job• Use capital letters SH
• Student Salary: SSxxxx
• SS9999 Student salary job – non-international student
• SS9996 International student hourly job• Use capital letters SS

Suffixes for Student Jobs:
• The suffix is attached to the job number and distinguishes one job from another.
• Each job has its own suffix.
• Academic year or semester job uses two numbers:• 00, 01, 02, 03, etc.
• Summer job uses capital letter ‘S’ followed by a number:• S0, S1, S2, S3, etc.

Proceed with your EPAF:• After you have verified the Approval Category, click the Go button to proceed with EPAF
data entry.
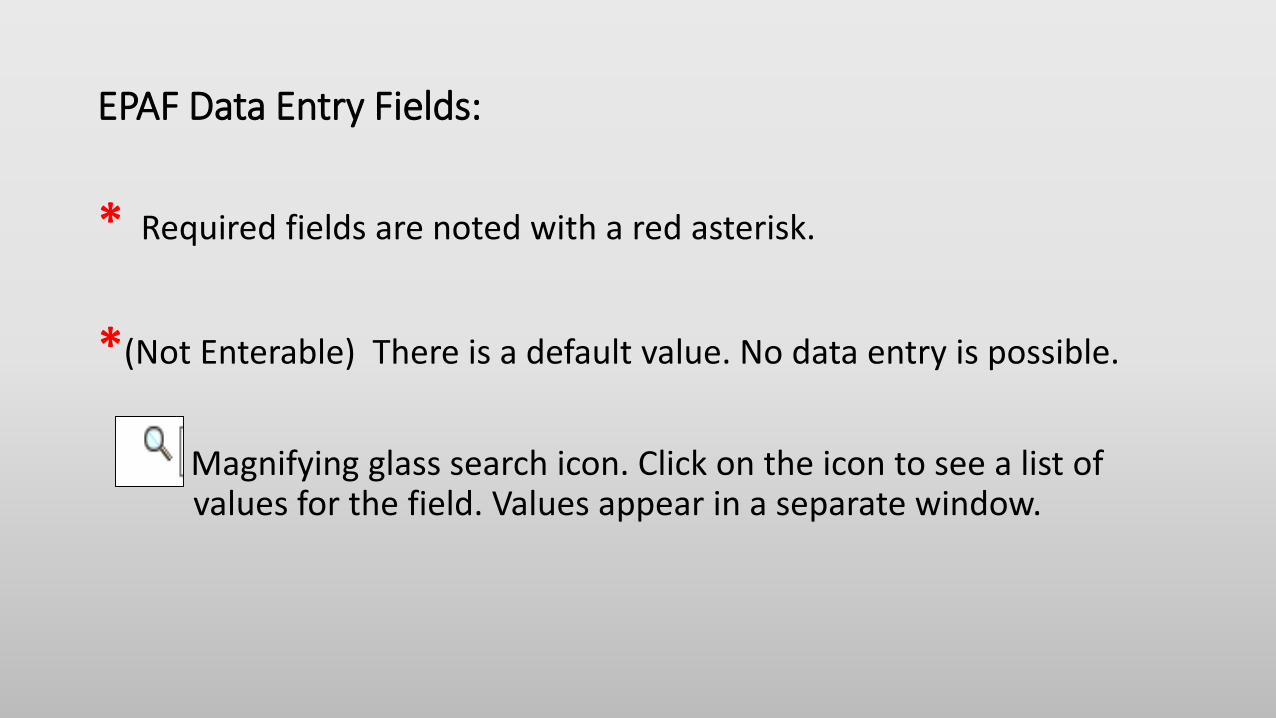
EPAF Data Entry Fields:
* Required fields are noted with a red asterisk.
*(Not Enterable) There is a default value. No data entry is possible.
Magnifying glass search icon. Click on the icon to see a list of values for the field. Values appear in a separate window.
EPAF Data Entry:
• There are step-by-step guides for EACH type of EPAF available on the payroll website.
• Additional resources for EPAF data entry, available on the payroll website:• EPAF Training Videos• User Guide for Student EPAFs• Setting up Default Routing Queues• EPAF Error Messages
• For immediate assistance with an EPAF, contact:• Student Employment at 351-2628 or• Payroll at 351-2705

Save your EPAF:
After entering EPAF job details, click the Save button at the bottom of the EPAF.• Look for a green check mark at the top of the EPAF.
• The Transaction Status of your EPAF will be “Waiting” and it will be assigned a unique transaction number.

Submit your EPAF:
After saving your EPAF, click the Submit button at the top of the EPAF.• Look for a green check mark at the top of the EPAF.
• The Transaction Status of your EPAF will be “Pending”.
• “Pending” means that your EPAF has been forwarded to Student Employment for approval.
What happens next?
• Warning messages may appear. These are OK and no action is needed.
• After you submit your EPAF successfully, it will be reviewed by Student Employment.
• This process generally takes 24 hours.
• Your EPAF will be approved -- or it may be returned for correction.
• You must monitor and check the status of all of your EPAFs – there are no automatic notifications for the process.
• Use the EPAF Originator Summary to track your EPAFs.
NOTE: If error messages appear, you will need to correct the errors before your EPAF can be processed.

EPAF Originator Summary
EPAF Originator Summary
• There are two tabs: Current and History.
• Check the Current Tab and the History Tab under the EPAF Originator Summary to find the status of your EPAF.
• It is recommended that you review the EPAF Originator Summary daily until the status of your EPAF changes to Completed.
• When the EPAF status is Completed, the job (or job action) has been uploaded successfully to the Banner system.

Current Tab
• The Current Tab lists EPAFs that are in process, at a Waiting or Returned for Correction status.

History Tab
• The History Tab lists EPAFs that have been successfully submitted. These EPAFs are at a Pending or Completed status.
• EPAFs that have been Voided or Cancelled also appear under the History Tab.

When your EPAF is approved:
• The status of the EPAF will change from “Pending” to “Approved.”
• Once the EPAF is approved, the job will be uploaded to Banner within 24 hours.
• When that status of your EPAF is “Completed,” the new job or job action has been uploaded to Banner.
• Hourly time sheet is created when EPAF is “Completed”.

If your EPAF is returned for correction:
• The status will be changed from “Pending” to “Returned for Correction.”
• A comment will be added with information on how to correct your EPAF.
• The job will not automatically be uploaded to Banner until corrections are made and the EPAF is re-submitted.
• Review the comment added to your EPAF.
• Use the Update button to open and update the EPAF and make the necessary corrections. Then, Save and Submit the revised EPAF.

Contacts for EPAF Assistance and Information:
• Payroll Department, 351-2705
• Student Employment Department, 351-2628
• Human Resources Department, 351-2718
• For immediate assistance with an EPAF, contact Dorothy Swenson at 351-2705 or the payroll office at 351-2700.


![Processing Employees Using epaf – Originator Handbook · 2019-05-18 · 2016 [PROCESSING EMPLOYEES USING EPAF – ORIGINATOR HANDBOOK] 1 | Page Contents . What you need before you](https://static.fdocuments.us/doc/165x107/5f78809d3f93b22ab9481ad3/processing-employees-using-epaf-a-originator-handbook-2019-05-18-2016-processing.jpg)


