Dr Simin Nasseri, SPSU Tutorial: Pulley Chapter 2 Dr Simin Nasseri, SPSU Copyright of Howard and...
10
Dr Simin Nasseri, SPSU Tutorial: Pulley Chapter 2 Dr Simin Nasseri, SPSU Copyright of Howard and Musto, 2009
-
Upload
bonnie-singleton -
Category
Documents
-
view
226 -
download
0
Transcript of Dr Simin Nasseri, SPSU Tutorial: Pulley Chapter 2 Dr Simin Nasseri, SPSU Copyright of Howard and...
Dr Simin Nasseri, SPSU
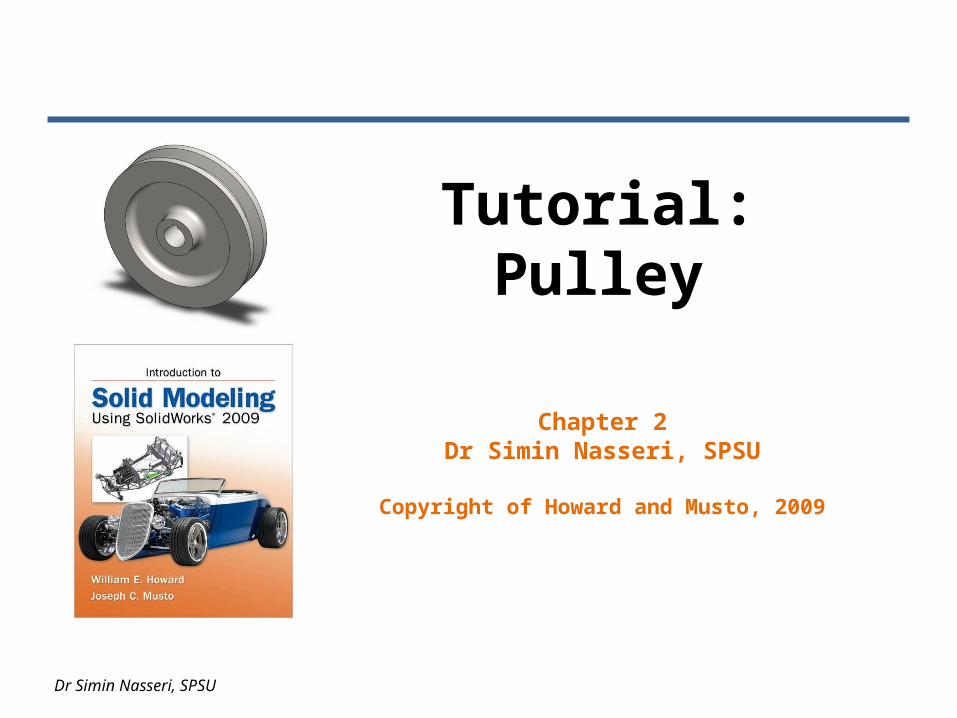
Tutorial: Pulley
Chapter 2Dr Simin Nasseri, SPSU
Copyright of Howard and Musto, 2009

Dr Simin Nasseri, SPSU
Tutorial Learning Objectives
• Learn more sketching commands• Explore the use of relations within a sketch• Use the revolved boss feature• Find mass properties of a part
INTRODUCTION TO SOLID MODELING USING SOLIDWORKS 2009
Dr Simin Nasseri, SPSU
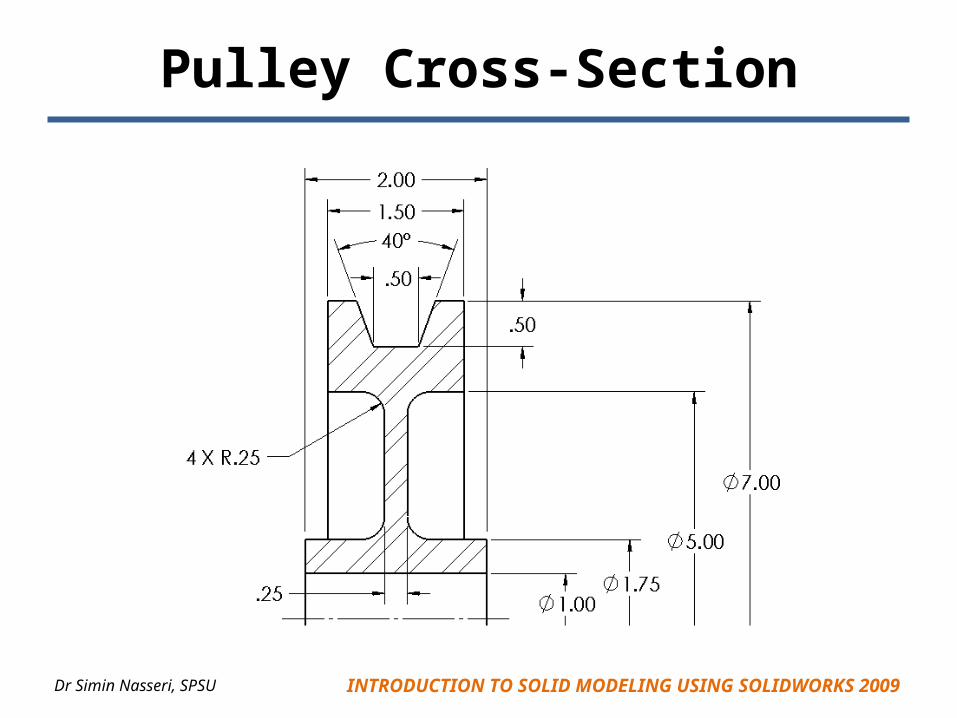
Pulley Cross-Section
INTRODUCTION TO SOLID MODELING USING SOLIDWORKS 2009

Dr Simin Nasseri, SPSU
Feature 1 – Revolved Base
INTRODUCTION TO SOLID MODELING USING SOLIDWORKS 2009
Note that diameter dimensions can be created by dragging the dimension to the other side of the centerline when the dimension is created.
Note that the sketch has multiple closed regions. The regions to be selected must be specified.
Dr Simin Nasseri, SPSU
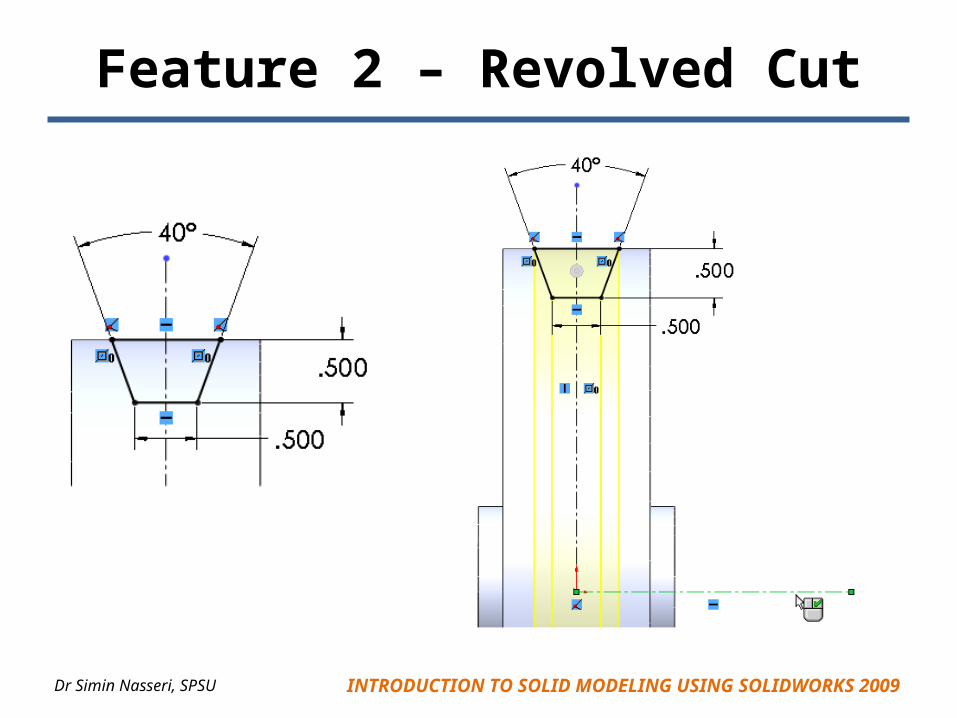
Feature 2 – Revolved Cut
INTRODUCTION TO SOLID MODELING USING SOLIDWORKS 2009
Dr Simin Nasseri, SPSU
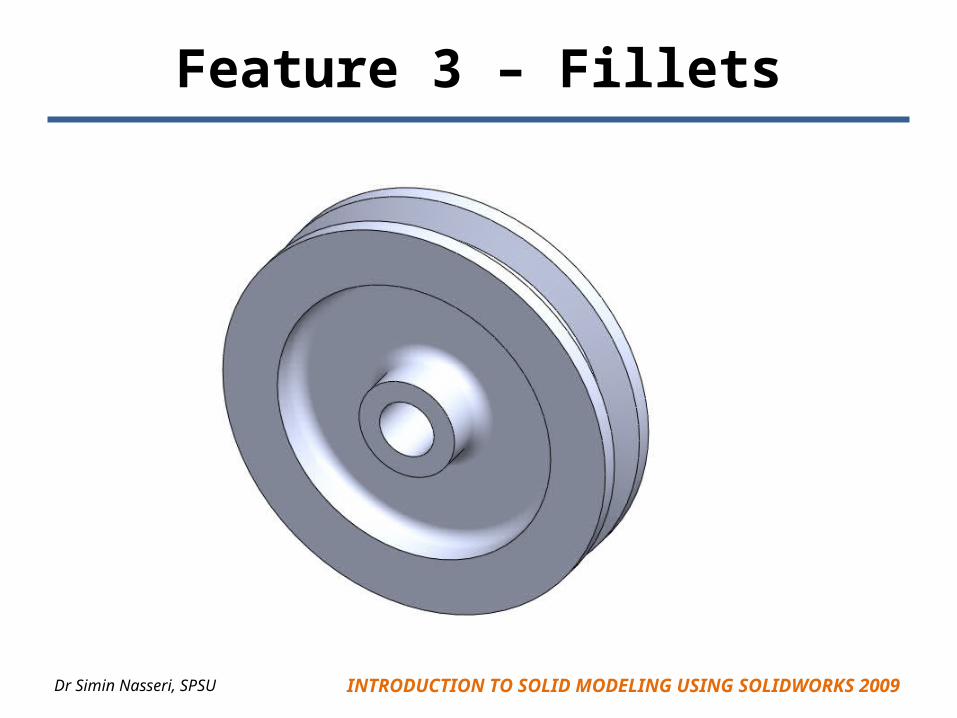
Feature 3 – Fillets
INTRODUCTION TO SOLID MODELING USING SOLIDWORKS 2009
Dr Simin Nasseri, SPSU
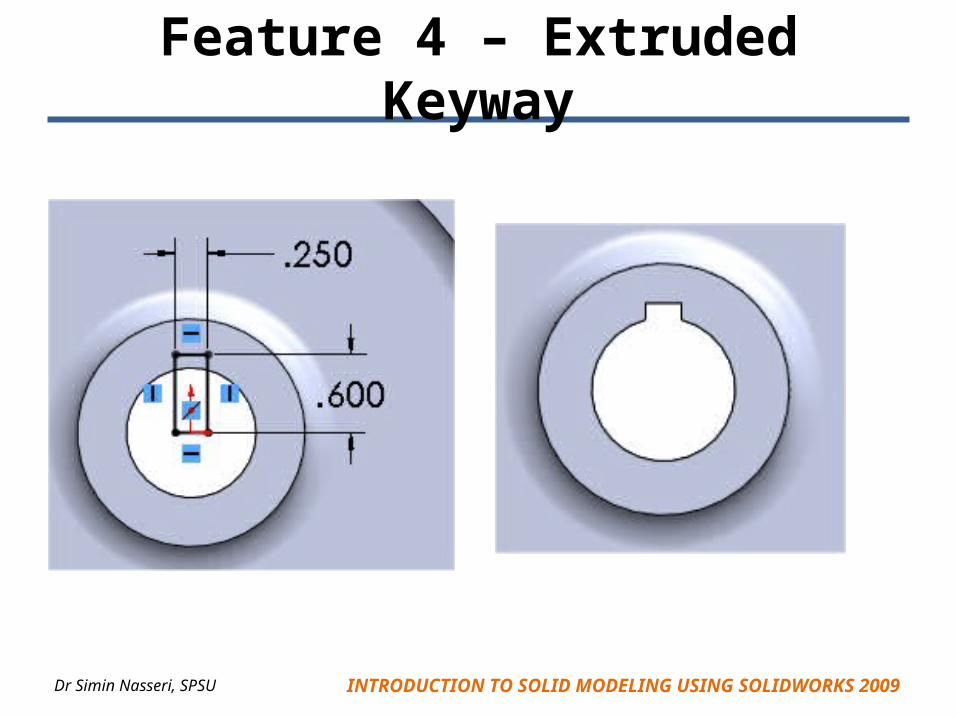
Feature 4 – Extruded Keyway
INTRODUCTION TO SOLID MODELING USING SOLIDWORKS 2009
Dr Simin Nasseri, SPSU
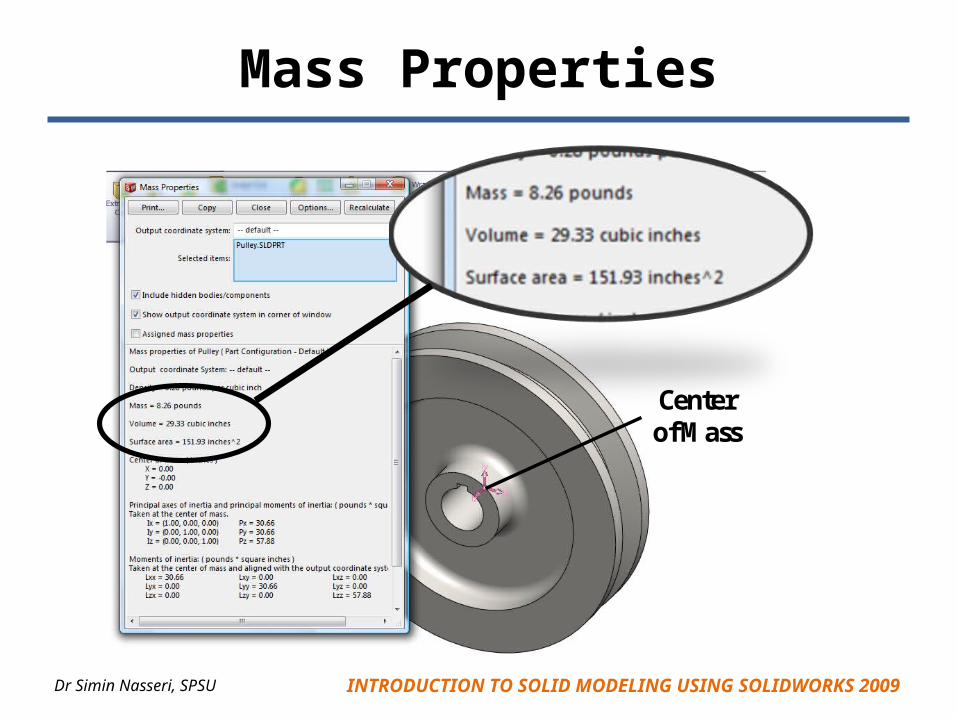
Mass Properties
INTRODUCTION TO SOLID MODELING USING SOLIDWORKS 2009
Center of Mass
Dr Simin Nasseri, SPSU
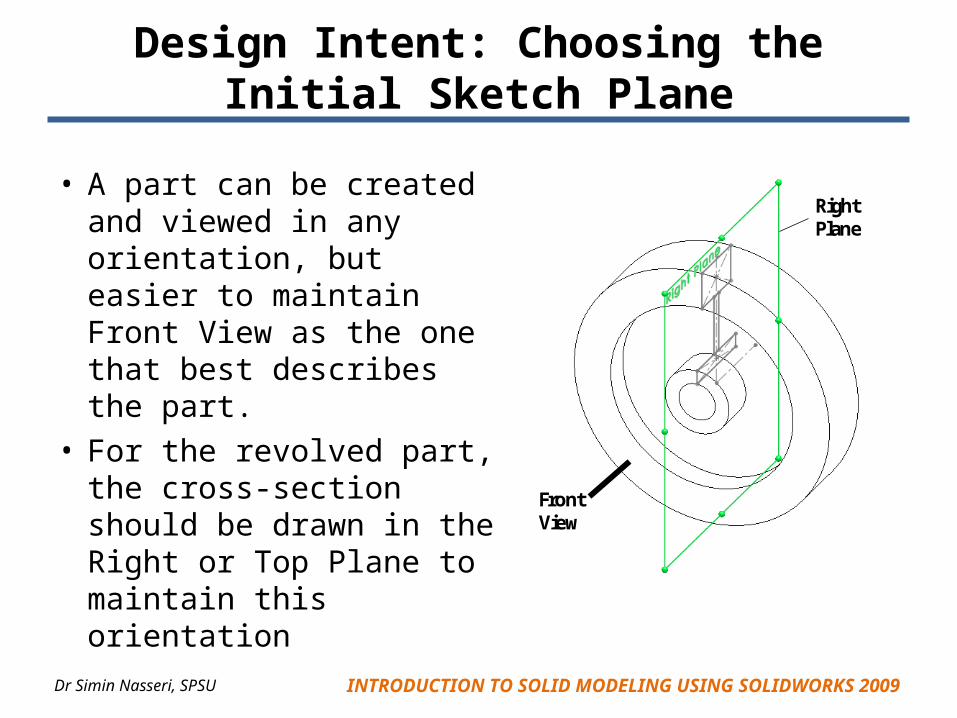
Design Intent: Choosing the Initial Sketch Plane
• A part can be created and viewed in any orientation, but easier to maintain Front View as the one that best describes the part.
• For the revolved part, the cross-section should be drawn in the Right or Top Plane to maintain this orientation
INTRODUCTION TO SOLID MODELING USING SOLIDWORKS 2009
Front View
Right Plane
Dr Simin Nasseri, SPSU
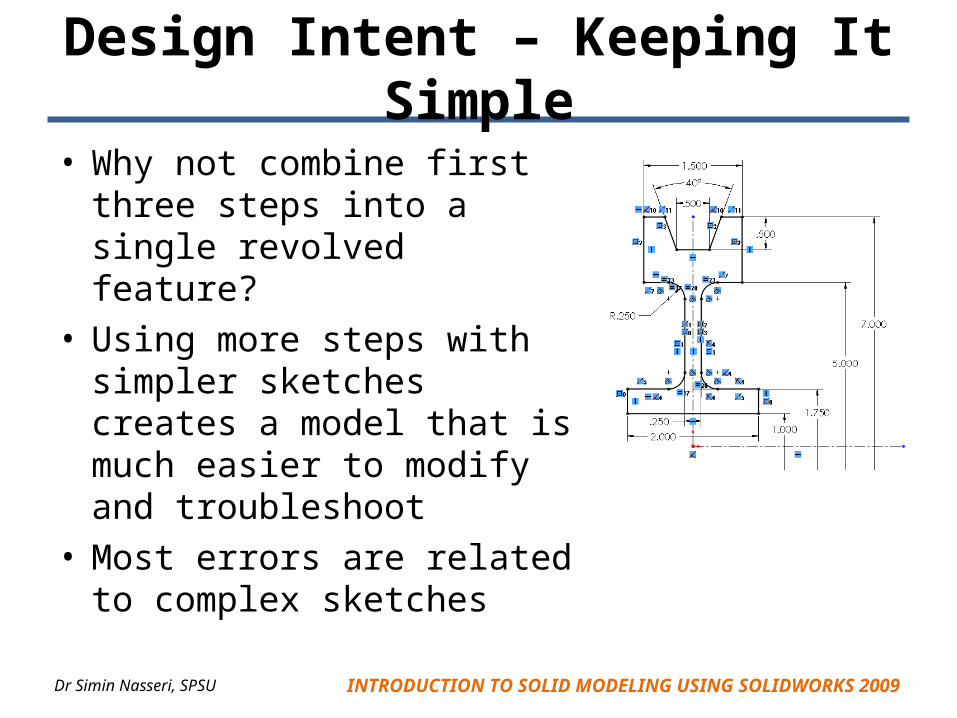
Design Intent – Keeping It Simple
• Why not combine first three steps into a single revolved feature?
• Using more steps with simpler sketches creates a model that is much easier to modify and troubleshoot
• Most errors are related to complex sketches
INTRODUCTION TO SOLID MODELING USING SOLIDWORKS 2009