
Digital Video Act III – Importing, Editing, & …...Digital Video Act III – Importing, Editing,...
68
Digital Video Act III – Importing, Editing, & Distribution Tips University of Utah Student Computing Labs Macintosh Support [email protected]
Transcript of Digital Video Act III – Importing, Editing, & …...Digital Video Act III – Importing, Editing,...
Digital VideoAct III – Importing,
Editing, & Distribution TipsUniversity of Utah
Student Computing LabsMacintosh [email protected]
• Importing tips
• Editing tips
• Distribution tips
• Ideas for movies
• Practice
Class Overview
• Dump an entire DV tape to the computer
– Easier to find footage on computer than camera
• Dump trimmed clips back to tape
– Do this before making a movie
– Keep good raw footage only
Import Tips – Camera
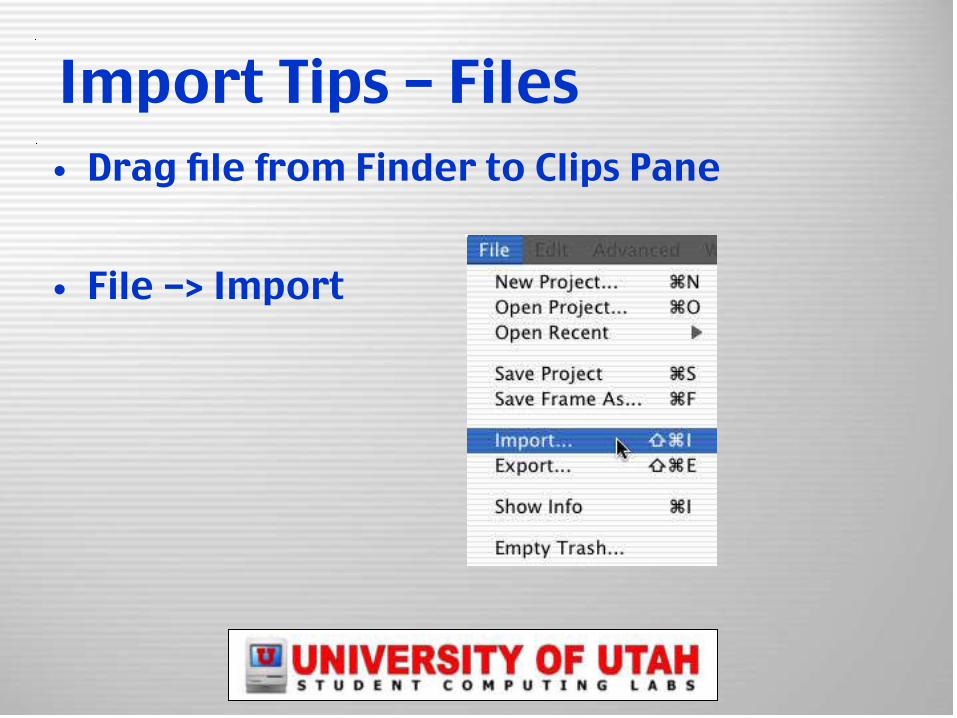
• Drag file from Finder to Clips Pane
• File -> Import
Import Tips – Files
• Image files– Use iPhoto and the Photo pane
– Or drag and drop
– Or File – > Import
• Audio files– Use iTunes and the Audio pane
– Or drag and drop
– Or File – > Import
Import Tips – Files
• Import formats– dv– mov– mpg or mpeg (MPEG-1 and MPEG-4)– Other formats
• avi by installing 3vix codec– Fix .avi files with Divx Doctor II or others
• MPEG-2– Convert to mov with using Diva or others
Import Tips – Files
• MPEG-1 (1992)– VHS quality– VCD, CD-ROM, mpg, mp3
• MPEG-2 (1996)– DVD quality– Digital TV’s, DVD’s, mpg, vob, vro, etc
• MPEG-4 (1999)– Scalable quality– mp4
Import Tips – Files

• Method #1– Import the file with the non 4:3 aspect ratio– Edit– Export using “Expert Settings” and custom size
Import Tips – Aspect ratio
• Method #2– Create a 720 x 480 image– Open image and movie in QuickTime Pro– Select all of image– Copy– Paste into graphic window– Get properties of Video Track 1– Change size and placement of movie to fit– Save as self contained– Import into iMovie
Import Tips – Odd Sizes
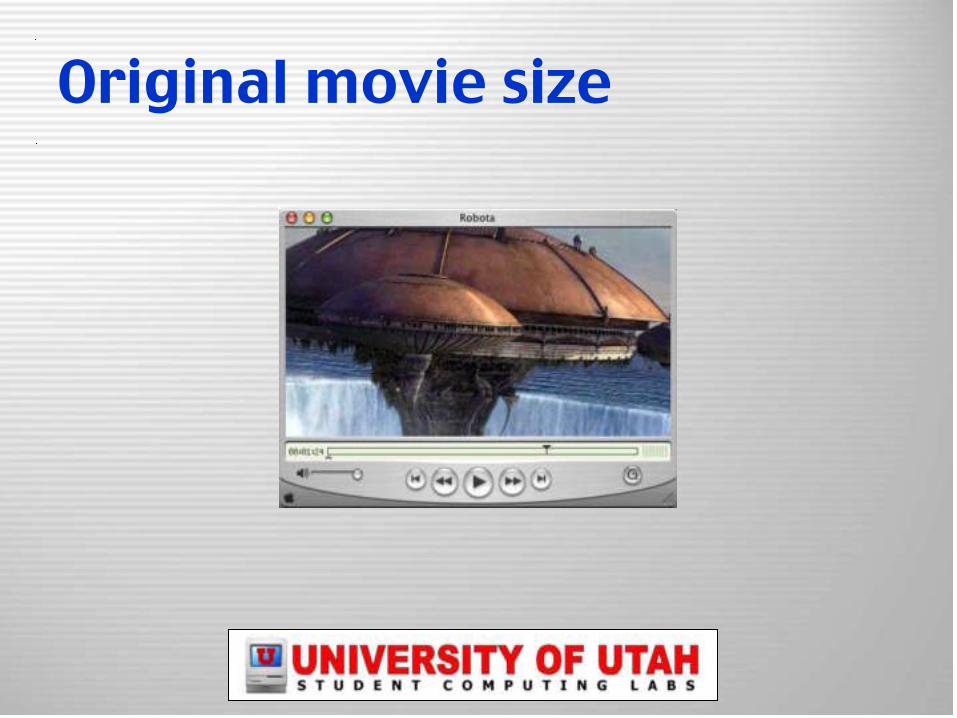
Original movie size
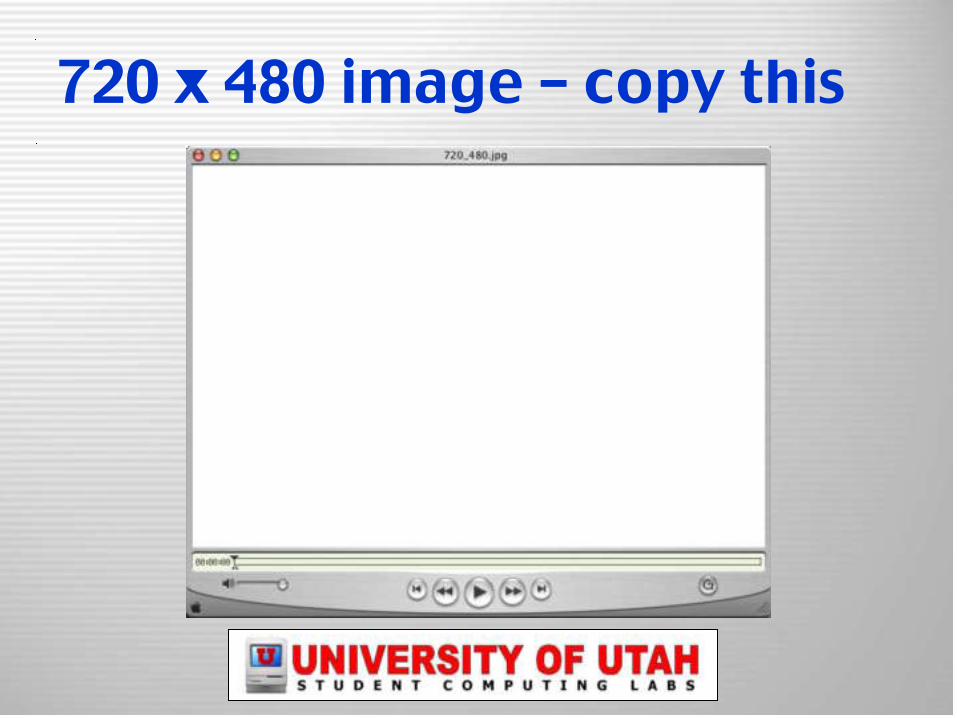
720 x 480 image – copy this
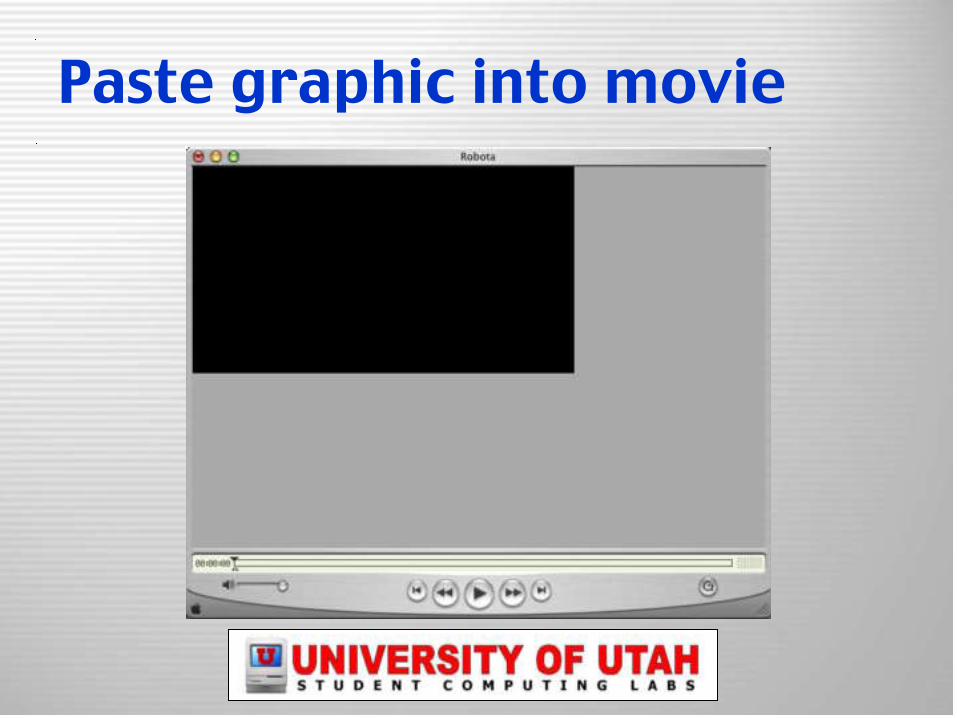
Paste graphic into movie
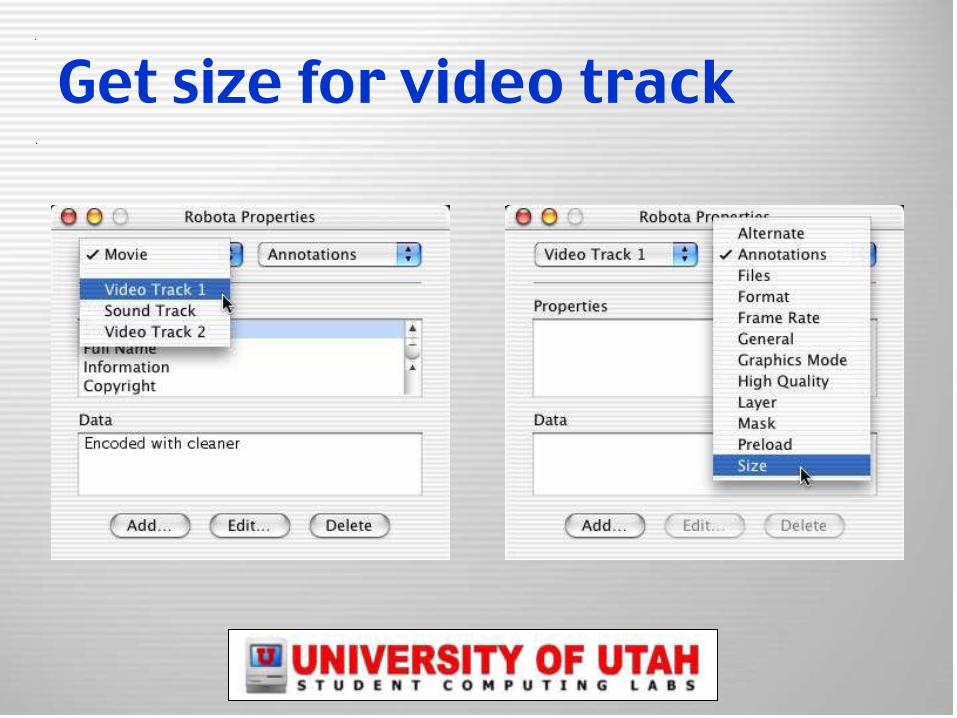
Get size for video track
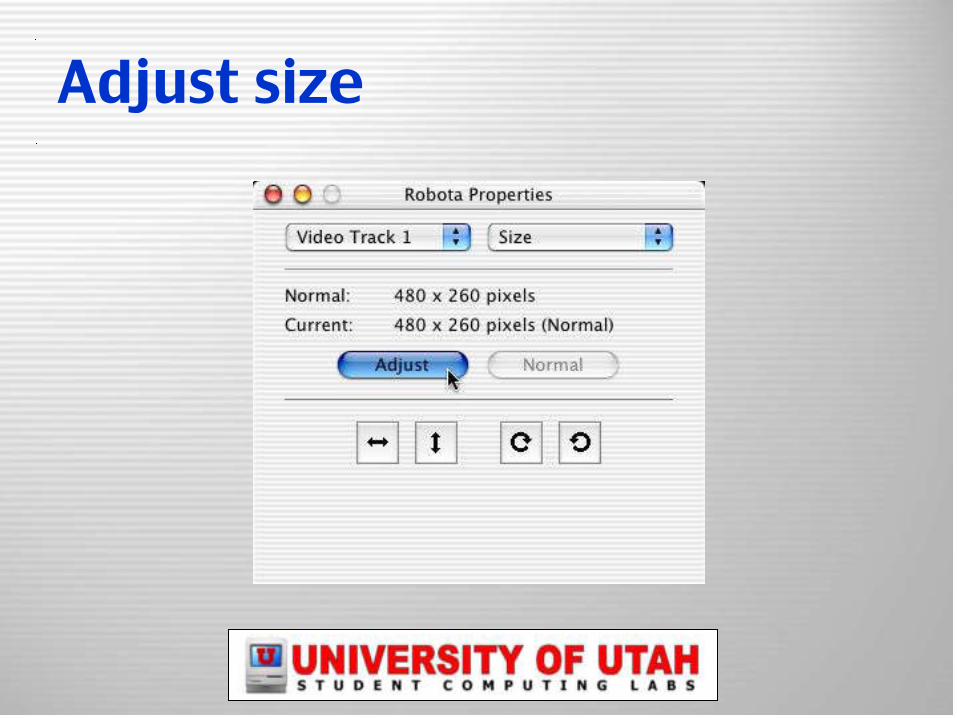
Adjust size
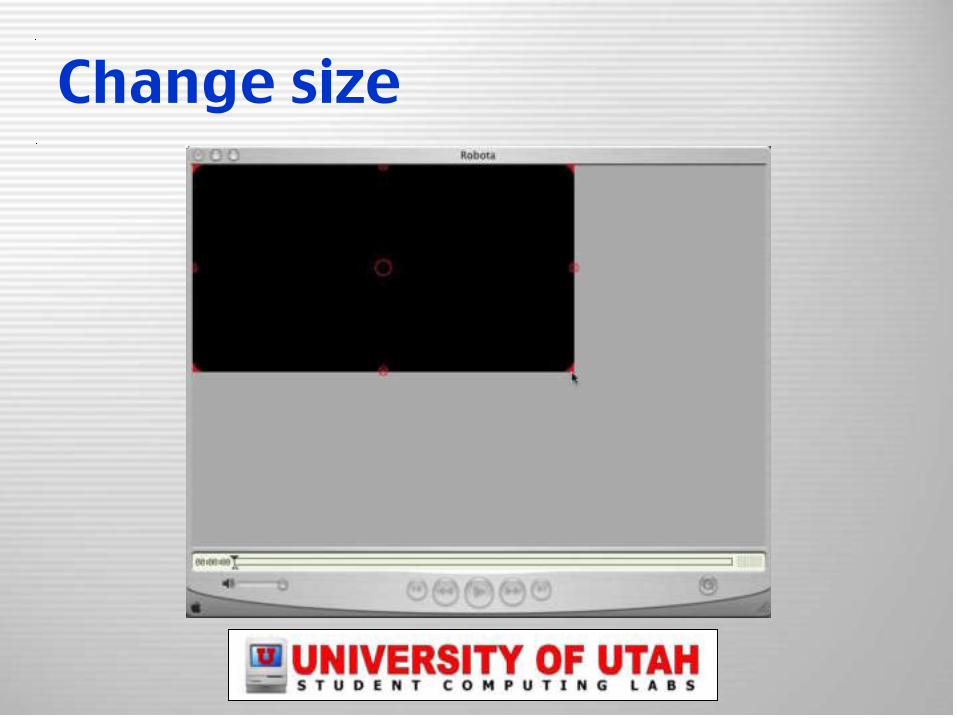
Change size
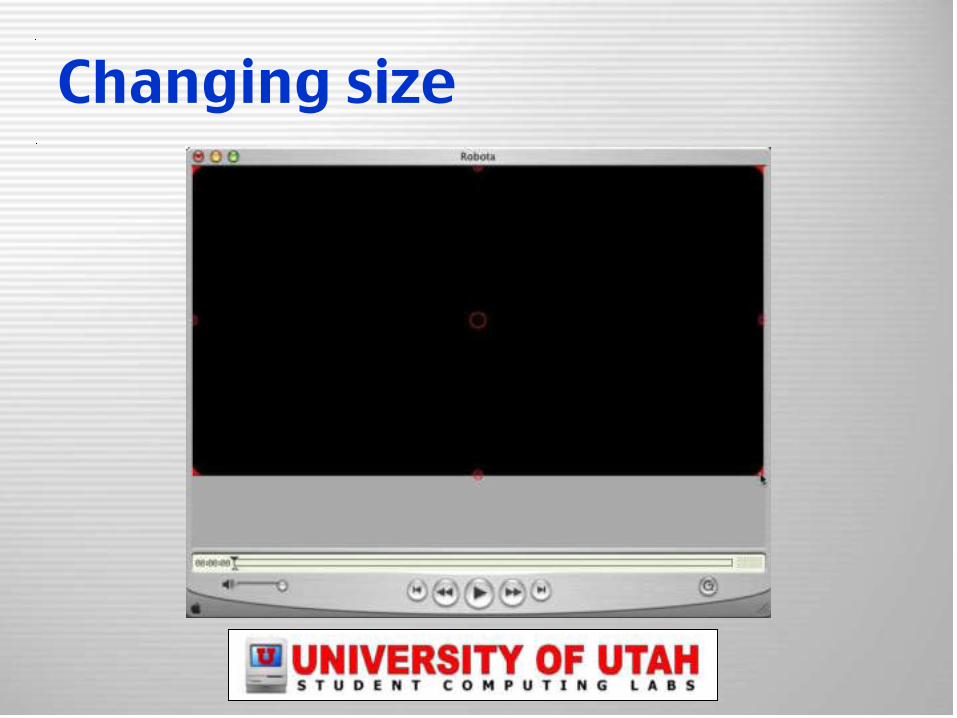
Changing size
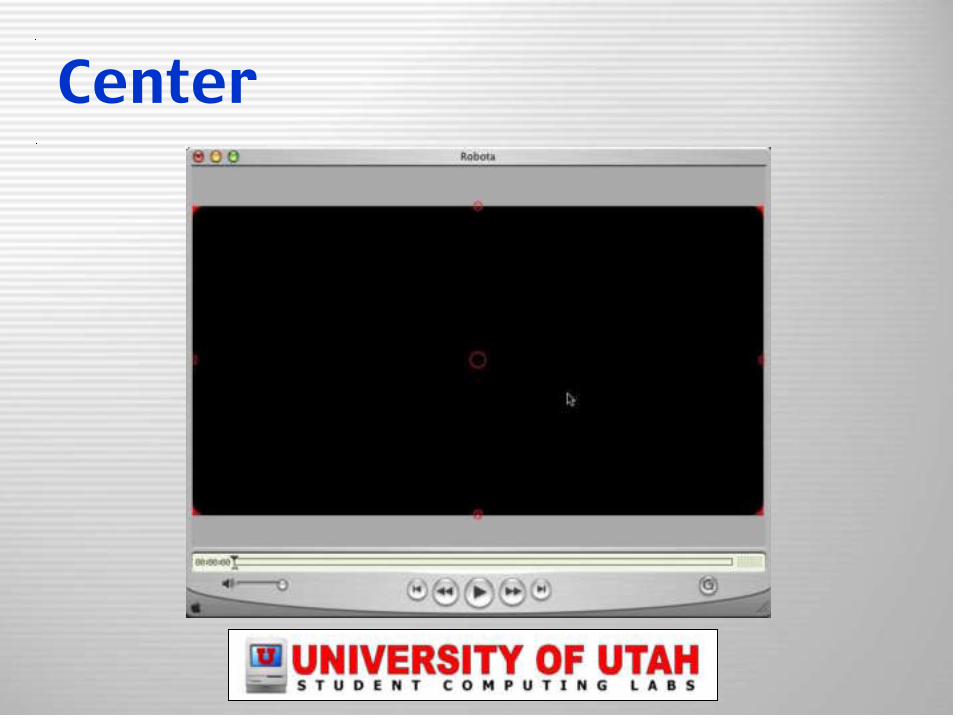
Center

Save as self-contained
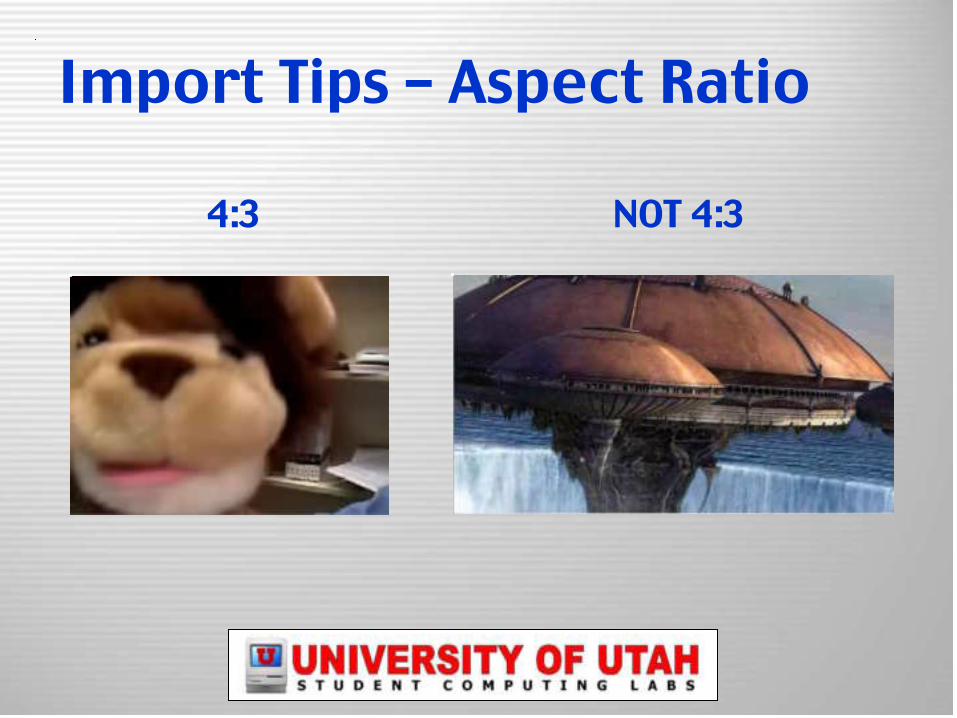
Import Tips – Aspect Ratio
NOT 4:34:3
• Import
– Dump entire DV tape to computer
• Trim clips
• Dump back to tape
• Arrange clips
• Add transitions, titles, effects, audio
Edit Tips – Process
• Maintain “idea continuity”
– Just like writing class
• Keep clips similar length
Edit Tips – Clip flow
• Similar angles and subjects (interview)
– Do not put next to each other
• Insert a shot of anything else
– If you must do this, use a quick crossfade
Edit Tips – Arrange Clips
• Always fade in at beginning
• Always fade out at ending
• No transition is the most common cut
• Crossfade is the second most common cut
• Pay attention to TV/Movies
Edit Tips – Transitions
• Don’t put over moving or distracting video
• Use the same font and size throughout
• QuickTime exports need big and bold fonts
• QT margins use full width
• Otherwise, it uses TV-safe margins
• Use still images for special titles
Edit Tips – Titles
• Don’t use unless they make sense
– A photograph would be “Sepia”
– A dream would be “Soft Focus”
– Viewpoint from a sleepy person
– Etc.
•
Edit Tips – Effects
• Built in editing tricks– Add an echo– Create reverb– Reuse audio– Get rid of unwanted sounds
• Voice over– Add exaggerated sounds
• Crunching onion skins = fire• Break celery = crunching bones
Edit Tips – Audio
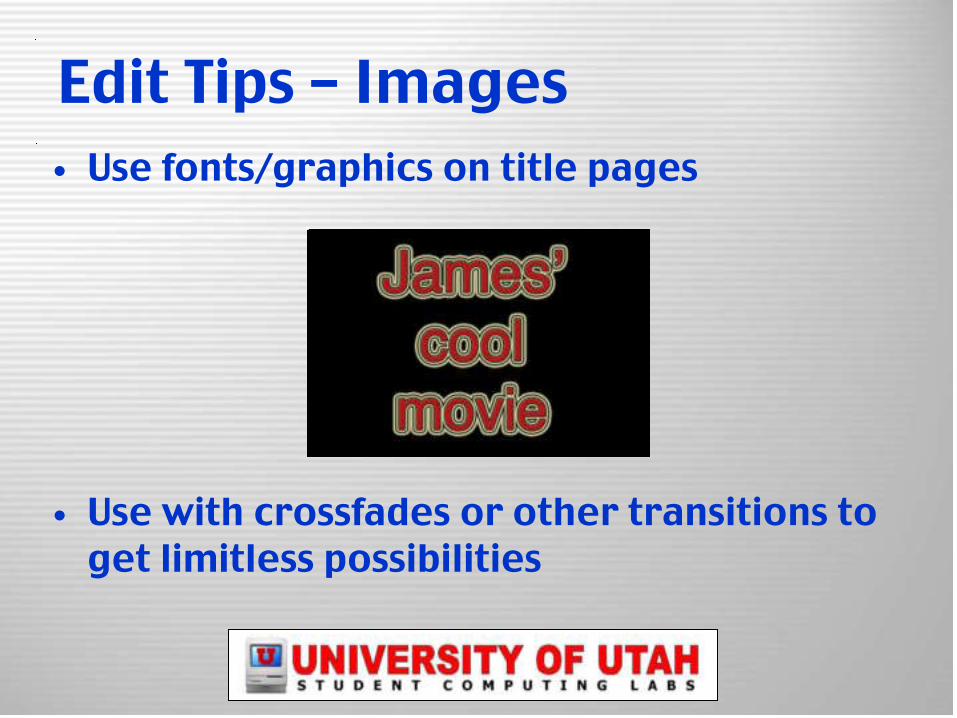
• Use fonts/graphics on title pages
• Use with crossfades or other transitions to get limitless possibilities
•
Edit Tips – Images
• DV time to file size:– 1 frame – 120 Kb– 1 min – 228 MB– 15 min – 3.5 GB– 30 min – 7 GB– 60 min – 13 GB– 2 hr – 28 GB– 4 hr – 53 GB
Edit Tips – File Sizes
• Minimum monitor resolution: 800 x 600
• External firewire drive
– Might be too slow
– Get drive with Oxford 911 chipset (fast)
• Mac video clip time
– 9:28:17, or 2 gig
•
Edit Tips – Other Info
• Custom title page, Ken Burns Effect zoom• Flash created with white graphic
– Matrix
• Color changes– 3 images with crossfades
• Slide show of artwork• Quicktime odd file size file import• AVI file import
Demo: Import and Edit Tips
• Smaller resolution
– 720 x 480 original
• Lower frame rate
– 29.97 original
• Spatial compression
• Temporal compression
– Key frame
Export Tips – Compression

Spacial compression
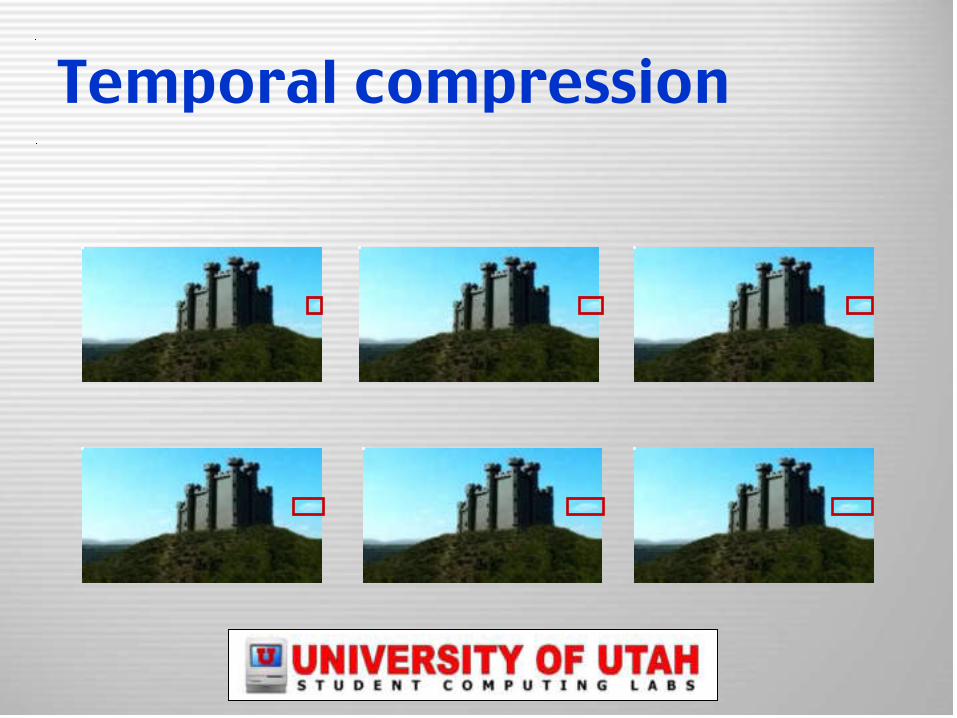
Temporal compression
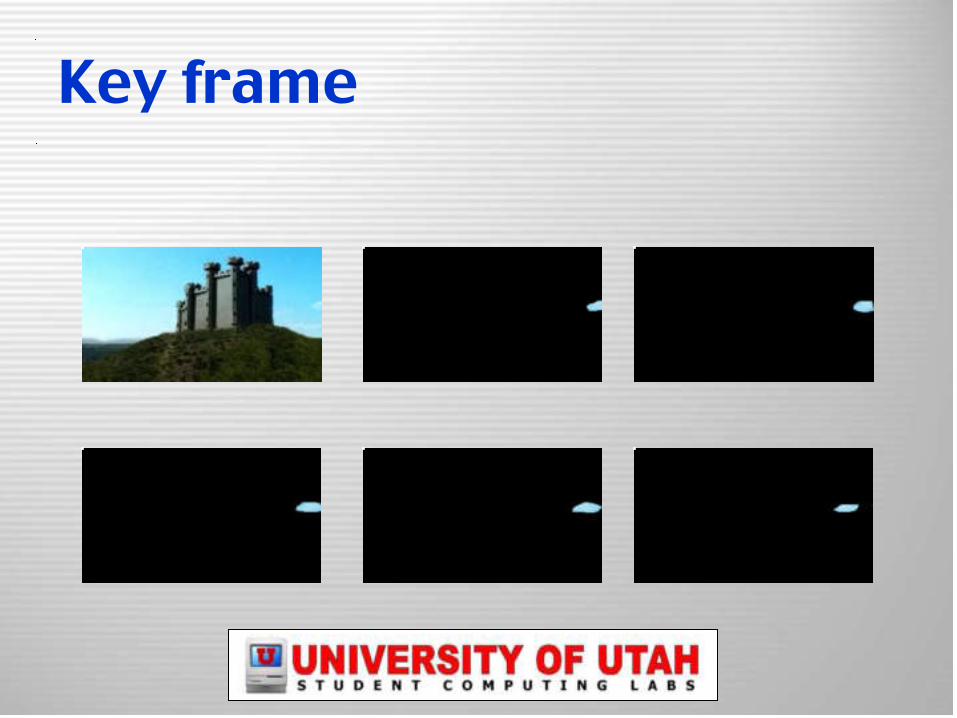
Key frame

Export Tips
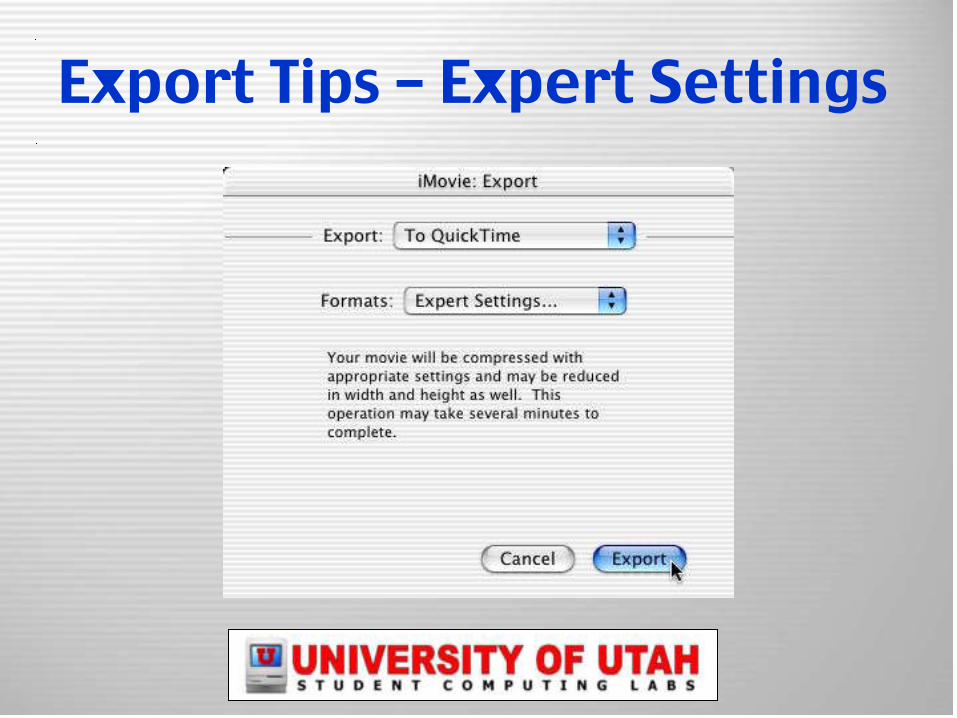
Export Tips – Expert Settings

• Select Export– Many to choose from
• QuickTime movie
• MPEG-4
• Use canned settings
• Or click Options
Export Tips – Expert Settings

• MPEG-4
• QuickTime Movie
• AVI
• DV Stream
• Image Sequence
• Toast VCD
•
Export Tips – Expert Settings
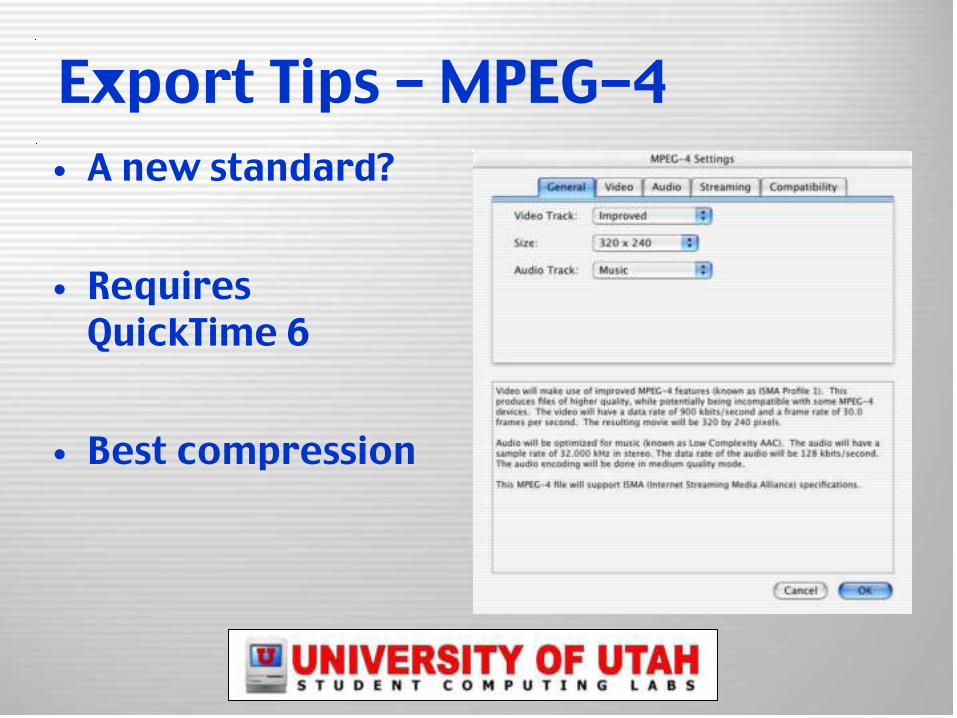
• A new standard?
• Requires QuickTime 6
• Best compression
Export Tips – MPEG-4
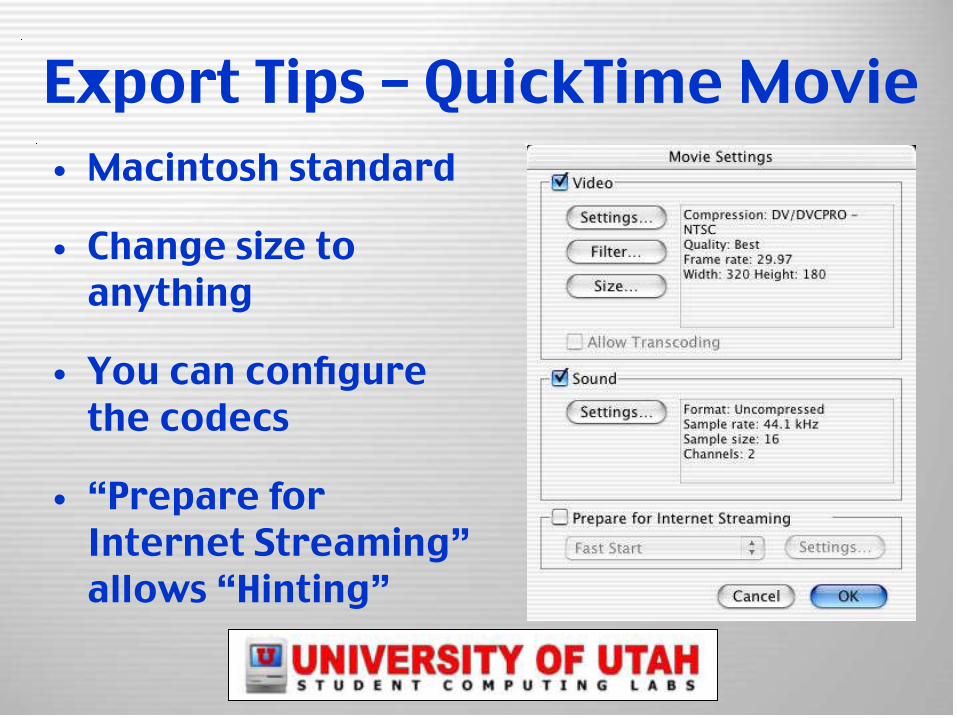
• Macintosh standard
• Change size to anything
• You can configurethe codecs
• “Prepare for Internet Streaming”allows “Hinting”
Export Tips – QuickTime Movie
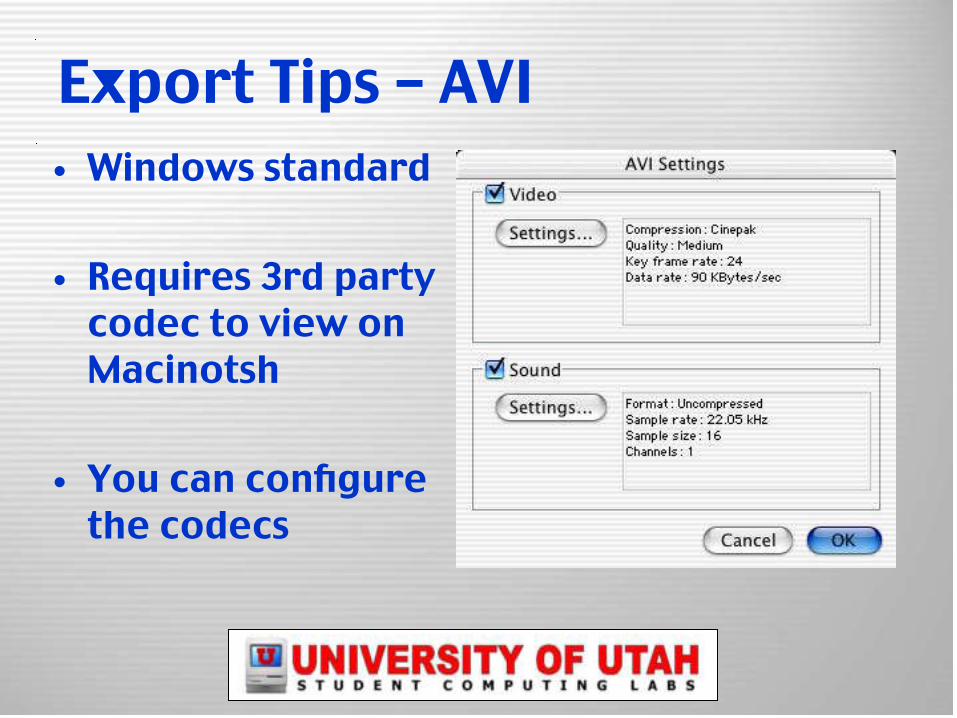
• Windows standard
• Requires 3rd partycodec to view on Macinotsh
• You can configurethe codecs
Export Tips – AVI
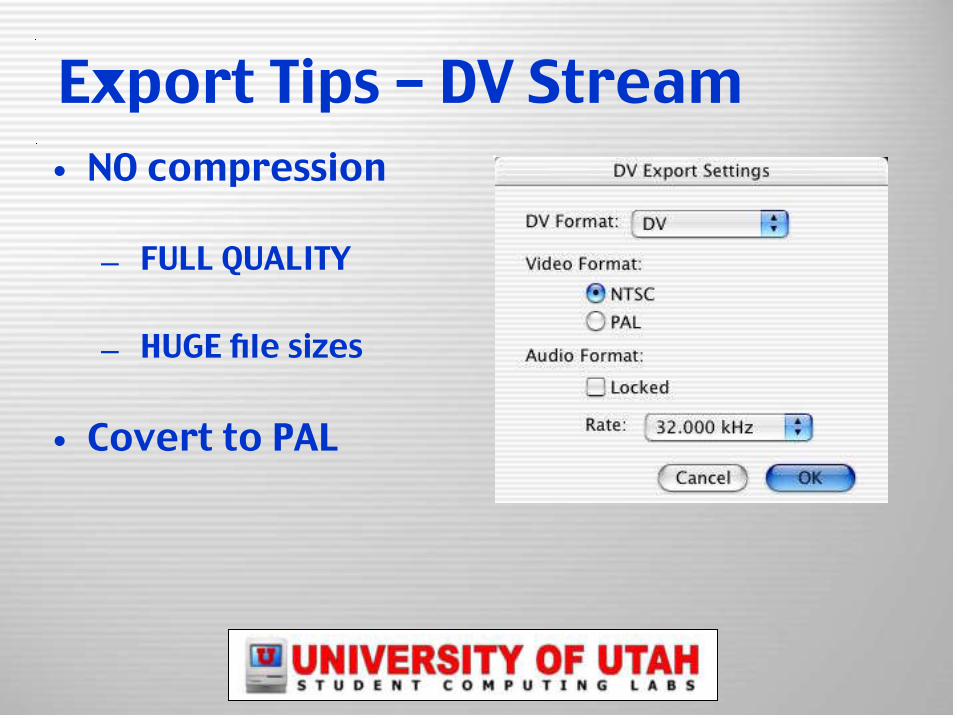
• NO compression
– FULL QUALITY
– HUGE file sizes
• Covert to PAL
Export Tips – DV Stream
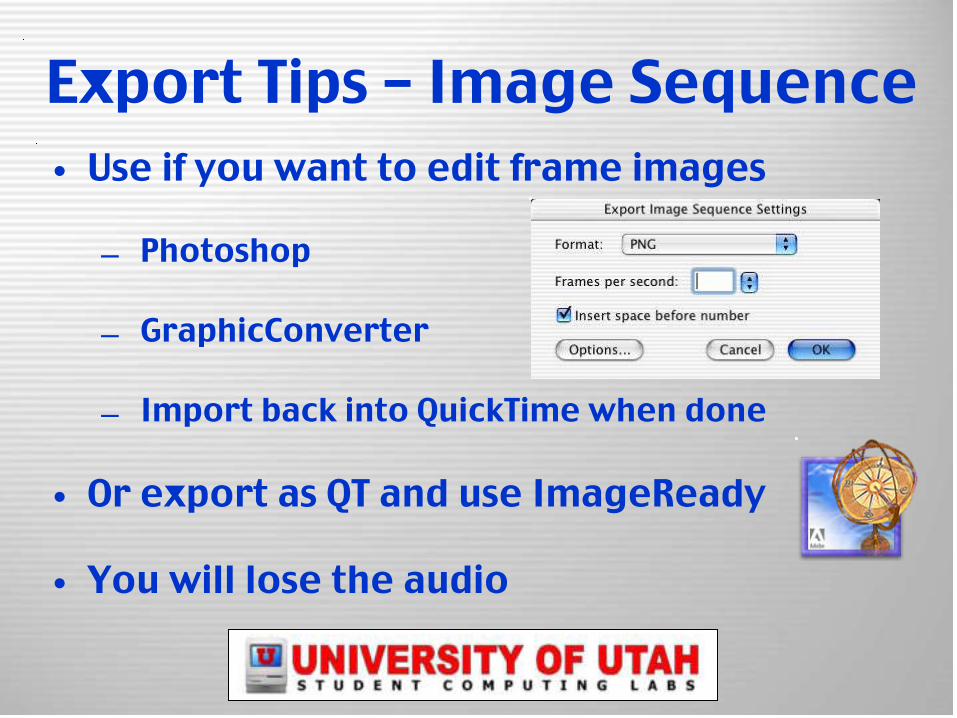
• Use if you want to edit frame images
– Photoshop
– GraphicConverter
– Import back into QuickTime when done
• Or export as QT and use ImageReady
• You will lose the audio
Export Tips – Image Sequence
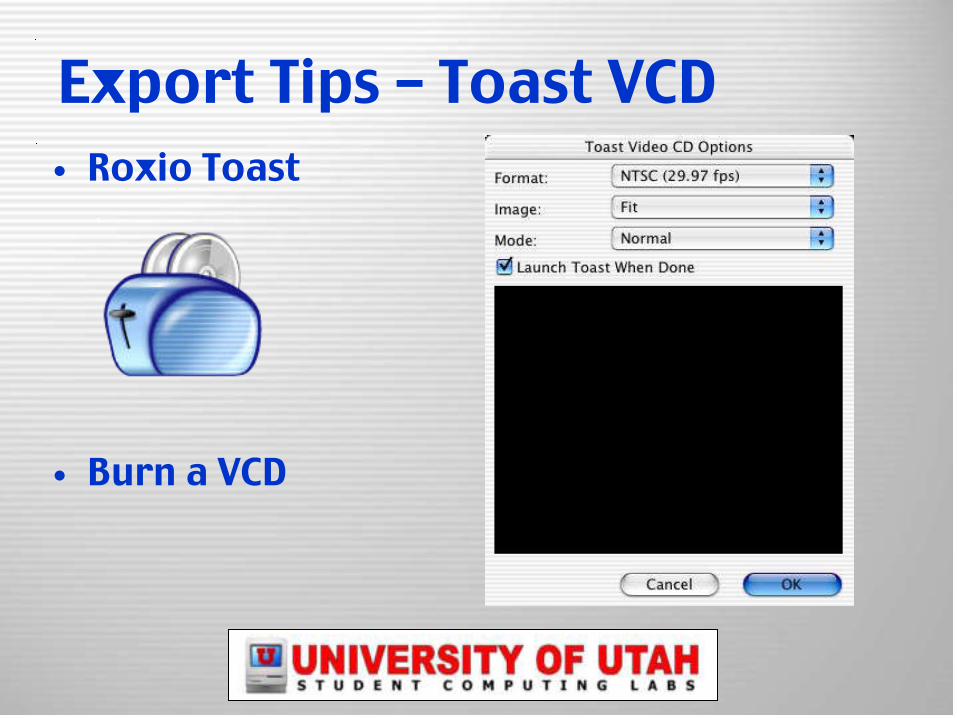
• Roxio Toast
• Burn a VCD
Export Tips – Toast VCD

• Compression settings– For AVI and QuickTime
Export Tips – Expert Settings
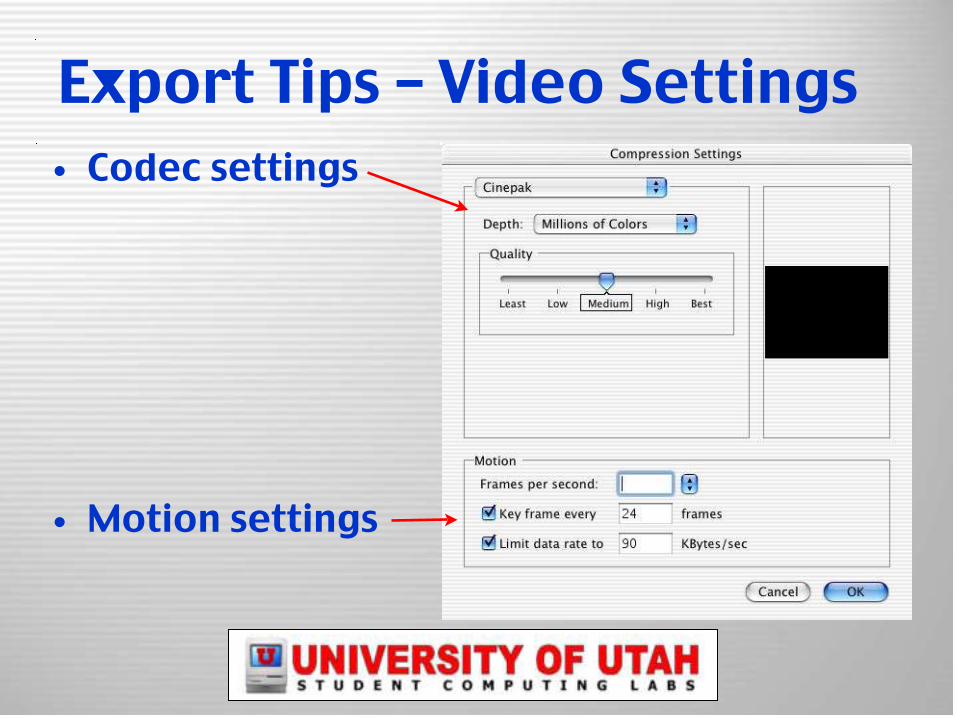
• Codec settings
• Motion settings
Export Tips – Video Settings
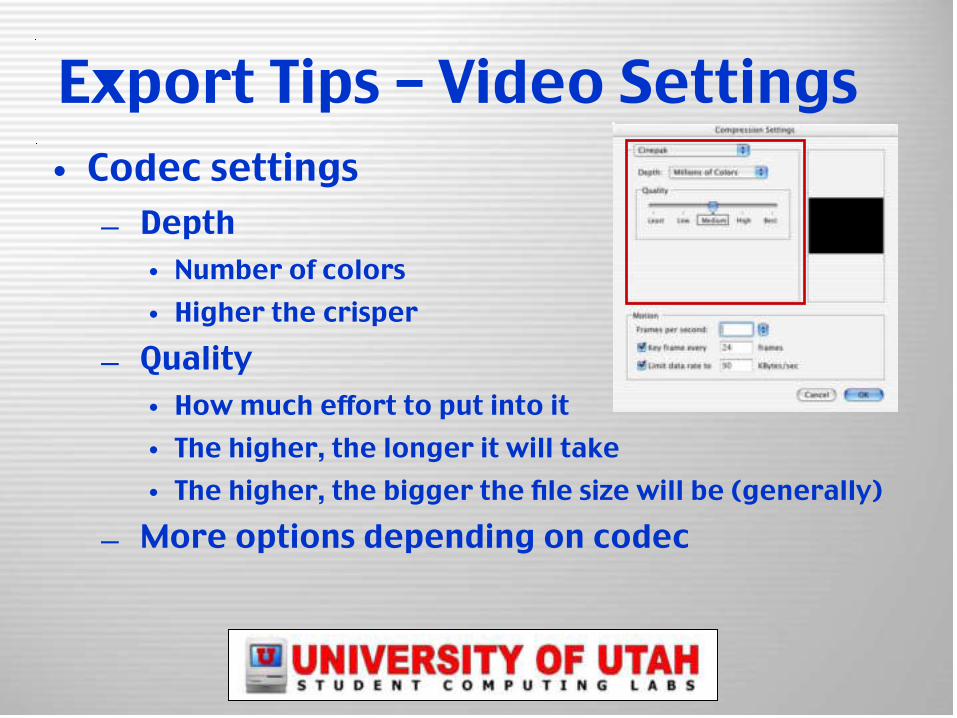
• Codec settings– Depth
• Number of colors• Higher the crisper
– Quality• How much effort to put into it• The higher, the longer it will take• The higher, the bigger the file size will be (generally)
– More options depending on codec
Export Tips – Video Settings
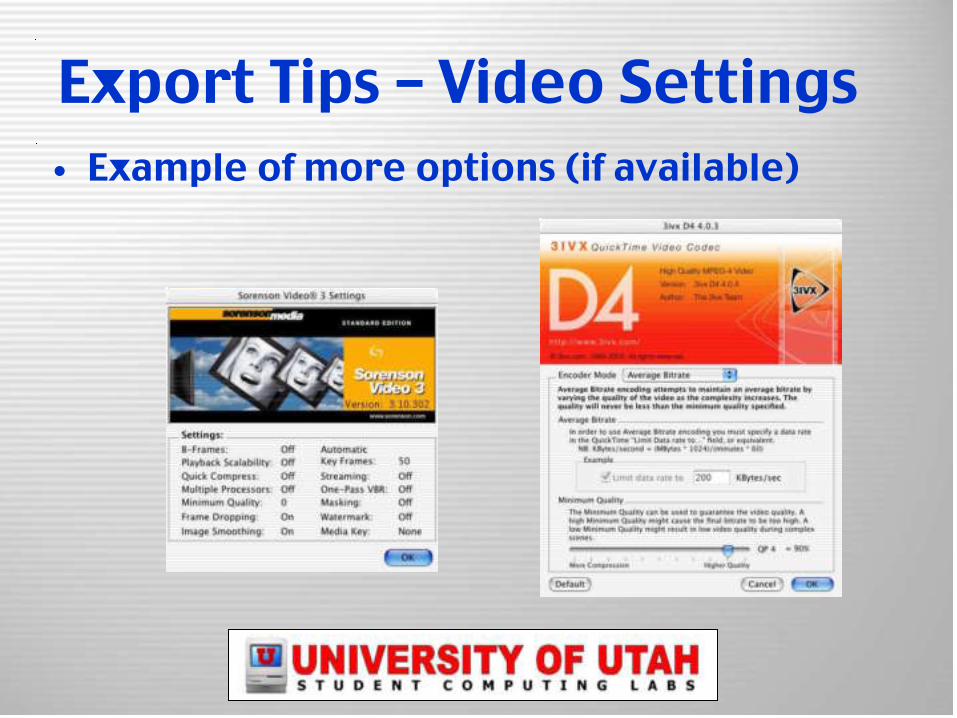
• Example of more options (if available)
Export Tips – Video Settings
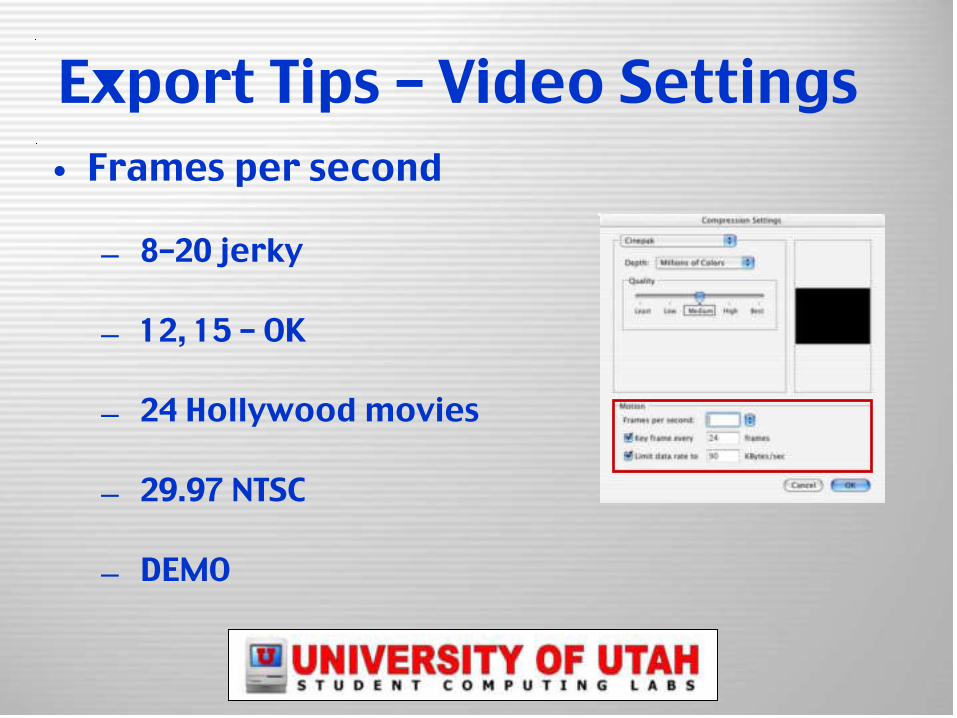
• Frames per second
– 8–20 jerky
– 12, 15 – OK
– 24 Hollywood movies
– 29.97 NTSC
– DEMO
Export Tips – Video Settings
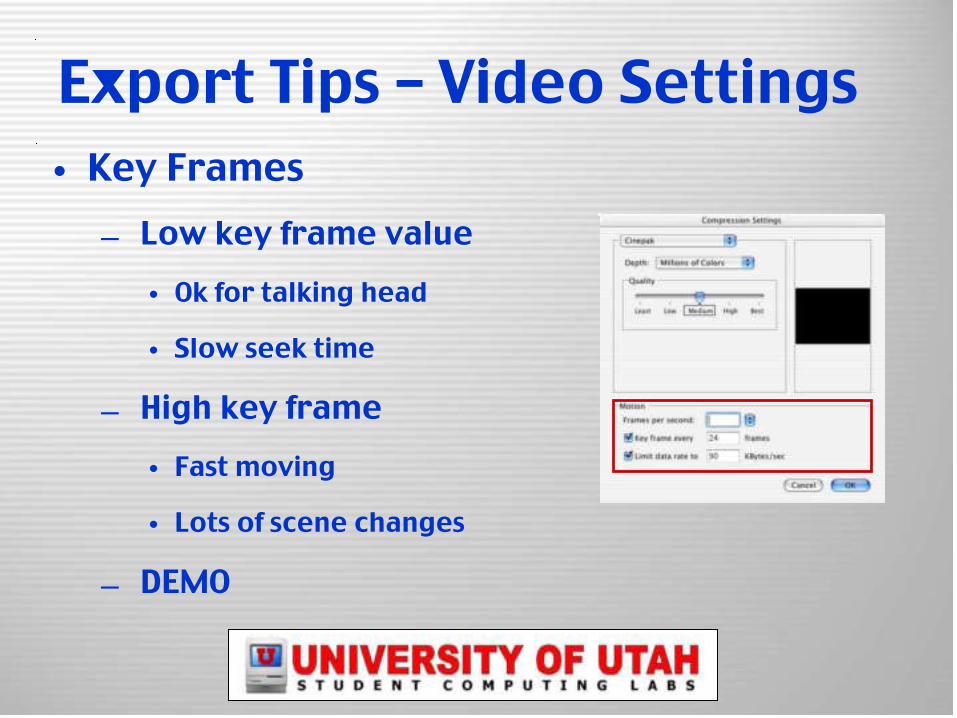
• Key Frames
– Low key frame value
• Ok for talking head
• Slow seek time
– High key frame
• Fast moving
• Lots of scene changes
– DEMO
Export Tips – Video Settings
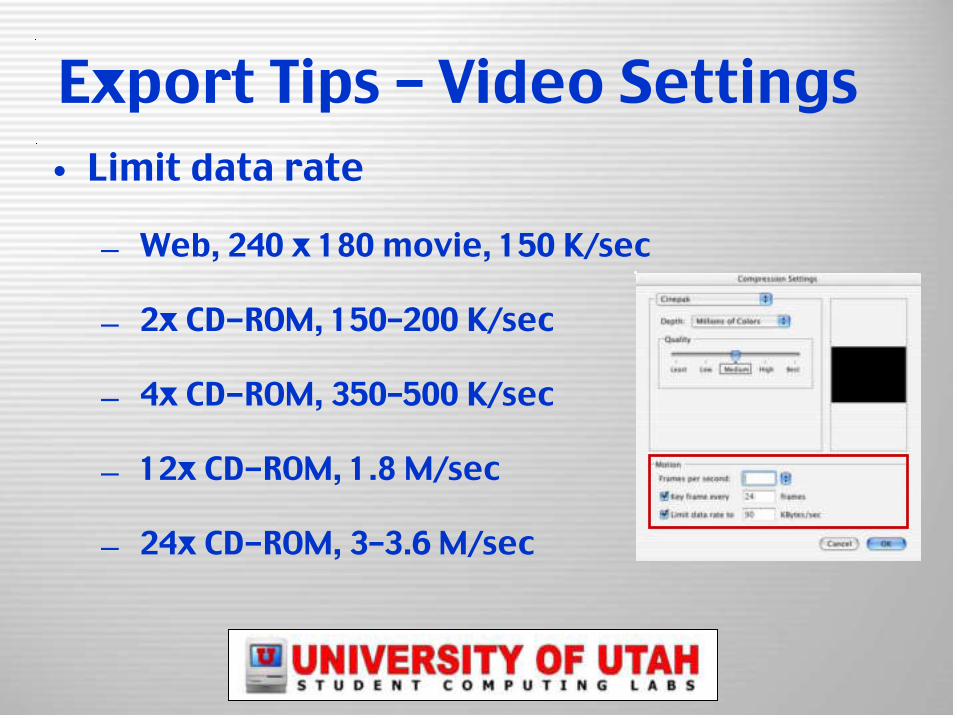
• Limit data rate
– Web, 240 x 180 movie, 150 K/sec
– 2x CD-ROM, 150–200 K/sec
– 4x CD-ROM, 350–500 K/sec
– 12x CD-ROM, 1.8 M/sec
– 24x CD-ROM, 3–3.6 M/sec
Export Tips – Video Settings
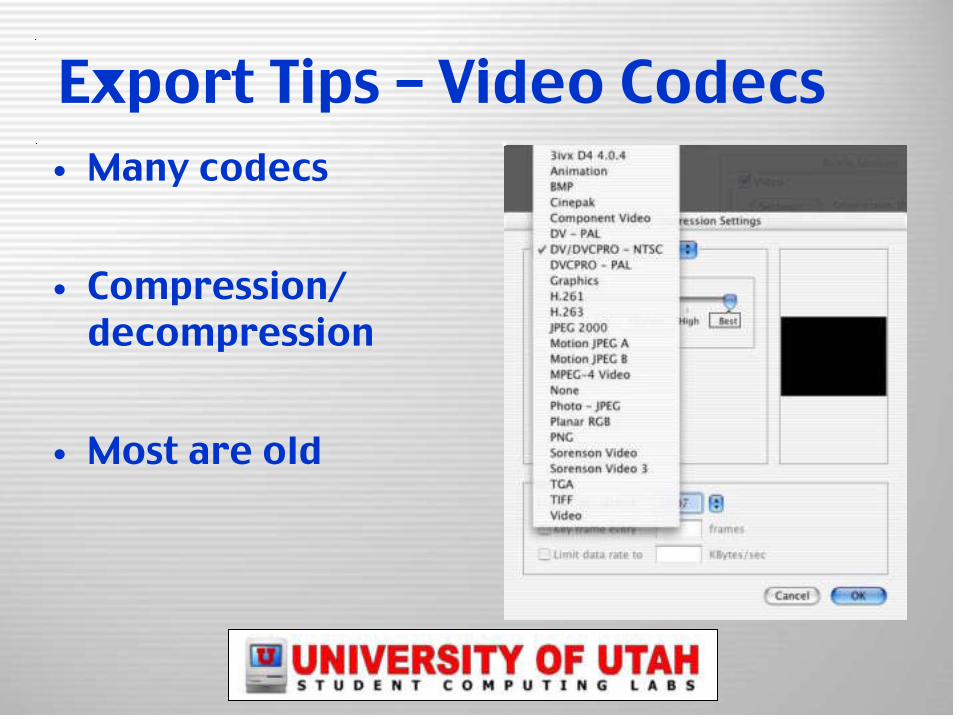
• Many codecs
• Compression/decompression
• Most are old
Export Tips – Video Codecs
• Sorenson Video 3– The best– Takes a long time
• H.263– Good for talking heads
• Animation– DV quality– Compresses only a little
• Video– Compresses fast, not too good, use to test
Export Tips – Video Codecs
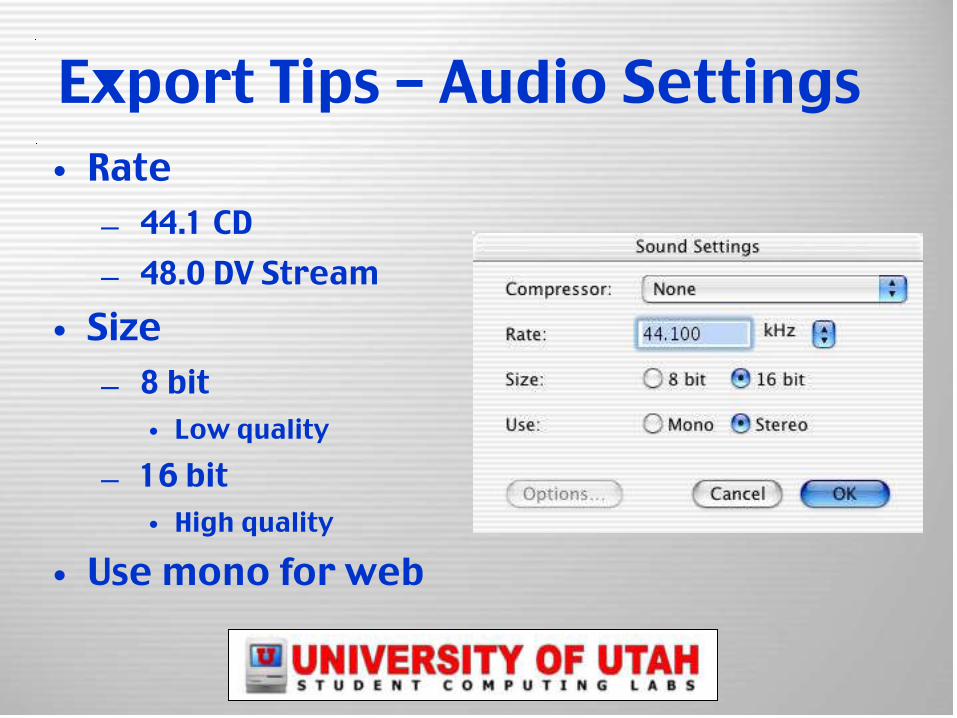
• Rate– 44.1 CD– 48.0 DV Stream
• Size– 8 bit
• Low quality
– 16 bit• High quality
• Use mono for web
Export Tips – Audio Settings
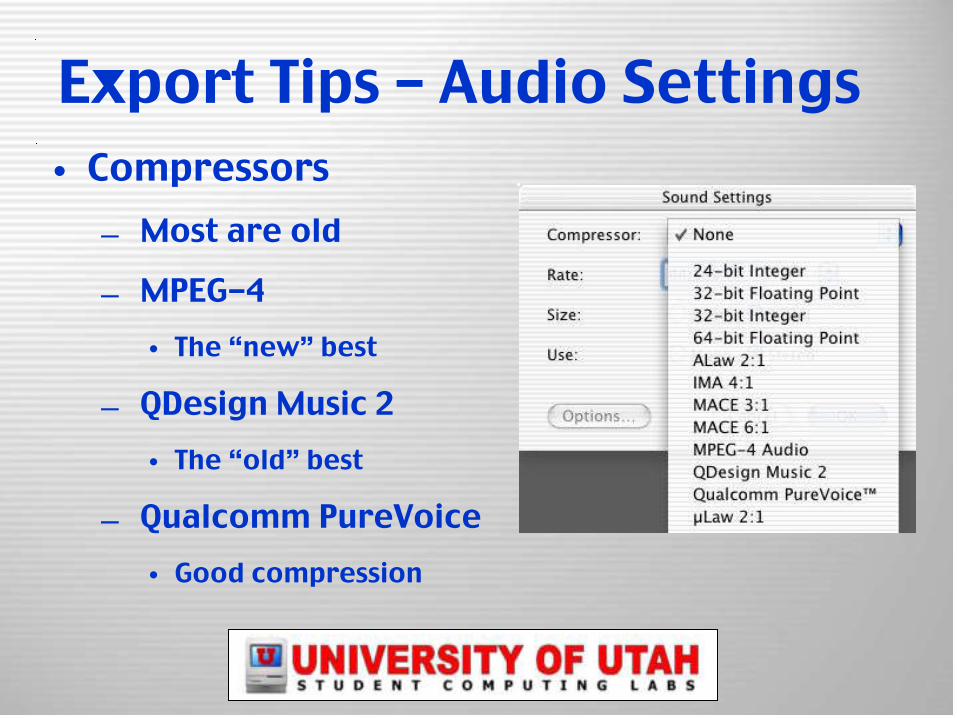
• Compressors– Most are old
– MPEG-4• The “new” best
– QDesign Music 2• The “old” best
– Qualcomm PureVoice• Good compression
•
Export Tips – Audio Settings
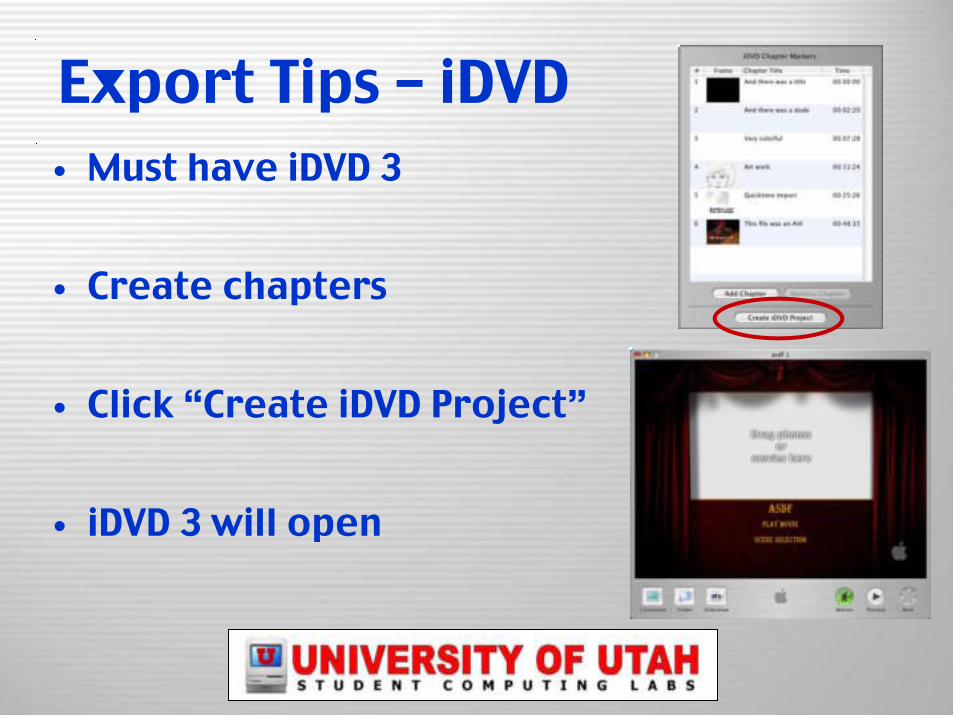
• Must have iDVD 3
• Create chapters
• Click “Create iDVD Project”
• iDVD 3 will open
Export Tips – iDVD
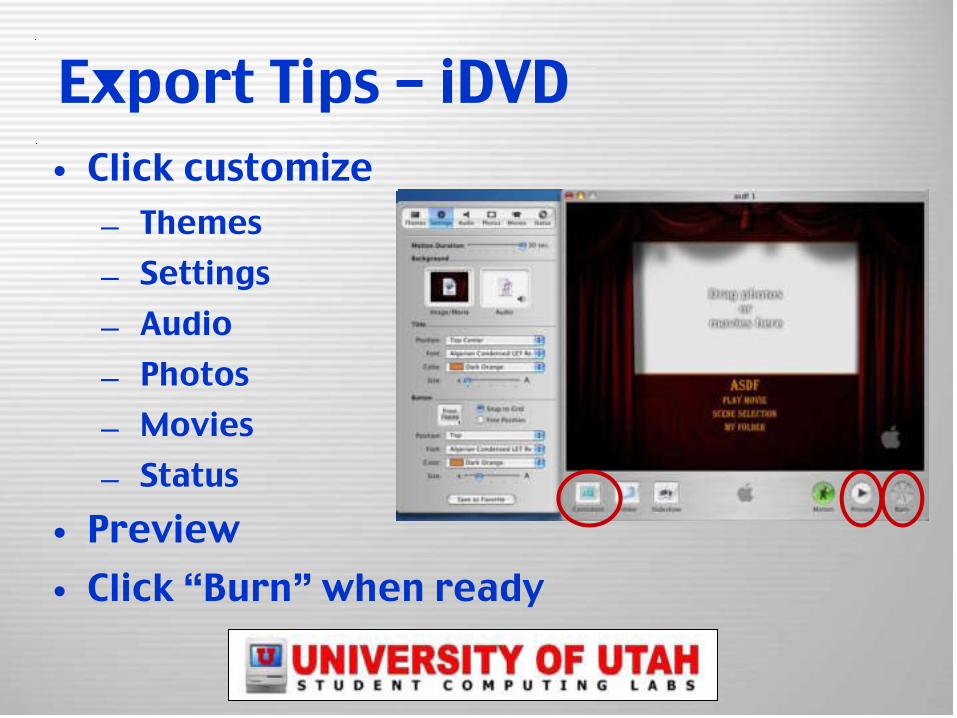
• Click customize– Themes– Settings– Audio– Photos– Movies– Status
• Preview• Click “Burn” when ready
Export Tips – iDVD
• QTSS (QuickTime Streaming Server)– Select “Streaming Web Movie”
– Or select “Hinting”
– Copy file to server
• RealPlayer and Windows Media– Convert QT movie to RealPlayer or WMP format
• Not as easy
• Quality not as good
• Popular because of Windows marketshare, not quality
Export Tips – Web Server

• HTTP server
– Put on any web server
• Use ftp (Fetch or SFTP)
• Use Finder’s “Connect To Server”
– Add link to the file in a webpage
– Or “embed” in a webpage
–
Export Tips – Web Server
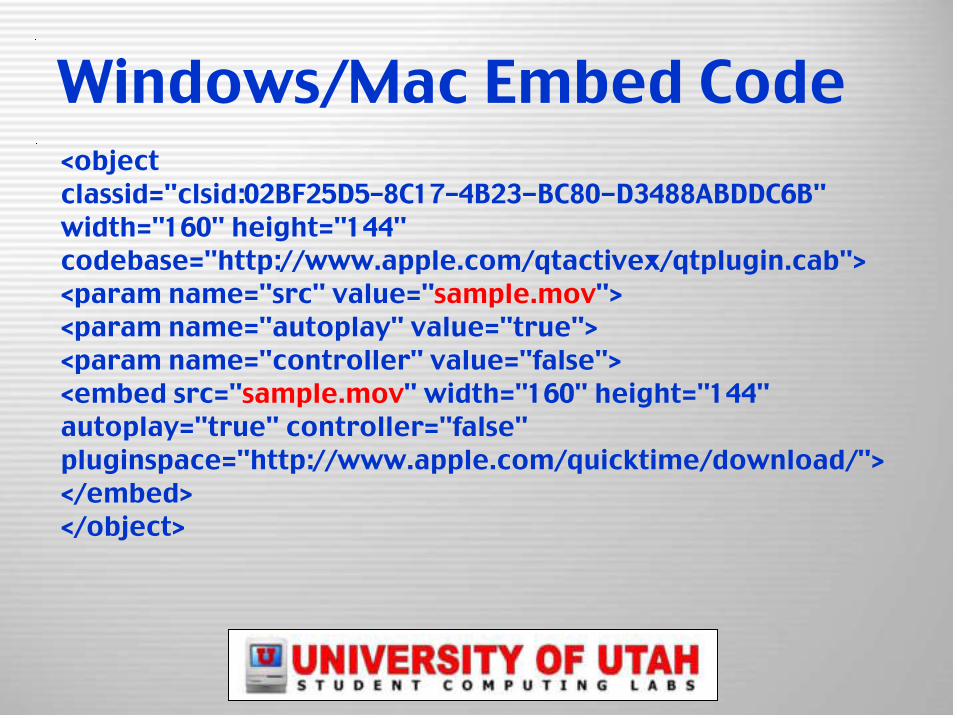
<objectclassid="clsid:02BF25D5–8C17–4B23-BC80-D3488ABDDC6B"width="160" height="144"codebase="http://www.apple.com/qtactivex/qtplugin.cab"><param name="src" value="sample.mov"><param name="autoplay" value="true"><param name="controller" value="false"><embed src="sample.mov" width="160" height="144" autoplay="true" controller="false"pluginspace="http://www.apple.com/quicktime/download/"></embed></object>
Windows/Mac Embed Code
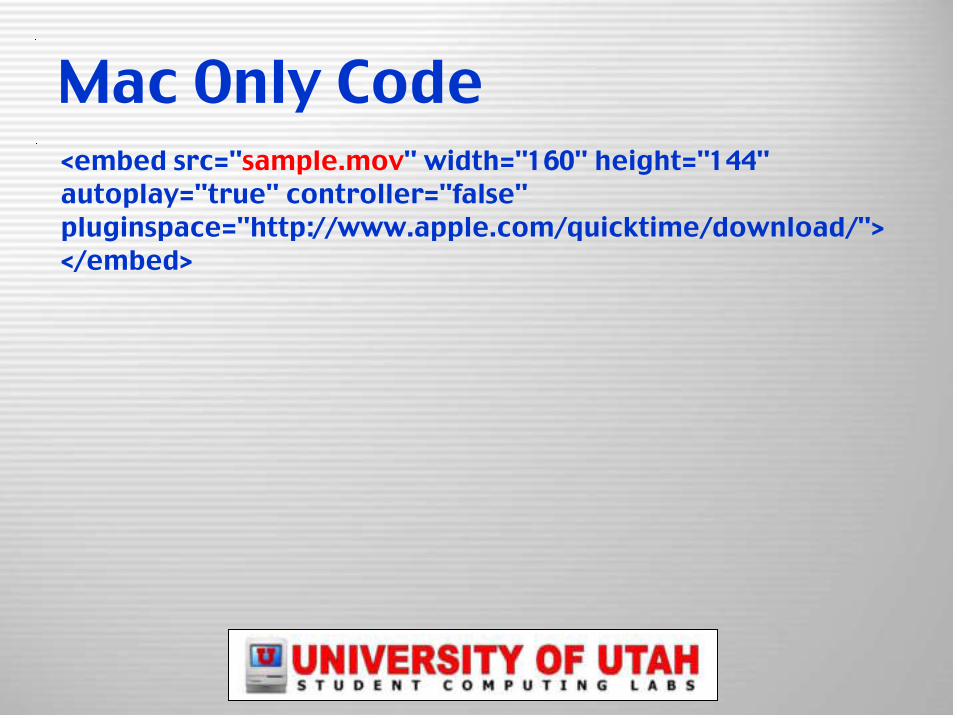
<embed src="sample.mov" width="160" height="144" autoplay="true" controller="false"pluginspace="http://www.apple.com/quicktime/download/"></embed>
Mac Only Code
• How to create time-lapse video
– Speed clip up (5x is the max in iMovie)
– Export to camcorder
– Import back to computer
– Repeat
Ideas – Time lapse
• Why reverse clip direction?
– Comic
– Subtle effects
• Blink of an eye
• DEMO
– Reverse a pan or zoom
Ideas – Reverse clip
• Video files
– Search for “public domain video”
• Audio files
– FreePlay (.Mac)
– Search for “Open Source Music”
– See Apple’s iMovie webpage
Free stuff
• iMovie transitions
– See Apple’s iMovie webpage
• More compression codecs
– 3ivx (MPEG-4)
– Toast VCD
– Must use iDVD or FCP for MPEG-2
Free stuff
• This series will be taught again next semester
Next class...
• http://www.macos.utah.edu
• Click on “Documentation”
• Click on “Digital video”
This info on the web