

Design and Build Your Model Bridge - usbr.gov · PDF fileDesign and Build Your Model Bridge...
34
Transcript of Design and Build Your Model Bridge - usbr.gov · PDF fileDesign and Build Your Model Bridge...

Main Materials:
• Grid paper (12”x18”)
• Pencil (# 2, or 2-H)
• Ruler (metric)
• Cutting tools
• Glues (Elmer’s or wood)
• Ceiling tile
• T-pin
• Wax paper
• Sand paper
• Bull nose clamp
• ¾ binder clamp
• Cutting mat
• 3/32 basswood (density about .07 gram per 1 inch)

Optional Tools
• Triple beam balance
• Needle file
• T-Square
• Safety goggles
• Compass
• Torpedo level
• Dremel tool
• Blue tape
• Drafting triangle
• Tweezers


Know the Rules
a. Be able to define in your own words what the bridge must accomplish
b. Limit the bridge weight
c. Keep it simple
d. Do not get disqualified!!!!

Start with grid paper Use ruler to establish the center of the bridge

Draw the loading area.
Design the Bridge
a. Design the bridge around the loading points – Plan for extra bracing around load areas
b. Choose a truss to use – Warren – Pratt – Howe – K truss
c. Draw the bridge to scale – Use graph paper – Draw forces – Label everything

Truss Design
• Warren
• Pratt
• Howe
• K-Truss

Draw the top and bottom of your bridge Locate the point where you can use to build the internal members

Draw the internal members
Draw the two side members to connect the top and bottom of the bridge.

Make the top chord of the bridge thicker by drawing the a second and third lines to product the shape of 1-3 sticks.

Possible top design

Design the top of your bridge. Please note that the sides of the bridge will be longer because of the slope.
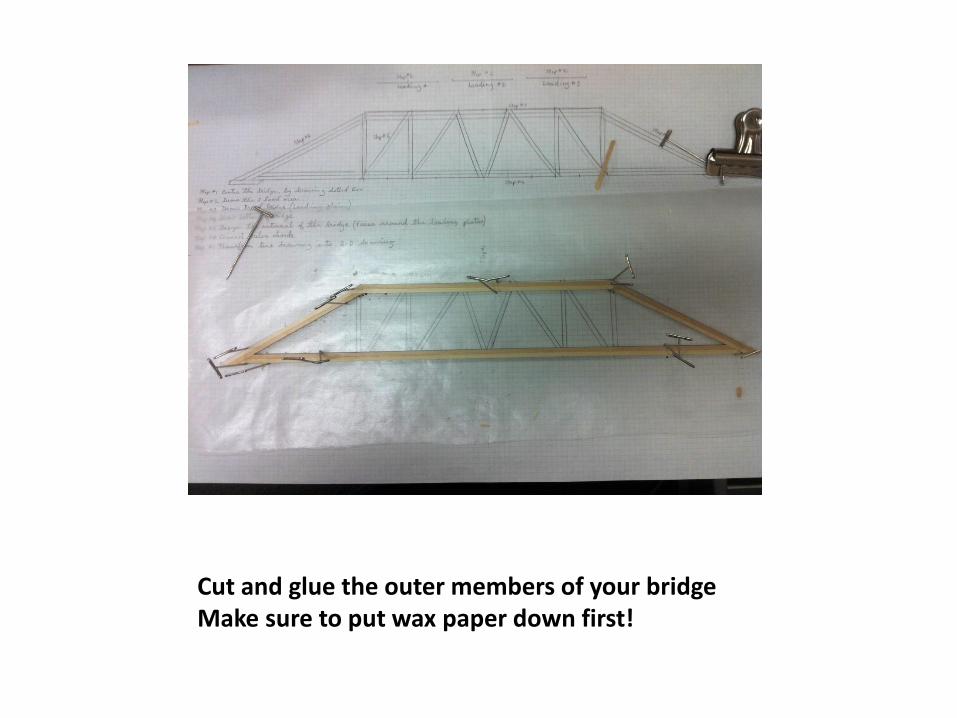
Cut and glue the outer members of your bridge Make sure to put wax paper down first!

Glue the vertical members

Glue the diagonal members
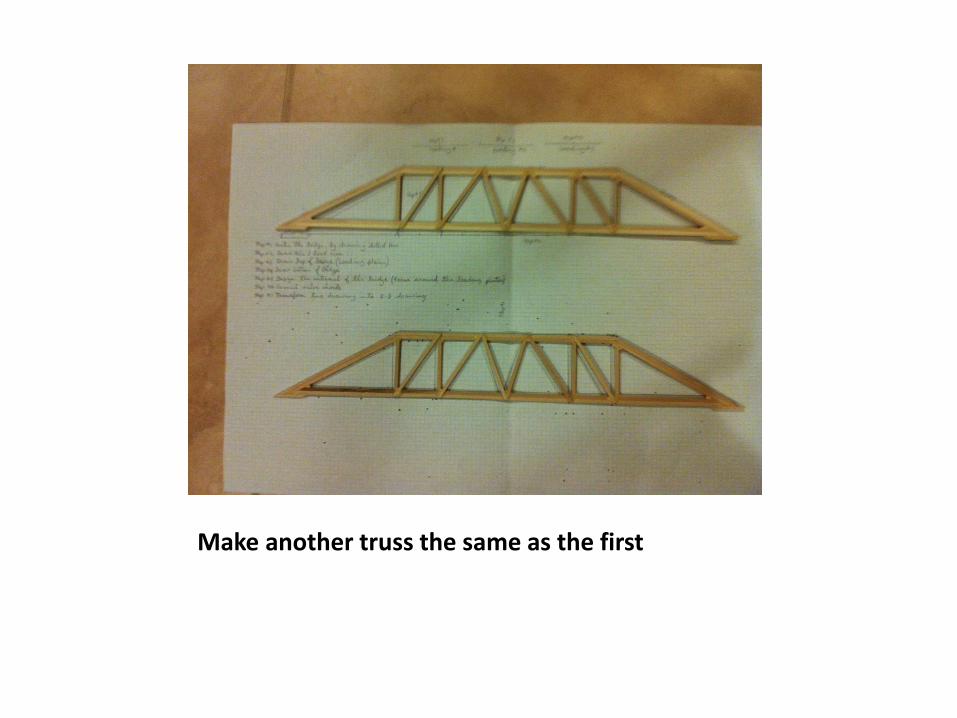
Make another truss the same as the first

Here are the trusses ready to build your bridge
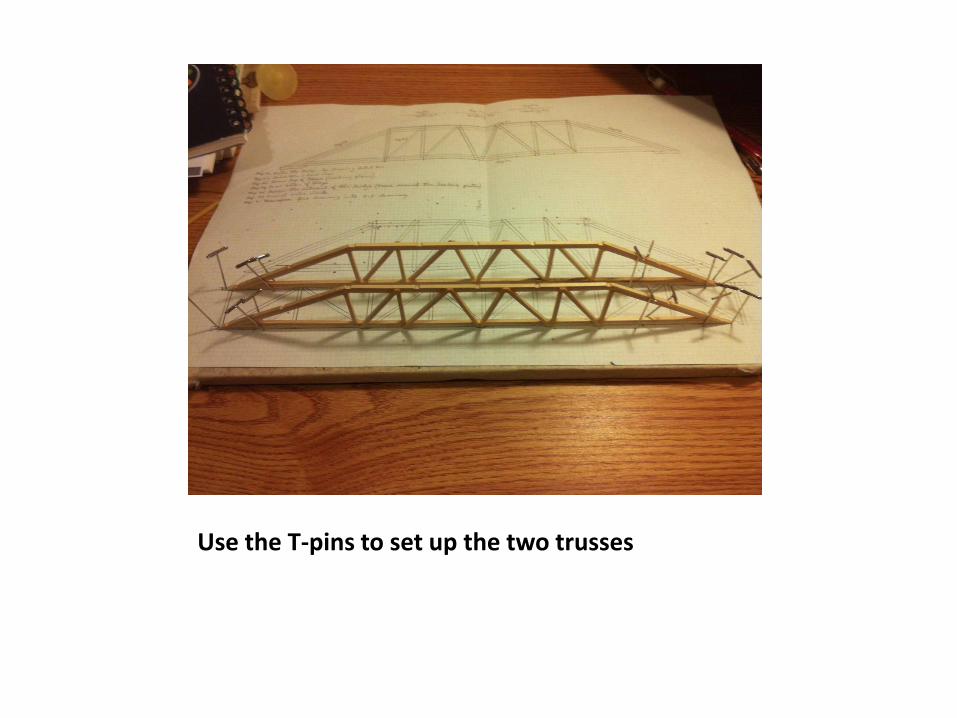
Use the T-pins to set up the two trusses

Make sure the two trusses are at 90 degrees with the base.

Look down the two ends to make sure they are 90
degrees with the base

Connect the trusses with cross members
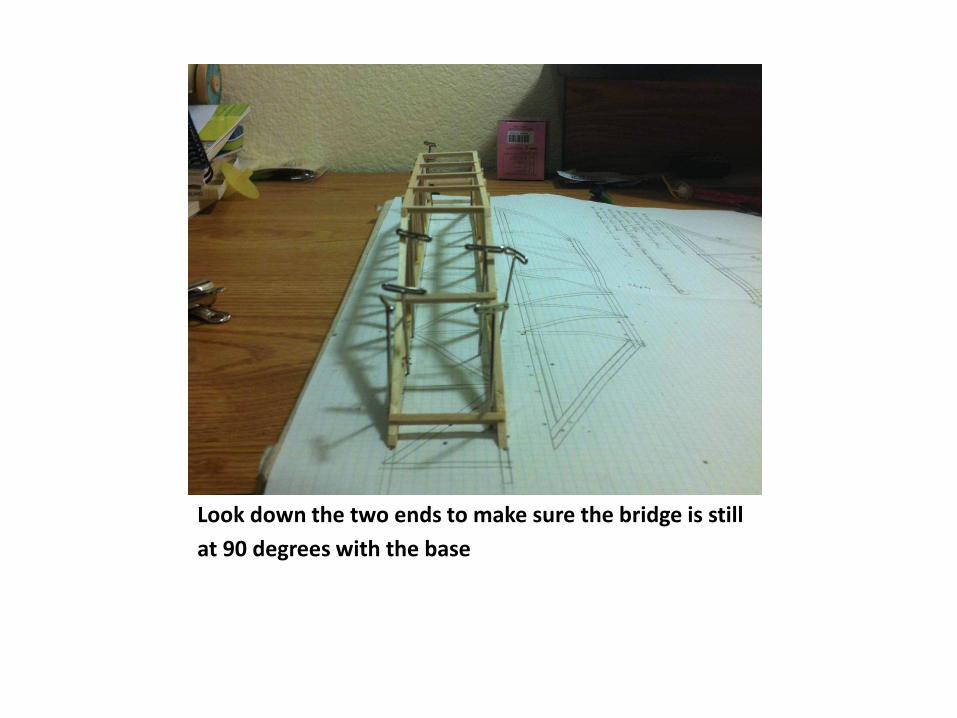
Look down the two ends to make sure the bridge is still
at 90 degrees with the base

Add the diagonal members

Check to make sure the bridge still looks good from the two ends

At the bottom cross members
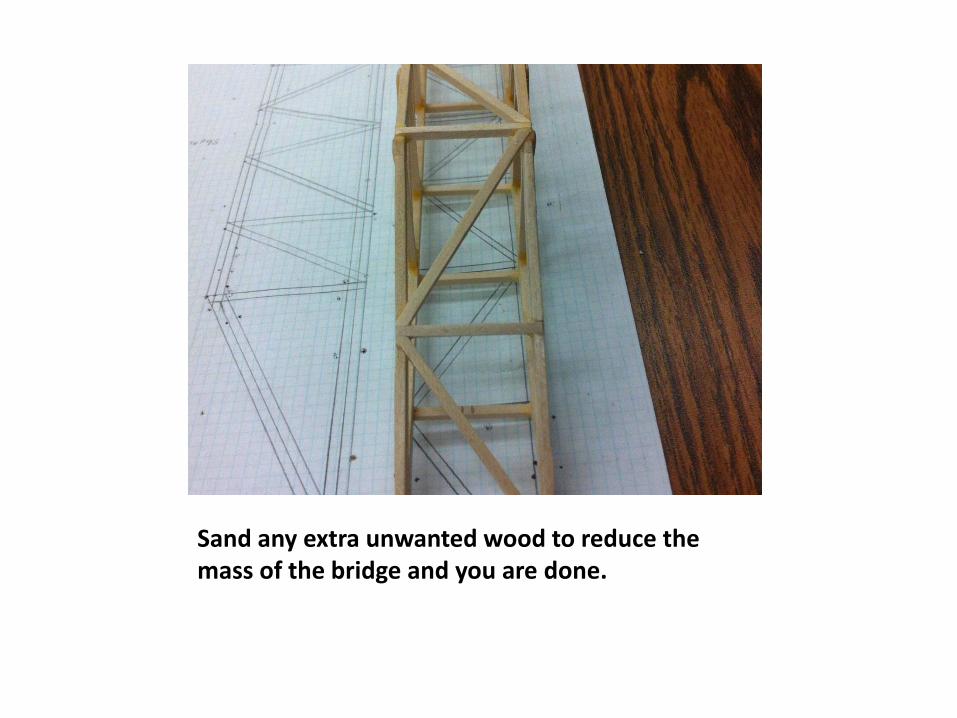
Sand any extra unwanted wood to reduce the mass of the bridge and you are done.
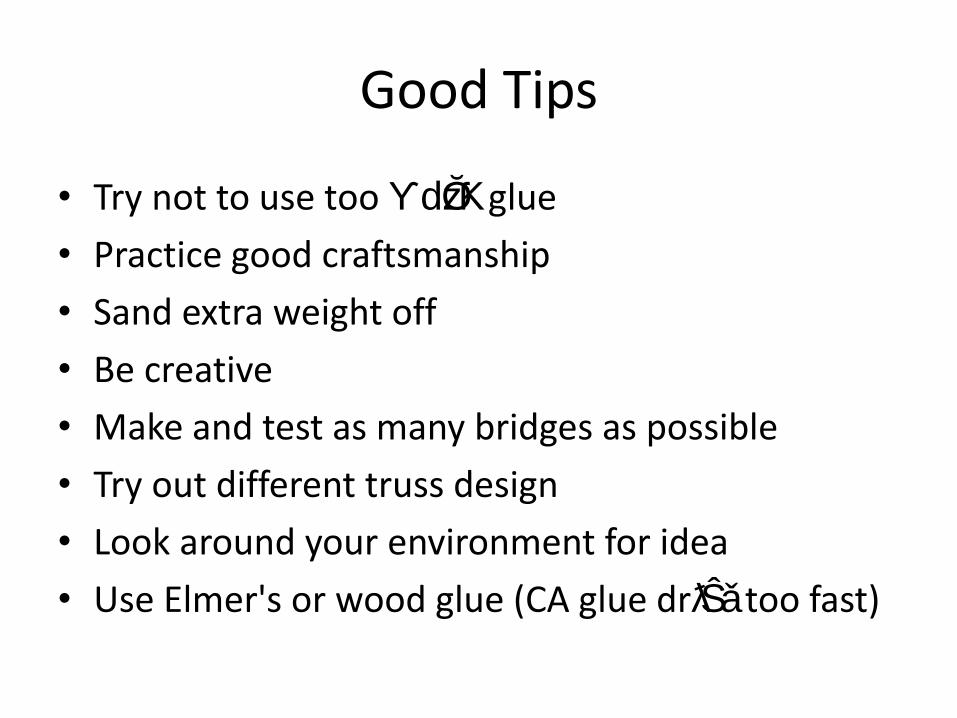
Good Tips
• Try not to use too ƳdzŎƘ glue
• Practice good craftsmanship
• Sand extra weight off
• Be creative
• Make and test as many bridges as possible
• Try out different truss design
• Look around your environment for idea
• Use Elmer's or wood glue (CA glue drƛŜǎ too fast)

Good Resources
• http://www.garrettsbridges.com/design/trussdesign
• http://www.jhu.edu/virtlab/bridge/bridge.htm
• http://pghbridges.com/basics.htm
• http://www.knexusergroup.org.uk/acatalog/K96168X.pdf

Please give warm thanks to the following
people : Paul, Walt, Casey, Tanner, Charles, Steven, Janet, and
Richard, and many others for making
this event very successful every year.
Thanks You For Coming
See you on March 2, 2013


