DESERT WAR PART SEVEN: THE SECOND BATTLE OF EL …
8
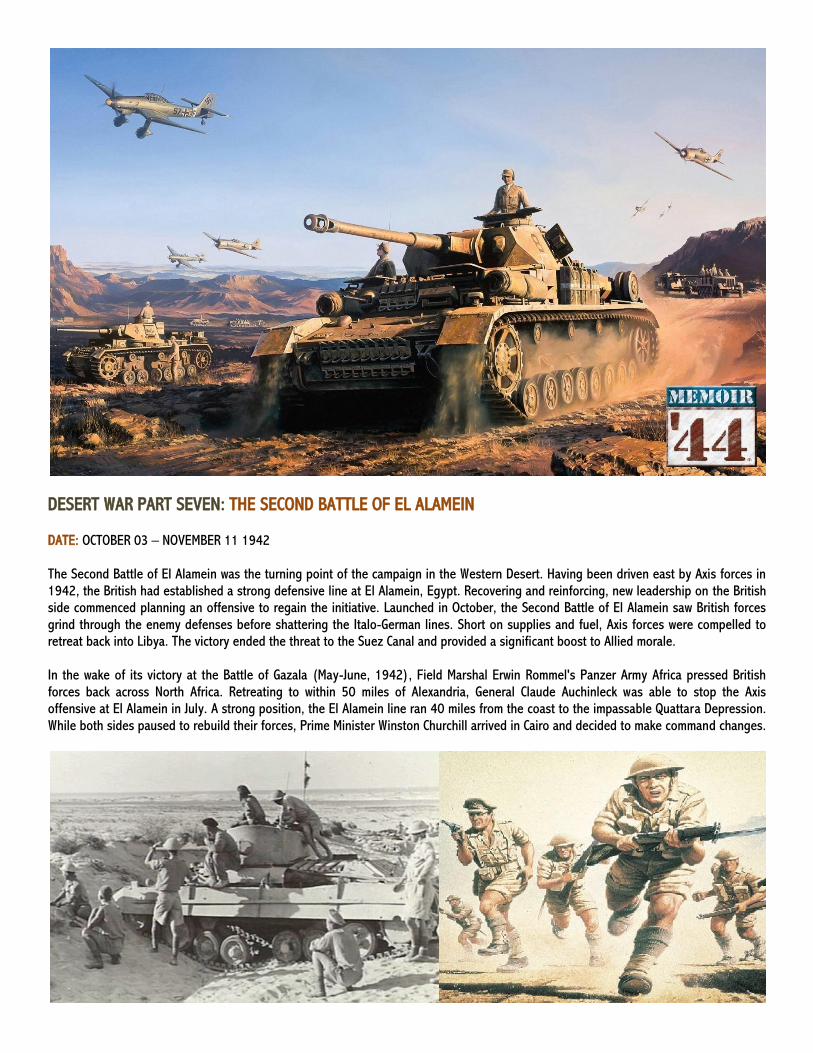
DESERT WAR PART SEVEN: THE SECOND BATTLE OF EL ALAMEIN DATE: OCTOBER 03 – NOVEMBER 11 1942 The Second Battle of El Alamein was the turning point of the campaign in the Western Desert. Having been driven east by Axis forces in 1942, the British had established a strong defensive line at El Alamein, Egypt. Recovering and reinforcing, new leadership on the British side commenced planning an offensive to regain the initiative. Launched in October, the Second Battle of El Alamein saw British forces grind through the enemy defenses before shattering the Italo-German lines. Short on supplies and fuel, Axis forces were compelled to retreat back into Libya. The victory ended the threat to the Suez Canal and provided a significant boost to Allied morale. In the wake of its victory at the Battle of Gazala (May-June, 1942), Field Marshal Erwin Rommel's Panzer Army Africa pressed British forces back across North Africa. Retreating to within 50 miles of Alexandria, General Claude Auchinleck was able to stop the Axis offensive at El Alamein in July. A strong position, the El Alamein line ran 40 miles from the coast to the impassable Quattara Depression. While both sides paused to rebuild their forces, Prime Minister Winston Churchill arrived in Cairo and decided to make command changes.
Transcript of DESERT WAR PART SEVEN: THE SECOND BATTLE OF EL …
DESERT WAR PART SEVEN: THE SECOND BATTLE OF EL ALAMEIN
DATE: OCTOBER 03 – NOVEMBER 11 1942 The Second Battle of El Alamein was the turning point of the campaign in the Western Desert. Having been driven east by Axis forces in
1942, the British had established a strong defensive line at El Alamein, Egypt. Recovering and reinforcing, new leadership on the British side commenced planning an offensive to regain the initiative. Launched in October, the Second Battle of El Alamein saw British forces
grind through the enemy defenses before shattering the Italo-German lines. Short on supplies and fuel, Axis forces were compelled to retreat back into Libya. The victory ended the threat to the Suez Canal and provided a significant boost to Allied morale.
In the wake of its victory at the Battle of Gazala (May-June, 1942), Field Marshal Erwin Rommel's Panzer Army Africa pressed British
forces back across North Africa. Retreating to within 50 miles of Alexandria, General Claude Auchinleck was able to stop the Axis offensive at El Alamein in July. A strong position, the El Alamein line ran 40 miles from the coast to the impassable Quattara Depression.
While both sides paused to rebuild their forces, Prime Minister Winston Churchill arrived in Cairo and decided to make command changes.
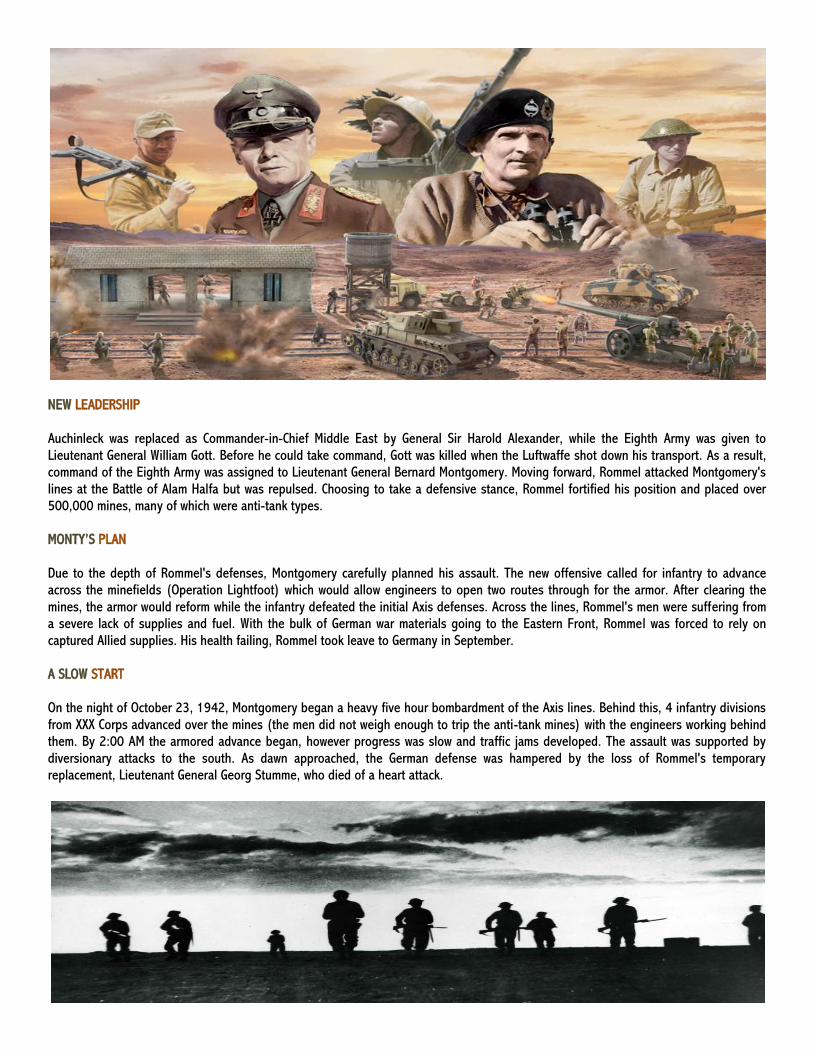
NEW LEADERSHIP
Auchinleck was replaced as Commander-in-Chief Middle East by General Sir Harold Alexander, while the Eighth Army was given to
Lieutenant General William Gott. Before he could take command, Gott was killed when the Luftwaffe shot down his transport. As a result, command of the Eighth Army was assigned to Lieutenant General Bernard Montgomery. Moving forward, Rommel attacked Montgomery's
lines at the Battle of Alam Halfa but was repulsed. Choosing to take a defensive stance, Rommel fortified his position and placed over 500,000 mines, many of which were anti-tank types.
MONTY’S PLAN
Due to the depth of Rommel's defenses, Montgomery carefully planned his assault. The new offensive called for infantry to advance across the minefields (Operation Lightfoot) which would allow engineers to open two routes through for the armor. After clearing the
mines, the armor would reform while the infantry defeated the initial Axis defenses. Across the lines, Rommel's men were suffering from a severe lack of supplies and fuel. With the bulk of German war materials going to the Eastern Front, Rommel was forced to rely on
captured Allied supplies. His health failing, Rommel took leave to Germany in September.
A SLOW START On the night of October 23, 1942, Montgomery began a heavy five hour bombardment of the Axis lines. Behind this, 4 infantry divisions
from XXX Corps advanced over the mines (the men did not weigh enough to trip the anti-tank mines) with the engineers working behind them. By 2:00 AM the armored advance began, however progress was slow and traffic jams developed. The assault was supported by
diversionary attacks to the south. As dawn approached, the German defense was hampered by the loss of Rommel's temporary replacement, Lieutenant General Georg Stumme, who died of a heart attack.
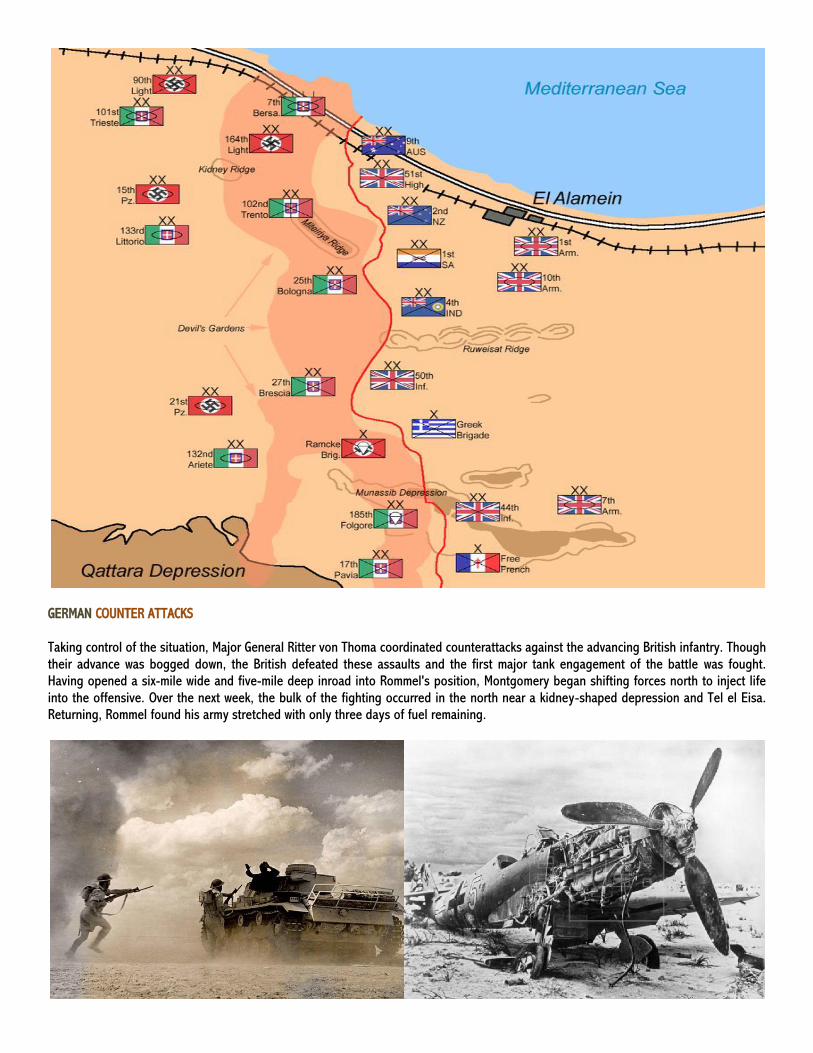
GERMAN COUNTER ATTACKS
Taking control of the situation, Major General Ritter von Thoma coordinated counterattacks against the advancing British infantry. Though
their advance was bogged down, the British defeated these assaults and the first major tank engagement of the battle was fought. Having opened a six-mile wide and five-mile deep inroad into Rommel's position, Montgomery began shifting forces north to inject life
into the offensive. Over the next week, the bulk of the fighting occurred in the north near a kidney-shaped depression and Tel el Eisa. Returning, Rommel found his army stretched with only three days of fuel remaining.

Moving divisions up from the south, Rommel quickly found that they lacked the fuel to withdraw, leaving them exposed in the open. On October 26, this situation worsened when Allied aircraft sank a German tanker near Tobruk. Despite Rommel's hardships, Montgomery
continued to have difficulty breaking through as Axis anti-tank guns mounted a stubborn defense. Two days later, Australian troops advanced northwest of Tel el Eisa towards Thompson's Post in an attempt to break through near the coast road. On the night of October
30, they succeeded in reaching the road and repelled numerous enemy counterattacks.
ROMMEL RETREATS
After assaulting the Australians again with no success on November 1, Rommel began to concede that the battle was lost and began planning a retreat 50 miles west to Fuka. At 1:00 AM on November 2, Montgomery launched Operation Supercharge with the goal of
forcing the battle into the open and reaching Tel el Aqqaqir. Attacking behind an intense artillery barrage, the 2nd New Zealand Division and the 1st Armored Division met stiff resistance, but forced Rommel to commit his armored reserves. In the resulting tank battle, the Axis lost over 100 tanks.
His situation hopeless, Rommel messaged Hitler and asked for permission to withdraw. This was promptly denied and Rommel informed
von Thoma that they were to stand fast. In assessing his armored divisions, Rommel found that fewer than 50 tanks remained. These were soon destroyed by British attacks. As Montgomery continued to attack, entire Axis units were overrun and destroyed, opening a 12-
mile hole in Rommel's line. Left with no choice, Rommel ordered his remaining men to begin retreating west.
On November 4, Montgomery launched his final assaults with the 1st, 7th, and 10th Armored Divisions clearing the Axis lines and reaching open desert. Lacking sufficient transportation, Rommel was forced to abandon many of his Italian infantry divisions. As a result, four Italian divisions effectively ceased to exist.

THE AFTERMATH
The Second Battle of El Alamein cost Rommel around 2,349 killed, 5,486 wounded, and 30,121 captured. In addition, his armored units effectively ceased to exist as a fighting force. For Montgomery, the fighting resulted in 2,350 killed, 8,950 wounded, and 2,260 missing, as well as around 200 tanks permanently lost. A grinding battle that was similar to many fought during World War I, the Second Battle of
El Alamein turned the tide in North Africa in favor of the Allies.
Pushing west, Montgomery drove Rommel back to El Agheila in Libya. Pausing to rest and rebuild his supply lines, he continued to attack in mid-December and pressed the German commander into retreating again. Soon to be joined in North Africa by American forces
landing in Algeria and Morocco (Operation Torch), the Allies would succeed in evicting the Axis from North Africa on May 13, 1943.
M’44 SCENARIOS FOR THE 2nd BATTLE OF EL ALAMEIN Desert War Part Seven: The 2nd Battle of El Alamein includes 20 scenarios, including 4 Overlord (OL) maps and 4 Breakthrough (BT)
maps. These scenarios chronicle the major engagements of the 2nd Battle of El Alamein, and include only the best available in the Scenarios from the Front (SFTF) files section on the DoW website.
No campaign rules are included; not all M’44 players have access to the Campaign books. Instead, simply tally up the number of medals won in each scenario after playing both sides. This campaign is broken down into 2 smaller campaigns. Separate medal tally tables for
each, as well as a final medal tally table are included below.
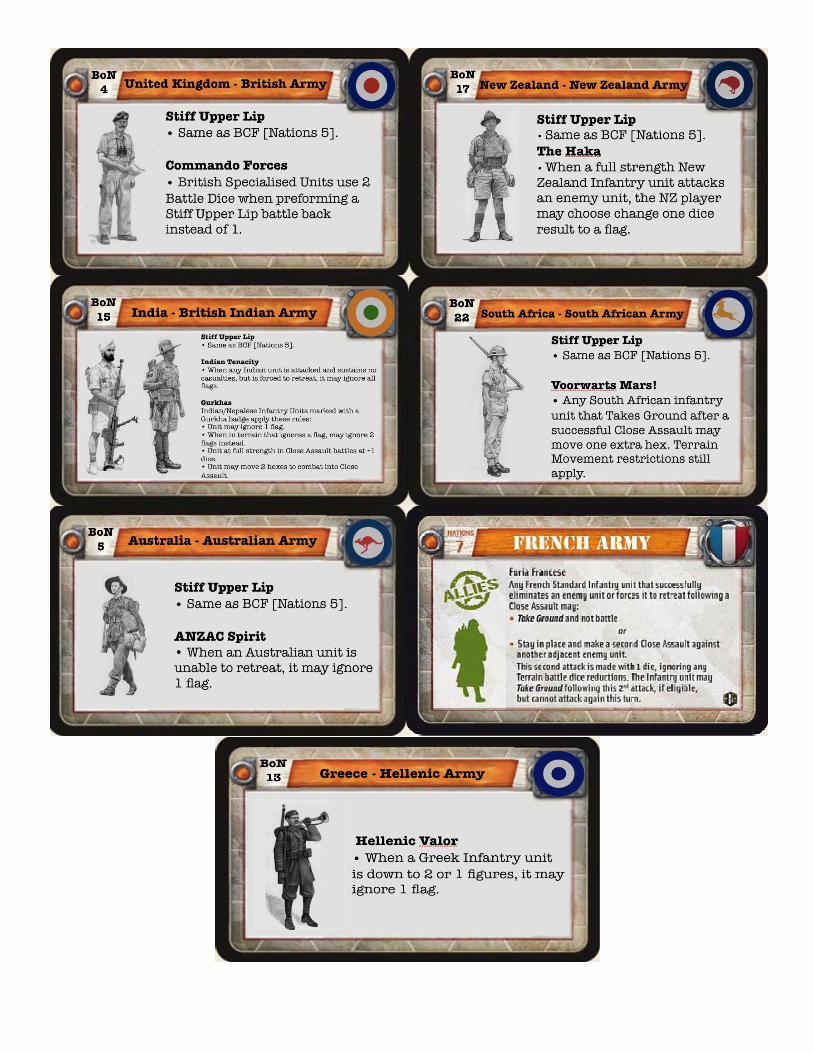
Scenarios include armies of various nations. Although optional, it is suggested that you use the unofficial Battle of Nations rules when playing the sides of these armies. Unless stated otherwise, BCF command rules and Italian Royal Army rules are in effect for all
scenarios.

2nd BATTLE OF EL ALAMEIN PART ONE
1. SEPT 30: Deir El Munassib 6. OCT 23 – NOV 04: The Devil’s Garden
2. OCT 23: Battle of El Alamein 7. OCT 23 – NOV 04: El Alamein – Left Wing BT ** 3. OCT 23: 2nd Battle of El Alamein 8. OCT 23 – NOV 04: El Alamein – Right Wing BT **
4. OCT 23: Operation Lightfoot 9. OCT 24: Qaret El Himeimat 5. OCT 23 – NOV 02: Operation Lightfoot OL 10: OCT 24: Infantry Attack at EL Alamein OL
** Scenario notes:
1. El Alamein Left/Right Wings BT: in both scenarios, Conditions of Victory should read 12 medals.
There are a total of 176 medals if all scenarios are played, 128 medals without the 2 Overlord maps, and 80 medals if only the standard scenarios are played.
SCENARIO (+ total medal count) P1…………. P2………….
1. Deir El Munassib (12)
2. Battle of El Alamein (16)
3. 2nd Battle of El Alamein (16)
4. Operation Lightfoot (12)
5. Operation Lightfoot (OL) (24)
6. The Devil’s Garden (14)
7. El Alamein – Left Wing (BT) (24)
8. El Alamein – Right Wing (BT) (24)
9. Qaret El Himeimat (10)
10. Infantry Attack Alamein (OL) (24)
TOTAL MEDAL TALLY
2nd BATTLE OF EL ALAMEIN PART TWO 1. OCT 27: The Counter 6. NOV 01 – NOV 04: El Alamein
2. OCT 27: Rommel is Back OL 7. NOV 02: The Guns of Abd El Rahman BT 3. OCT 30: Barrel Hill 8. NOV 02: Operation Supercharge
4. OCT 30: Thompson’s Post 9. NOV 02: 2nd Battle of El Alamein BT 5. NOV 01: Night Attack at El Alamein 10. NOV 02: Operation Supercharge OL
There are a total of 159 medals if all scenarios are played, 105 medals without the 2 Overlord maps, and 72 medals if only the standard
scenarios are played.
SCENARIO (+ total medal count) P1…………. P2………….
1. The Counter (12)
2. Rommel is Back (OL) (24)
3. Barrel Hill (12)
4. Thompson’s Post (12)
5. Night Attack at El Alamein (14)
6. El Alamein (10)
7. Guns of Abd El Rahman (BT) (20)

8. Operation Supercharge (12)
9. 2nd Battle of El Alamein (BT) (13)
10. Operation Supercharge (OL) (30)
TOTAL MEDAL TALLY
FINAL MEDAL TALLY
There are a grand total of 335 medals if all scenarios are played, 233 medals without the 4 Overlord maps, and 152 medals if only the
standard scenarios are played.
2nd BATTLE OF EL ALAMEIN P1…………. P2………….
1. Part 1
2. Part 2
FINAL MEDAL TALLY
There are 2 additional scenarios for the Second Battle of El Alamein that you may wish to include in your campaign play:
1. Operation Lightfoot (Overlord): Through Jungle & Desert map pack 2. Raid on Barce: Disaster at Dieppe map pack
Acknowledgments to the authors of the scenarios that make up this Desert War Part 7 campaign compilation:
jdrommel 50th educ StridsvagnS Gabrielino77 secret_strategem
Cpl_Uhl LooneyLlama jaa1030 yangtze
This Desert War Part 7 booklet was compiled by Semba