Deadbolt
6
How to install a Deadbolt
Transcript of Deadbolt

How to install a Deadbolt
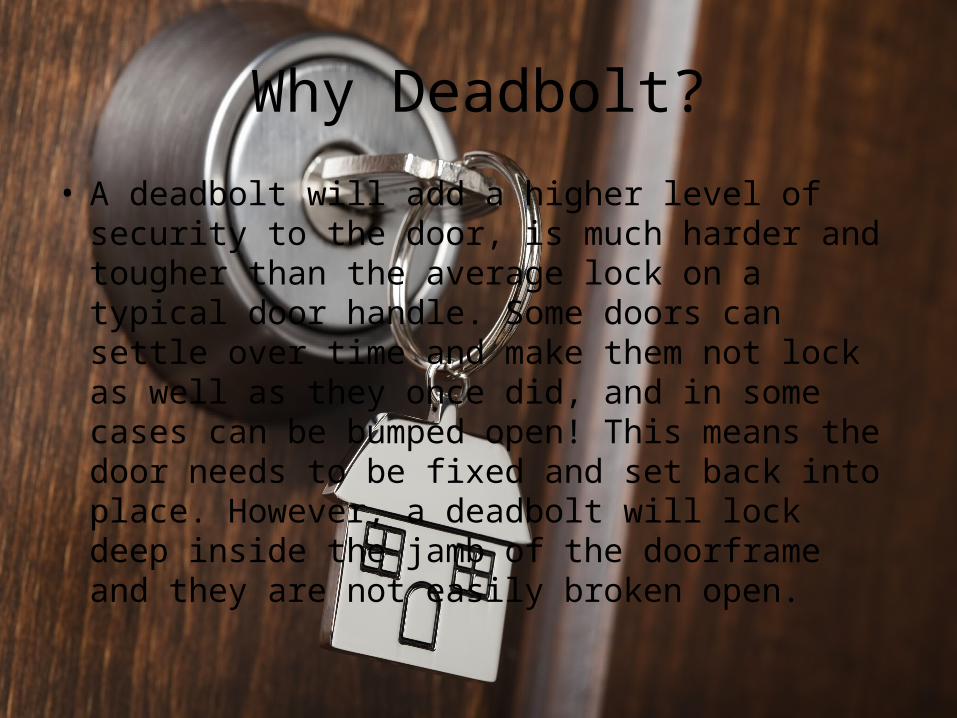
Why Deadbolt?
• A deadbolt will add a higher level of security to the door, is much harder and tougher than the average lock on a typical door handle. Some doors can settle over time and make them not lock as well as they once did, and in some cases can be bumped open! This means the door needs to be fixed and set back into place. However, a deadbolt will lock deep inside the jamb of the doorframe and they are not easily broken open.

What Tools and Materials You Will Need
• Deadbolt – You will need a deadbolt system to install; you can pick one up at your local hardware store .
• Power drill – You will need your drill to drill holes in the door and jamb to accept the new deadbolt.
• Hole saw bit - You will need a hole saw to cut the hole out for the deadbolt, be sure you use the correct size for your deadbolt system.
• Paddle bits – You will use a couple paddle bits to install your deadbolt. Typically a one and one half inch, and a seven eights bit to make adequate holes.
• Hammer and chisel – You will need a wood chisel and a hammer to mortise out for the strike plate.
• Lipstick – An old tube of lipstick is a handy way to mark your deadbolt to accurately line up where the inset needs to be in the door jamb for a good fit.

How to install the Deadbolt
1. Have all your tools in place; and it is also wise to lay out an old sheet to catch the sawdust from your drilling into the door and jamb.
2. to avoid splintering the outer edge of the door. Unbox your new deadbolt and dry fit it together to ensure it all lines up with the correct parts.
3. Pull out the manufactures template, and instructions and familiarize yourself with them for any different or unique instructions.
4. Be sure to get the deadbolt about six inches or so above the door handle to allow enough space.
5. Set your template on the door frame and mark it as needed to get everything to line up properly.
6. Start with the hole for the deadbolt, be sure you have it properly marked and use your hole saw to cut through about halfway on one side, then do it on the other side

Installation continued• Drill the hole marked for the deadbolt lock to go through the side of the door. Be sure you size it
appropriately.
• Dry fit it into place and trace out the faceplate to accurately mortise it out so that it will sit flush.
• Use your chisel and hammer to evenly and carefully mortise it until the strike plate will be flush.
• Mark your lock with the lipstick and close the door and turn it several times to mark the door jamb to be able to line up the hole for the lock in the door jamb.
• Secure the lock mechanism in place and screw it together with the provided hardware.
• Drill out the hole in the jamb for the lock using your paddle bit, be sure to overlap the two holes to keep it even and not take out too much wood.
• Set the strike plate in place and mortise it out as you did for the door.
• Secure the strike plate in place so and test your door to ensure it all lines up. If it does, you have done well and now your door is equipped with a heavy duty deadbolt!

• Installing a deadbolt is a pretty simple DIY project, however it does take some patience and precision to make it all line up properly. Remember, if you ever need assistance with any of your home improvement projects that your friends at Tenlist.com will always connect you with you trusted local contractors.