Daily Care Manual - MIMAKImimaki.com/archives/034/201301/UJF-3042HG_UJF-6042_Daily... · Request...
20
Request for daily care Inkjet printer is the precision machine that has highly delicate mechanism. Especially, little dust and paper powder may have effect on a head nozzle firing ink, and may not get normal printing. To use the inkjet printer in good condition, we recommend the following daily care. MIMAKI ENGINEERING CO., LTD. Daily Care Manual D202468-10 For safe operation ............................................................................. 2 Installation environment and Notes on cleaning ....................................... 2 Notes on cleaning ..................................................................................... 2 Cleaning exterior surfaces ........................................................................ 2 Cleaning the table ..................................................................................... 3 At the end of the daily work ............................................................. 4 Head cleaning ........................................................................................... 4 Nozzle washing ........................................................................................ 6 If defective printing does not improve ............................................ 8 The examples of defective printing ........................................................... 8 Cleaning of the wiper ................................................................................ 9 How to recover improper discharge from the nozzle .............................. 11 When the waste ink tank is full ...................................................... 12 Disposing of the ink in the waste ink tank ............................................... 12 Disposing of the waste ink in the wiper bottle ......................................... 14 Avoiding dripping of ink droplet at printing ................................. 16 How To Store ................................................................................... 18 Storage Of Antifreeze Liquid And Cleaning Solution .............................. 18 Storage Of Media ................................................................................... 18 Storage Of Ink Cartridge ......................................................................... 18 Table Of Contents
Transcript of Daily Care Manual - MIMAKImimaki.com/archives/034/201301/UJF-3042HG_UJF-6042_Daily... · Request...
Request for daily careInkjet printer is the precision machine that has highly delicate mechanism.Especially, little dust and paper powder may have effect on a head nozzlefiring ink, and may not get normal printing.To use the inkjet printer in good condition, we recommend the followingdaily care.
MIMAKI ENGINEERING CO., LTD.
Daily Care Manual
D202468-10
For safe operation ............................................................................. 2Installation environment and Notes on cleaning ....................................... 2Notes on cleaning ..................................................................................... 2Cleaning exterior surfaces ........................................................................ 2Cleaning the table ..................................................................................... 3
At the end of the daily work ............................................................. 4Head cleaning ........................................................................................... 4Nozzle washing ........................................................................................ 6
If defective printing does not improve ............................................ 8The examples of defective printing ........................................................... 8Cleaning of the wiper ................................................................................ 9How to recover improper discharge from the nozzle .............................. 11
When the waste ink tank is full ...................................................... 12Disposing of the ink in the waste ink tank ............................................... 12Disposing of the waste ink in the wiper bottle ......................................... 14
Avoiding dripping of ink droplet at printing ................................. 16How To Store ................................................................................... 18
Storage Of Antifreeze Liquid And Cleaning Solution .............................. 18Storage Of Media ................................................................................... 18Storage Of Ink Cartridge ......................................................................... 18
Table Of Contents

2
For safe operationInstallation environment and Notes on cleaning
• Use this machine in clean (less dust) environment. The use of fan and ventilator might because ofdusty environment.They brow dust up dust around the machine.
• As using UV curing ink, install this machine in a well-ventilated area.• Working environmental temperature is 20 to 35°C (68 to 95°F). Avoid using at lower orhigher than this.
Notes on cleaning
Cleaning exterior surfaces
If exterior surfaces of the machine is dirty, dampen a soft cloth with water or a neutral detergent dilutedwith water, squeeze it and wipe the surfaces.
• Never disassemble this machine. Disassembling this machine can result in electric shock hazards or damage to this machine.
• Prevent moisture from entering this machine. Moisture inside the machine can result in electric shock hazards or damage to this machine.
• Before starting maintenance work, be sure to turn off the main power switch and unplug the power cable; otherwise, an unexpected accident may occur.
• Perform maintenance after the LED UV has been sufficiently cooled, or burn injury may occur.
• Do not use benzine, thinner, or any chemical agent containing abrasives. Such materials can deteriorate or deform the surface of the covers.
• Do not apply lubricating oil or the like to any part inside this machine. Such materials can cause this machine mechanism to fail.
• In case water or alcohol mixed into the UV curing ink (UV ink), flocculation would be occurred. Be sure not to adhere water or alcohol not only on the nozzle and also near the head.
• This machine uses UV curing ink (UV ink). When in daily care, be sure to put on the supplied goggles and gloves.
For safe operation
3
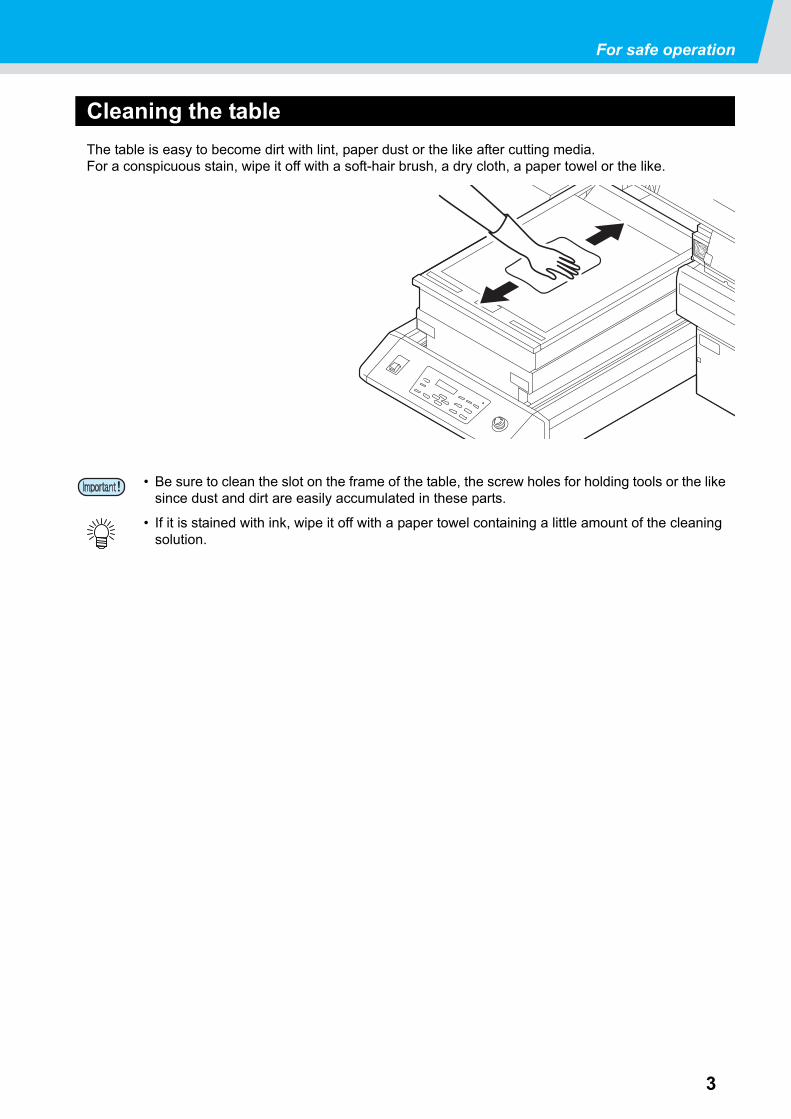
Cleaning the table
The table is easy to become dirt with lint, paper dust or the like after cutting media.For a conspicuous stain, wipe it off with a soft-hair brush, a dry cloth, a paper towel or the like.
• Be sure to clean the slot on the frame of the table, the screw holes for holding tools or the like since dust and dirt are easily accumulated in these parts.
• If it is stained with ink, wipe it off with a paper towel containing a little amount of the cleaning solution.

4
At the end of the daily workTo prevent nozzle clogging, execute head cleaning and nozzle washing at the end of the daily work.
Head cleaning
1 Press the key in the local mode.
2 Select the head, set execution/non-execution of cleaning, and press the
key.
(1) Select the head with or keys.(2) Select execution (displays the head No.) /non-
execution (displays “_”) of the head cleaning with or keys.
• Select execution of cleaning for every head.
< L OCA L >CLEANING
# C L E A N I NGH E A D [ MCY KC
LC
LWW ]
# C L E A N I NGH E A D [ _ _ Y KC
LC
LWW ]
ENTER
5
At the end of the daily work
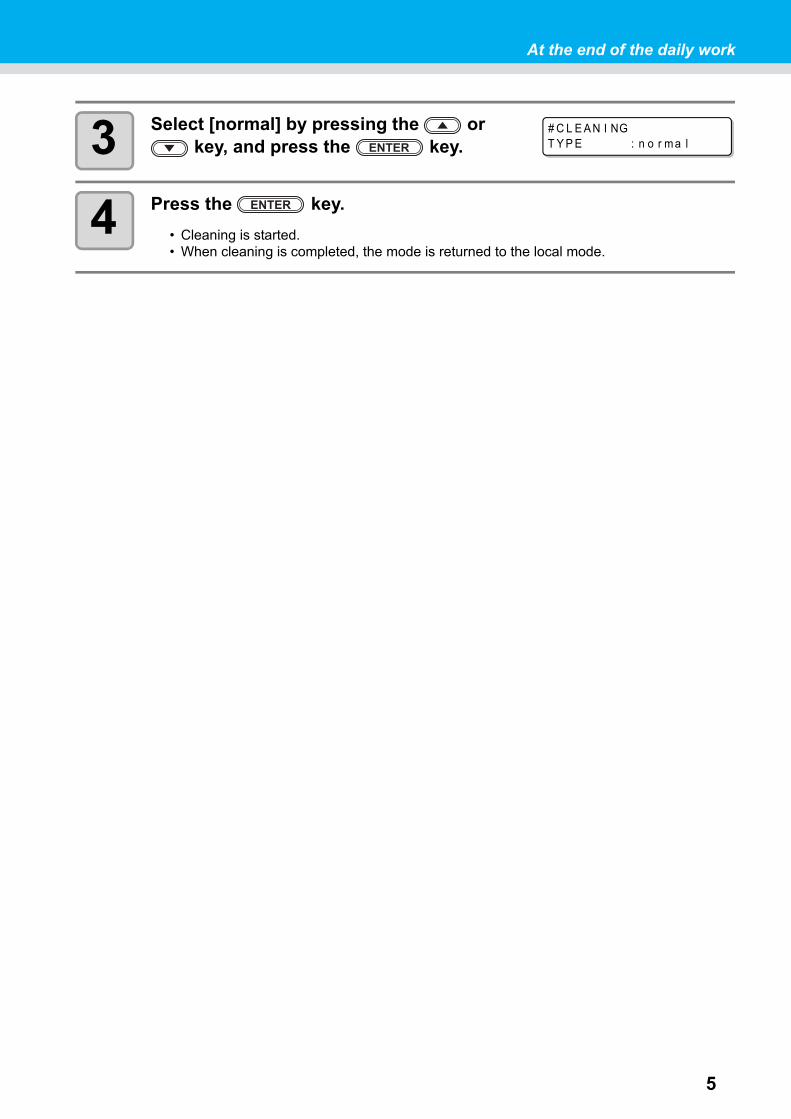
3 Select [normal] by pressing the or key, and press the key.
4 Press the key.
• Cleaning is started.• When cleaning is completed, the mode is returned to the local mode.
# C L E A N I NGT Y P E : n o r m a lENTER
ENTER
6
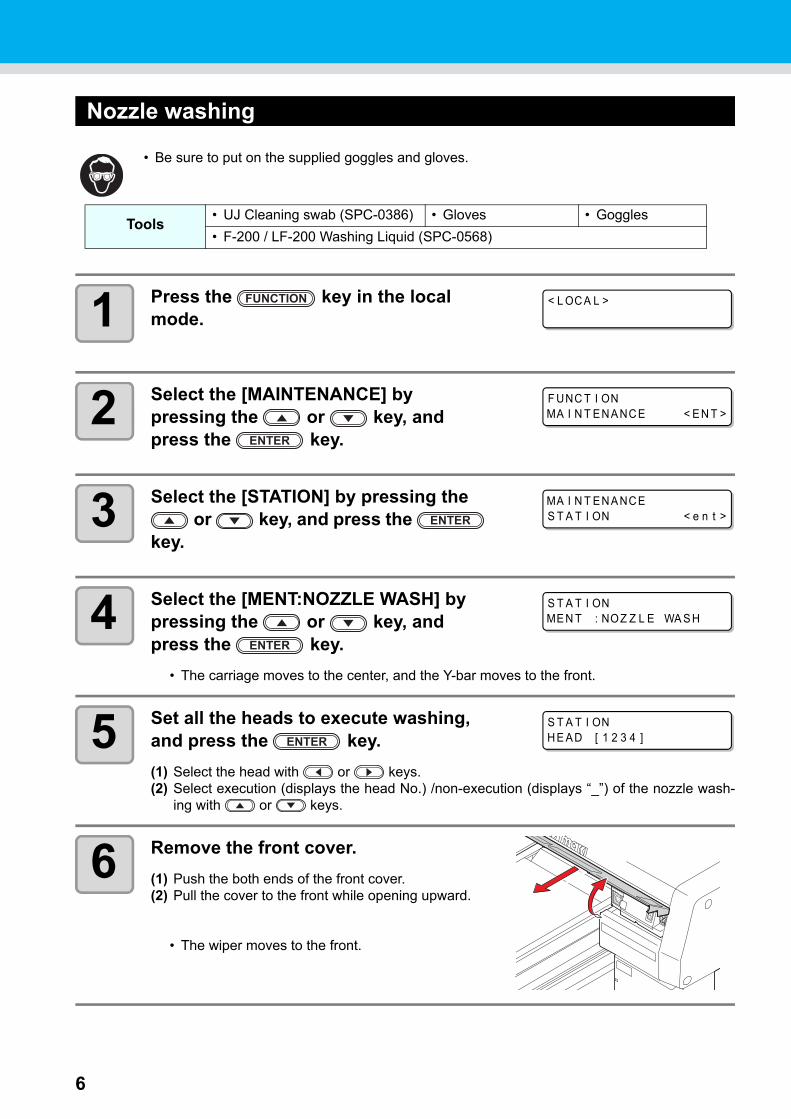
Nozzle washing
1 Press the key in the local mode.
2 Select the [MAINTENANCE] by pressing the or key, and press the key.
3 Select the [STATION] by pressing the or key, and press the
key.
4 Select the [MENT:NOZZLE WASH] by pressing the or key, and press the key.
• The carriage moves to the center, and the Y-bar moves to the front.
5 Set all the heads to execute washing, and press the key.
(1) Select the head with or keys.(2) Select execution (displays the head No.) /non-execution (displays “_”) of the nozzle wash-
ing with or keys.
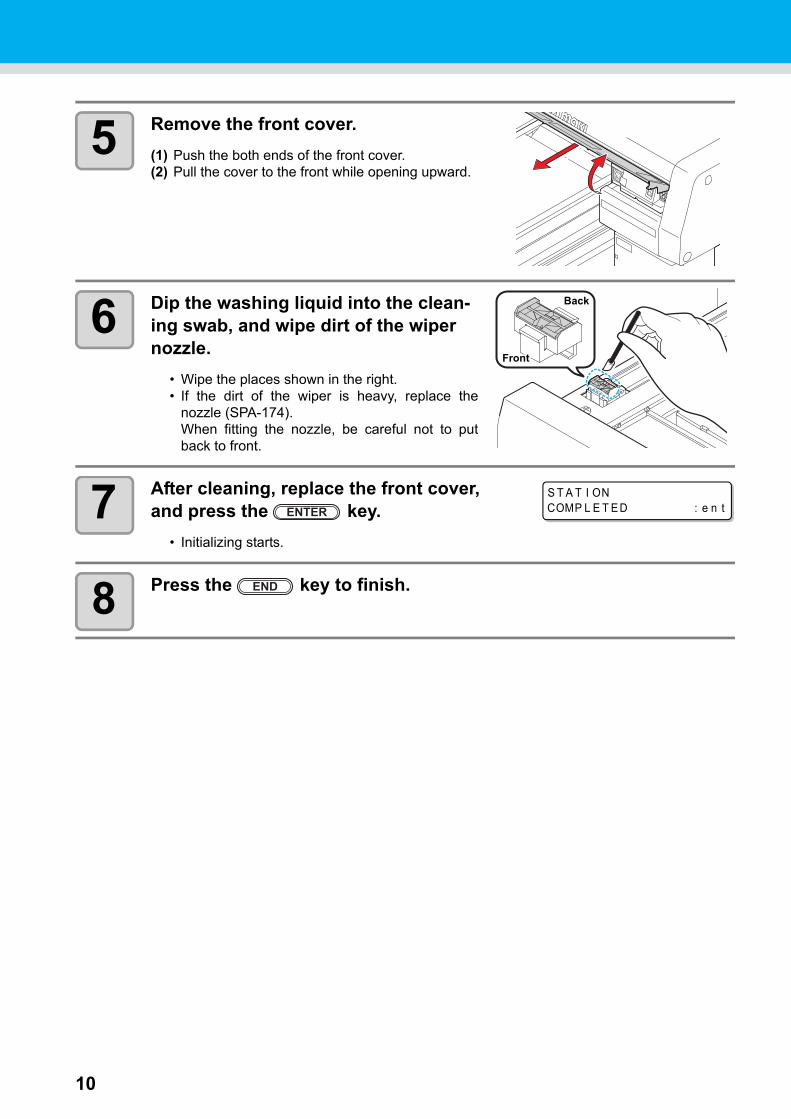
6 Remove the front cover.
(1) Push the both ends of the front cover.(2) Pull the cover to the front while opening upward.
• The wiper moves to the front.
• Be sure to put on the supplied goggles and gloves.
Tools• UJ Cleaning swab (SPC-0386) • Gloves • Goggles
• F-200 / LF-200 Washing Liquid (SPC-0568)
< L OCA L >FUNCTION
F UNC T I ONMA I N T ENA NCE < EN T >
ENTER
MA I N T ENA NCES T A T I ON < e n t >ENTER
S T A T I ONME N T : NOZ Z L E WA S H
ENTER
S T A T I ONH E A D [ 1 2 3 4 ]ENTER

At the end of the daily work
7
7 Dip washing liquid into the cleaning swab, and wipe dirt of the wiper nozzle.
• Wipe the places shown in the right.
8 Put washing liquid into the dropper, and drop on the caps to fill them.
• Fill the washing liquid into the three caps.
9 Replace the front cover, and press the key.
• Capping is performed and the slider returns to thestand-by position in the back.
10 Set leaving time by pressing the or key, and press the key.
• Usually set 10 min.(Set value: 1 to 99 min)
• After the leaving time, cleaning is performed.
11 Press the key to finish.
• Adjust the leaving time depending on frequency of use or dirt of the nozzle.
Front
Back
W I P ER C L E A N I NG .COMP L E T E D : e n tENTER
S T A T I ONL E A V I NG : 1 m i n
C L E AN I NG A C T I V E* * * - - - - - - - - - - - - - - - - -
ENTER
END
8
If defective printing does not improveIn the following cases, clean the suction nozzle using the cleaning kit.
• The station interior is severely contaminated.• Defective printing is not resolved after executing the head cleaning function ( P.4).
The examples of defective printing
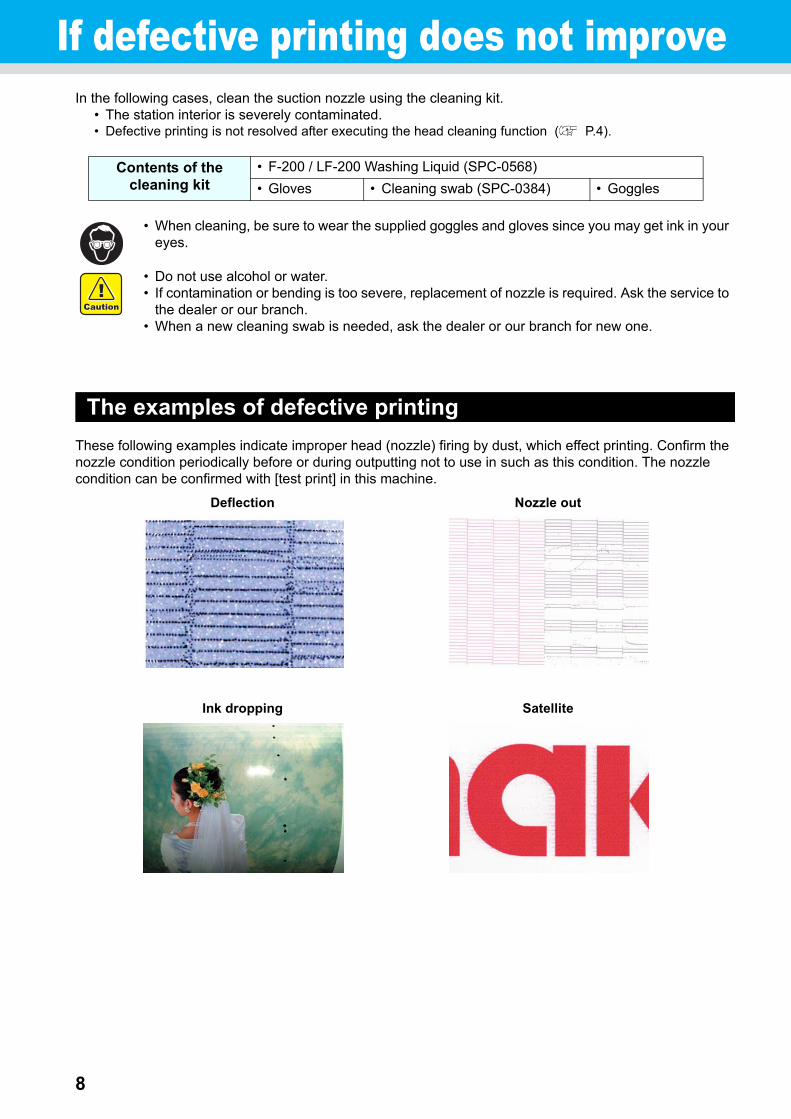
These following examples indicate improper head (nozzle) firing by dust, which effect printing. Confirm the nozzle condition periodically before or during outputting not to use in such as this condition. The nozzle condition can be confirmed with [test print] in this machine.
Contents of the cleaning kit
• F-200 / LF-200 Washing Liquid (SPC-0568)
• Gloves • Cleaning swab (SPC-0384) • Goggles
• When cleaning, be sure to wear the supplied goggles and gloves since you may get ink in your eyes.
• Do not use alcohol or water.• If contamination or bending is too severe, replacement of nozzle is required. Ask the service to
the dealer or our branch.• When a new cleaning swab is needed, ask the dealer or our branch for new one.
Deflection Nozzle out
Ink dropping Satellite
9
If defective printing does not improve
Cleaning of the wiper
The wiper sweeps ink stuck on the nozzle of the head.The wiper becomes tainted with ink or dusts during the operation of this machine.In order to keep the head in good condition, clean the wiper frequently.
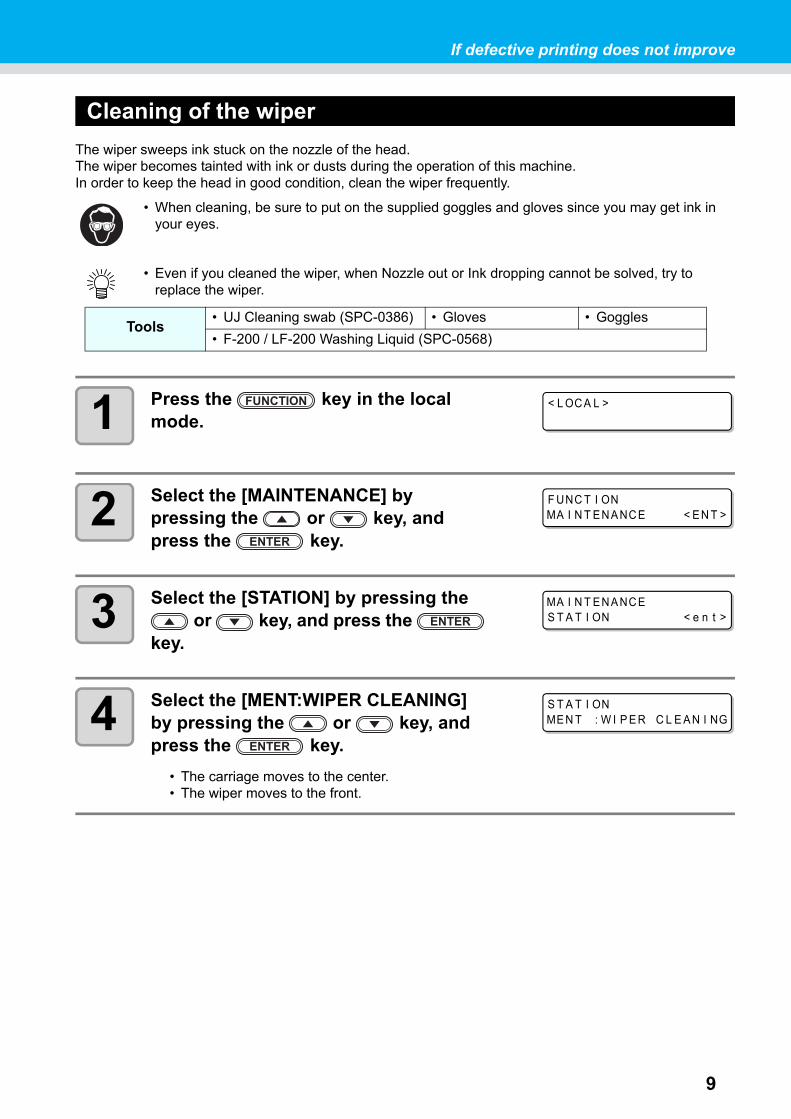
1 Press the key in the local mode.
2 Select the [MAINTENANCE] by pressing the or key, and press the key.
3 Select the [STATION] by pressing the or key, and press the
key.
4 Select the [MENT:WIPER CLEANING] by pressing the or key, and press the key.
• The carriage moves to the center.• The wiper moves to the front.
• When cleaning, be sure to put on the supplied goggles and gloves since you may get ink in your eyes.
• Even if you cleaned the wiper, when Nozzle out or Ink dropping cannot be solved, try to replace the wiper.
Tools• UJ Cleaning swab (SPC-0386) • Gloves • Goggles
• F-200 / LF-200 Washing Liquid (SPC-0568)
< L OCA L >FUNCTION
F UNC T I ONMA I N T ENA NCE < EN T >
ENTER
MA I N T ENA NCES T A T I ON < e n t >ENTER
S T A T I ONME N T : W I P E R C L E A N I NG
ENTER
10
5 Remove the front cover.
(1) Push the both ends of the front cover.(2) Pull the cover to the front while opening upward.
6 Dip the washing liquid into the clean-ing swab, and wipe dirt of the wiper nozzle.
• Wipe the places shown in the right.• If the dirt of the wiper is heavy, replace the
nozzle (SPA-174).When fitting the nozzle, be careful not to putback to front.
7 After cleaning, replace the front cover, and press the key.
• Initializing starts.
8 Press the key to finish.
Front
Back
S T A T I ONCOMP L E T E D : e n tENTER
END

If defective printing does not improve
11
How to recover improper discharge from the nozzle
When not using this machine for a long time or according to environmental temperature, the nozzle may be unstable in discharging. In this case, follow the procedures below to recover nozzle.
1 Execute daily care.
• Perform daily dare to all parts noted on this manual.
2 Execute head cleaning. ( P.4)
• Repeat cleaning and test drawing, and confirm the nozzles are not clogged.
3 Execute nozzle washing. ( P.6)
• In case the nozzle does not recover after these procedures, contact with our customer service or agency you purchased, and need to replace heads and so on.
• In case nozzle clogging is not resolved with all these procedures, contact with our customer service or make service call to the agency you purchased.

12
When the waste ink tank is fullWaste ink used for head cleaning gathers in the waste ink tank and the wiper bottle.Periodically check the waste ink tank and the wiper bottle and when they are full, dispose of the ink.If warning message such as “!WS INKTANK CHK” or “WIPER BOTTLE” appears, check the waste ink tank and the wiper bottle in the same way.
Disposing of the ink in the waste ink tank
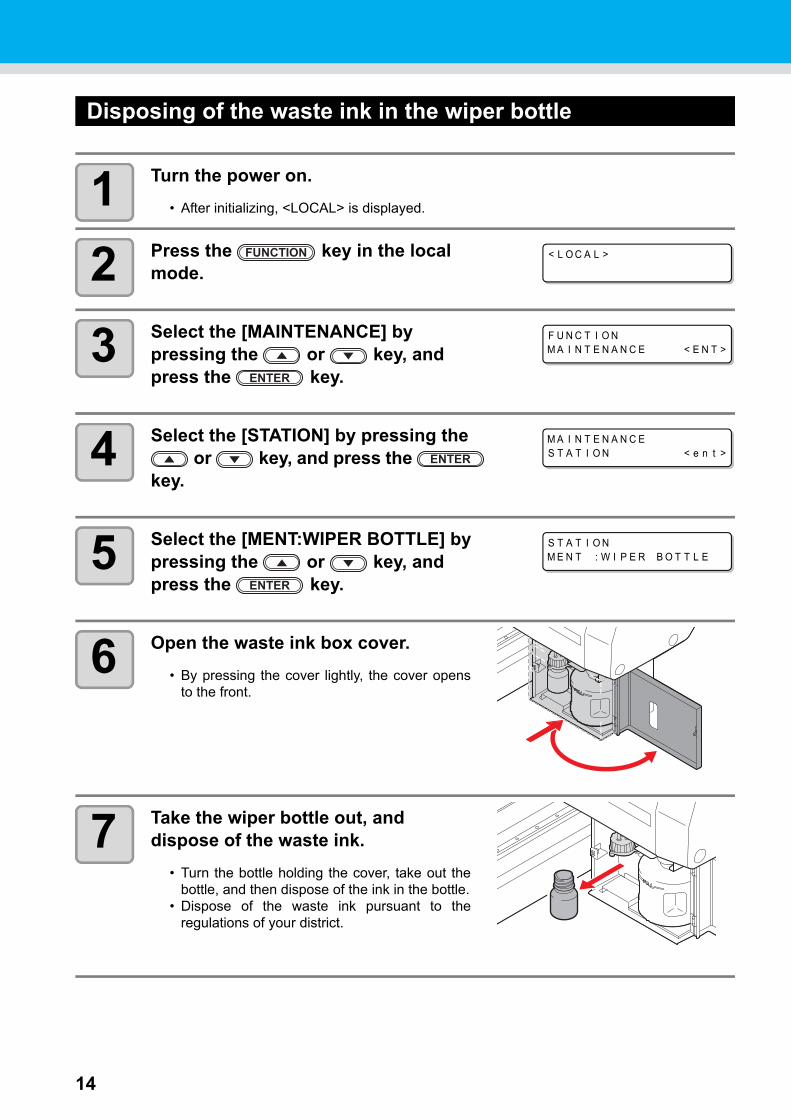
1 Turn the power on.
• After initializing, <LOCAL> is displayed.
2 Press the key in the local mode.
3 Select the [MAINTENANCE] by pressing the or key, and press the key.
4 Select the [STATION] by pressing the or key, and press the
key.
5 Select the [MENT:WASTE TANK] by pressing the or key, and press the key.
• If you need a spare waste ink tank, contact a distributor in your district or our office.• Prepare a polyethylene tank to put in the waste ink.
• When ink is discharging such as for head cleaning, conduct the operation after the discharging is completed.
• Handle the waste ink tank with care not to spill the waste ink.• Dispose of the waste ink when it has gathered about half of the waste ink tank.
Tools • Gloves • Goggles
< L OCA L >FUNCTION
F UNC T I ONMA I N T ENA NCE < EN T >
ENTER
MA I N T ENA NCES T A T I ON < e n t >ENTER
S T A T I ONME N T : WA S T E T ANK
ENTER

13
When the waste ink tank is full
6 Open the waste ink box cover.
• By pressing the cover lightly, the cover opens to thefront.
7 Remove the waste ink tank.
• Lifting the tank slightly up, pull it to the front.
8 Put the waste ink into a tank with a cover.
• Before putting the ink into the tank, put paper on the floor. (Not to stain the floor with ink)• Dispose of the waste ink pursuant to the regulations of your district.
9 Set the empty waste ink tank, and close the cover.
(1) Set the waste ink tank in the reverse order of removing.
(2) Close the waste ink box cover.
10 Press the key.
11 Press the key to finish.
S T A T I ONCOMP L E T E D : e n t
ENTER
END
14
Disposing of the waste ink in the wiper bottle
1 Turn the power on.
• After initializing, <LOCAL> is displayed.
2 Press the key in the local mode.
3 Select the [MAINTENANCE] by pressing the or key, and press the key.
4 Select the [STATION] by pressing the or key, and press the
key.
5 Select the [MENT:WIPER BOTTLE] by pressing the or key, and press the key.
6 Open the waste ink box cover.
• By pressing the cover lightly, the cover opensto the front.
7 Take the wiper bottle out, and dispose of the waste ink.
• Turn the bottle holding the cover, take out thebottle, and then dispose of the ink in the bottle.
• Dispose of the waste ink pursuant to theregulations of your district.
< L O C A L >FUNCTION
F U N C T I O NM A I N T E N A N C E < E N T >
ENTER
M A I N T E N A N C ES T A T I O N < e n t >ENTER
S T A T I O NM E N T : W I P E R B O T T L E
ENTER
When the waste ink tank is full
15
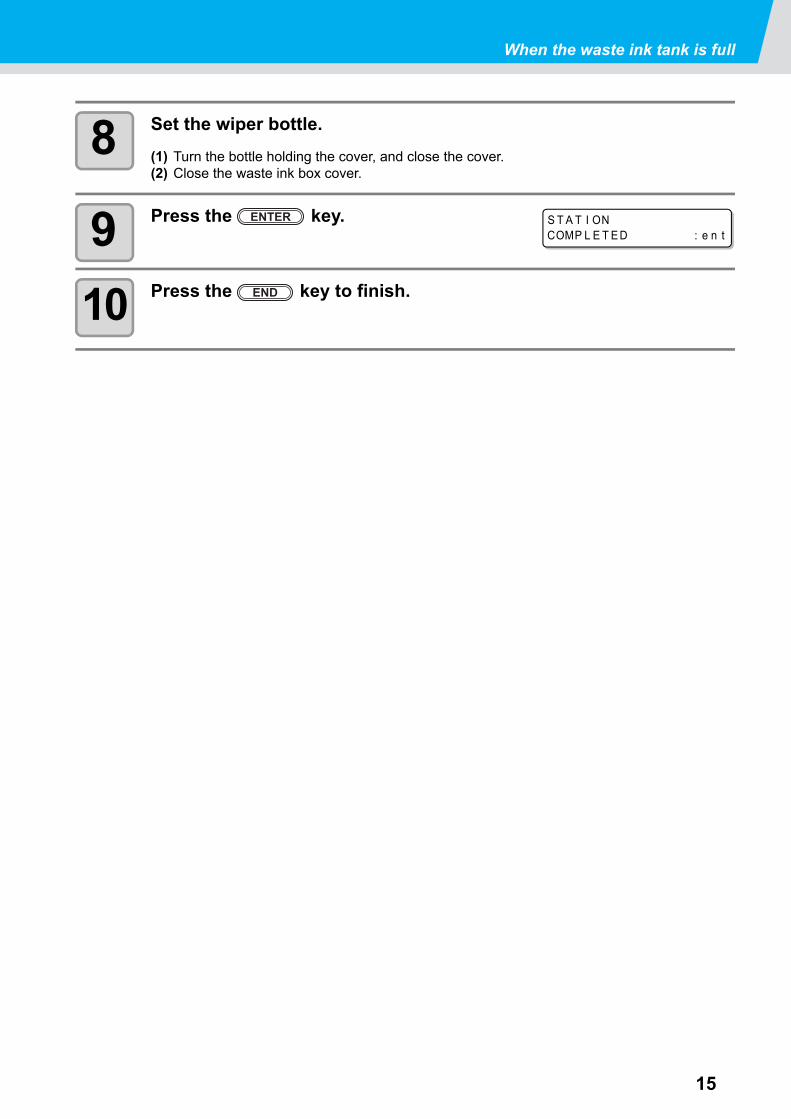
8 Set the wiper bottle.
(1) Turn the bottle holding the cover, and close the cover.(2) Close the waste ink box cover.
9 Press the key.
10 Press the key to finish.
S T A T I ONCOMP L E T E D : e n t
ENTER
END

16
Avoiding dripping of ink droplet at printingInk droplets from the mist at drawing may arise on the bottom of the carriage. As the ink droplets may drip and stain the media or cause blur or dot missing, clean the bottom of the carriage periodically.
1 Turn the power on.
• After initializing, <LOCAL> is displayed.
2 Press the key in the local mode.
3 Select the [MAINTENANCE] by pressing the or key, and press the key.
4 Select the [STATION] by pressing the or key, and press the
key.
5 Select the [HEAD MENT] by pressing the or key, and press the
key.
• The carriage moves to the center of the front edge, and the Y bar moves to the front.
6 Open the table front cover.
Tools• UJ Cleaning swab (SPC-0386) • Gloves • Goggles
• F-200 / LF-200 Washing Liquid (SPC-0568)
< L OCA L >FUNCTION
F UNC T I ONMA I N T ENA NCE < EN T >
ENTER
MA I N T ENA NCES T A T I ON < e n t >ENTER
S T A T I ONME N T : HE AD ME N T
ENTER

Avoiding dripping of ink droplet at printing
17
7 Dip the cleaning swab into the cleaning solution, and clean the side surface of the head.
• Do not wipe the nozzle face of the head. It maycause nozzle clogging.
• To buy special cleaning swabs, contact a distributorin your district or our office.
8 Dip the TechnoWipe (attached) into alcohol, and clean the LED-UV irratiation outlet.
9 After cleaning, close the table front cover, and press the key.
• Initializing starts.
• Be careful not to put the cleaning solution on the light pointer.
Bottom of the carriage
Light pointer
LED-UV irradiation outlet (glass)
S T A T I ONCOMP L E T E D : e n tENTER

18
How To StoreStorage Of Antifreeze Liquid And Cleaning Solution
Be sure to store the antifreeze liquid and the cleaning solution in a cold and dark place.Store them in a place that is out of the reach of children.
Storage Of Media
Media should be stored in the little dust area, and not in direct sunlight. Avoid storing the media in the area with high temperature and high humidity.
Storage Of Ink Cartridge
Store the ink cartridge in no direct sunlight or not humid place. As it is a delicate product, do not drop or hit it. The board of the ink cartridge (shown on the right picture) should not be contaminated and avoid electrostatic discharge.

D202468-10-13112012

You can also download the latest daily care manual from our website.
Printed in Japan© MIMAKI ENGINEERING Co., Ltd. 2012
IT
UJF-3042HG: FW:3.3UJF-6042: FW:1.0