Cook, Eat & Talk - WordPress.com
4
1 Apple Pie Filling for Canning from Healthy Choices Ingredients Yields 7 quarts Instrucons 1) Toss dry ingredients with apples. Sr in honey. Fill quart jars. Fill jars with water - but NOT to top of jar. 2) Water bath can for 30 minutes. 3) To serve, dump into a casserole dish and sprinkle with any apple crisp topping recipe. Or dump into a pie shell and bake. Notes ___________________________________________________________________________________________ ___________________________________________________________________________________________ ___________________________________________________________________________________________ ___________________________________________________________________________________________ ___________________________________________________________________________________________ 6 quarts apples, peeled and sliced 1/3 cup flour or clear gel 1 cup honey 2 T cinnamon 1/2 T nutmeg Cook, Eat & Talk Week 8 OKTJustice.org [email protected] 616-206-3641 Oct. 2016 A s the food industry separates us farther from the sources of our foods—and the nutrients real food provides—people seeking more sustainable and healthier mealmes are taking up the nearly lost art of home canning. Some of us remember the jars of peaches, pickles and tomatoes lining our grandmother ’s pantry shelves. Sadly, others have been brought up on foods jarred, canned, boxed or frozen in factories—and know nothing else. As the industry’s mouthpiece, the news media has Americans convinced that it’s difficult to cook from scratch and dangerous to can your own foods. But guess what? It’s easy and it’s safe. You don’t have to worry about those six- syllable food addives poisoning your family. And, canning your own food can save you bushels of money. (That can mean less me working to live and more me working at life.)
Transcript of Cook, Eat & Talk - WordPress.com

1
Apple Pie Filling for Canning from Healthy Choices
Ingredients Yields 7 quarts
Instructions 1) Toss dry ingredients with apples. Stir in honey. Fill quart jars. Fill jars with water - but NOT to top of jar.
2) Water bath can for 30 minutes.
3) To serve, dump into a casserole dish and sprinkle with any apple crisp topping recipe. Or dump into a pie
shell and bake. Notes
___________________________________________________________________________________________
___________________________________________________________________________________________
___________________________________________________________________________________________
___________________________________________________________________________________________
___________________________________________________________________________________________
6 quarts apples, peeled and sliced
1/3 cup flour or clear gel
1 cup honey
2 T cinnamon
1/2 T nutmeg
Cook, Eat & Talk Week 8
OKTJustice.org
[email protected] 616-206-3641
Oct. 2016
A s the food industry separates us farther from the sources of our foods—and the nutrients real food
provides—people seeking more sustainable and healthier mealtimes are taking up the nearly lost art of home
canning. Some of us remember the jars of peaches, pickles and tomatoes lining our grandmother’s pantry shelves.
Sadly, others have been brought up on foods jarred, canned, boxed or frozen in factories—and know nothing else.
As the industry’s mouthpiece, the news media has Americans convinced that it’s difficult to cook from scratch and
dangerous to can your own foods. But guess what? It’s easy and it’s safe. You don’t have to worry about those six-
syllable food additives poisoning your family. And, canning your own food can save you bushels of money. (That can
mean less time working to live and more time working at life.)

2
1. Heat the Water. Bringing a canning kettle of water to a boil takes a while – up to 45 minutes over high heat. Be sure to get it on the stove before you start anything else. The canner should be about half full for pint jars and two-thirds full for quart jars.
2. 2. Wash Jars, rings and lids in hot soapy water and rinse very well. You will want to completely wipe the lids and rings dry before using them to close your full jars of produce. As you wipe used lids dry, inspect them for a good, smooth edge and holes in the rubber lining as damaged lids may not seal. Some experts recommend sterilizing jars and lids. To do this, set them in boiling water for 10 minutes or run them through the "sterilize" cycle on a dish washer.
3. Clean Produce. Thoroughly rinse and pat dry the produce you're canning before you start the recipe. Cut away any rotten spots.
4. Fill Jars. Ladle food into sterilized jars through a wide-mouth funnel.
Leave recommended headspace (the space between the top of the food and the top of the jar) specified in the recipe (usually one inch). Only process full jars. Keep leftovers in the fridge and eat them within a week.
5. Release Air Bubbles. Run a dinner knife along the inside of the jar to release any air bubbles along the sides of the jars.
6. Wipe top edges of jars clean with a damp cloth or the jars may not seal.
7. Put Rings and Lids on Jars. Center the lid so that the sealing compound around its edges touches the rims of the jars. Screw the metal rings on firmly but not tightly and don't force them. Just screw them on so they stay in place.
8. Process Jars. Lower the jars into the boiling water. The water level should be one inch above the tops of the jars. Add boiling water, if
needed, during processing, to keep that 1-inch buffer. Cover the canning kettle to return water to a boil. Process for the time specified in the recipe.
9. Remove Jars. Lift jars out with tongs. Have a hot pad in your other hand, just in case you need to grab something. Set jars on several layers of dish towels on a flat work surface. Don't tighten the rings; just let them sit until completely cool to room temperature. You may hear a slight "ping" from the jars as they seal. This is a happy sound!
10. Test the Seal. Check lids for seal after 24 hours. Lid should not flex up and down when center is pressed. Store unsealed jars in the fridge and use contents sooner rather than later. Or, reprocess or remove food to a freezer bag and store in your freezer.
You may want to label the jars with contents and canning date. Store them in a cool, dark place and use within a year (some of us keep them longer than that).
Water-bath Canner & Rack. A stock pot or other very large pot can be used instead of a canning kettle, and rolls of tin foil can stand in for the canning rack. But if you think you'll process more than 1 batch of jam or preserves or pickles a year, having a
water-bath canner and fitted rack makes life infinitely easier. Jar Tongs & Hot Pads. A jar lifter helps move hot jars around smoothly and easily. Regular kitchen tongs are an inadequate and dangerous substitute.
Funnel. Filling jars with a funnel saves you spills and time. Use a wide-mouth funnel to match wide-mouth jars. Dish rags and towels. You’ll need dish towels to wipe rings and lids dry. A clean dish rag works well to wipe of the jar tops before putting lids on. And, several layers of dish towels spread on
a counter top make a safe landing spot for hot, processed jars just out of the canning kettle. Jars, Rings & Lids. The size jars you use depends on the recipe. For exam-ple: Half-pint jars for chutneys and jams; Pints for applesauce and plums; Quart jars for large pickles or tomatoes. It also depends on how many people you cook for! Big family? Bigger jars! Lids can be reused if they are not dam-aged. Big bowls. These come in handy for holding washed fruit and vegetables, placing peels or stems in as you work, or putting sliced produce aside before canning.
Basic Canning Equipment
How to Can in 10 Easy Steps.
3
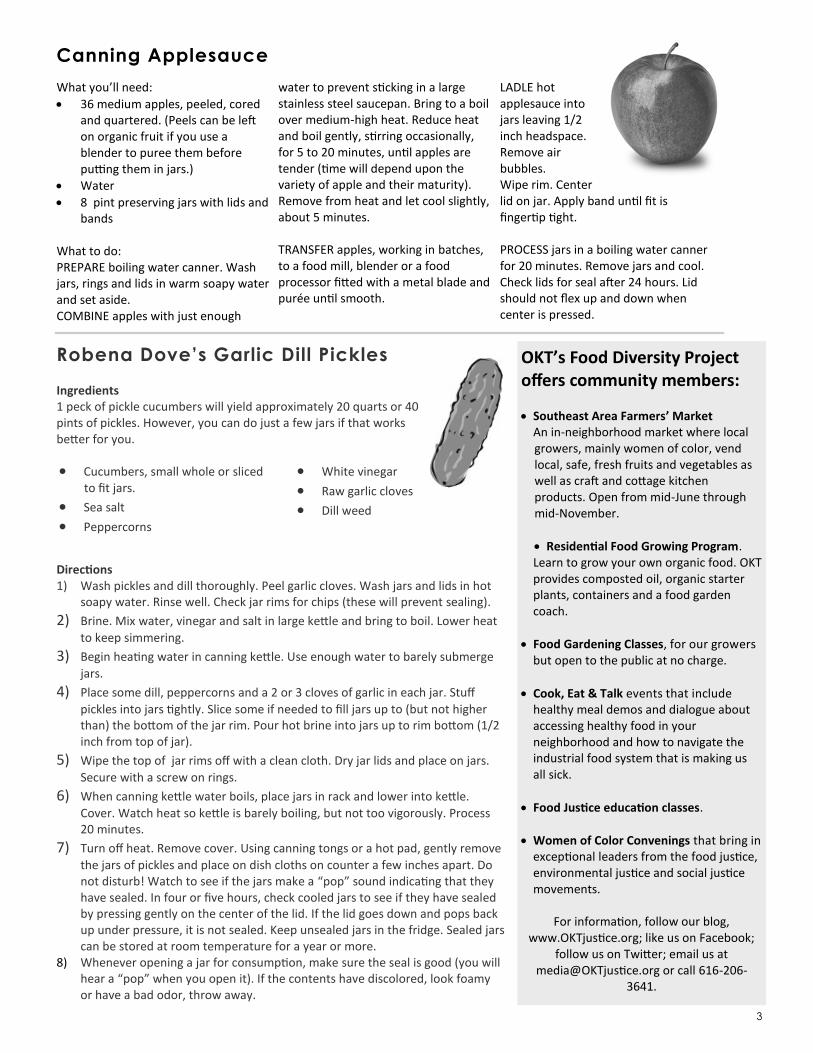
Robena Dove’s Garlic Dill Pickles Ingredients 1 peck of pickle cucumbers will yield approximately 20 quarts or 40 pints of pickles. However, you can do just a few jars if that works better for you.
Directions 1) Wash pickles and dill thoroughly. Peel garlic cloves. Wash jars and lids in hot
soapy water. Rinse well. Check jar rims for chips (these will prevent sealing).
2) Brine. Mix water, vinegar and salt in large kettle and bring to boil. Lower heat
to keep simmering.
3) Begin heating water in canning kettle. Use enough water to barely submerge
jars.
4) Place some dill, peppercorns and a 2 or 3 cloves of garlic in each jar. Stuff
pickles into jars tightly. Slice some if needed to fill jars up to (but not higher than) the bottom of the jar rim. Pour hot brine into jars up to rim bottom (1/2 inch from top of jar).
5) Wipe the top of jar rims off with a clean cloth. Dry jar lids and place on jars.
Secure with a screw on rings.
6) When canning kettle water boils, place jars in rack and lower into kettle.
Cover. Watch heat so kettle is barely boiling, but not too vigorously. Process 20 minutes.
7) Turn off heat. Remove cover. Using canning tongs or a hot pad, gently remove
the jars of pickles and place on dish cloths on counter a few inches apart. Do not disturb! Watch to see if the jars make a “pop” sound indicating that they have sealed. In four or five hours, check cooled jars to see if they have sealed by pressing gently on the center of the lid. If the lid goes down and pops back up under pressure, it is not sealed. Keep unsealed jars in the fridge. Sealed jars can be stored at room temperature for a year or more.
8) Whenever opening a jar for consumption, make sure the seal is good (you will hear a “pop” when you open it). If the contents have discolored, look foamy or have a bad odor, throw away.
Canning Applesauce
OKT’s Food Diversity Project offers community members:
Southeast Area Farmers’ Market An in-neighborhood market where local growers, mainly women of color, vend local, safe, fresh fruits and vegetables as well as craft and cottage kitchen products. Open from mid-June through mid-November.
Residential Food Growing Program. Learn to grow your own organic food. OKT provides composted oil, organic starter plants, containers and a food garden coach.
Food Gardening Classes, for our growers but open to the public at no charge.
Cook, Eat & Talk events that include healthy meal demos and dialogue about accessing healthy food in your neighborhood and how to navigate the industrial food system that is making us all sick.
Food Justice education classes.
Women of Color Convenings that bring in exceptional leaders from the food justice, environmental justice and social justice movements.
For information, follow our blog,
www.OKTjustice.org; like us on Facebook; follow us on Twitter; email us at
[email protected] or call 616-206-3641.
Cucumbers, small whole or sliced to fit jars.
Sea salt
Peppercorns
White vinegar
Raw garlic cloves
Dill weed
What you’ll need:
36 medium apples, peeled, cored and quartered. (Peels can be left on organic fruit if you use a blender to puree them before putting them in jars.)
Water
8 pint preserving jars with lids and bands
What to do: PREPARE boiling water canner. Wash jars, rings and lids in warm soapy water and set aside. COMBINE apples with just enough
water to prevent sticking in a large stainless steel saucepan. Bring to a boil over medium-high heat. Reduce heat and boil gently, stirring occasionally, for 5 to 20 minutes, until apples are tender (time will depend upon the variety of apple and their maturity). Remove from heat and let cool slightly, about 5 minutes. TRANSFER apples, working in batches, to a food mill, blender or a food processor fitted with a metal blade and purée until smooth.
LADLE hot applesauce into jars leaving 1/2 inch headspace. Remove air bubbles. Wipe rim. Center lid on jar. Apply band until fit is fingertip tight. PROCESS jars in a boiling water canner for 20 minutes. Remove jars and cool. Check lids for seal after 24 hours. Lid should not flex up and down when center is pressed.

4
W ith government food assistance comes social stigma. Many of
us see food assistance as a handout—and a disgrace. Our Kitchen Table asks you to challenge that notion. In 2014, the federal government passed a new Farm Bill. The Farm Bill dictates how tax payer money supports both food production and food assistance. This new bill gives $956 billion of taxpayer money (your money) to the agribusiness sector. These corporations that operating huge, environmentally destructive mono-crop farms and inhumane CAFOs (factory livestock farms), are the real welfare recipients. If a sector of society that should feel shame for receiving public food assistance, it’s the agribusiness sector. Not only does this agribusiness sector contribute significantly to ecological destruction through their farming practices, they also exploit workers in the food industry and are at the root of the public health crisis—most of the food they manufacture is unhealthy.
While increasing agribusiness welfare to $956 billion, the 2014 Farm Bill also cut $8.6 billion from food assistance programs serving adults and children experiencing poverty. Imagine for a moment how $956 billion of public money redirected to the public could impact our neighborhoods. Everyone could purchase healthy and whole food in their own communities! Just imagine a just food system. OKT’s Just Food Dollars Campaign also seeks to promote a more just food system by accomplishing the following: 1) Educate the public about how their
tax dollars are used to support an unjust and unhealthy food system.
2) Challenge the public to view government food assistance programs as beneficial and warranting increased funding.
3) Illustrate that government food assistance programs give public money back to the public. It’s our own money!
4) Invite more people experiencing poverty and food insecurity to sign up for any and all food assistance programs, especially the Double
Up Food Bucks program. (Our Kitchen Table is signing people up for this program across the community and at the Southeast Area Farmers Market.)
5) Encourage people to support the local food system by patronizing the South East Area Farmers Market, participating in OKT’s Food Growing Program and attending workshops and food sharing opportunities so that we can build a movement that creates food justice and food sovereignty.
OKT invites you and all community organizations to partner with us in our Just Food Dollars campaign. First, rethink how you yourself view government assistance programs that enable your neighbors to exercise their right to healthy food. Second, refer your friends and neighbors using Bridge Cards to us so we can sign them up for Double Up Food Bucks. Last, and most important, join us by posting and sharing our Just Food Campaign information so we can inspire a larger community conversation about how our food system is funded and how we can make it more just.
OKTjustice.org
616-206-3641
An OKT Campaign
Just change how you feel
about food assistance.
Monies funding food assistance programs are monies collected, in
part, from taxes paid by the very people using the programs.