Construction Film Trailer
18
Construction Trailer Construction Of My Film Trailer
Transcript of Construction Film Trailer
Construction
Trailer Construction Of My Film Trailer
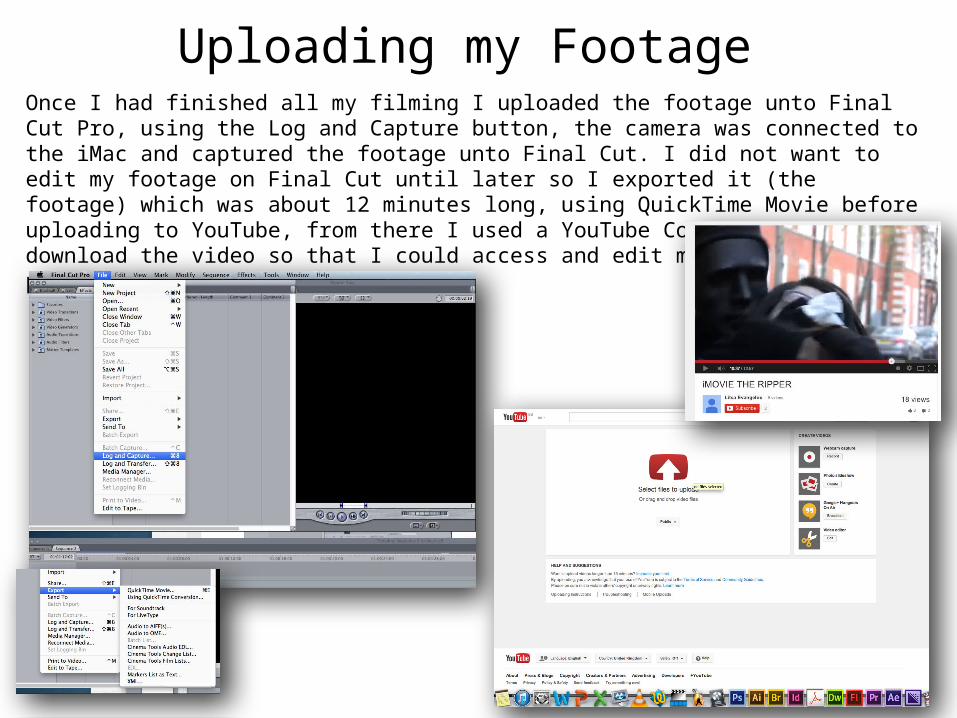
Uploading my Footage Once I had finished all my filming I uploaded the footage unto Final Cut Pro, using the Log and Capture button, the camera was connected to the iMac and captured the footage unto Final Cut. I did not want to edit my footage on Final Cut until later so I exported it (the footage) which was about 12 minutes long, using QuickTime Movie before uploading to YouTube, from there I used a YouTube Convertor to download the video so that I could access and edit my video from my phone using the iMovie application.
Motion Application
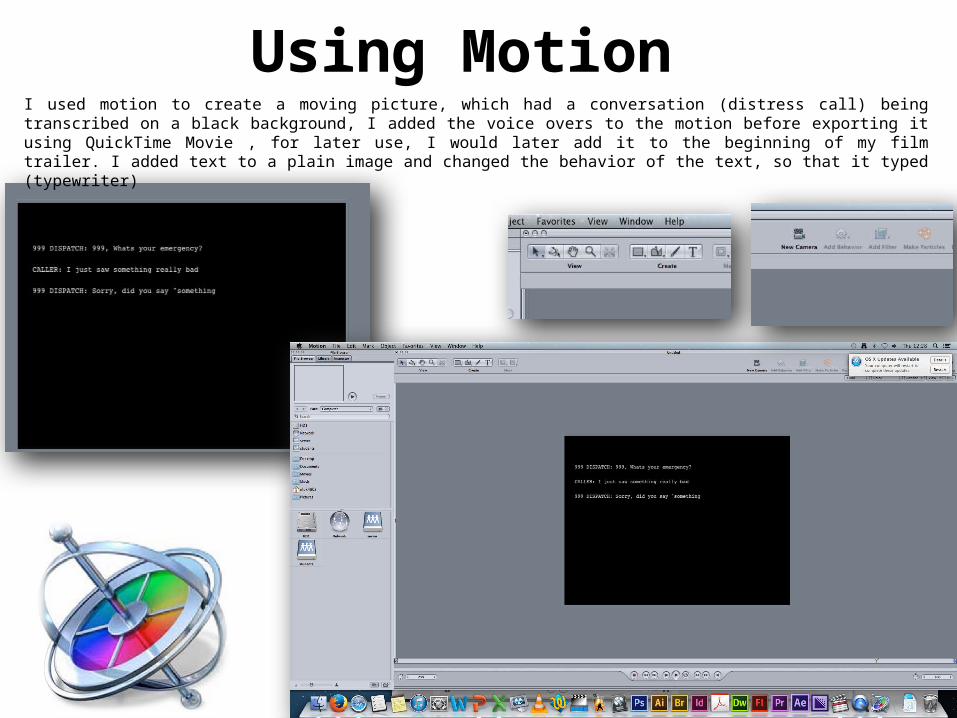
Using Motion I used motion to create a moving picture, which had a conversation (distress call) being transcribed on a black background, I added the voice overs to the motion before exporting it using QuickTime Movie , for later use, I would later add it to the beginning of my film trailer. I added text to a plain image and changed the behavior of the text, so that it typed (typewriter)
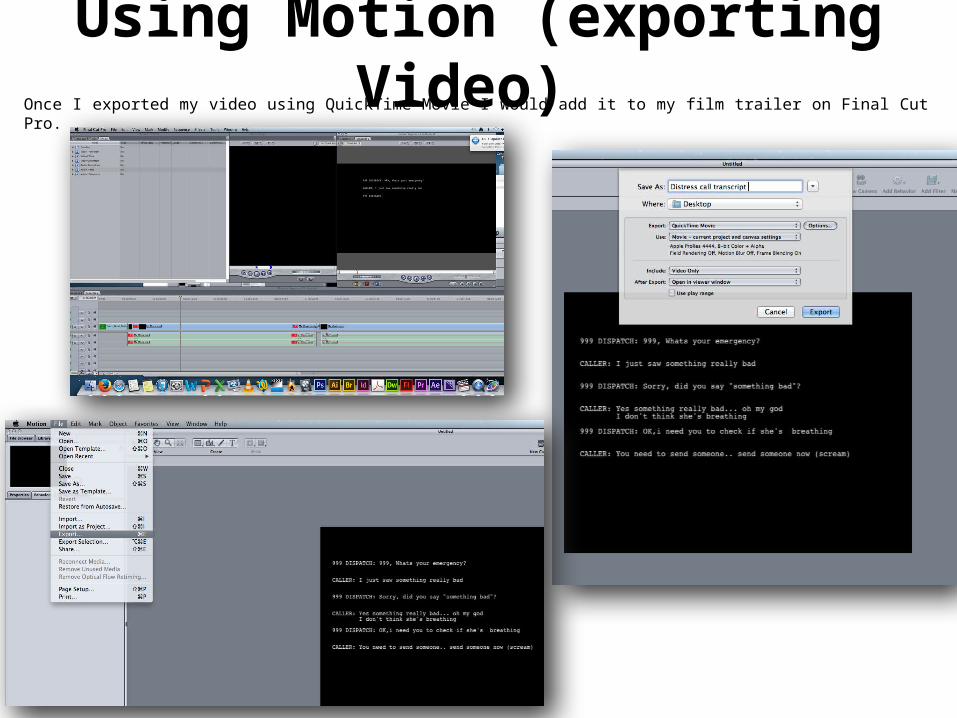
Using Motion (exporting Video) Once I exported my video using QuickTime Movie I would add it to my film trailer on Final Cut Pro.
iMovie Application
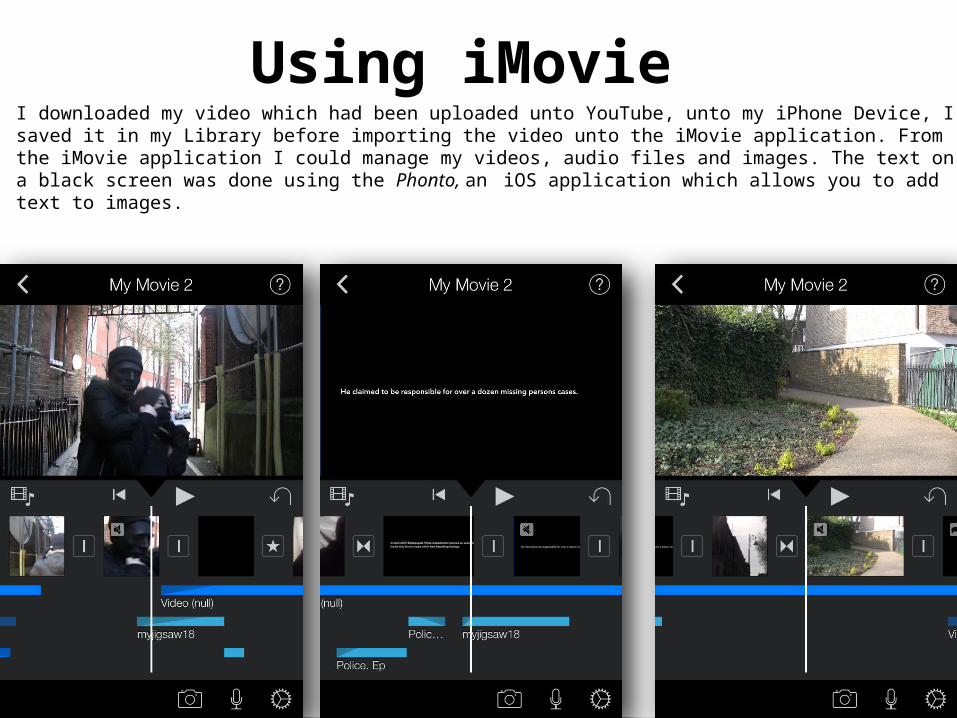
Using iMovie I downloaded my video which had been uploaded unto YouTube, unto my iPhone Device, I saved it in my Library before importing the video unto the iMovie application. From the iMovie application I could manage my videos, audio files and images. The text on a black screen was done using the Phonto, an iOS application which allows you to add text to images.

Phonto Application
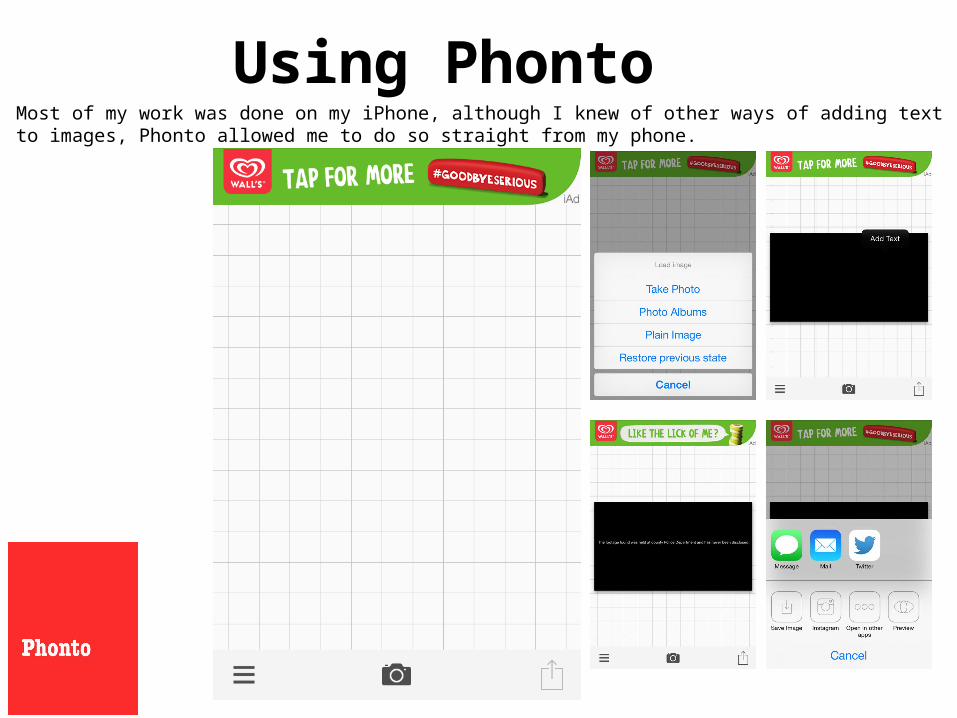
Using Phonto Most of my work was done on my iPhone, although I knew of other ways of adding text to images, Phonto allowed me to do so straight from my phone.
Using Phonto
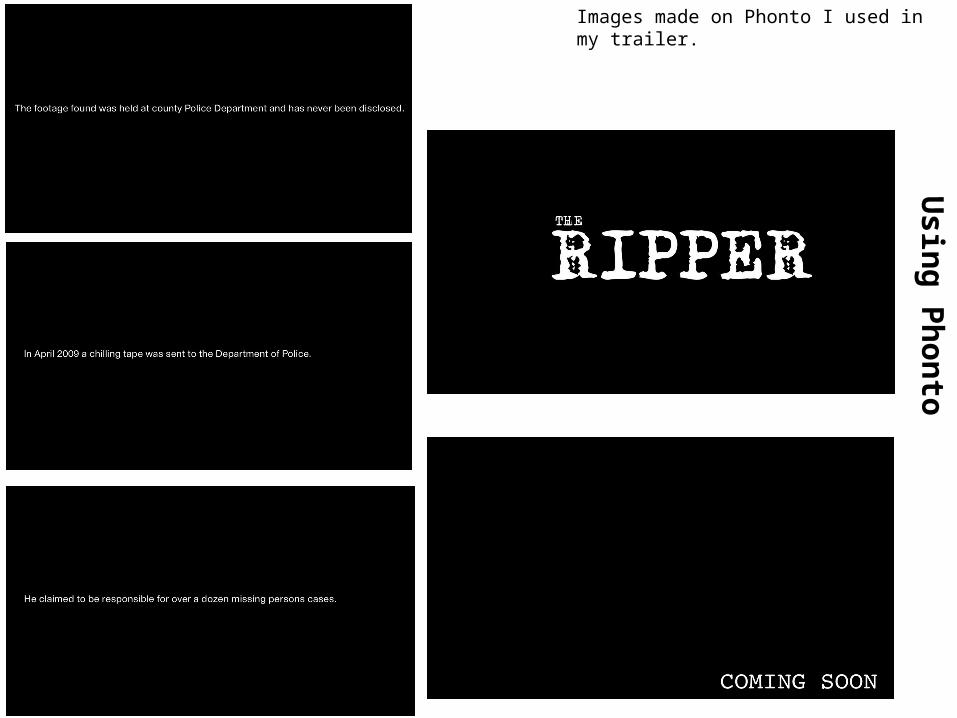
Images made on Phonto I used in my trailer.
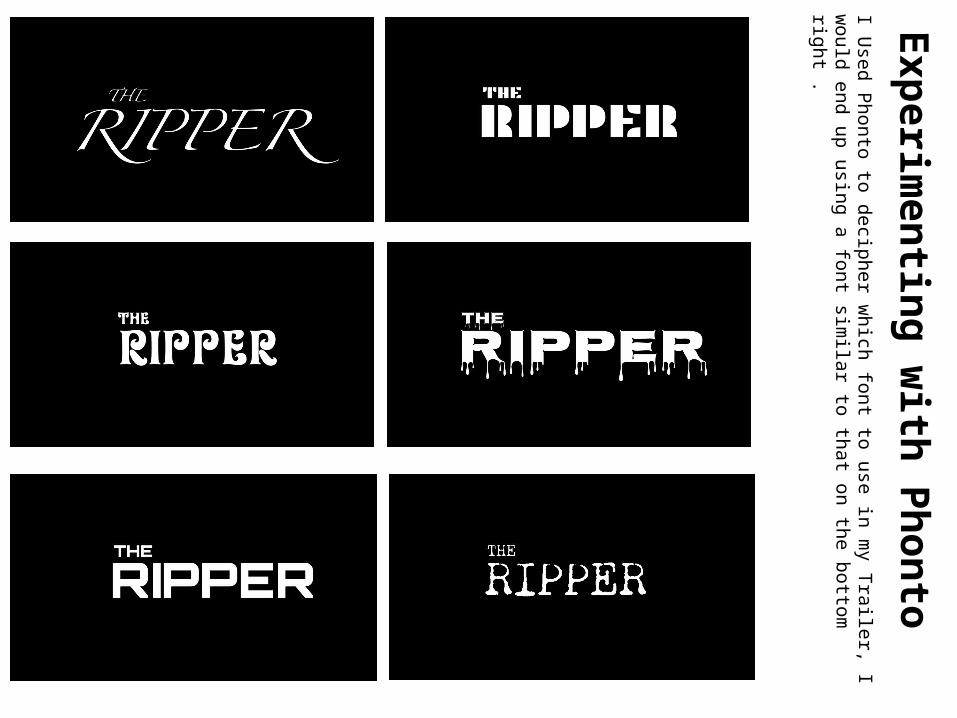
Experimenting w
ith Phonto I U
sed Phonto to decipher which font to use in m
y Trailer, I would end up using a font
similar to that on the bottom
right .
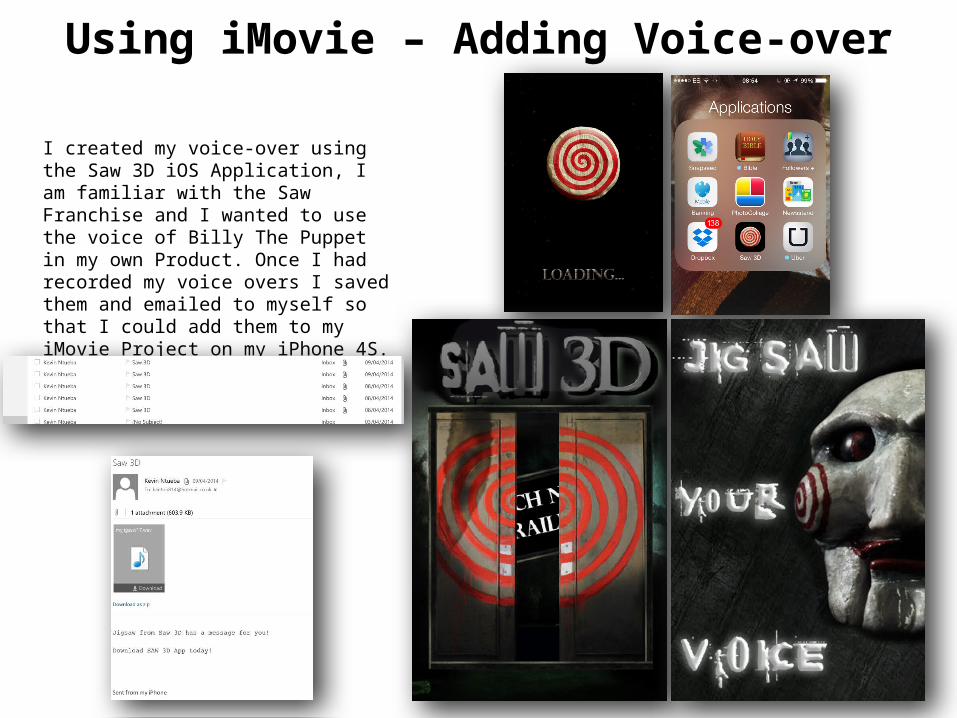
Using iMovie – Adding Voice-over
I created my voice-over using the Saw 3D iOS Application, I am familiar with the Saw Franchise and I wanted to use the voice of Billy The Puppet in my own Product. Once I had recorded my voice overs I saved them and emailed to myself so that I could add them to my iMovie Project on my iPhone 4S.
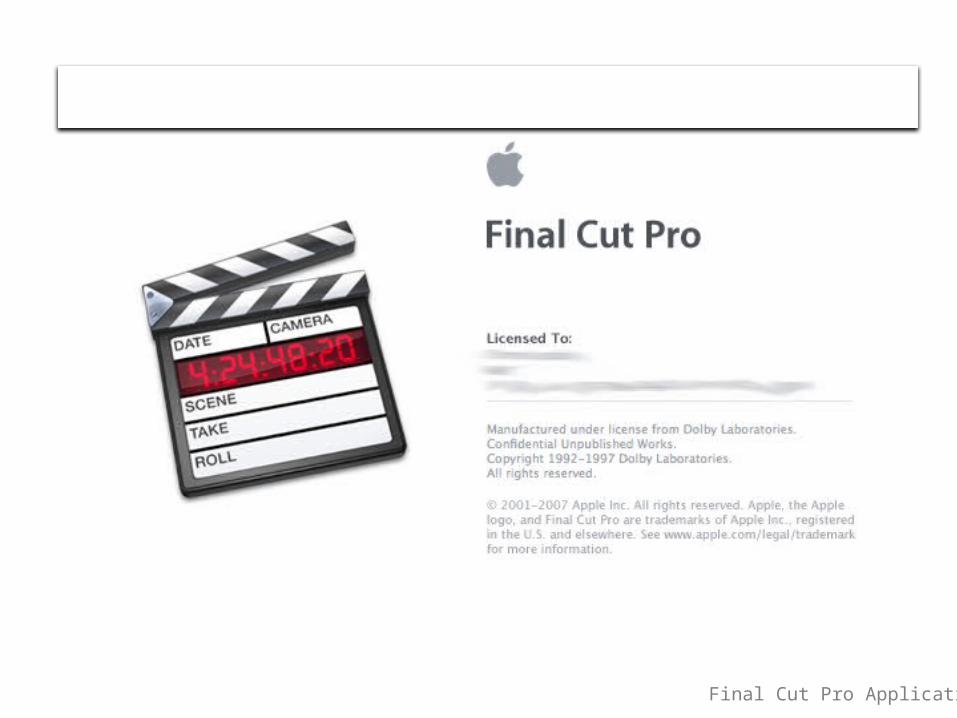
Final Cut Pro Application

Using Final Cut ProI used Final Cut pro to finalize my trailer fixing up the minor detailed changes, I also used the Bad TV and Bad Film effect to make it seem like my video was being taped on a bad camera (old one),
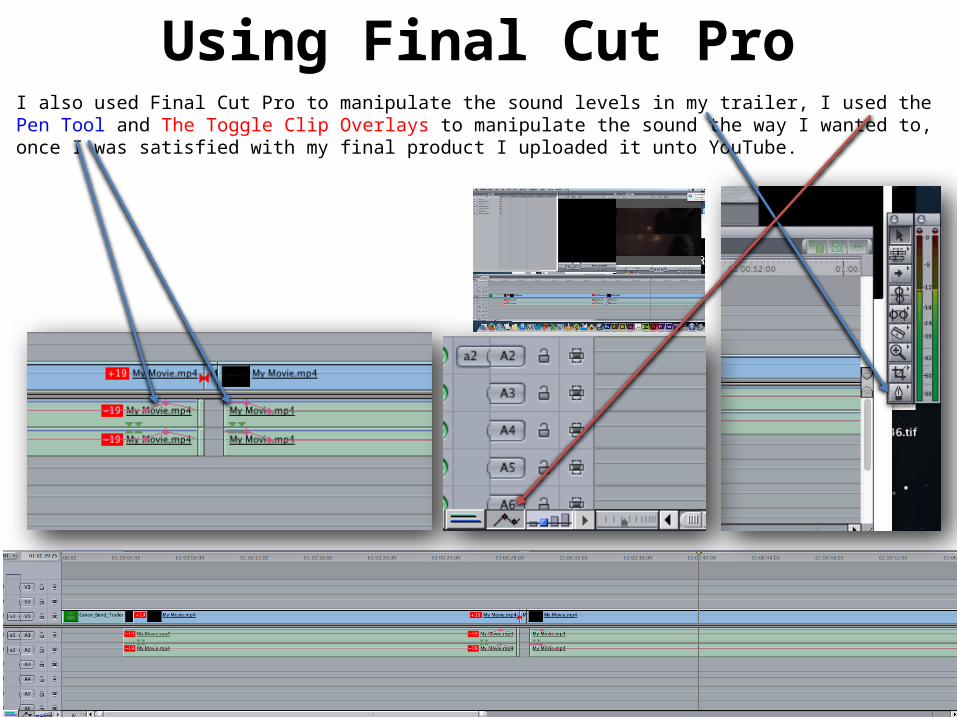
Using Final Cut ProI also used Final Cut Pro to manipulate the sound levels in my trailer, I used the Pen Tool and The Toggle Clip Overlays to manipulate the sound the way I wanted to, once I was satisfied with my final product I uploaded it unto YouTube.

YouTube Application
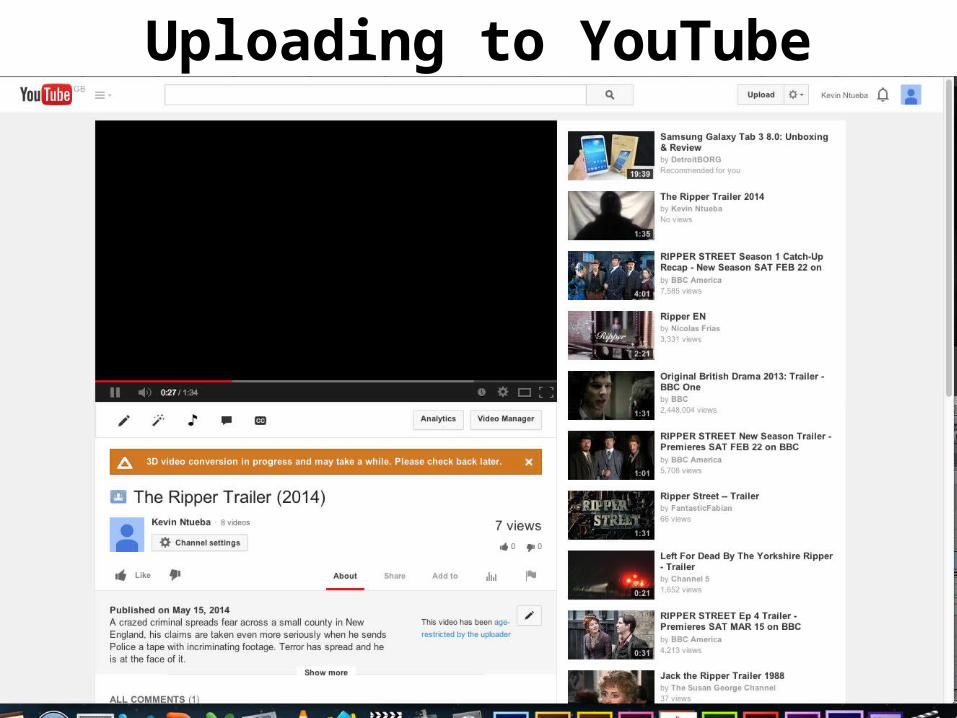
Uploading to YouTube
Uploading to YouTube
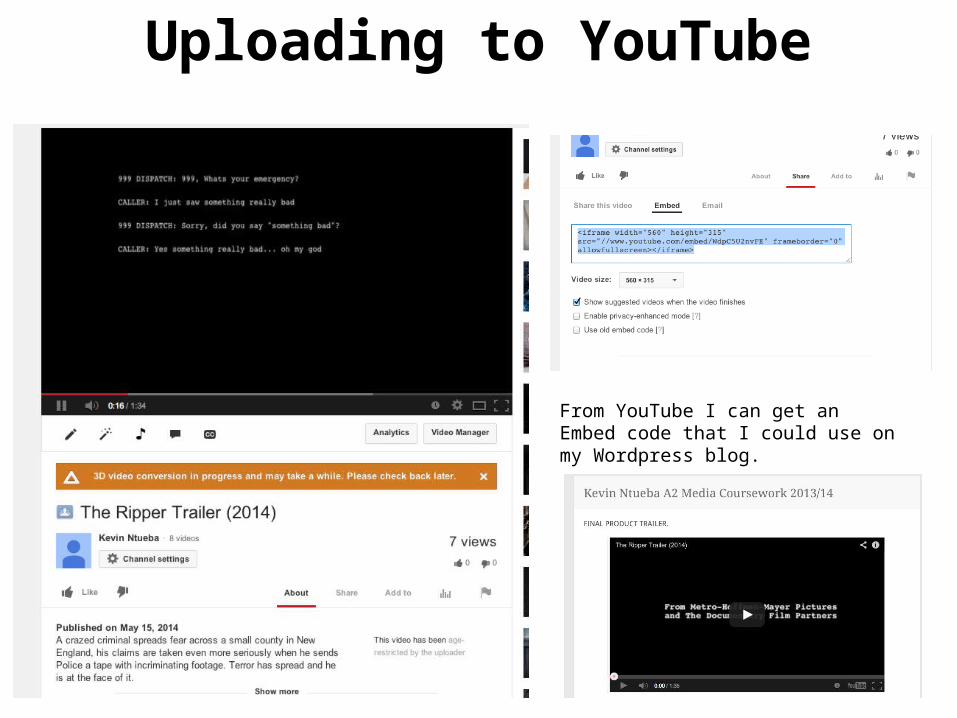
From YouTube I can get an Embed code that I could use on my Wordpress blog.