Coil Basketry
47
Coil Basketr y
-
Upload
yetta-terrell -
Category
Documents
-
view
64 -
download
4
description
Coil Basketry. Materials used by California Indians for basket weaving. Starting the basket is the hardest part!. Once the basket is started, the weaver continues to wrap and stitch each “row” to the previous row. Coiled basket from California. Made with native grasses. - PowerPoint PPT Presentation
Transcript of Coil Basketry
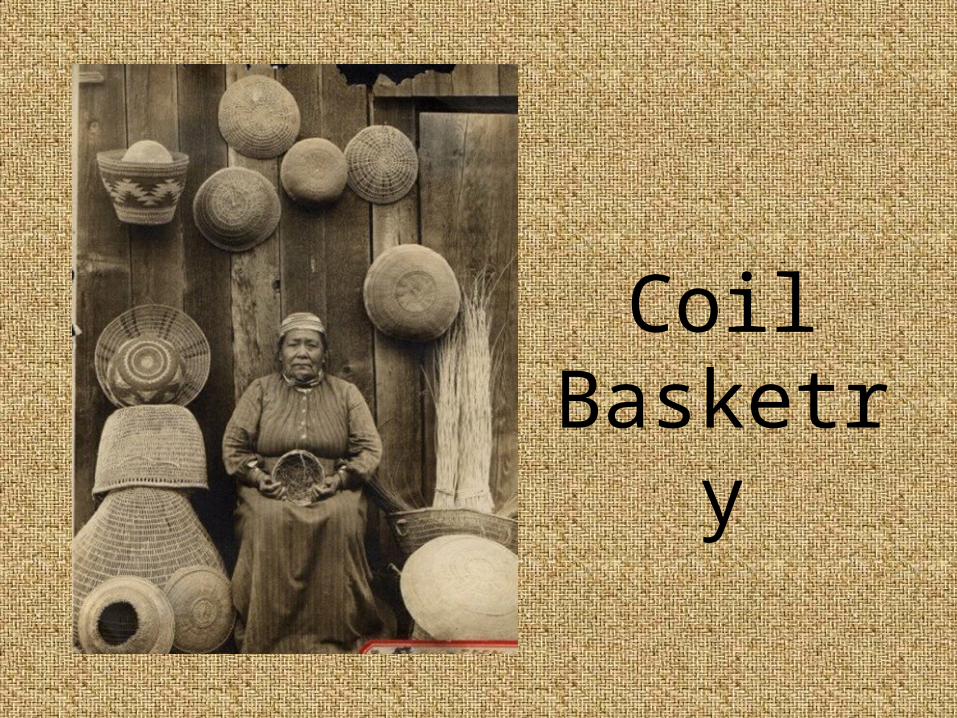
Coil Basketry
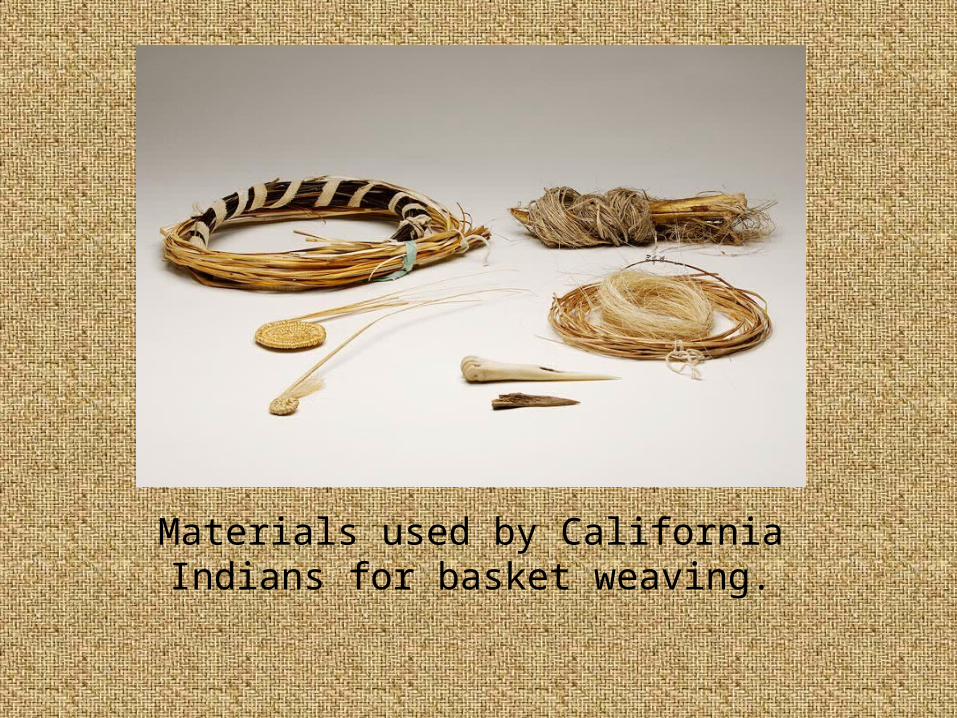
Materials used by California Indians for basket weaving.
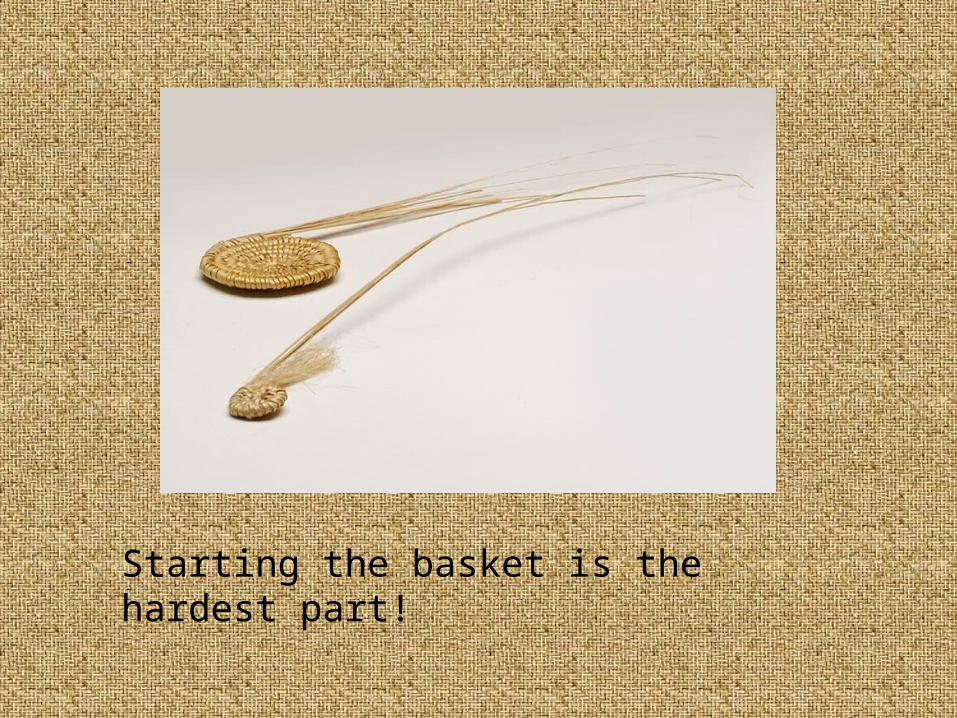
Starting the basket is the hardest part!
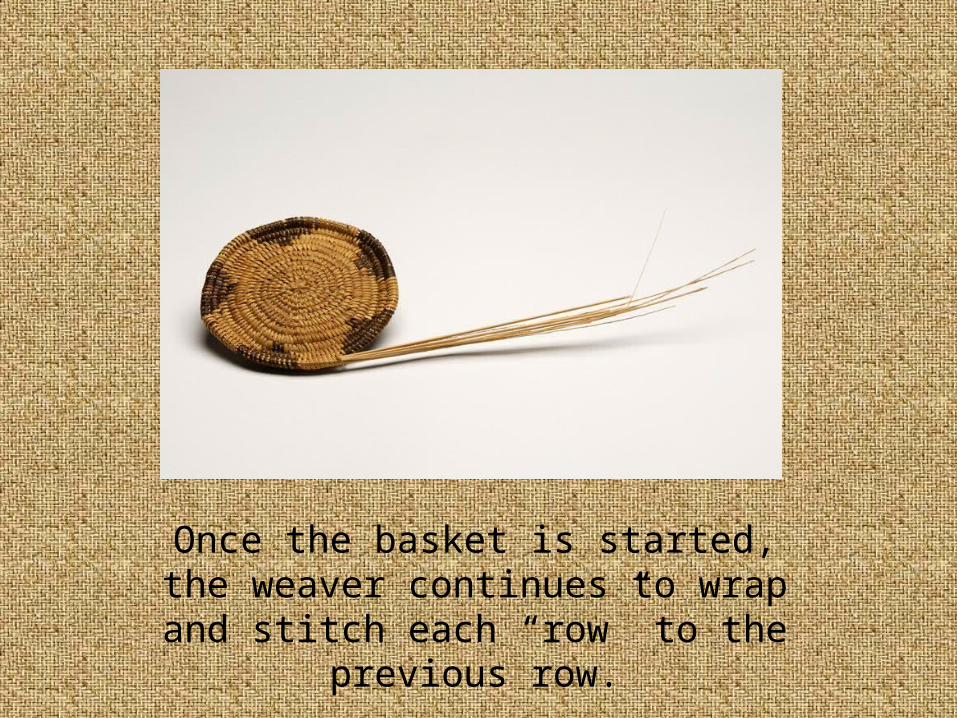
Once the basket is started, the weaver continues to wrap and
stitch each “row” to the previous row.
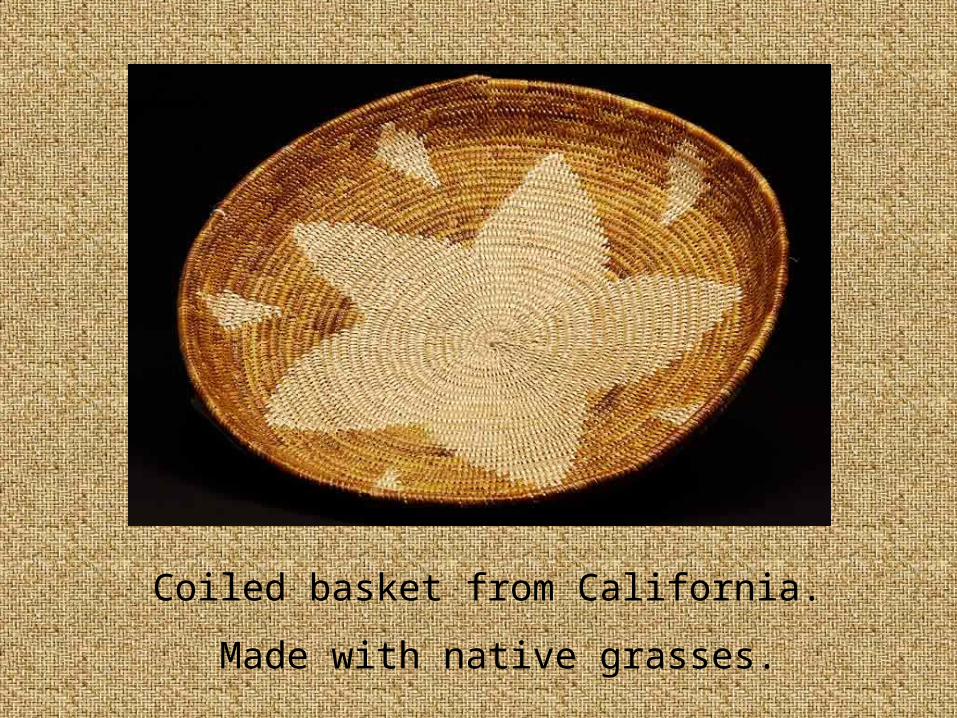
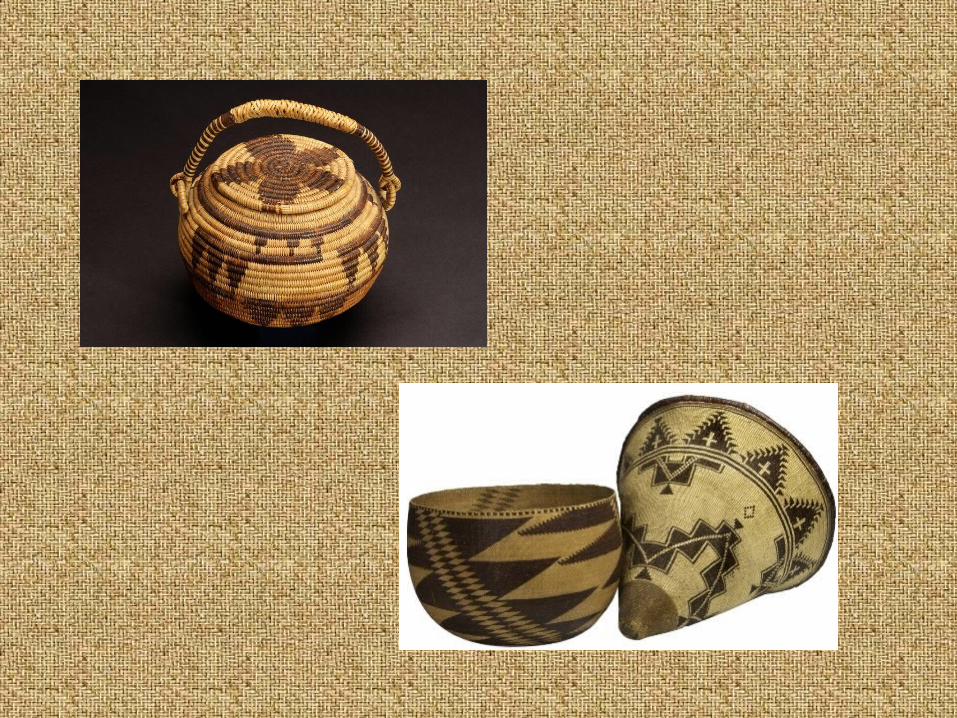
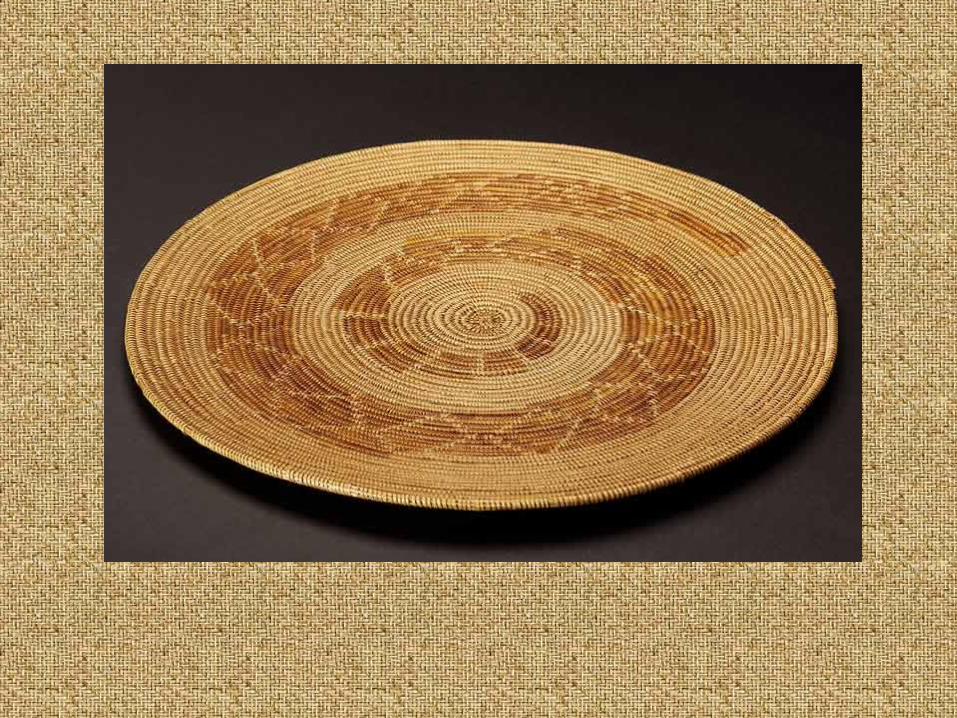
Coiled basket from California.
Made with native grasses.
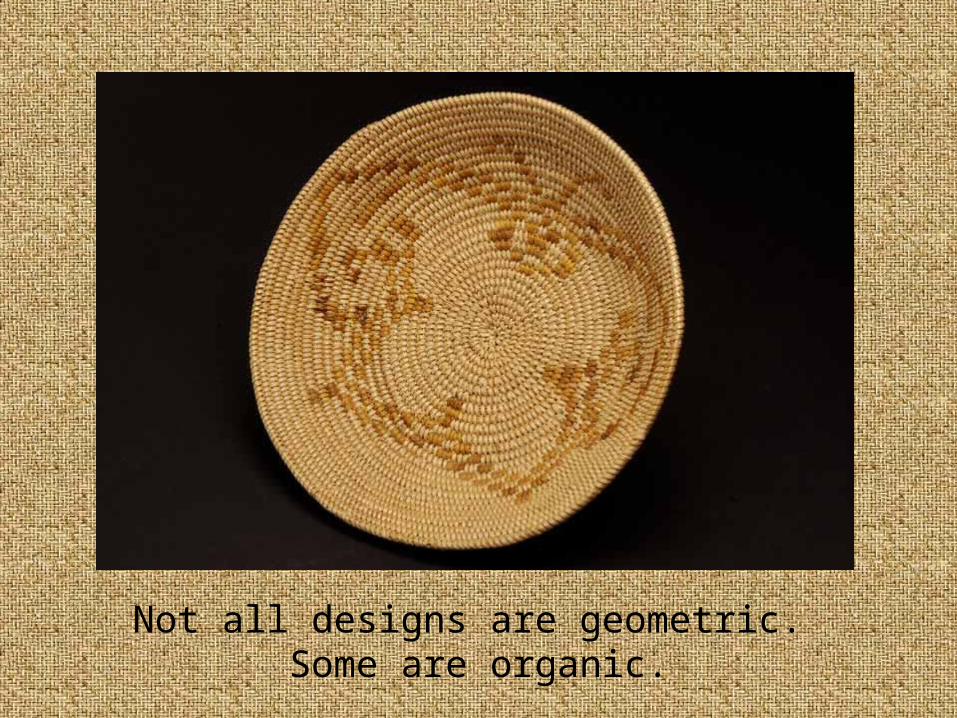
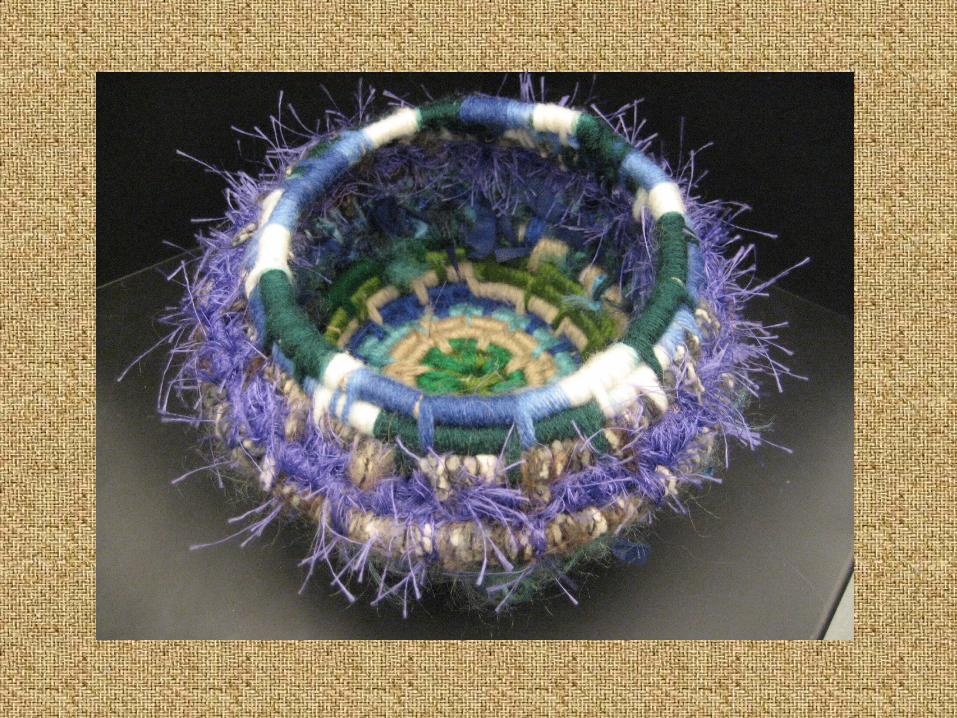
Not all designs are geometric. Some are organic.
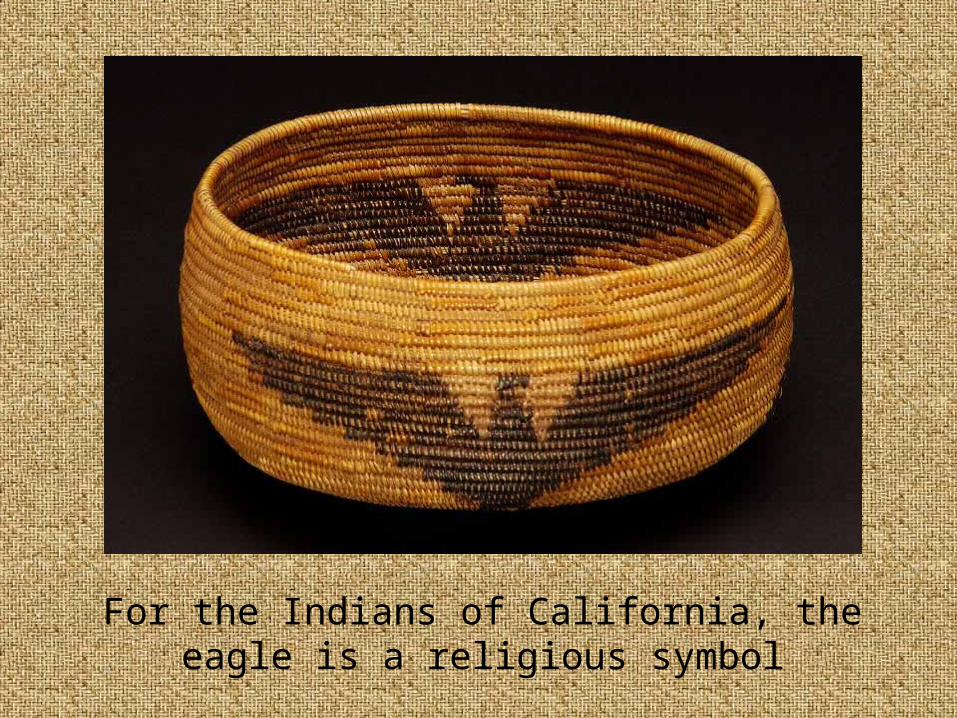
For the Indians of California, the eagle is a religious symbol
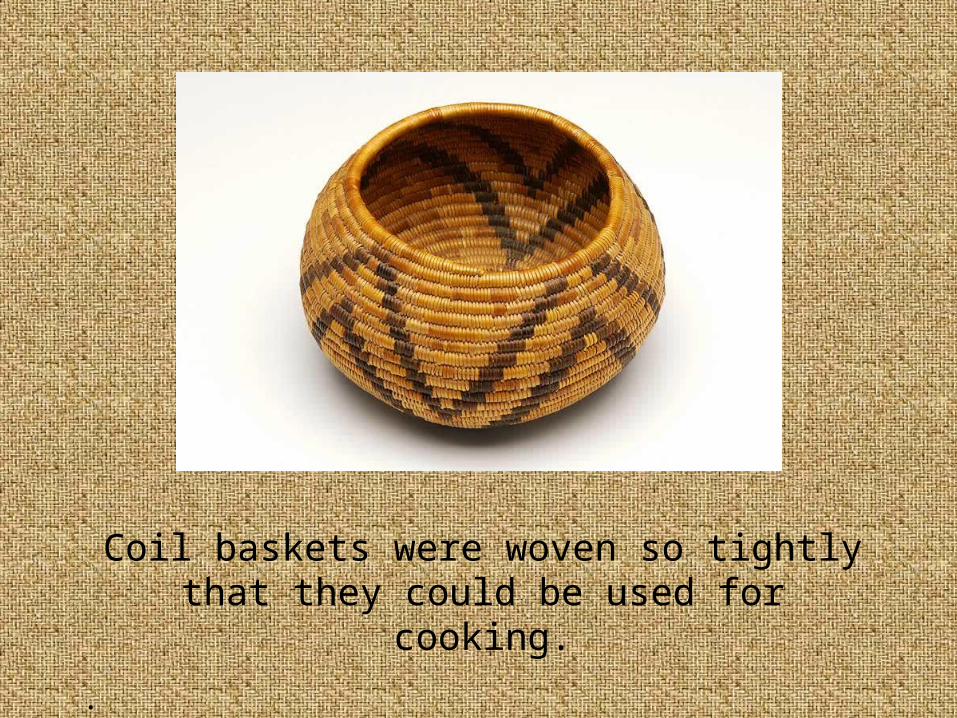
Coil baskets were woven so tightly that they could be used for cooking.
.
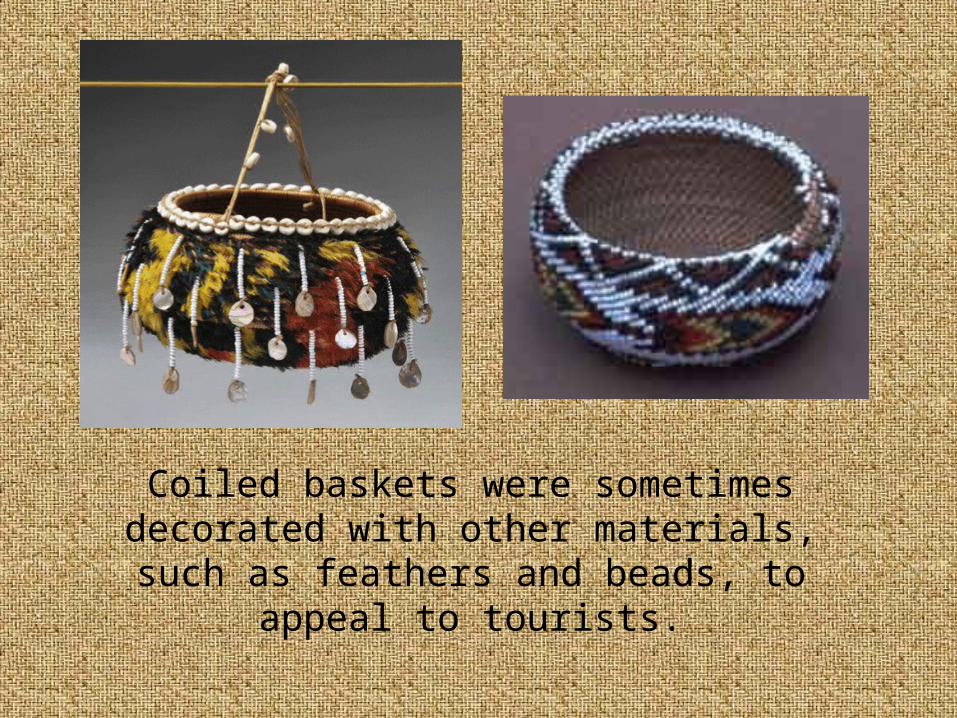
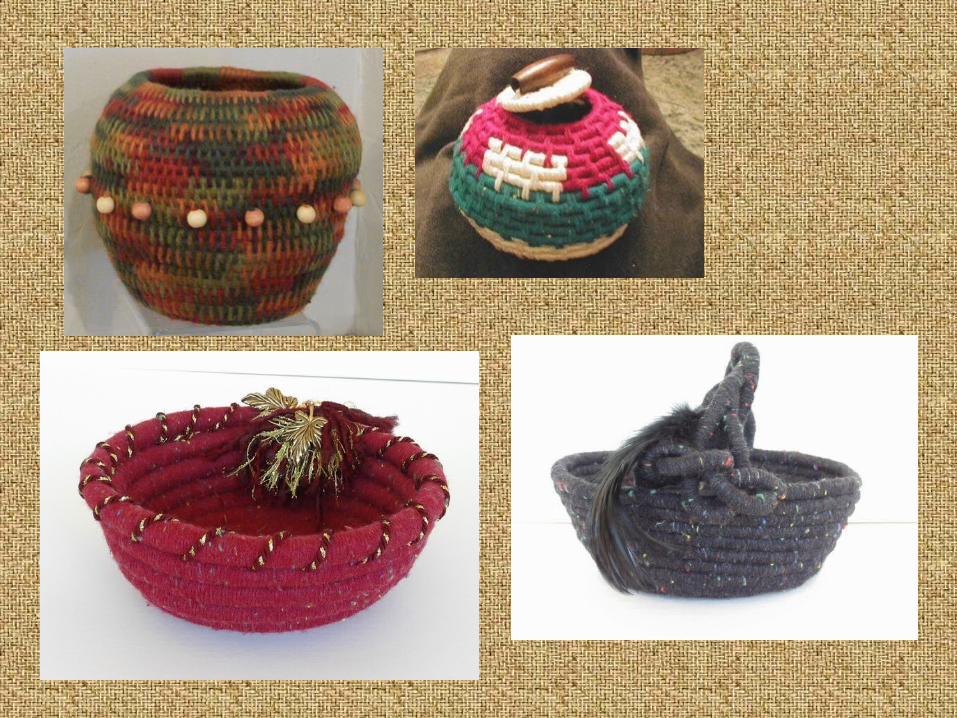
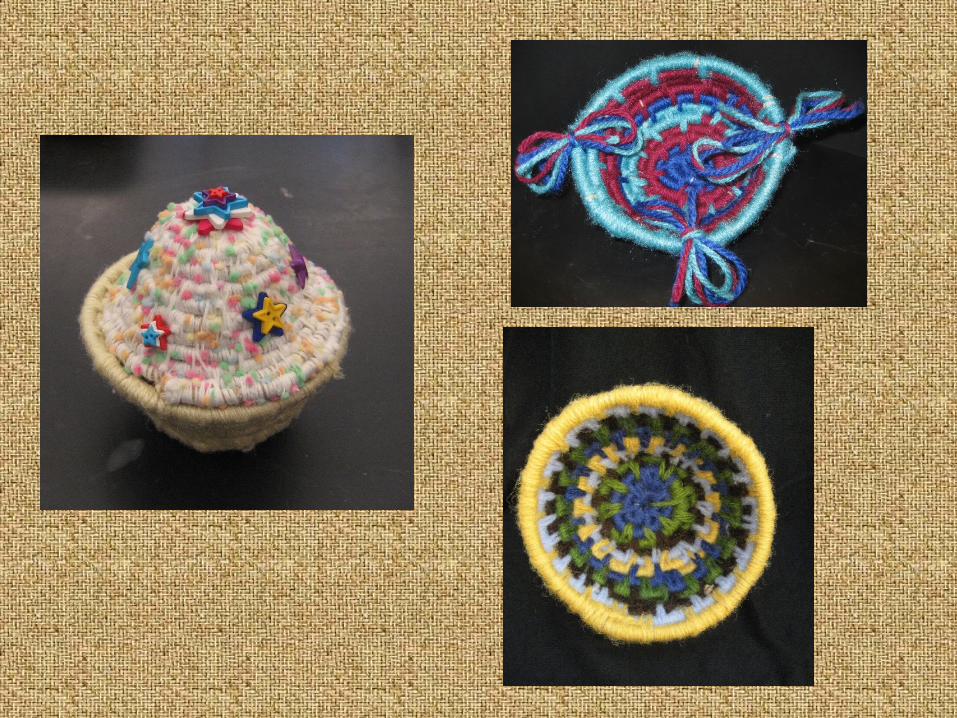
Coiled baskets were sometimes decorated with other materials, such as
feathers and beads, to appeal to tourists.
Making a coil basket
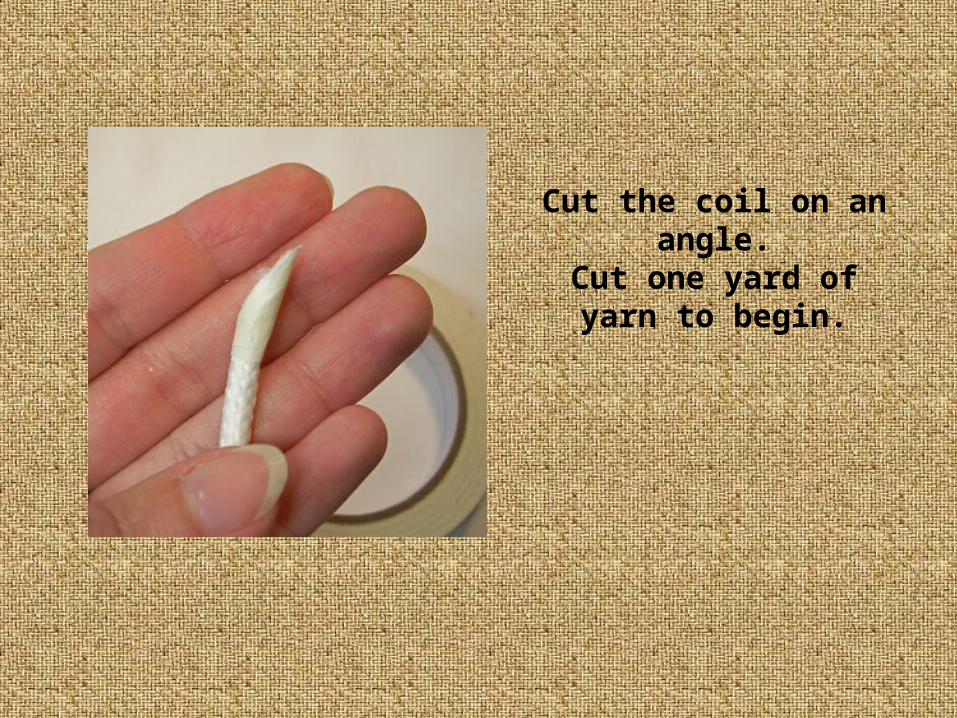
Cut the coil on an angle.Cut one yard of yarn to
begin.
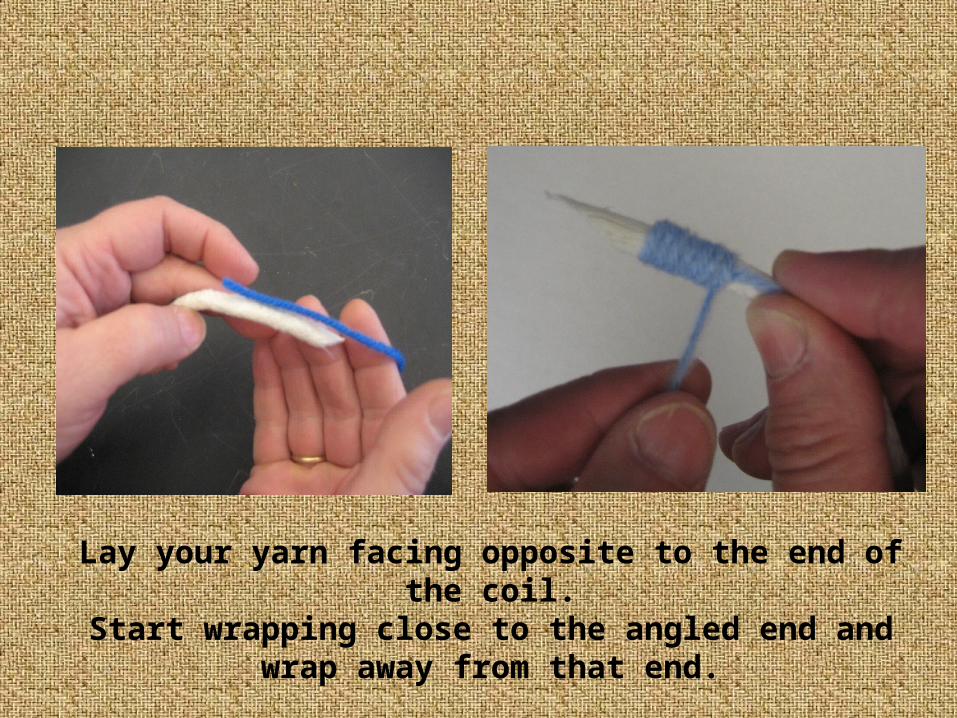
Lay your yarn facing opposite to the end of the coil.Start wrapping close to the angled end and wrap away
from that end.
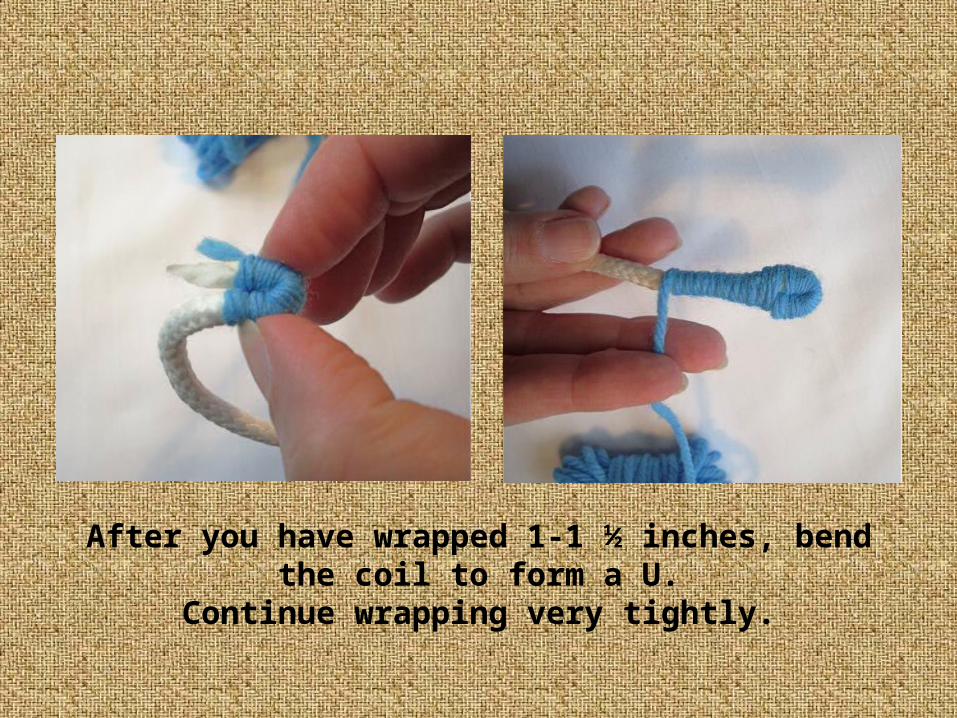
After you have wrapped 1-1 ½ inches, bend the coil to form a U.
Continue wrapping very tightly.
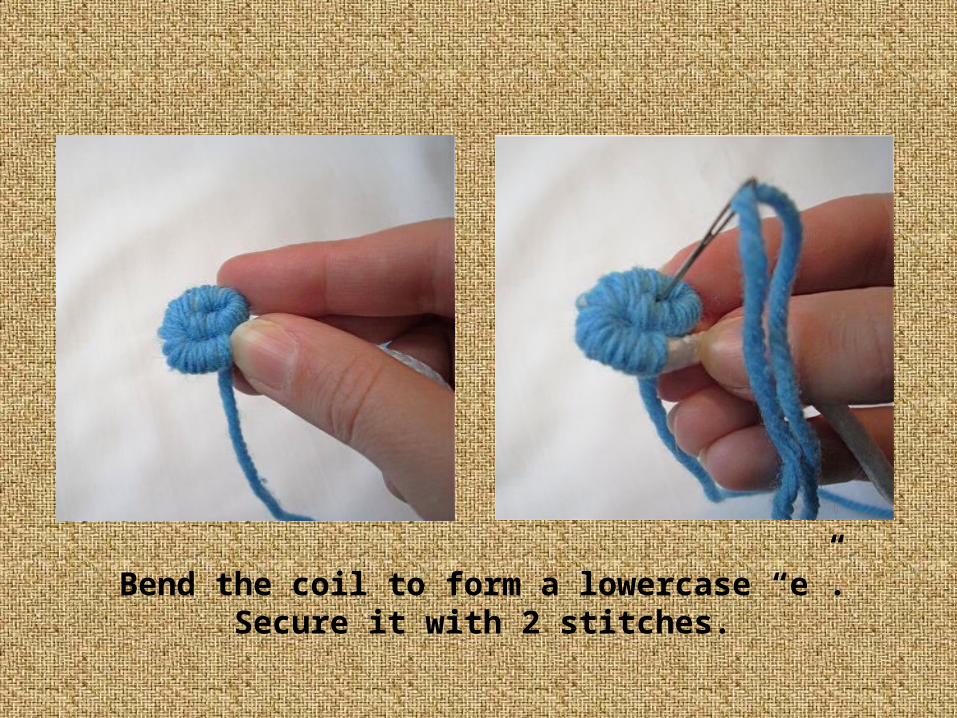
Bend the coil to form a lowercase “e”.Secure it with 2 stitches.
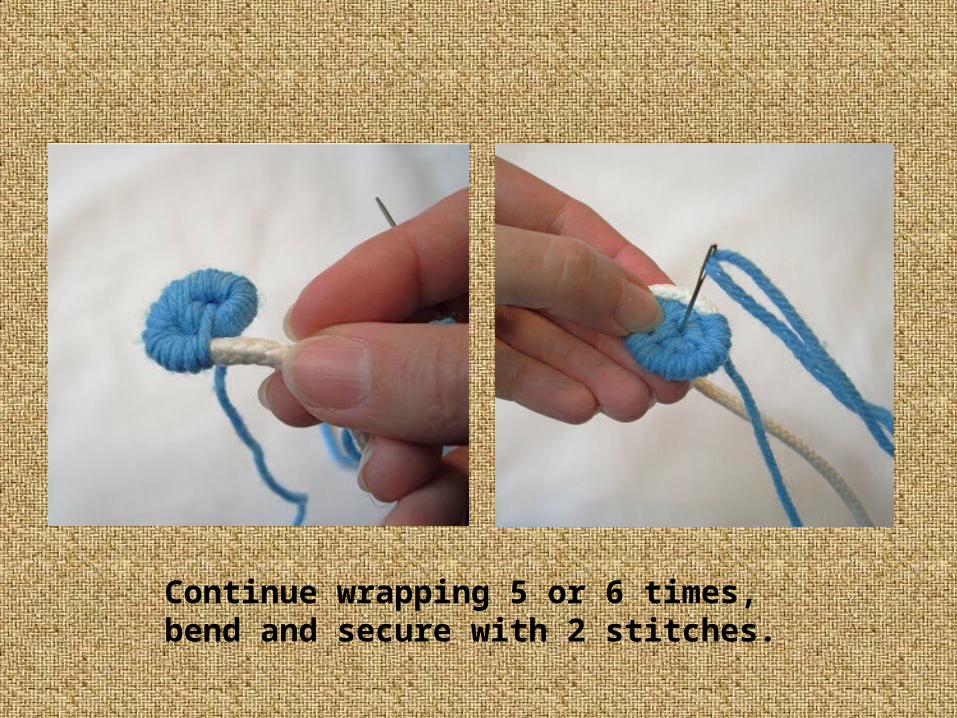
Continue wrapping 5 or 6 times, bend and secure with 2 stitches.
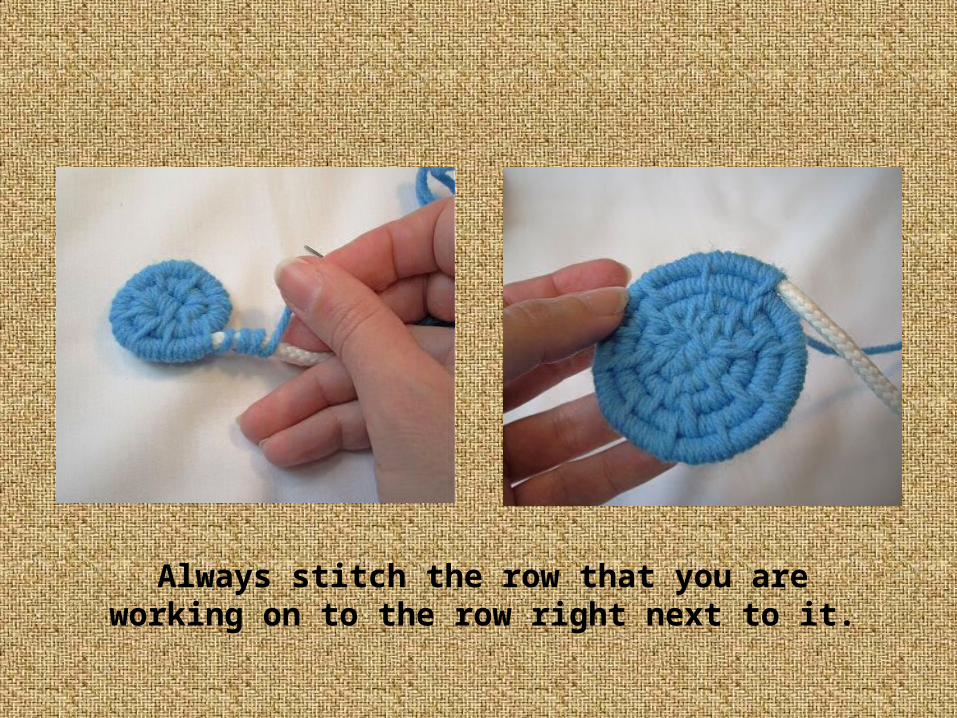
Always stitch the row that you are working on to the row right next to it.
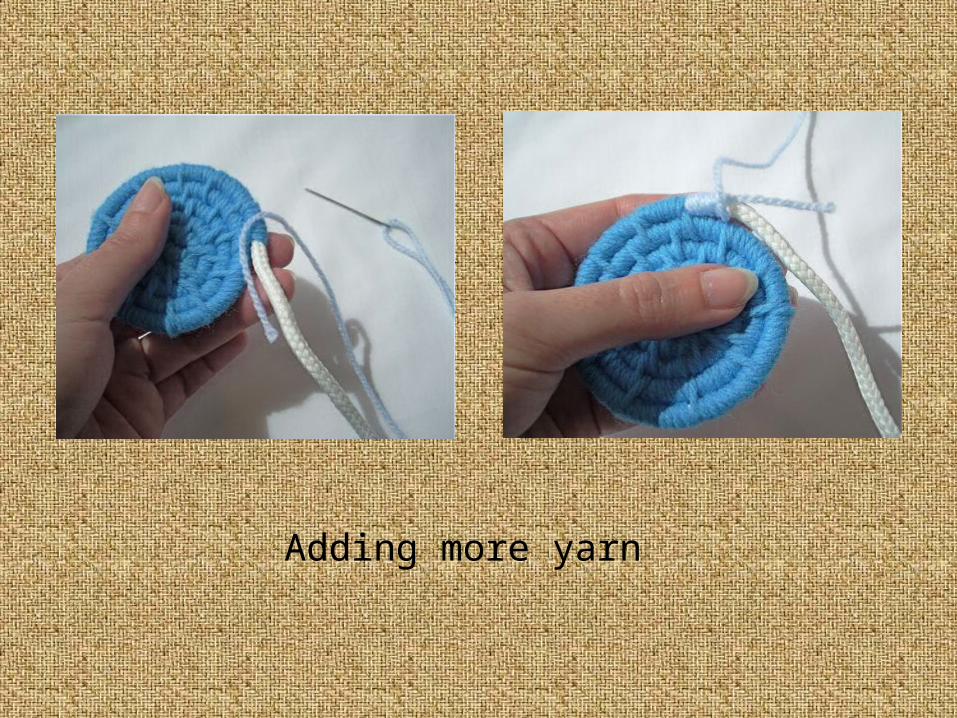
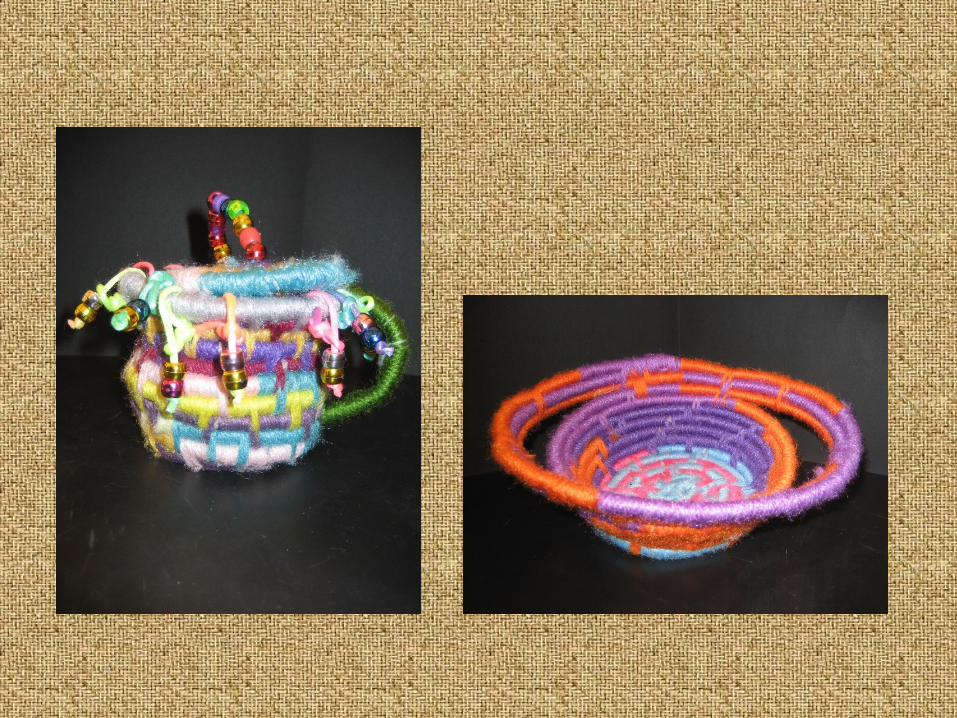
Adding more yarn
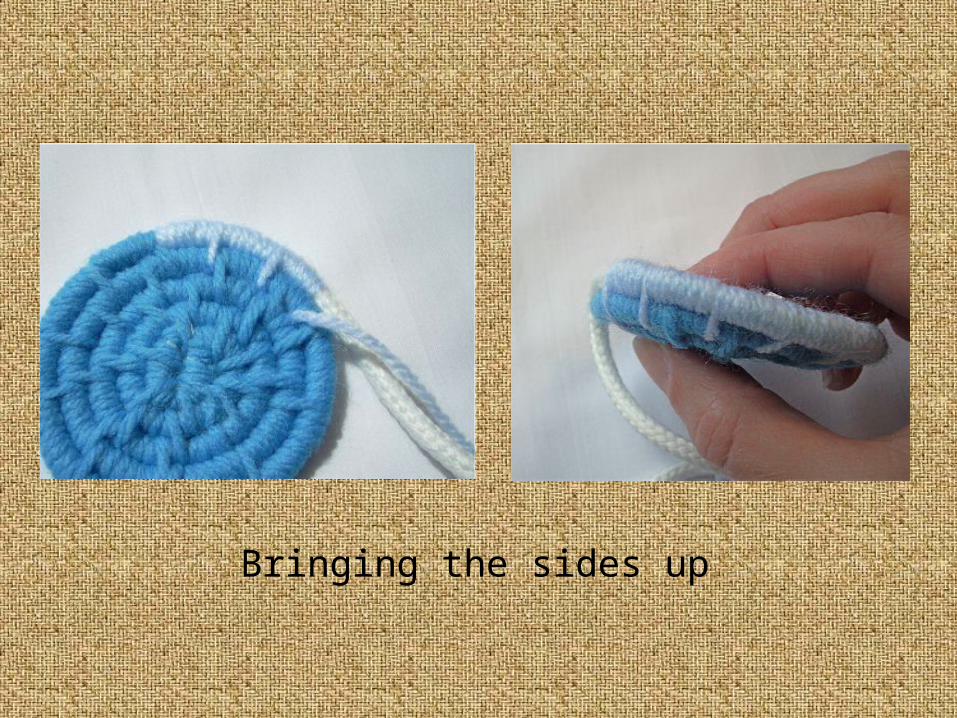
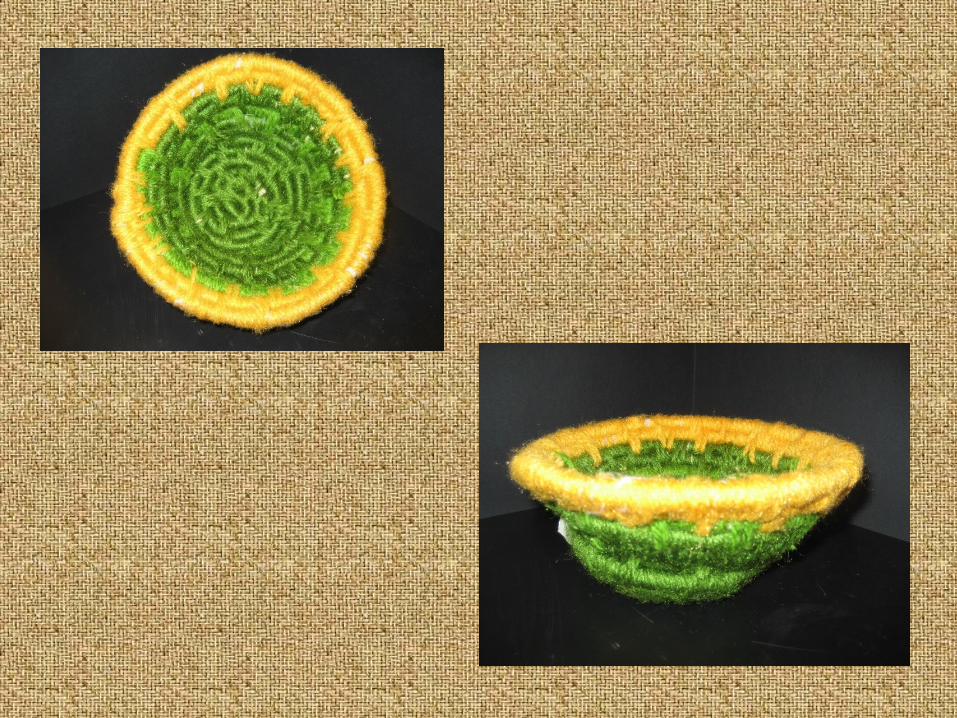
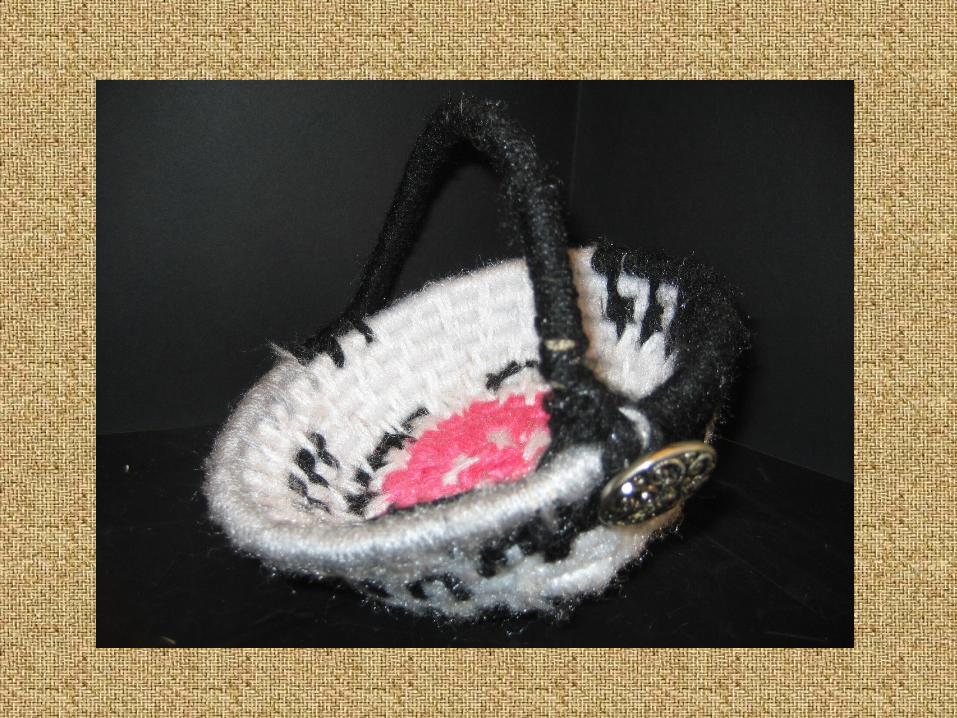
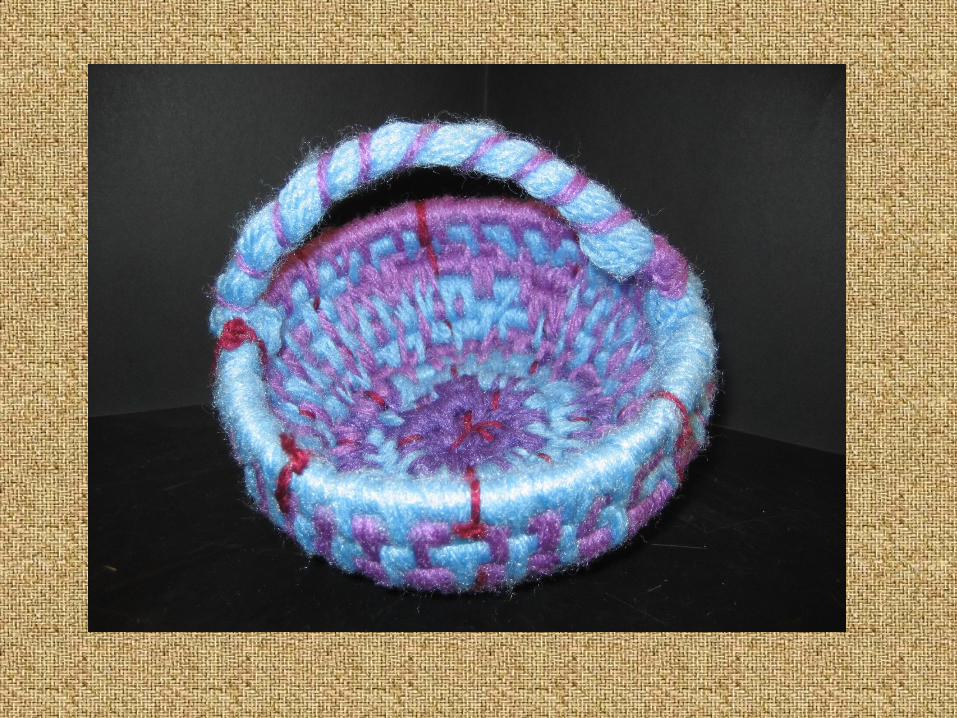
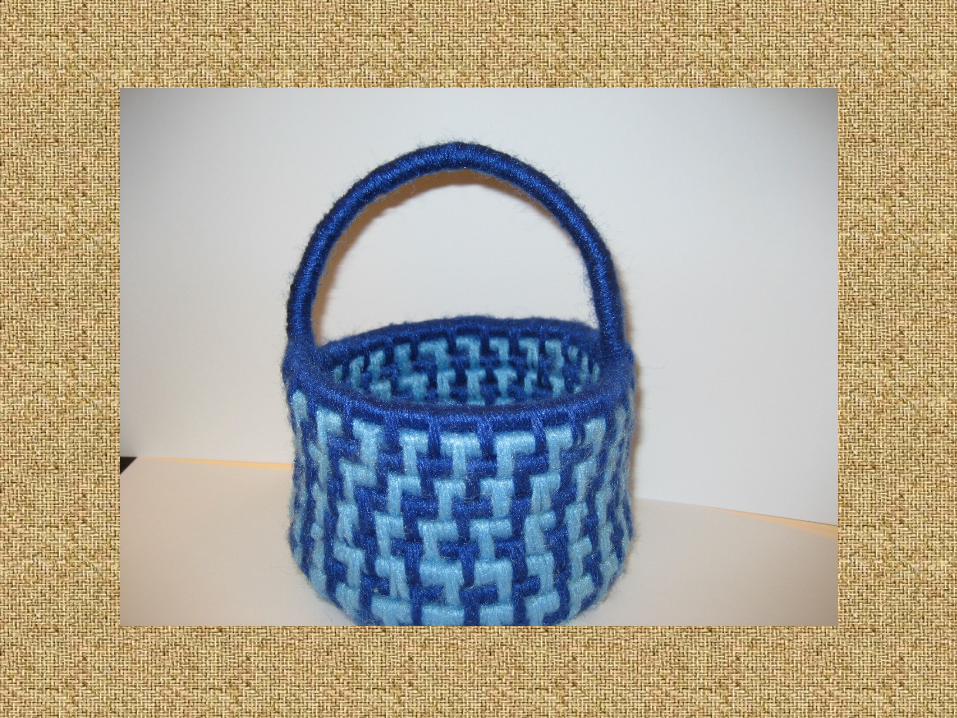
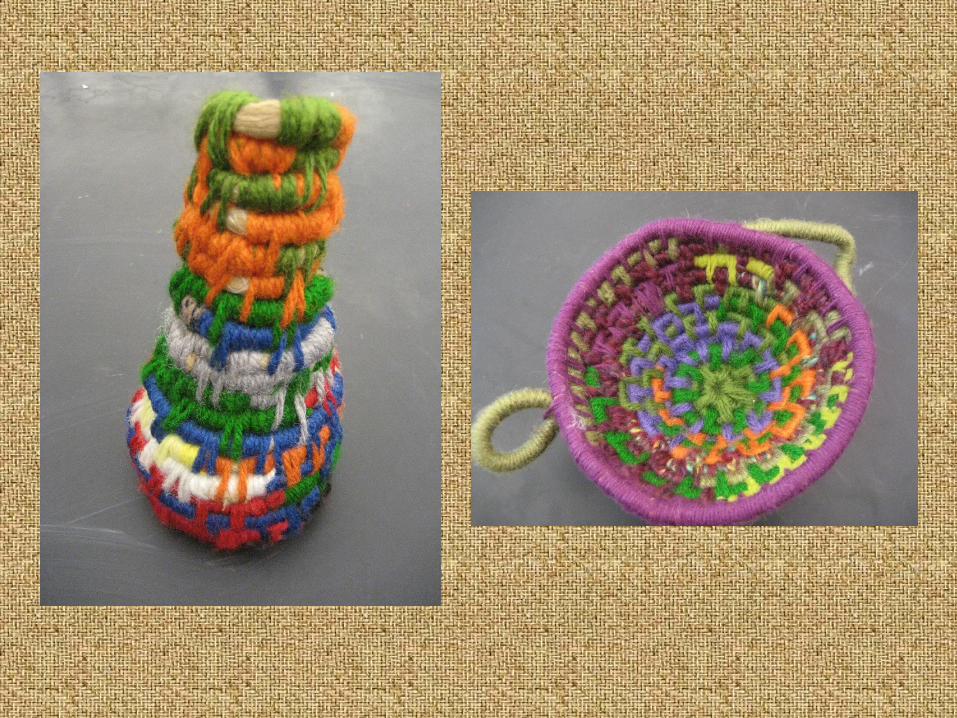
Bringing the sides up
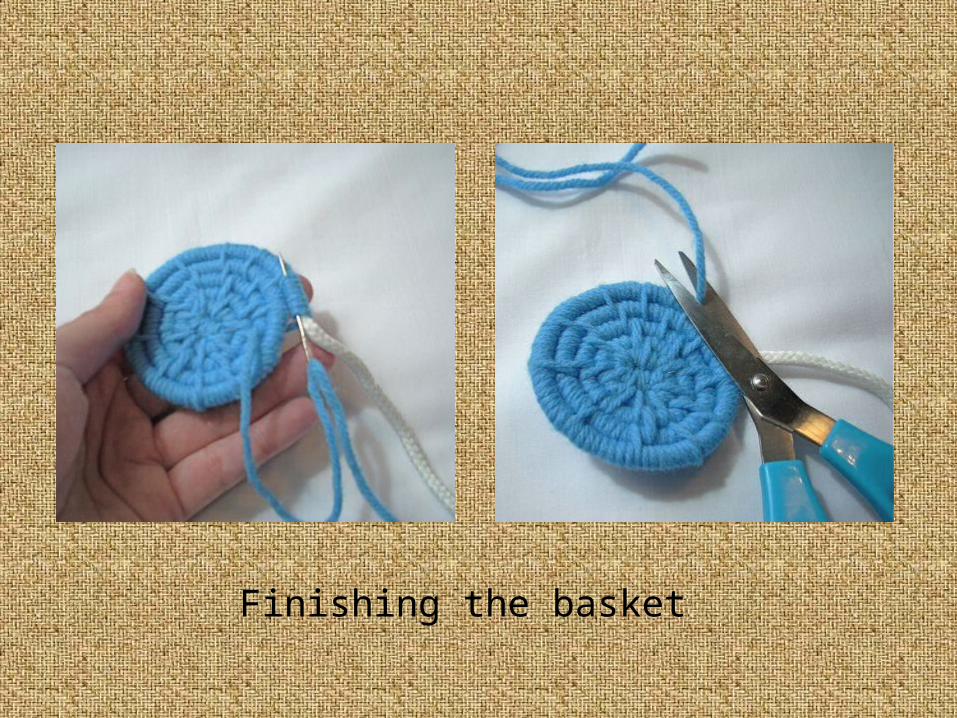
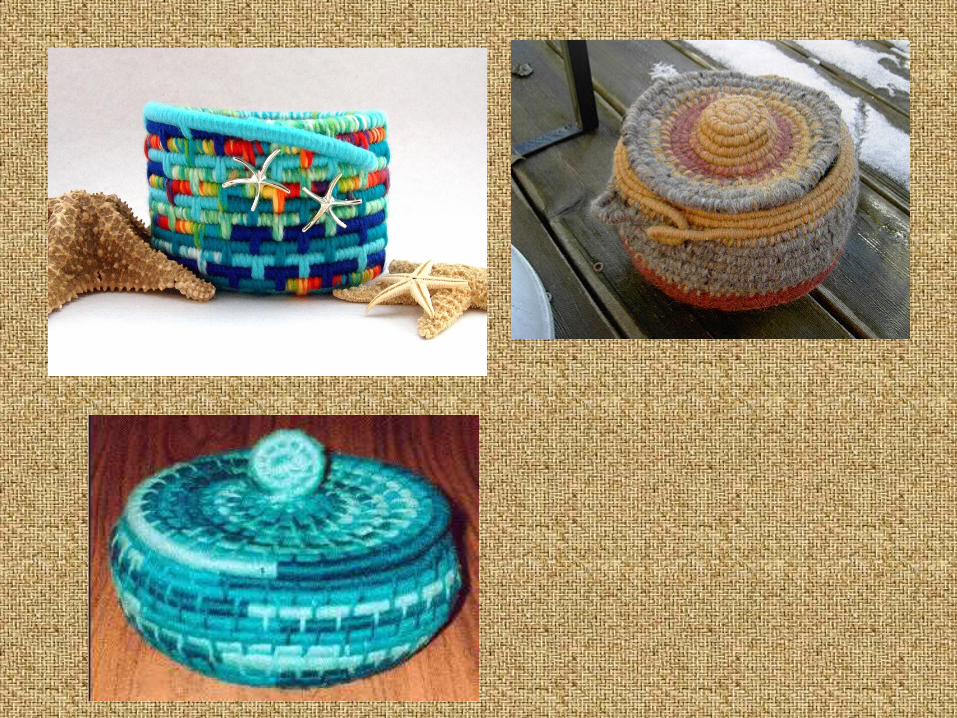
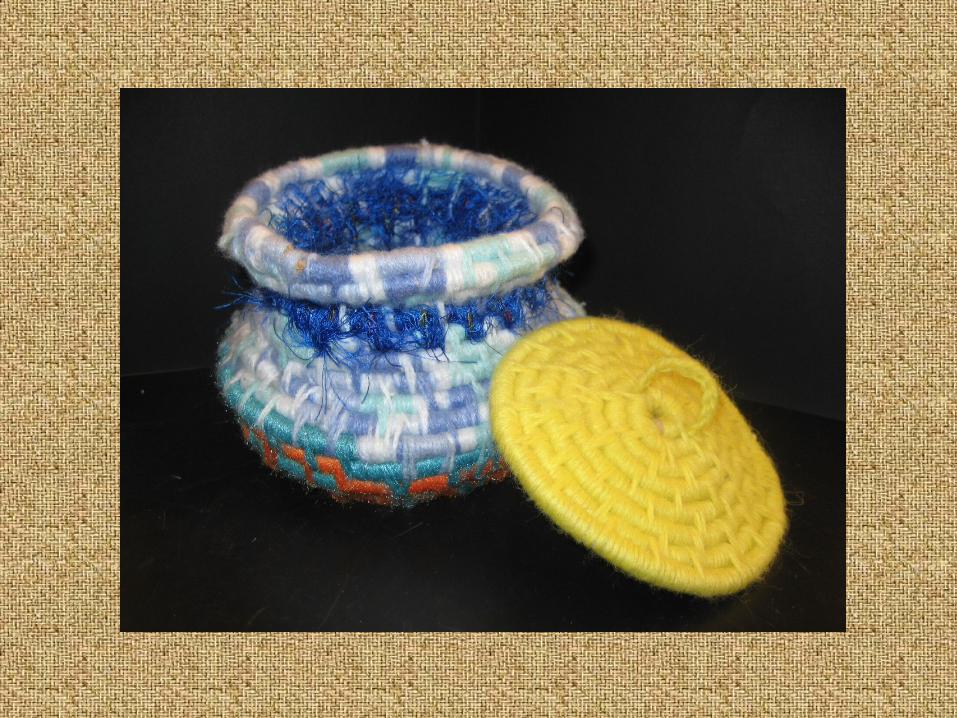
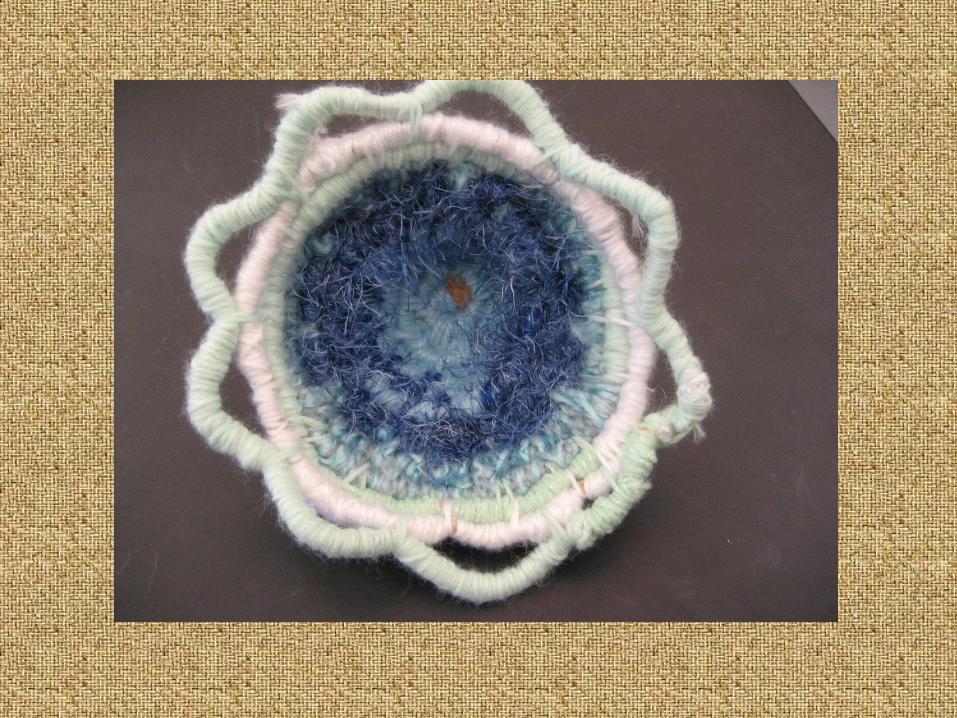
Finishing the basket


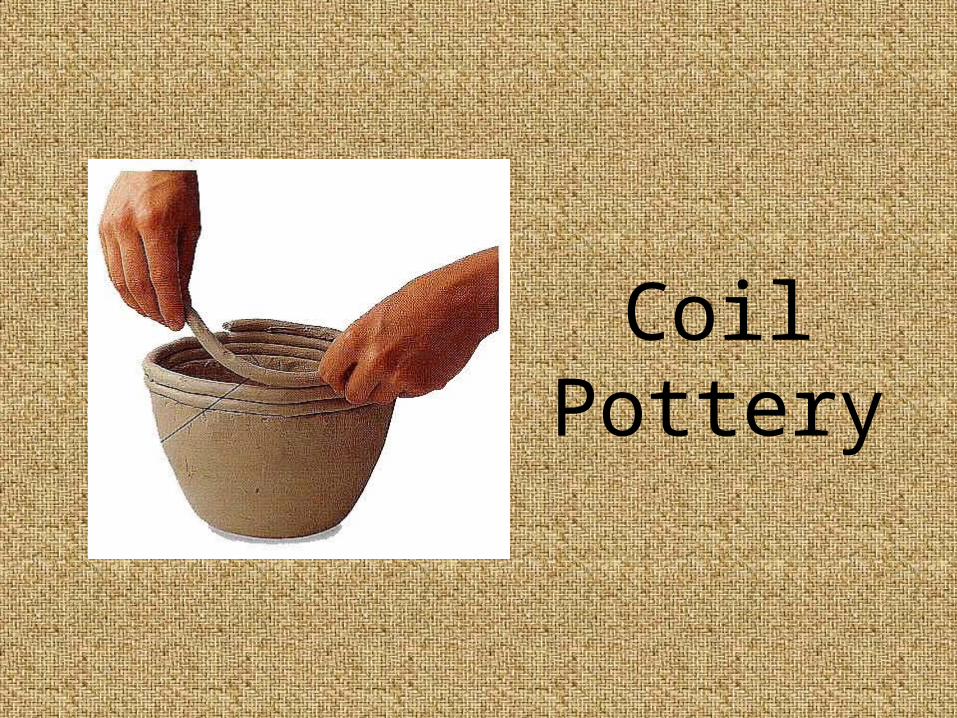
Coil Pottery

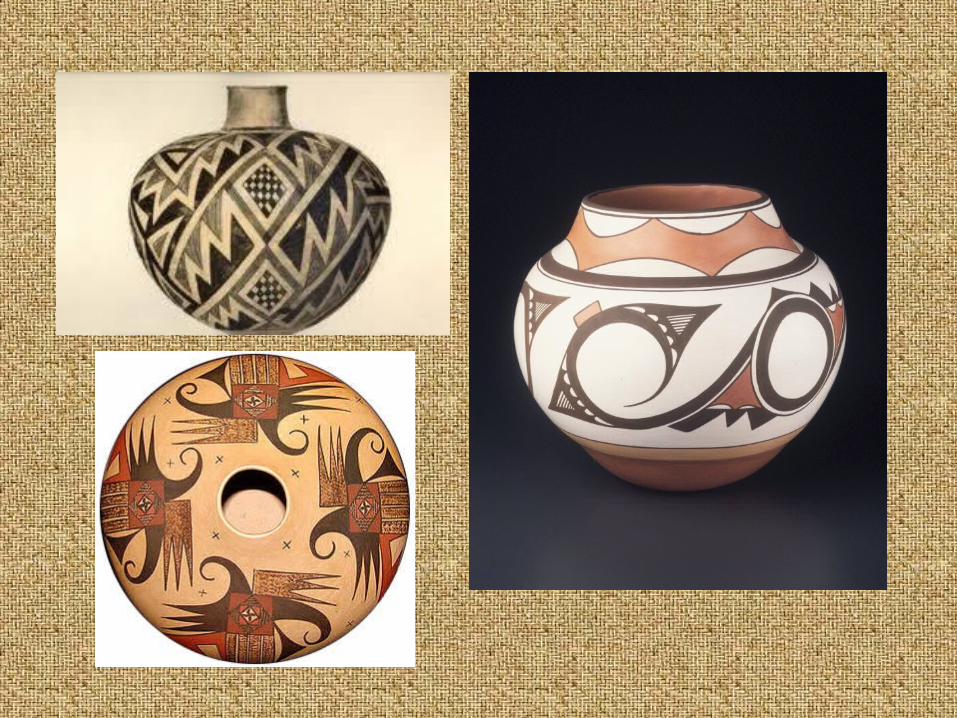
The native peoples of the American Southwest are famed for making beautiful pottery decorated with geometric patterns
and designs of animals and people.
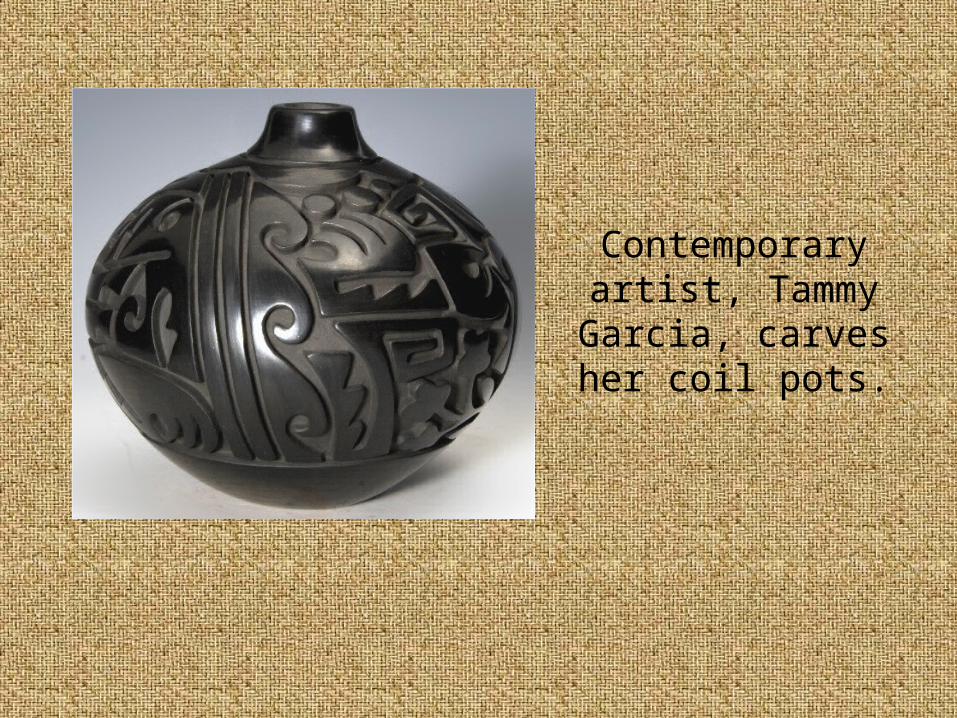
Contemporary artist, Tammy
Garcia, carves her coil pots.

After she builds and smoothes her pottery, she carves traditional designs
into the clay before it is fired.

Making a coil pot
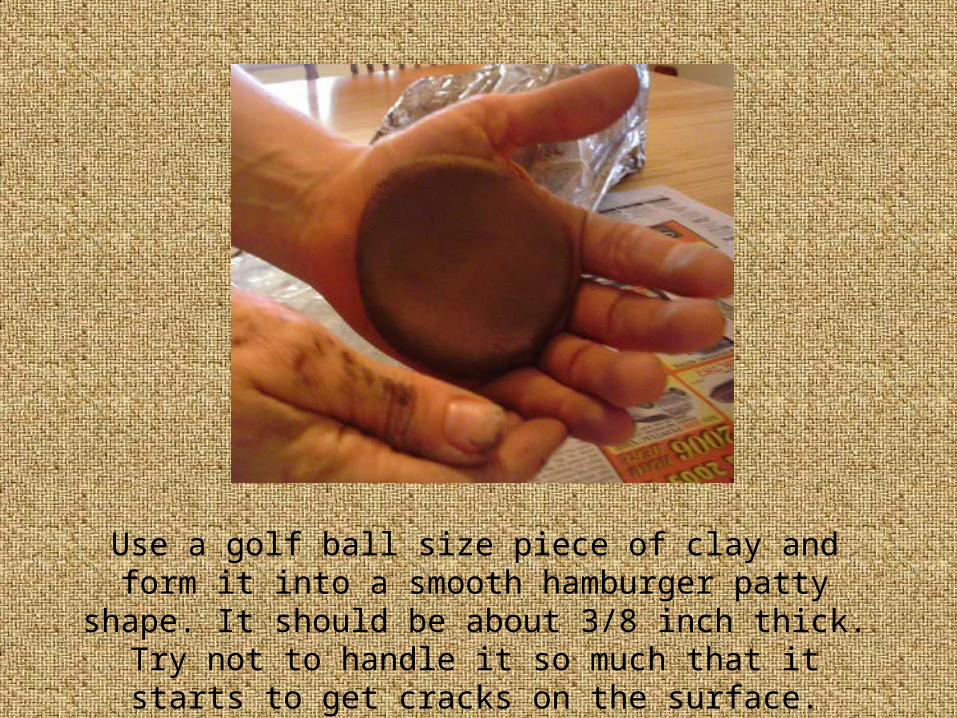
Use a golf ball size piece of clay and form it into a smooth hamburger patty shape. It should be about 3/8 inch thick. Try not to handle it so much that it
starts to get cracks on the surface.
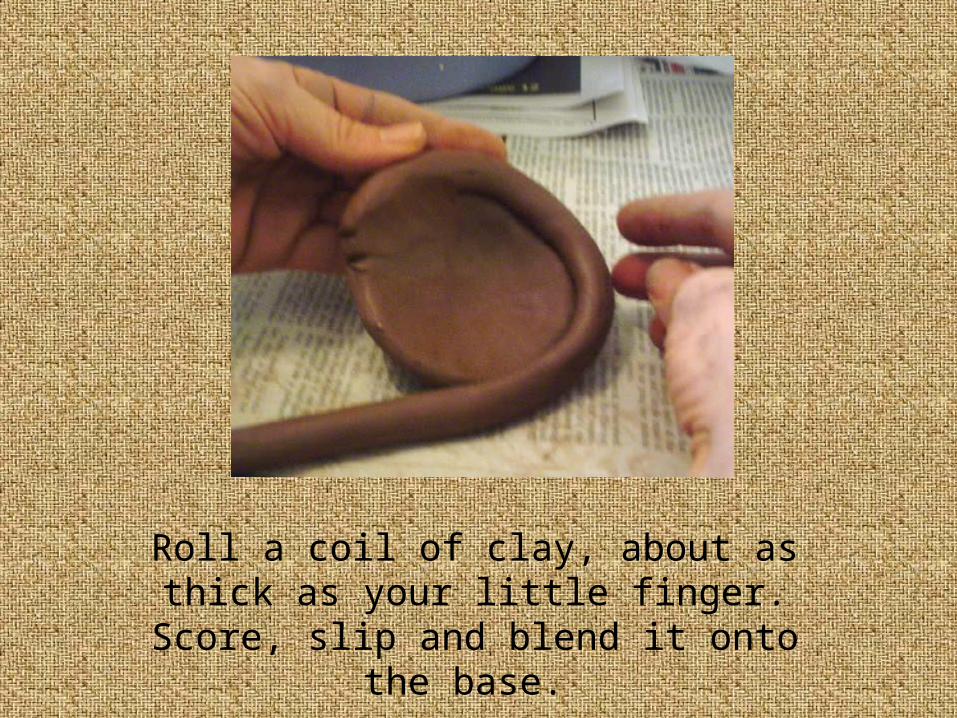
Roll a coil of clay, about as thick as your little finger.
Score, slip and blend it onto the base.
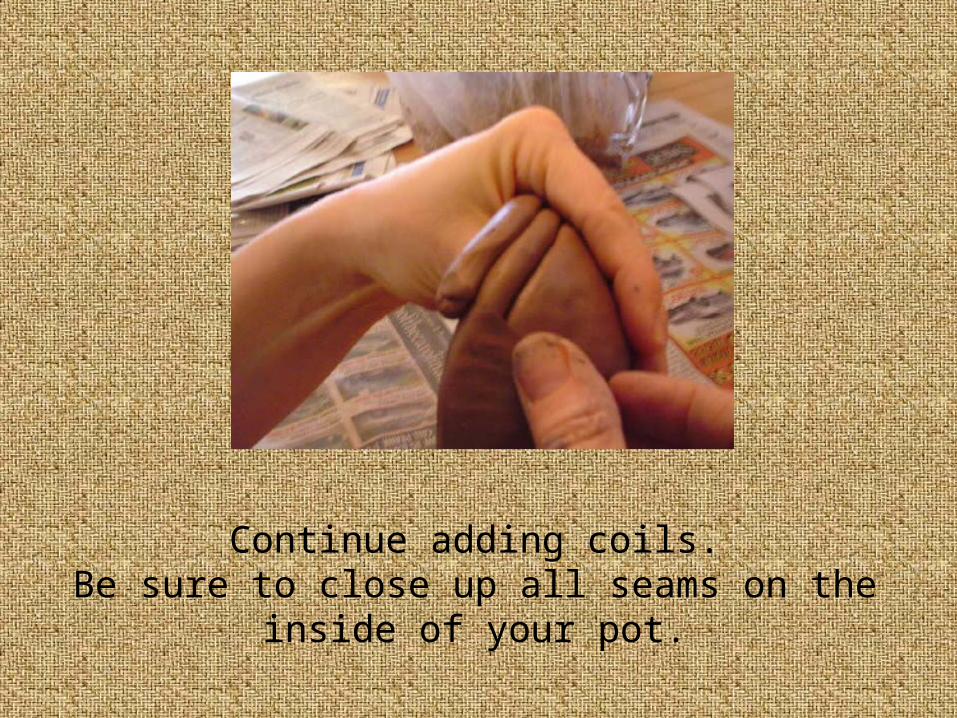
Continue adding coils.Be sure to close up all seams on the inside
of your pot.
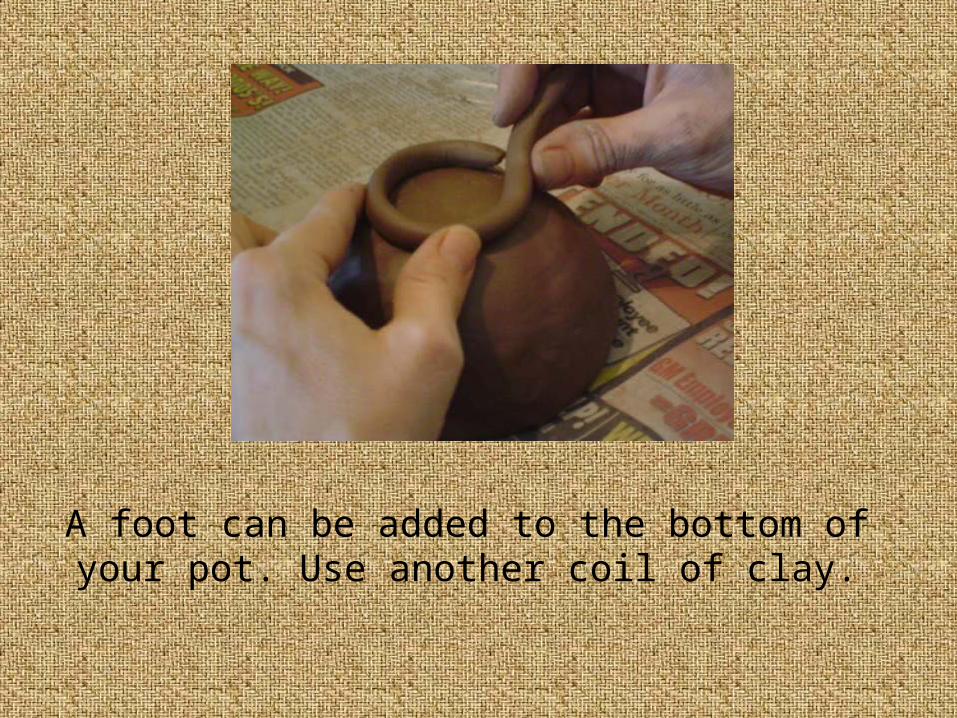
A foot can be added to the bottom of your pot. Use another coil of clay.
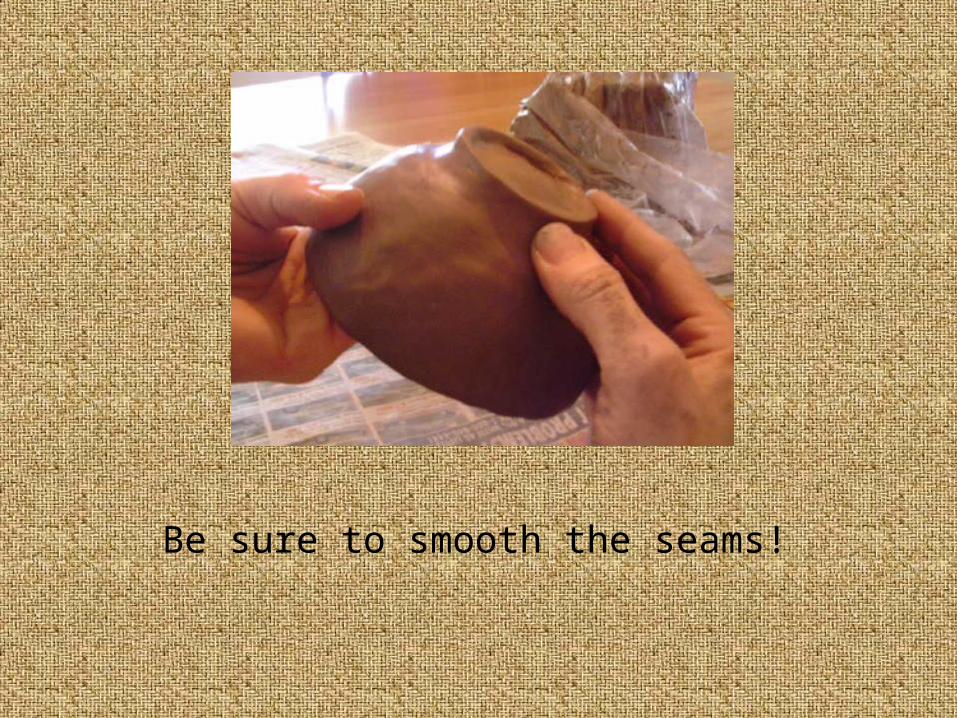
Be sure to smooth the seams!