Clarinet Assembly
19
Clarinet Assembly Best assembly to prevent unnecessary repairs
-
Upload
kimberly-weaver -
Category
Documents
-
view
46 -
download
2
description
Clarinet Assembly. Best assembly to prevent unnecessary repairs. Put a reed in your mouth to soak. Then, put the mouthpiece and barrel together. Cork grease may be needed occasionally. - PowerPoint PPT Presentation
Transcript of Clarinet Assembly

Clarinet Assembly
Best assembly to prevent unnecessary repairs
Put a reed in your mouth to soak. Then, put the mouthpiece and barrel together. Cork grease may be needed occasionally.
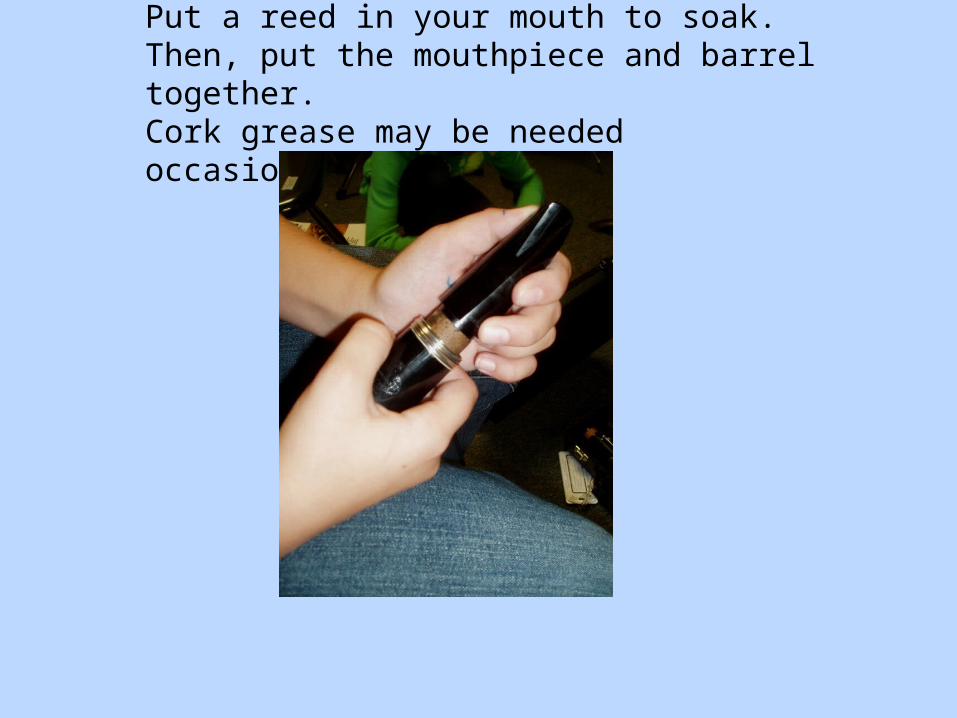
Pick up the large joint that has one cork. Place it in the palm of your left hand. Place only the two middle fingers over the bottom two holes. Be careful not to push your thumb against silver rods.
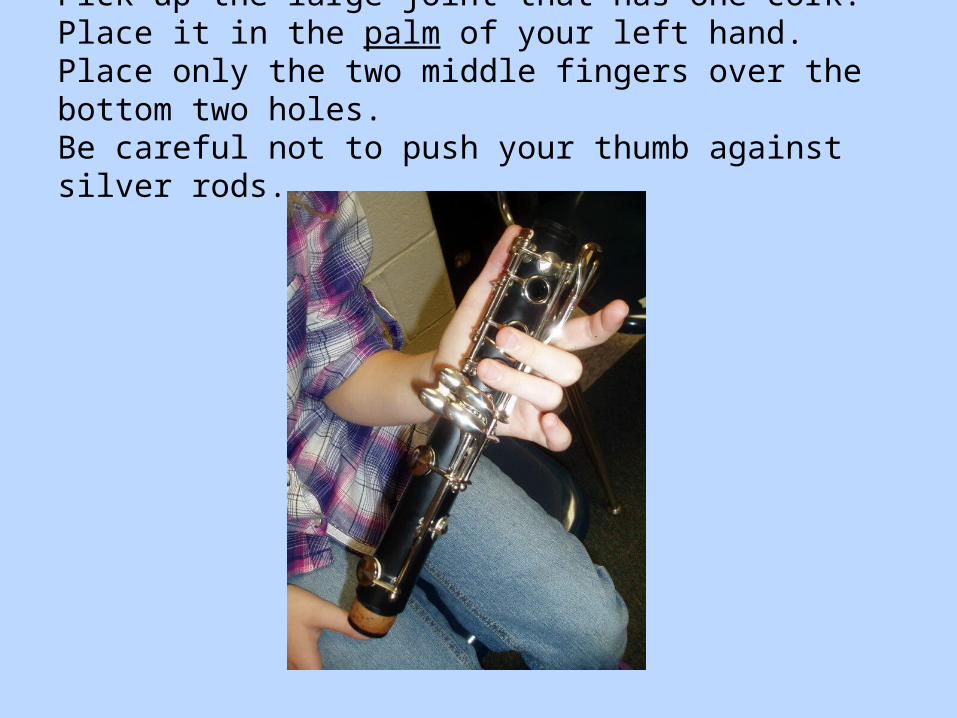
Gripping the bell as shown, put it on with a push-screw motion.

Do not connect the bell this way as the area under the cork will weaken if the bell is not put on straight.

Safely place the bell & lower joint section down. Next, pick up the upper joint, which has 2 corks and place it into the palm of your left hand as you did with the other large joint. Again, be careful not to put pressure against the rods and keys with your thumb.
It is extremely important that this finger depresses the middle key because it lifts a mechanism that must overlap where the 2 parts are slid together forming a bridge.
Please see the arrows in the photo.
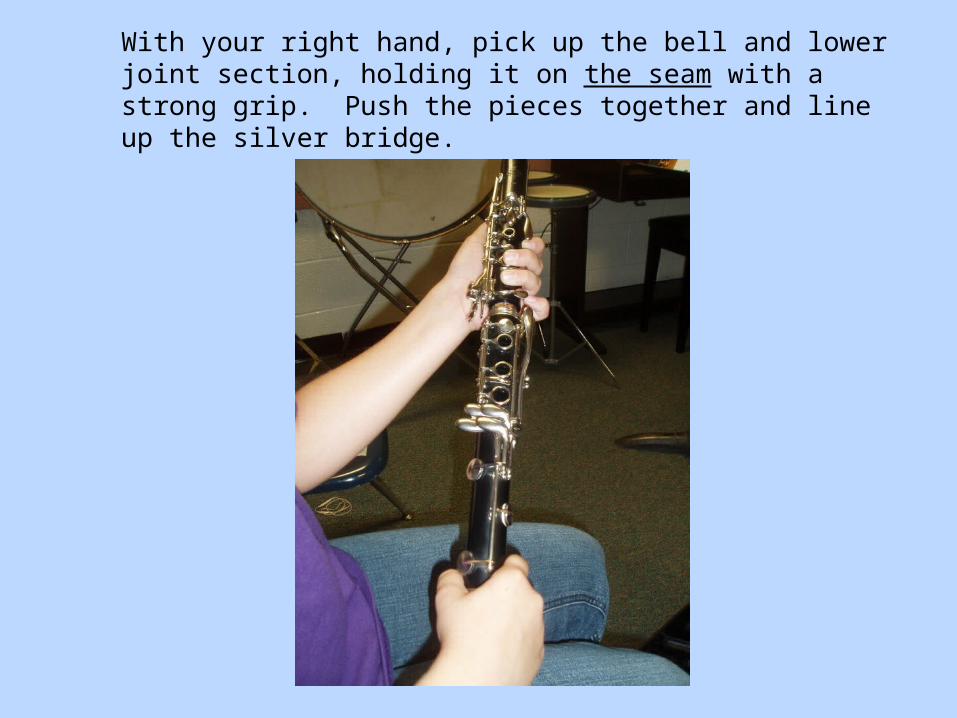
With your right hand, pick up the bell and lower joint section, holding it on the seam with a strong grip. Push the pieces together and line up the silver bridge.
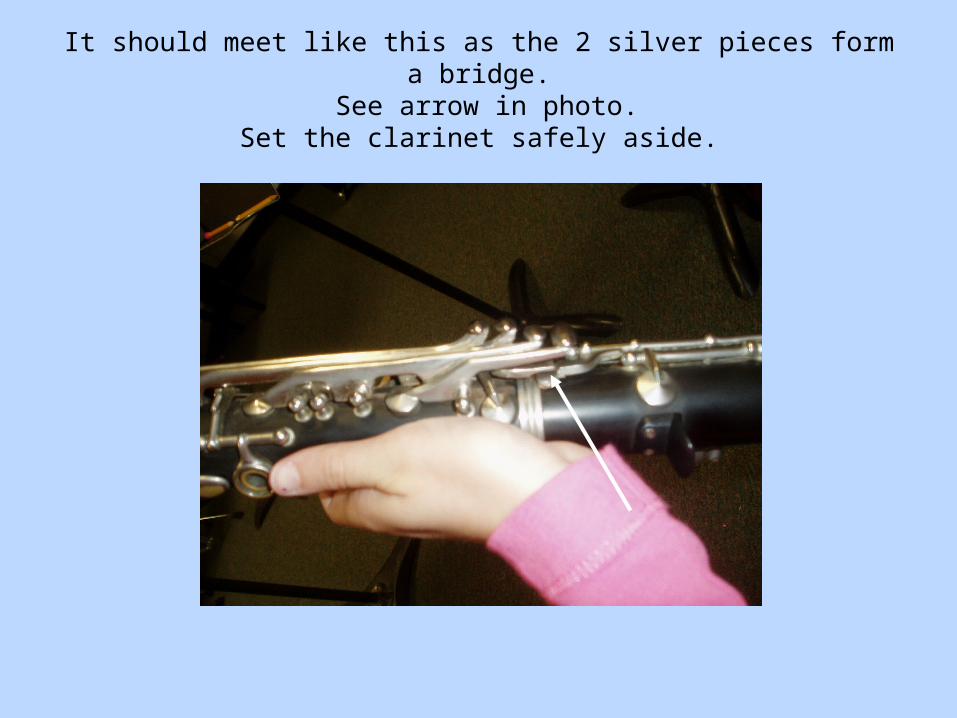
It should meet like this as the 2 silver pieces form a bridge. See arrow in photo.
Set the clarinet safely aside.
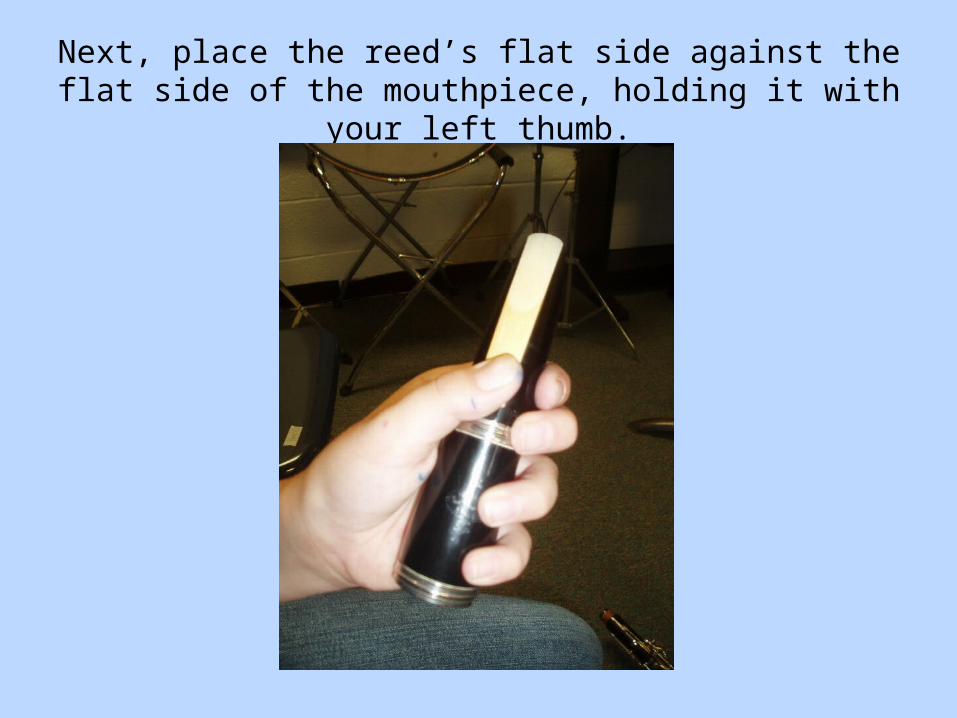
Next, place the reed’s flat side against the flat side of the mouthpiece, holding it with your left thumb.
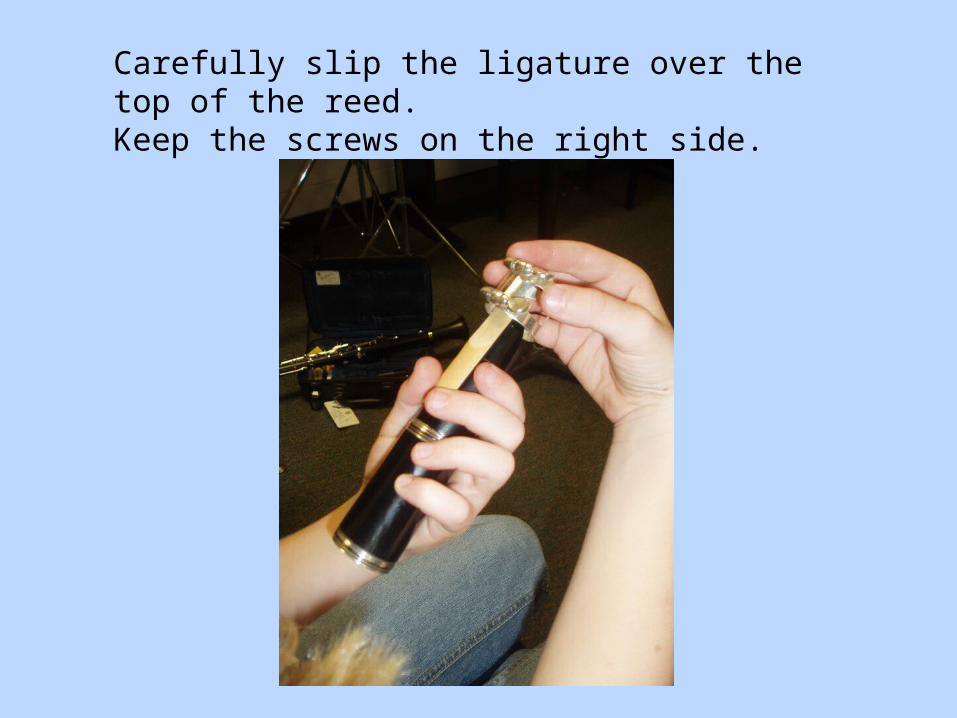
Carefully slip the ligature over the top of the reed.
Keep the screws on the right side.

Straighten the reed but never touch the tip. Make sure it is lined up even with the top of the mouthpiece and also straight at the bottom.
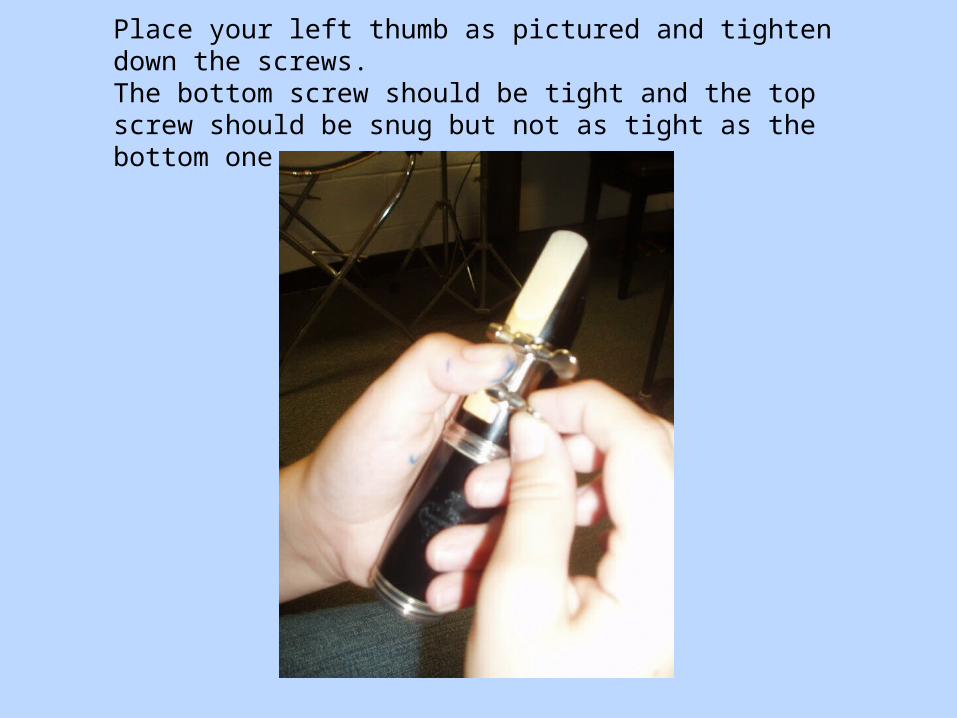
Place your left thumb as pictured and tighten down the screws. The bottom screw should be tight and the top screw should be snug but not as tight as the bottom one.
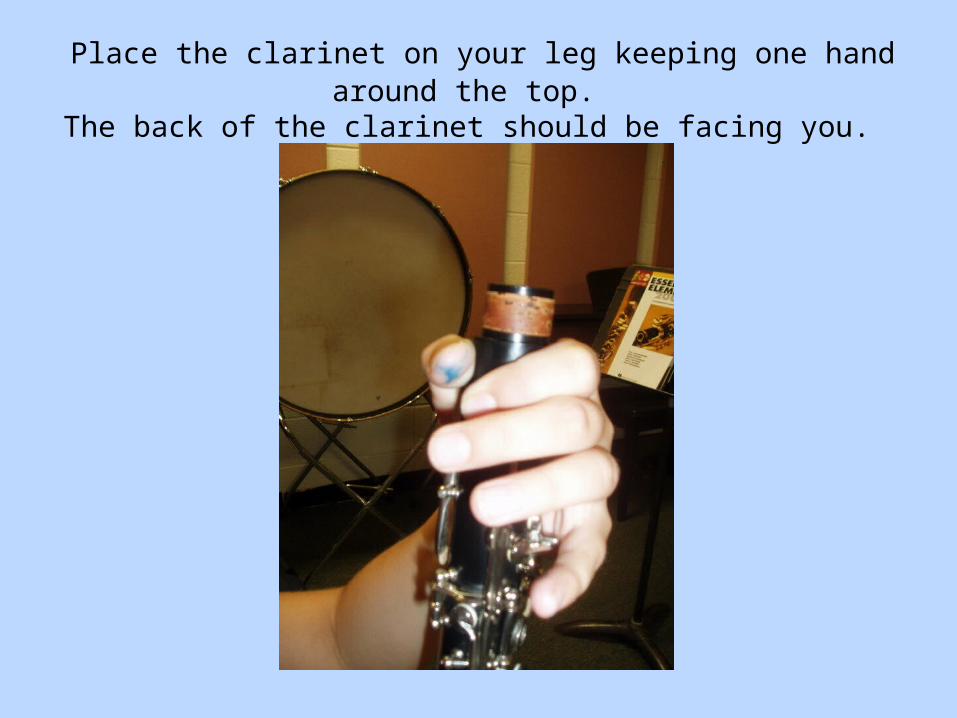
Place the clarinet on your leg keeping one hand around the top. The back of the clarinet should be facing you.
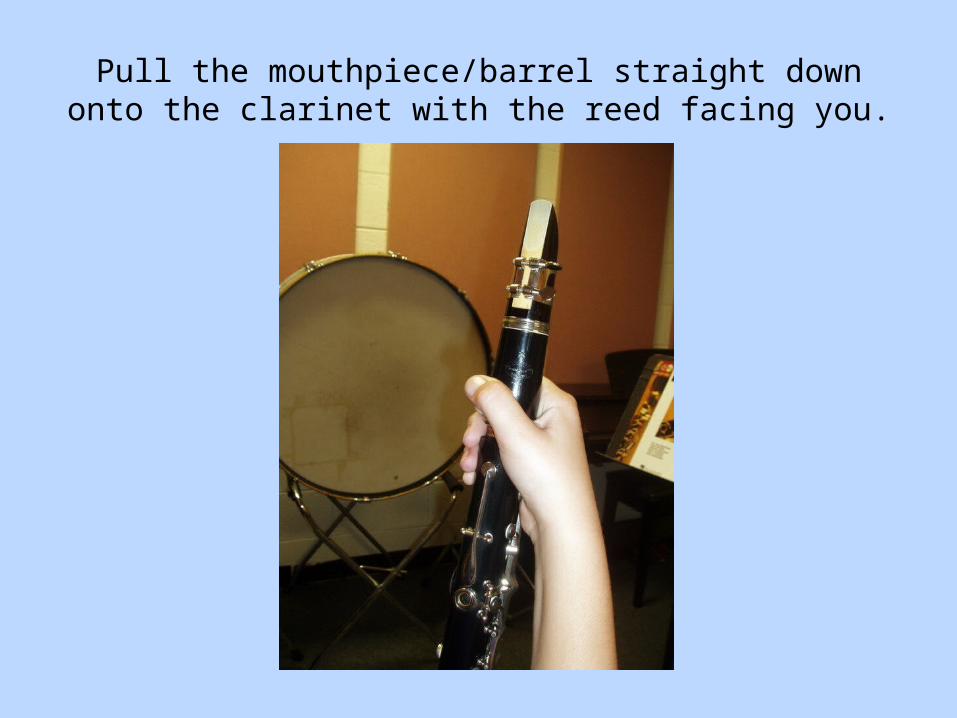
Pull the mouthpiece/barrel straight down onto the clarinet with the reed facing you.
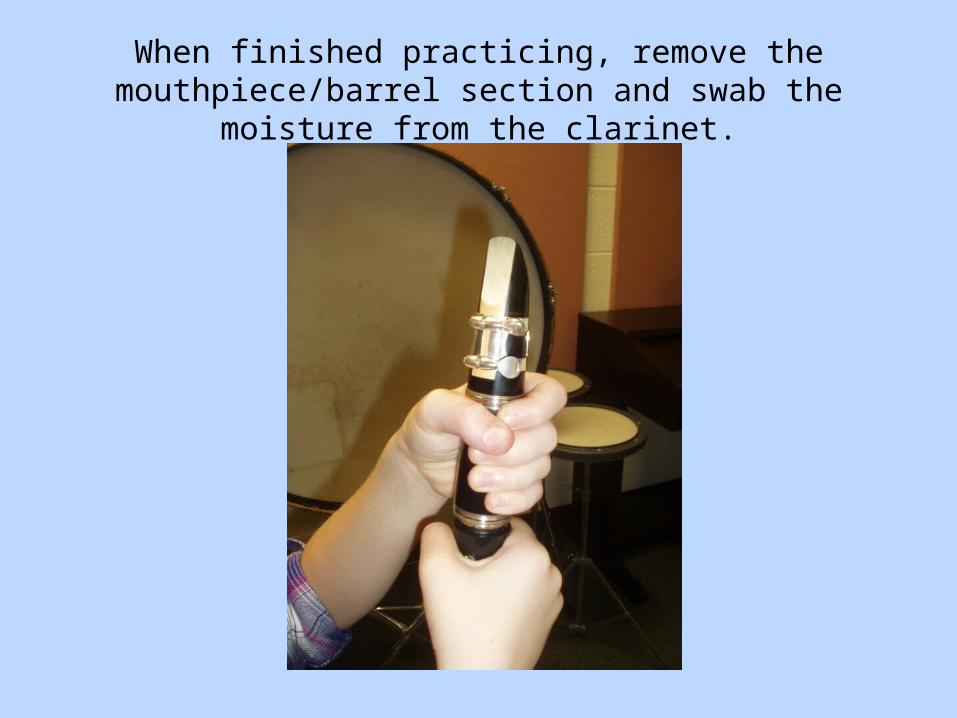
When finished practicing, remove the mouthpiece/barrel section and swab the moisture from the clarinet.
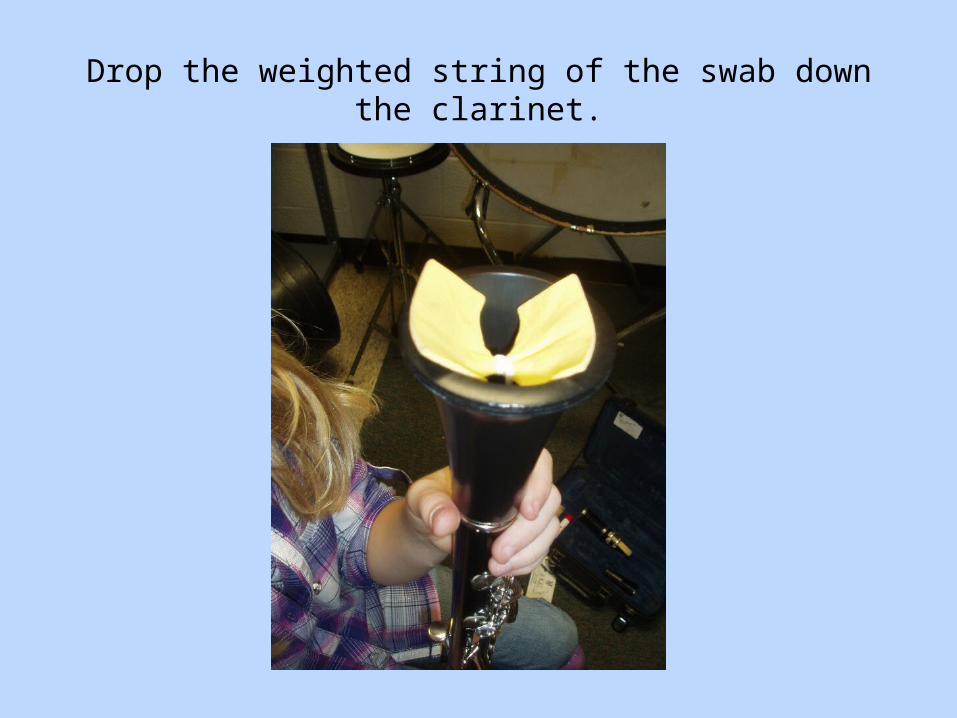
Drop the weighted string of the swab down the clarinet.
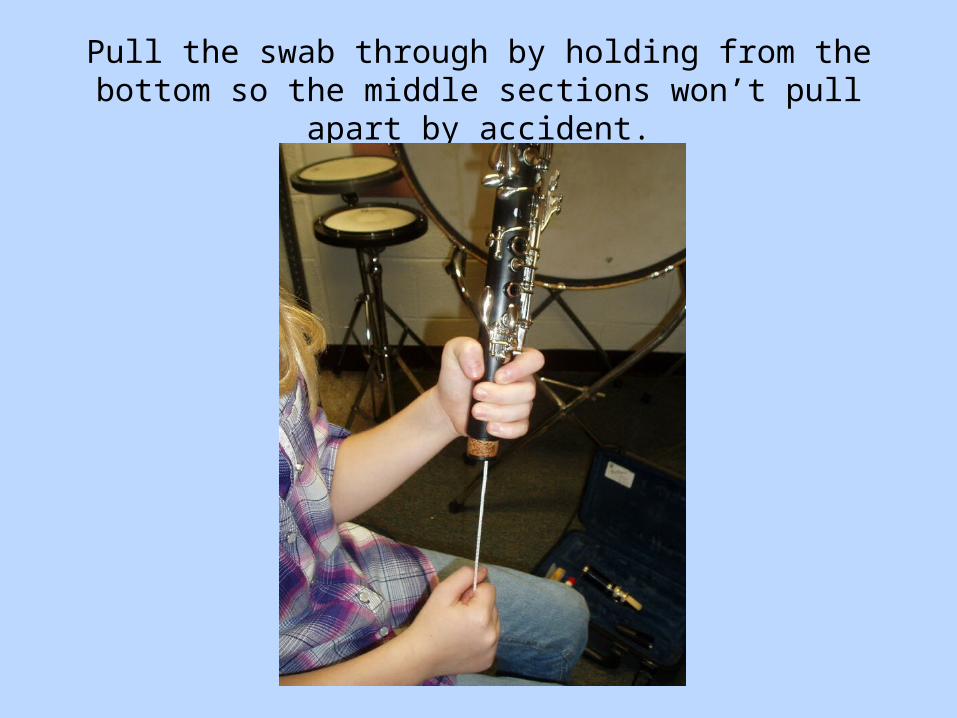
Pull the swab through by holding from the bottom so the middle sections won’t pull apart by accident.

Disassemble by laying the top joint in your left palm. Hold the seam at the bell and gently screw apart.
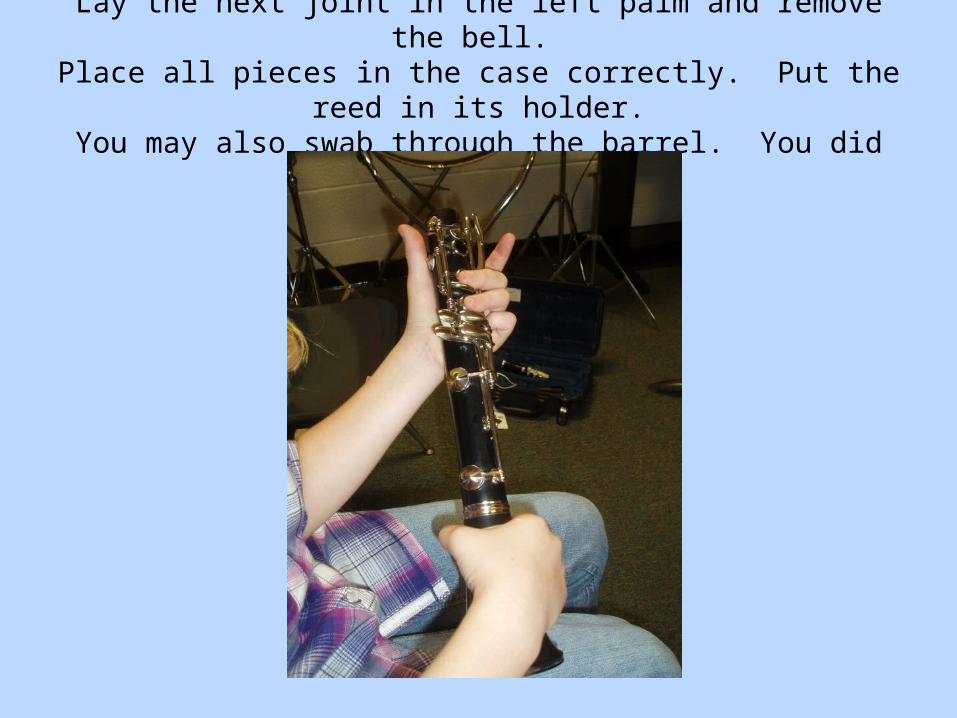
Lay the next joint in the left palm and remove the bell. Place all pieces in the case correctly. Put the reed in its holder.
You may also swab through the barrel. You did it!!