CHAPTER 3 FREEHAND SKETCHING AND LETTERING … · •Engineering markers •8.5 x 11 white paper...
24
CHAPTER 3 FREEHAND SKETCHING AND LETTERING TECHNIQUES
Transcript of CHAPTER 3 FREEHAND SKETCHING AND LETTERING … · •Engineering markers •8.5 x 11 white paper...
CHAPTER 3
FREEHAND SKETCHING AND LETTERING
TECHNIQUES

Part I: Sketching Technique
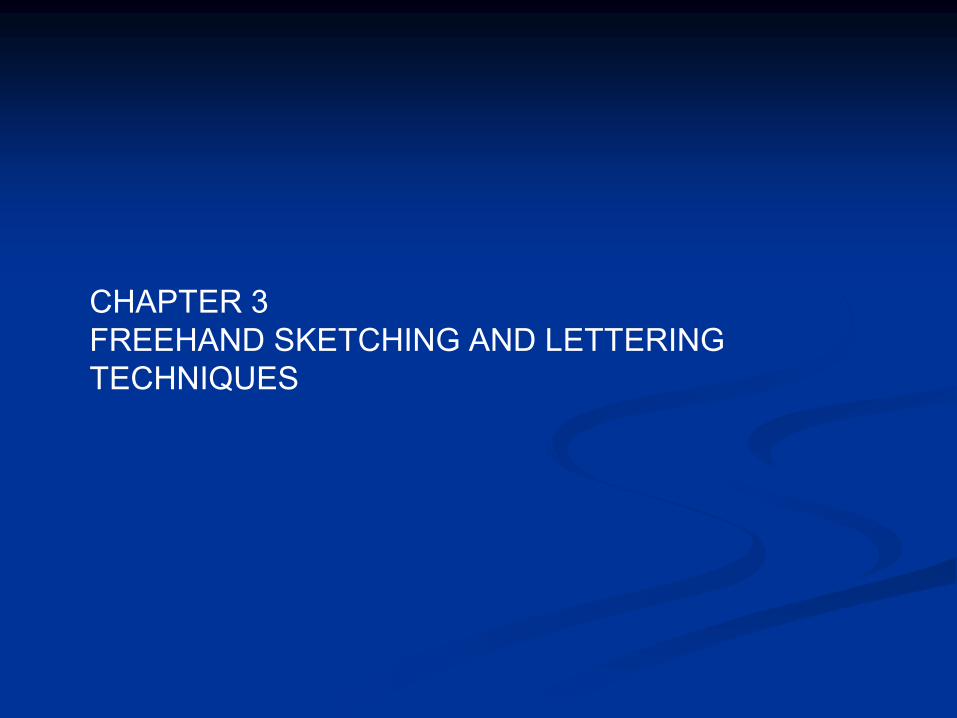
Types of Projection
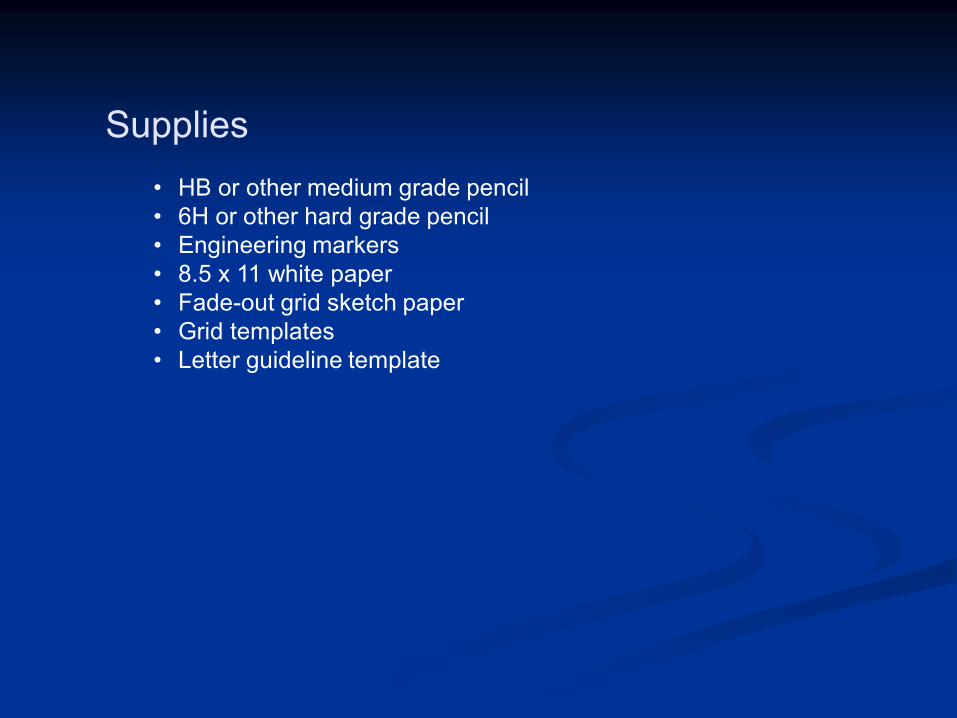
Supplies
• HB or other medium grade pencil
• 6H or other hard grade pencil
• Engineering markers
• 8.5 x 11 white paper
• Fade-out grid sketch paper
• Grid templates
• Letter guideline template
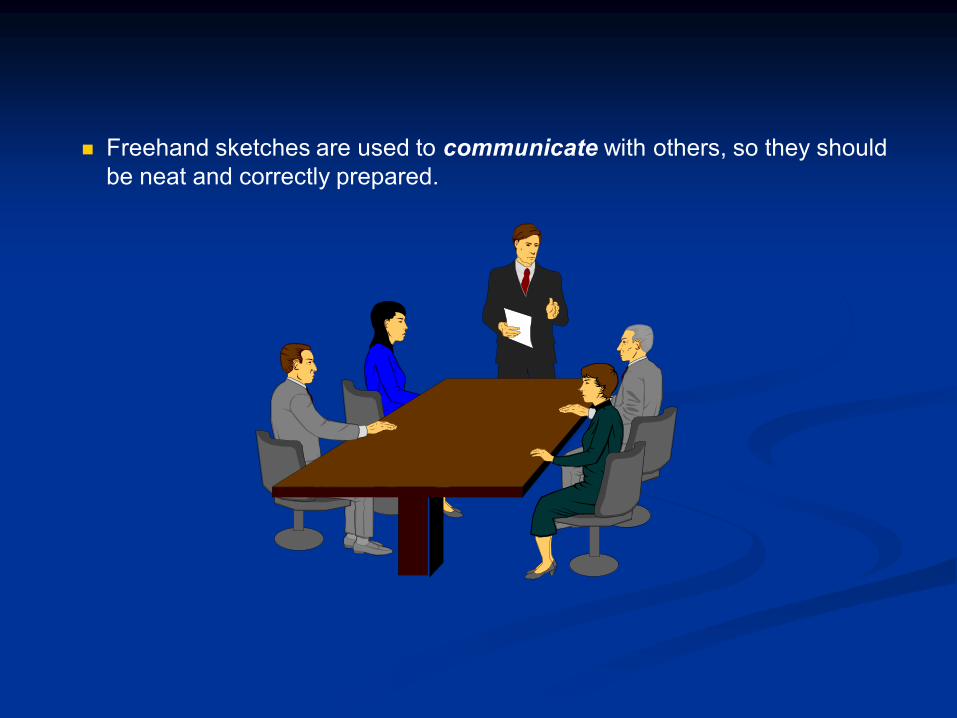
Freehand sketches are used to communicate with others, so they should
be neat and correctly prepared.
Sketch Quality
• To create good quality sketches, use the correct grades of lead and
keep your pencil sharpened.
• Sketches use different line weights (thicknesses) to show the
relative importance of different lines.
• The object you are drawing should be thick and black in the sketch
so that it stands out from the dimensions, notes, and other lines.
• It is the subject of your drawing and should be communicated
clearly.
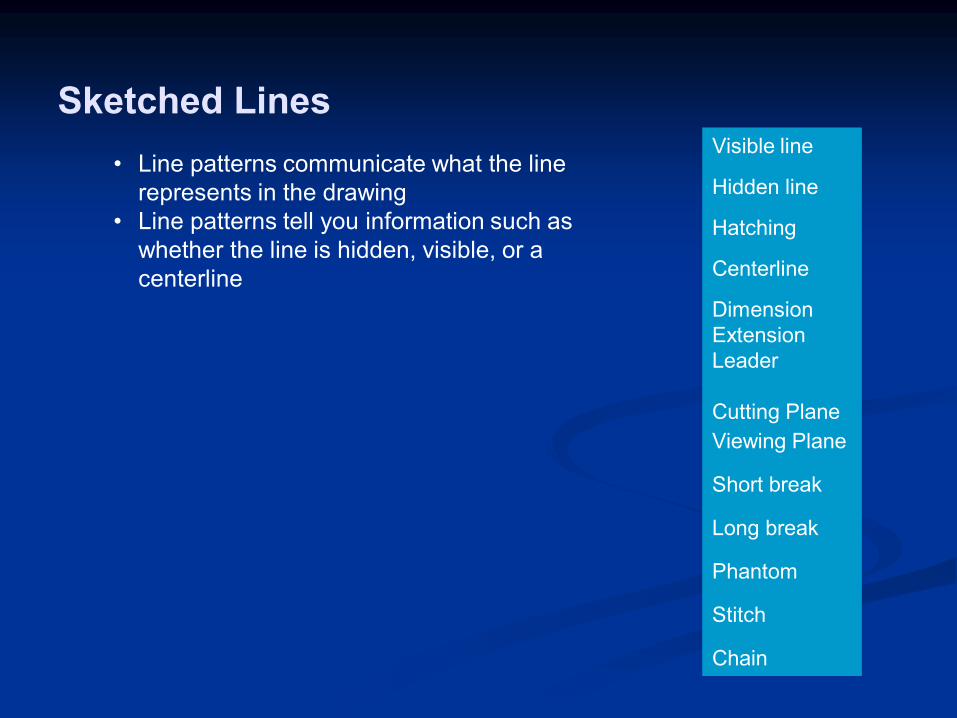
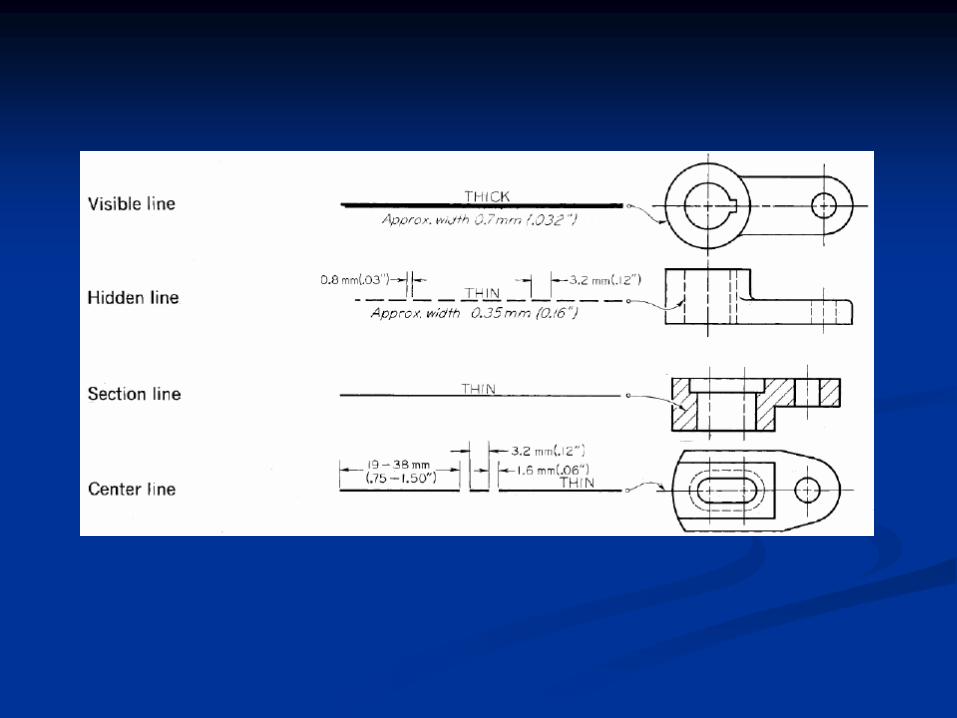
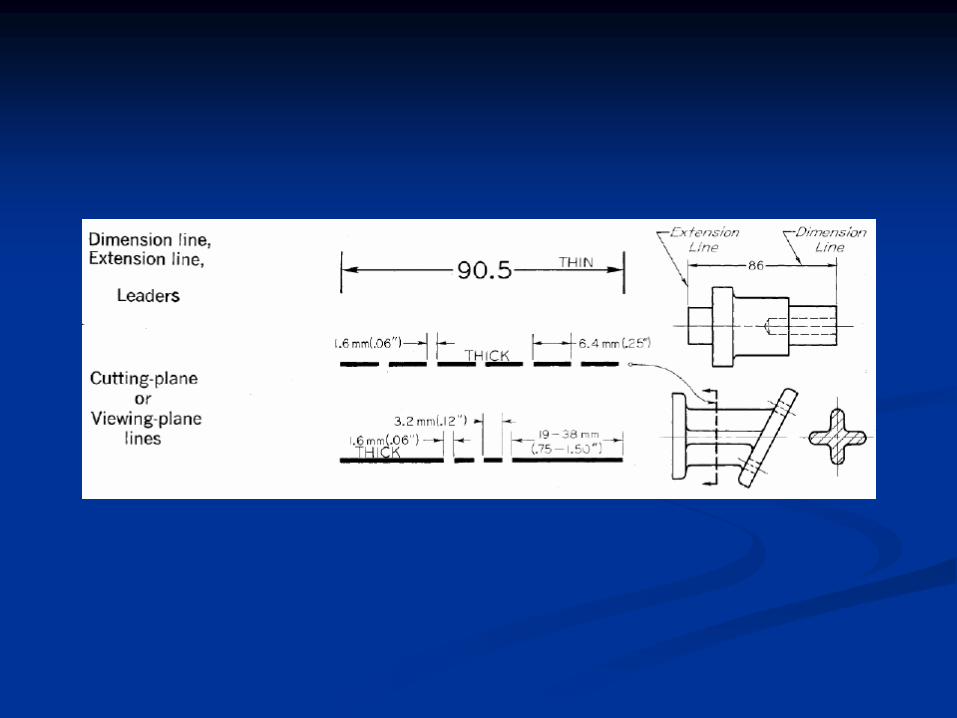
Sketched Lines Visible line
Hidden line
Hatching
Centerline
Dimension
Extension
Leader
Cutting Plane
Viewing Plane
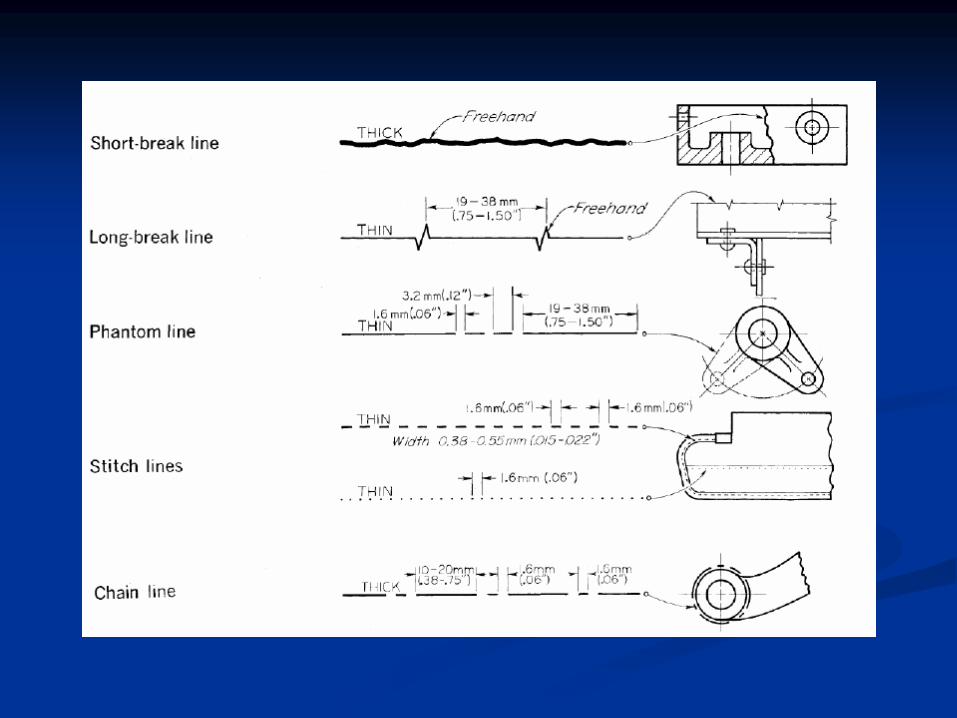
Short break
Long break
Phantom
Stitch
Chain
• Line patterns communicate what the line
represents in the drawing
• Line patterns tell you information such as
whether the line is hidden, visible, or a
centerline
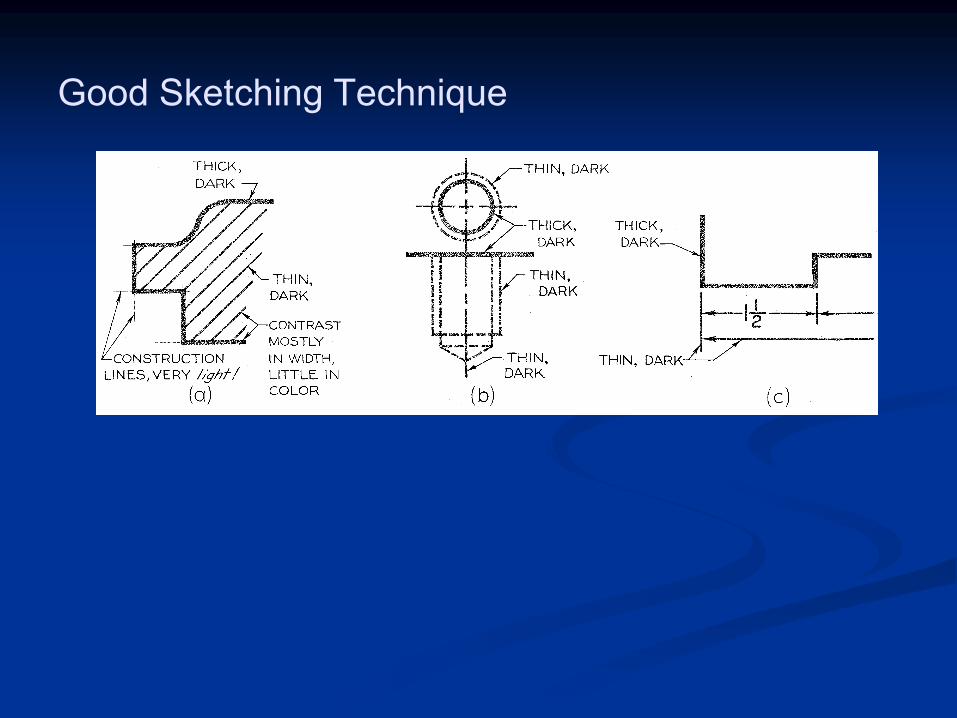
Good Sketching Technique
Sketching Circles
• Box in circles and sketch shape
• Use light 6H pencil, darken with HB when you are satisfied
with appearance
• Carefully locate tangencies
• Sketch curves first and then add straight lines tangent to them.
This is easier than trying to make a curve tangent to straight
lines.
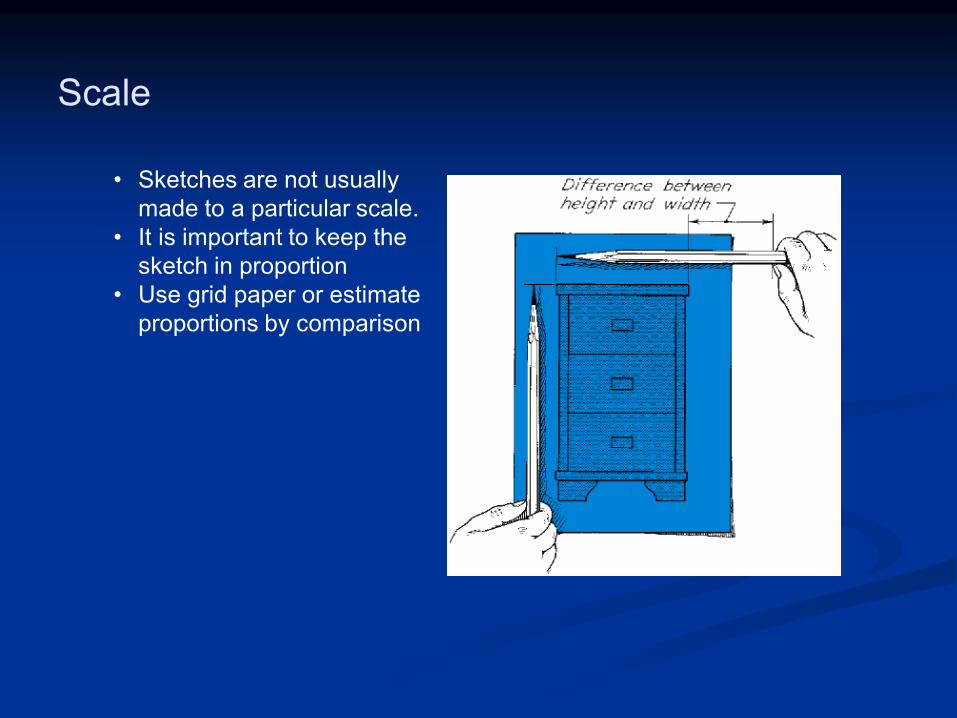
Scale
• Sketches are not usually
made to a particular scale.
• It is important to keep the
sketch in proportion
• Use grid paper or estimate
proportions by comparison
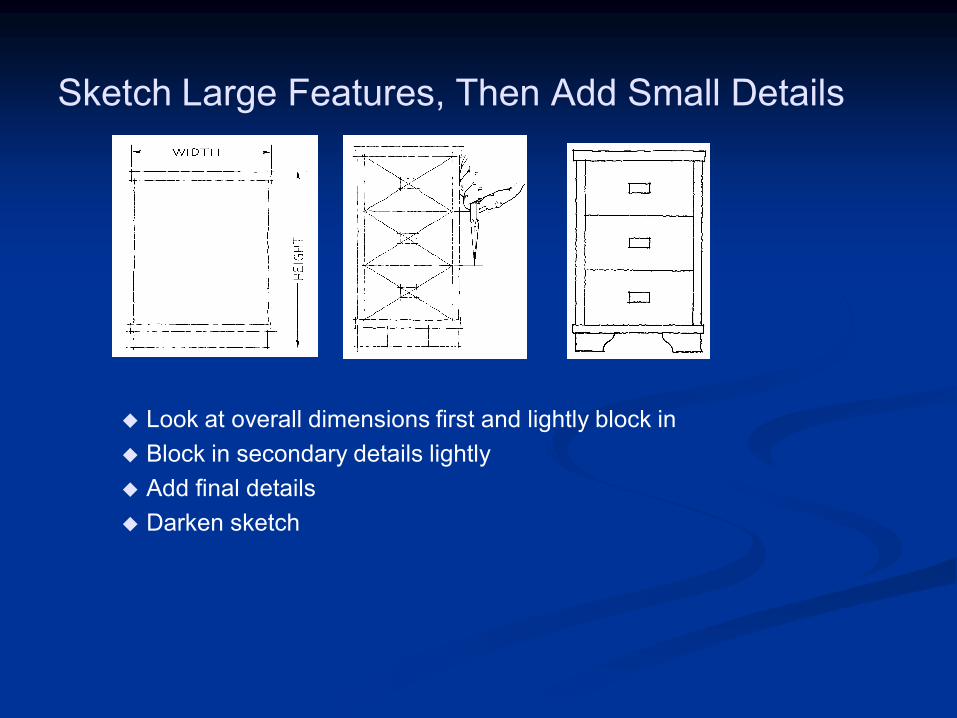
Sketch Large Features, Then Add Small Details
Look at overall dimensions first and lightly block in
Block in secondary details lightly
Add final details
Darken sketch
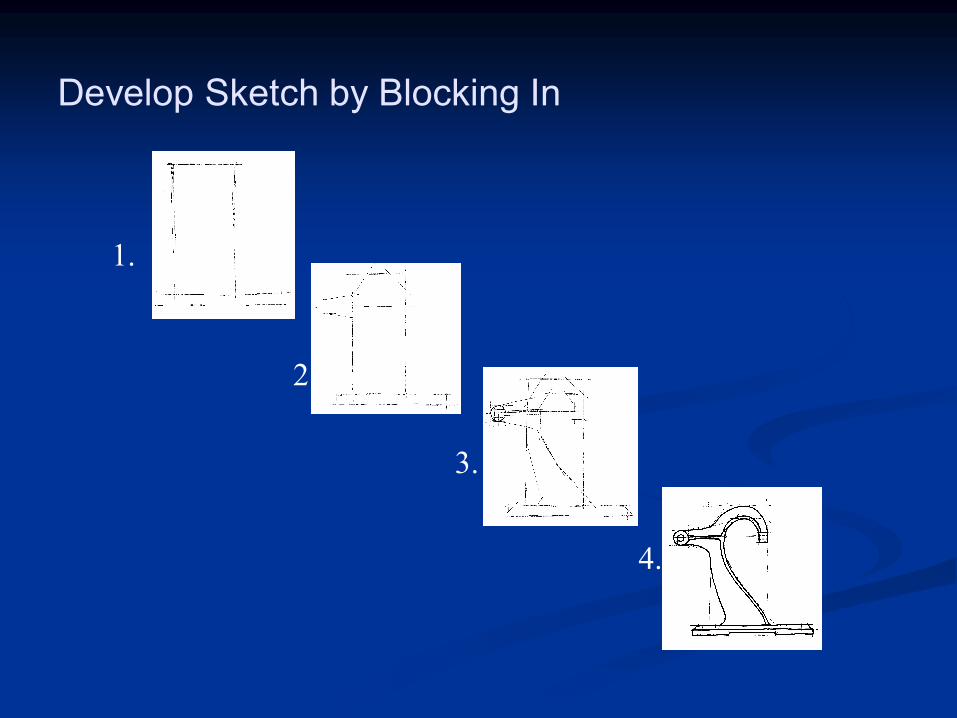
Develop Sketch by Blocking In
1.
2.
3.
4.
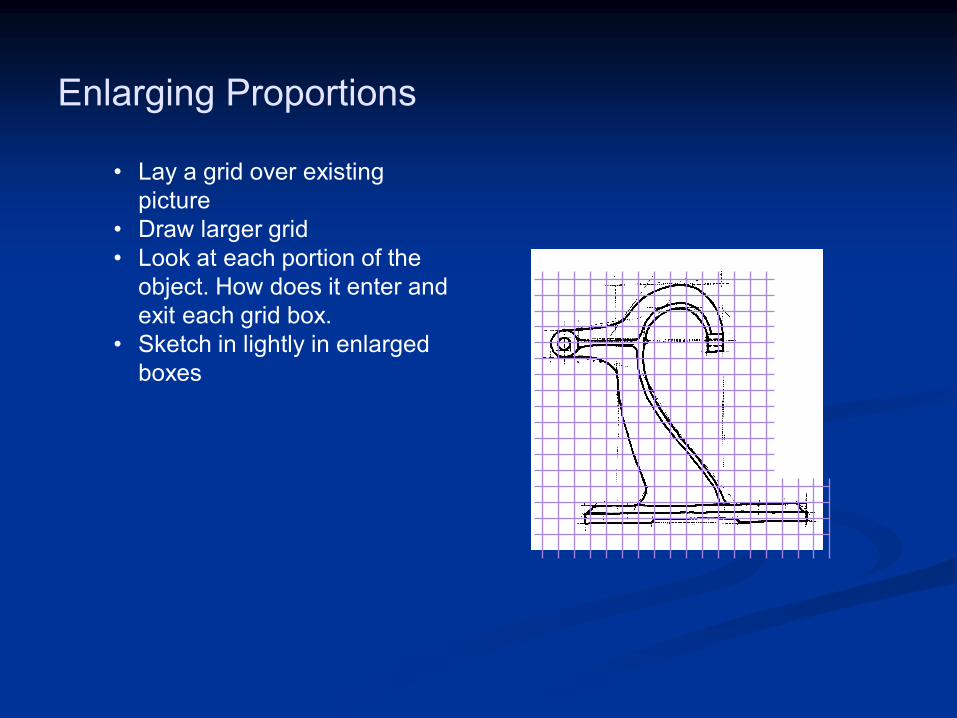
Enlarging Proportions
• Lay a grid over existing
picture
• Draw larger grid
• Look at each portion of the
object. How does it enter and
exit each grid box.
• Sketch in lightly in enlarged
boxes
Summary
• Quality is one of the most important
aspects of sketching.
• Sketched lines should be bold freehand
lines.
• The subject of the sketch should stand
out clearly.
• Using the correct lead grades and good
techniques for sketching will help your
sketches look their best.

Part II: Lettering
Basics
• Use HB or other medium grade pencil
• Typical lettering height is 1/8”
• Use guidelines to make uniform letters --
a guideline template makes it easy
• Lettering is usually UPPERCASE
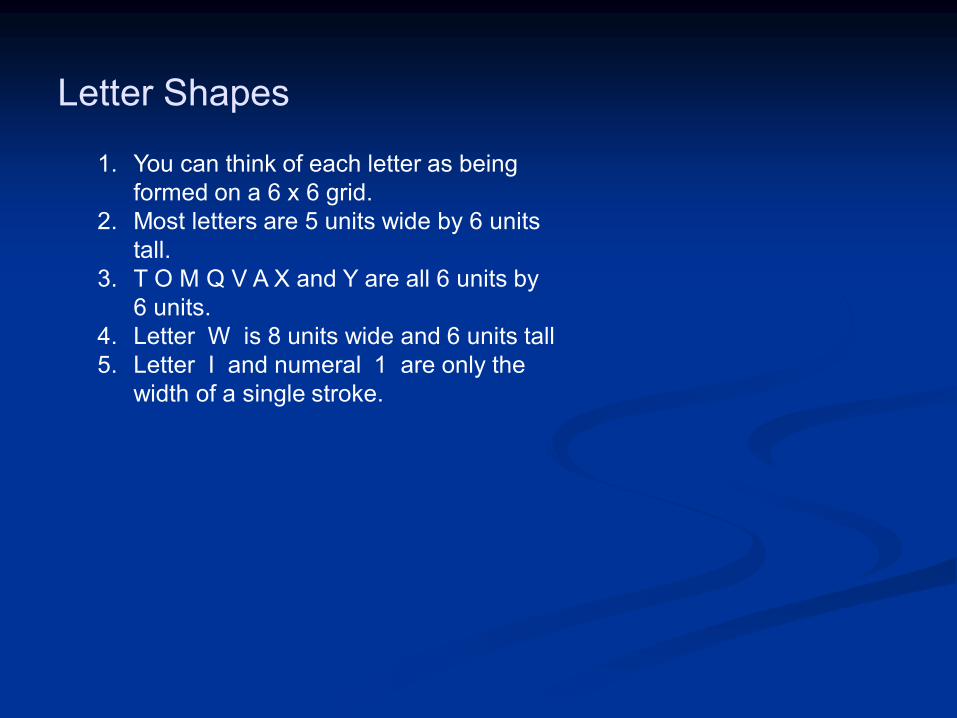
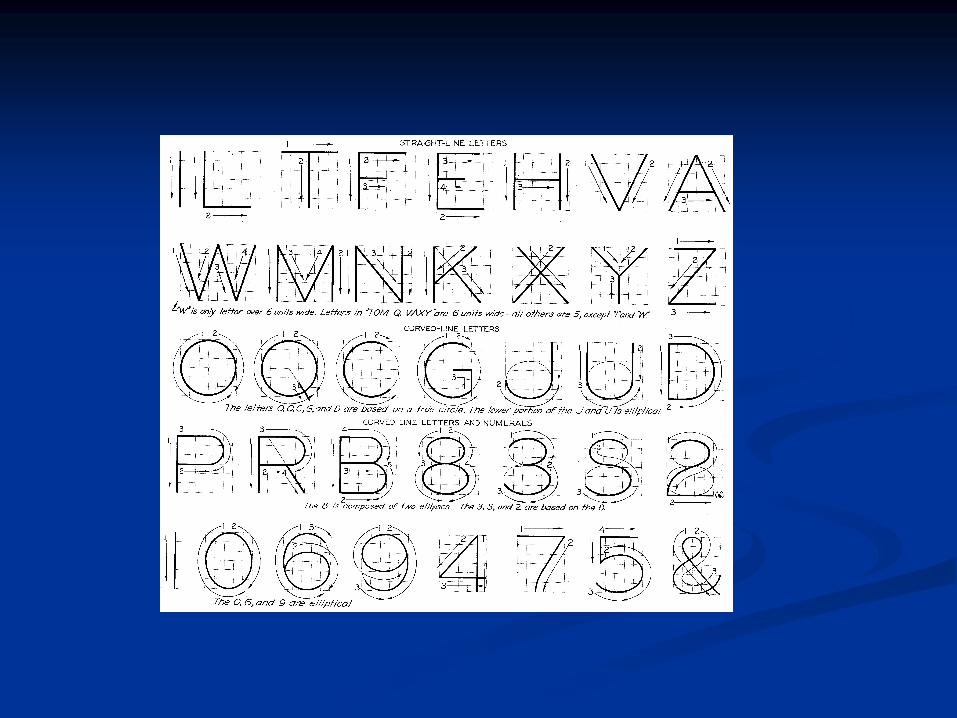
Letter Shapes
1. You can think of each letter as being
formed on a 6 x 6 grid.
2. Most letters are 5 units wide by 6 units
tall.
3. T O M Q V A X and Y are all 6 units by
6 units.
4. Letter W is 8 units wide and 6 units tall
5. Letter I and numeral 1 are only the
width of a single stroke.

Letter Proportions
Equal upper and lower portion give letters
a top heavy appearance.
Make the top portions smaller and the
horizontal strokes slightly above the
midline for a more balance appearance.

Spacing Lettering
• Space letters by eye so that the
background areas appear equal, not so
that the actual distance from one letter to
the next is equal.
• Space letters within words relatively
close together. Space words relatively
far apart. A good rule of thumb is to
space words the width of capital “O”
apart.
Summary
• Neat legible lettering is used to add dimensions and notes to
sketches.
• Poor lettering can ruin an otherwise good sketch.
• Engineering lettering is usually drawn with HB or other relatively
soft lead.
• Use 1/8” uppercase single-stroke letters