
CAEL Prior Learning Assessment Process Mapping – Session 2 Introduction – Wilson Finch.
44
CAEL Prior Learning Assessment Process Mapping – Session 2 Introduction – Wilson Finch
-
Upload
salvatore-chinery -
Category
Documents
-
view
217 -
download
1
Transcript of CAEL Prior Learning Assessment Process Mapping – Session 2 Introduction – Wilson Finch.

CAEL Prior Learning AssessmentProcess Mapping – Session 2Introduction – Wilson Finch
CAEL Prior Learning AssessmentProcess Mapping – Session 2
Facilitator – Eric Heller

Session 2 – Process Mapping – Agenda for Today• Feedback and Questions on your PLA Relationship Map• Discuss any Disconnects that have already been identified• Process Mapping Step by Step instruction review• Review the steps to convert the Relationship Map to a Process Map• Review the steps to identify Disconnects on the Process Map• Review the steps to transfer the Disconnects to the Analysis Sheet
• Process Mapping Workshop Time• Discuss Next Steps and Assignments• Answer Questions
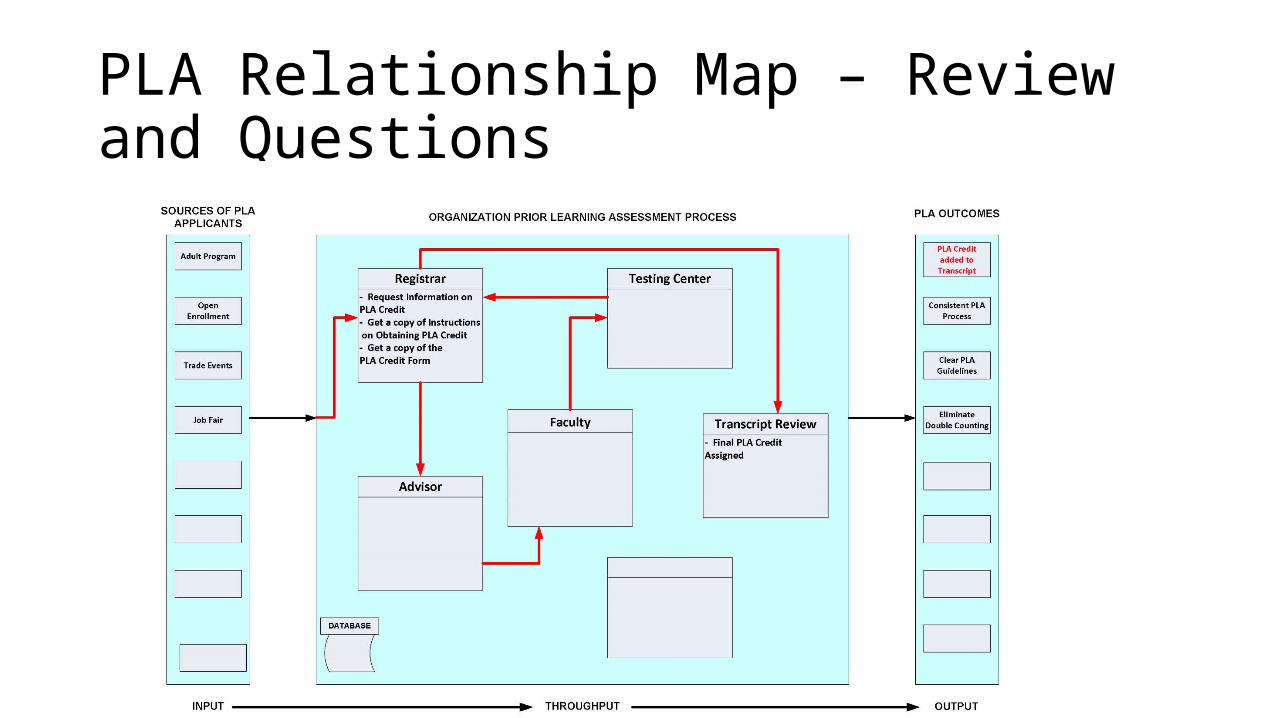
PLA Relationship Map – Review and Questions

PLA Session 1 - Questions
PLA Disconnect Discussion and ReviewDisconnect Review -
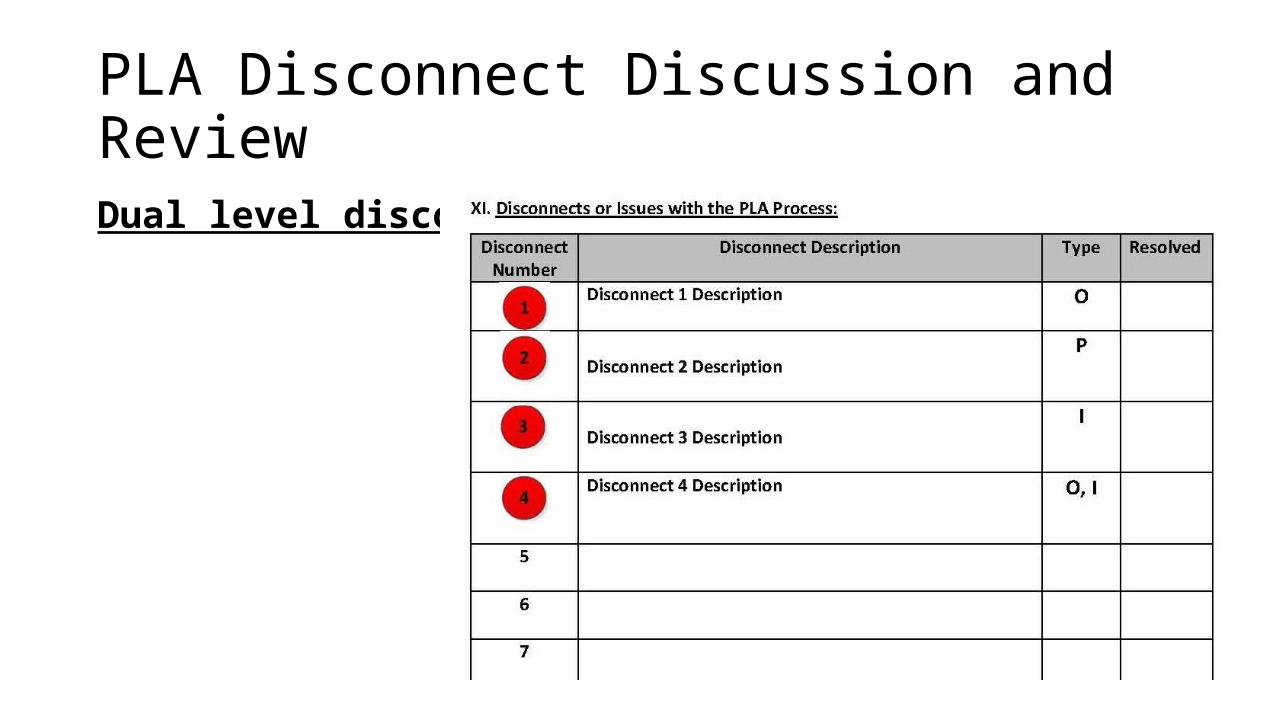
PLA Disconnect Discussion and ReviewDual level disconnects:

Process Mapping – Tips on Level of Detail• Main Process or 90% Path• Avoid “one off” special exceptions on your map• Do a separate map as an addendum for some complicated sub
routines that are more than exceptions but not necessarily a part of the main flow.• If everything is treated as an exception, then there is no Core Process.
Consider if you want to continue to operate in this manner or develop a standardized process.

Steps in Developing Your PLA Process Map
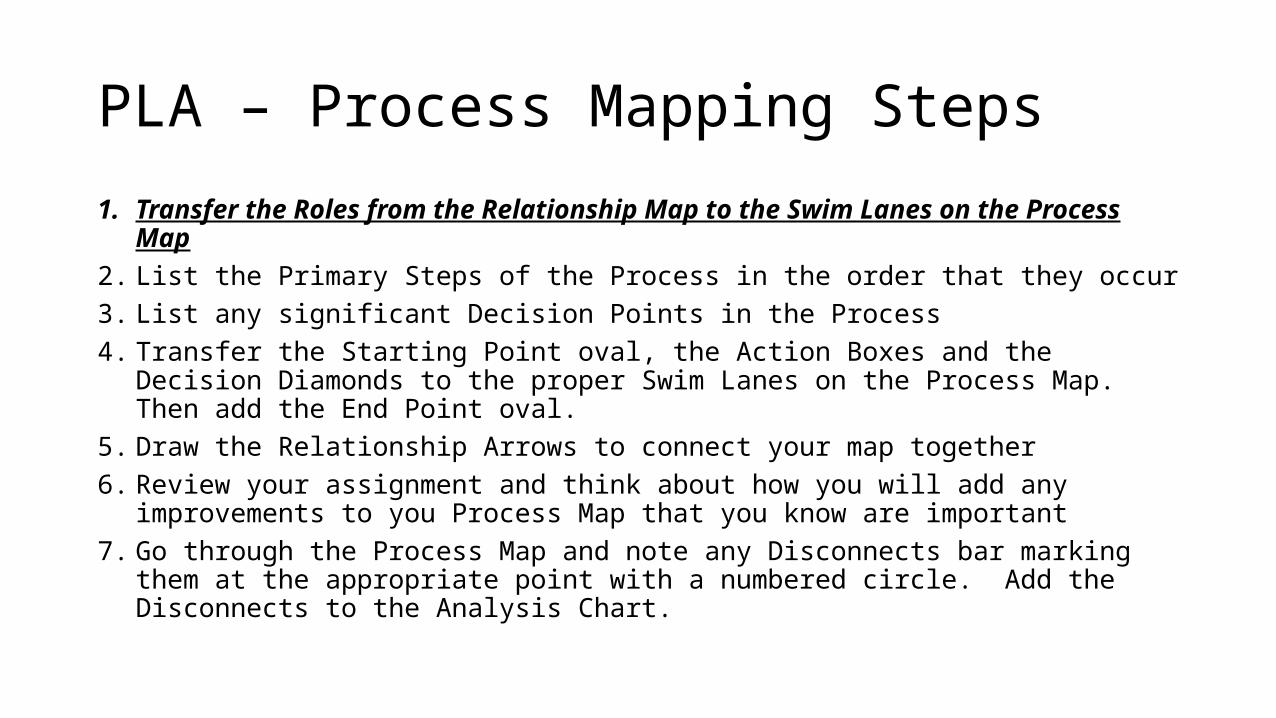
PLA – Process Mapping Steps
1. Transfer the Roles from the Relationship Map to the Swim Lanes on the Process Map
2. List the Primary Steps of the Process in the order that they occur3. List any significant Decision Points in the Process4. Transfer the Starting Point oval, the Action Boxes and the Decision Diamonds to the
proper Swim Lanes on the Process Map. Then add the End Point oval.5. Draw the Relationship Arrows to connect your map together6. Review your assignment and think about how you will add any improvements to
you Process Map that you know are important7. Go through the Process Map and note any Disconnects bar marking them at the
appropriate point with a numbered circle. Add the Disconnects to the Analysis Chart.
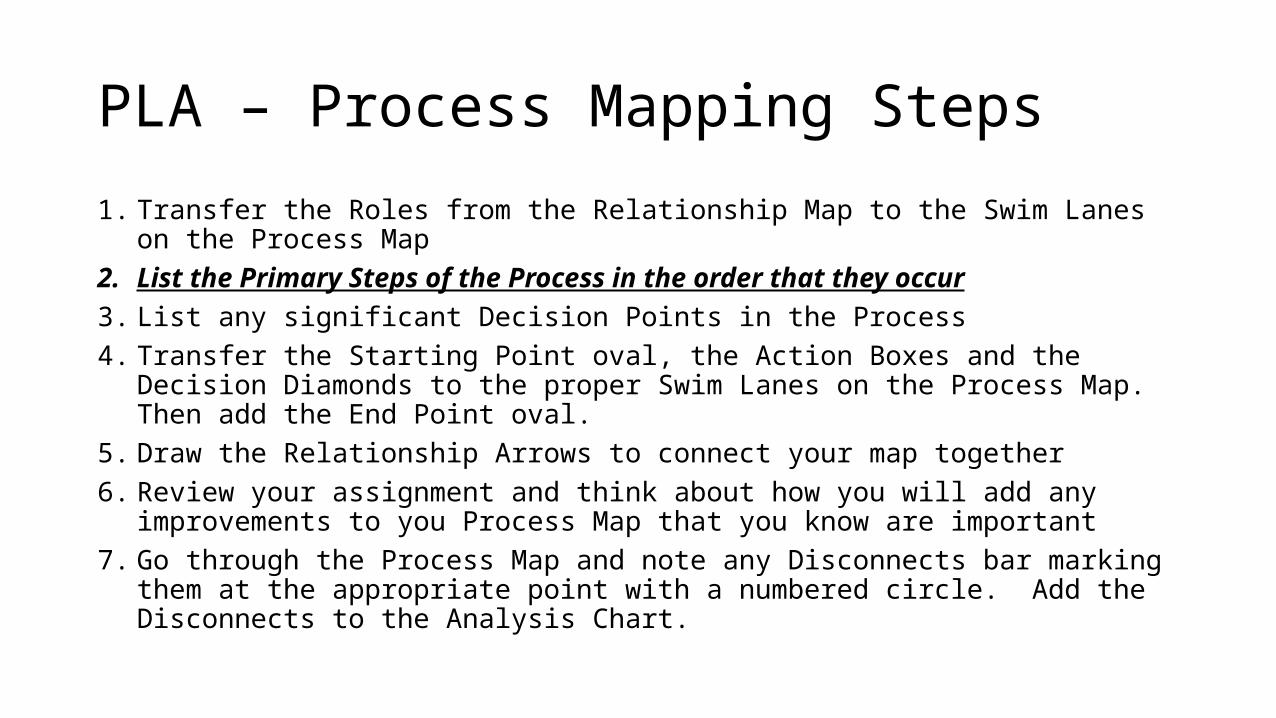
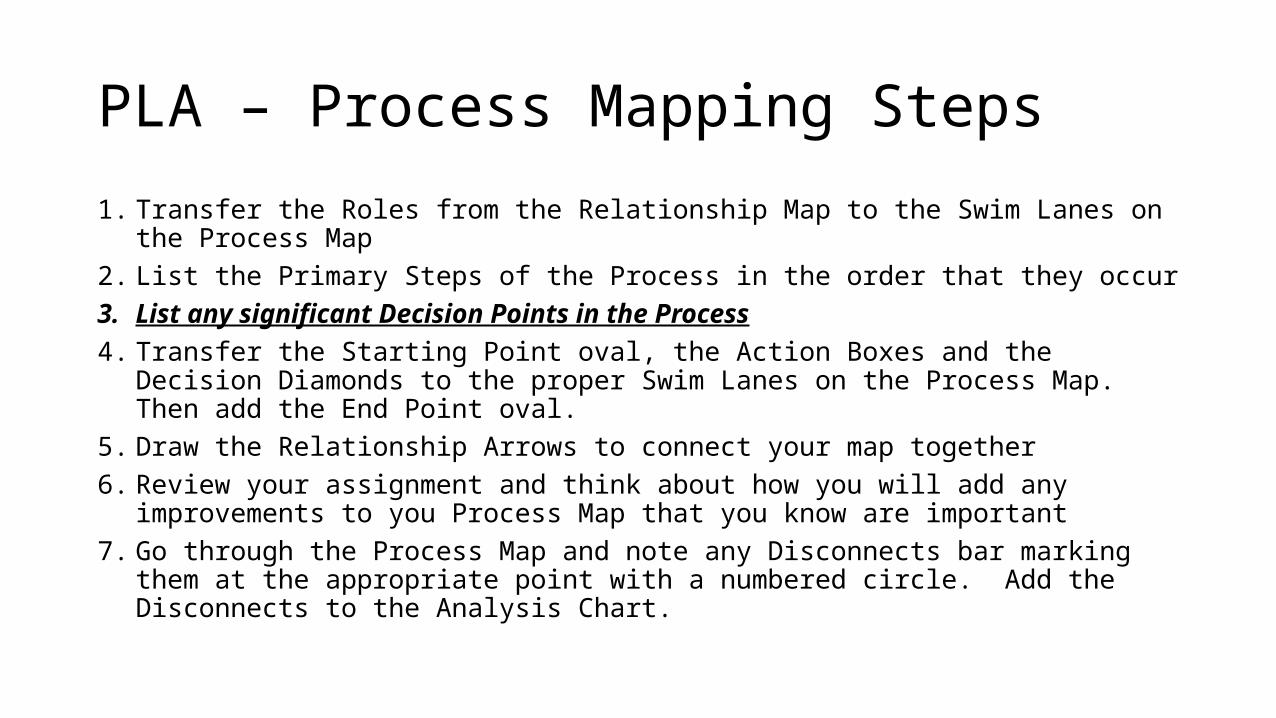

PLA – Process Mapping Steps
1. Transfer the Roles from the Relationship Map to the Swim Lanes on the Process Map
2. List the Primary Steps of the Process in the order that they occur3. List any significant Decision Points in the Process4. Transfer the Starting Point oval, the Action Boxes and the Decision Diamonds to
the proper Swim Lanes on the Process Map. Then add the End Point oval.5. Draw the Relationship Arrows to connect your map together6. Review your assignment and think about how you will add any improvements to
you Process Map that you know are important7. Go through the Process Map and note any Disconnects bar marking them at the
appropriate point with a numbered circle. Add the Disconnects to the Analysis Chart.

PLA – Process Mapping Steps
1. Transfer the Roles from the Relationship Map to the Swim Lanes on the Process Map
2. List the Primary Steps of the Process in the order that they occur3. List any significant Decision Points in the Process4. Transfer the Starting Point oval, the Action Boxes and the Decision Diamonds to the
proper Swim Lanes on the Process Map. Then add the End Point oval.5. Draw the Relationship Arrows to connect your map together6. Review your assignment and think about how you will add any improvements to
you Process Map that you know are important7. Go through the Process Map and note any Disconnects bar marking them at the
appropriate point with a numbered circle. Add the Disconnects to the Analysis Chart.

PLA – Process Mapping Steps
1. Transfer the Roles from the Relationship Map to the Swim Lanes on the Process Map
2. List the Primary Steps of the Process in the order that they occur3. List any significant Decision Points in the Process4. Transfer the Starting Point oval, the Action Boxes and the Decision Diamonds to the
proper Swim Lanes on the Process Map. Then add the End Point oval.5. Draw the Relationship Arrows to connect your map together6. Review your assignment and think about how you will add any improvements to
your Process Map that you know are important7. Go through the Process Map and note any Disconnects bar marking them at the
appropriate point with a numbered circle. Add the Disconnects to the Analysis Chart.

PLA – Process Mapping Steps
1. Transfer the Roles from the Relationship Map to the Swim Lanes on the Process Map
2. List the Primary Steps of the Process in the order that they occur3. List any significant Decision Points in the Process4. Transfer the Starting Point oval, the Action Boxes and the Decision Diamonds to the
proper Swim Lanes on the Process Map. Then add the End Point oval.5. Draw the Relationship Arrows to connect your map together6. Review your assignment and think about how you will add any improvements to
you Process Map that you know are important7. Go through the Process Map and note any Disconnects by marking them at the
appropriate point with a numbered circle. Add the Disconnects to the Analysis Chart.
PLA Workshop – Developing Your Process Map in 7 Steps

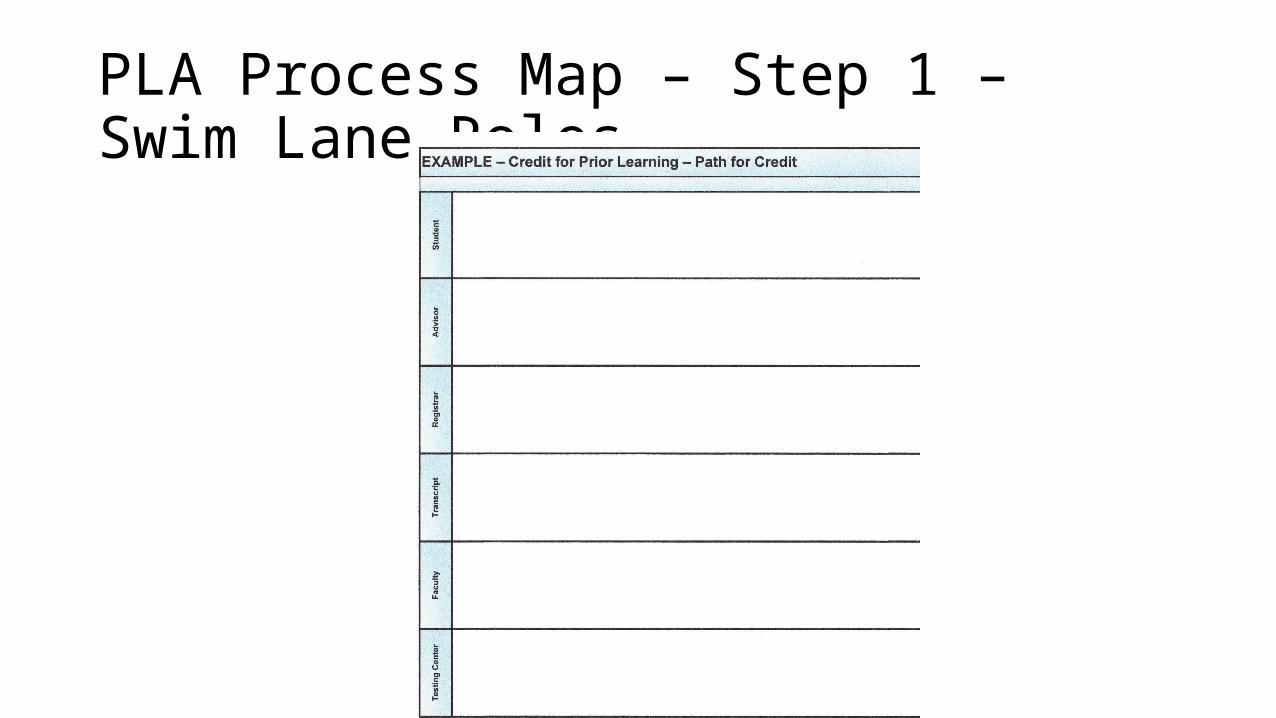
PLA Process Map – Step 1 – Swim Lane Roles• Transfer all your key Roles from your Relationship Map to your
Process Map• Use a separate “swim lane” for each Role• Be sure to include the entry point role as the top swim lane – this
might be generalized as the “Student” although they may come from different sources• Use the CAEL PLA Example Process Flow Chart and PLA Process Map
as guides

PLA Process Map – Step 1 – Swim Lane Roles

PLA Process Map – Step 1 – Swim Lane Roles

PLA Process Map – Step 1 – Swim Lane Roles
PLA Process Map – Step 1 – Swim Lane Roles

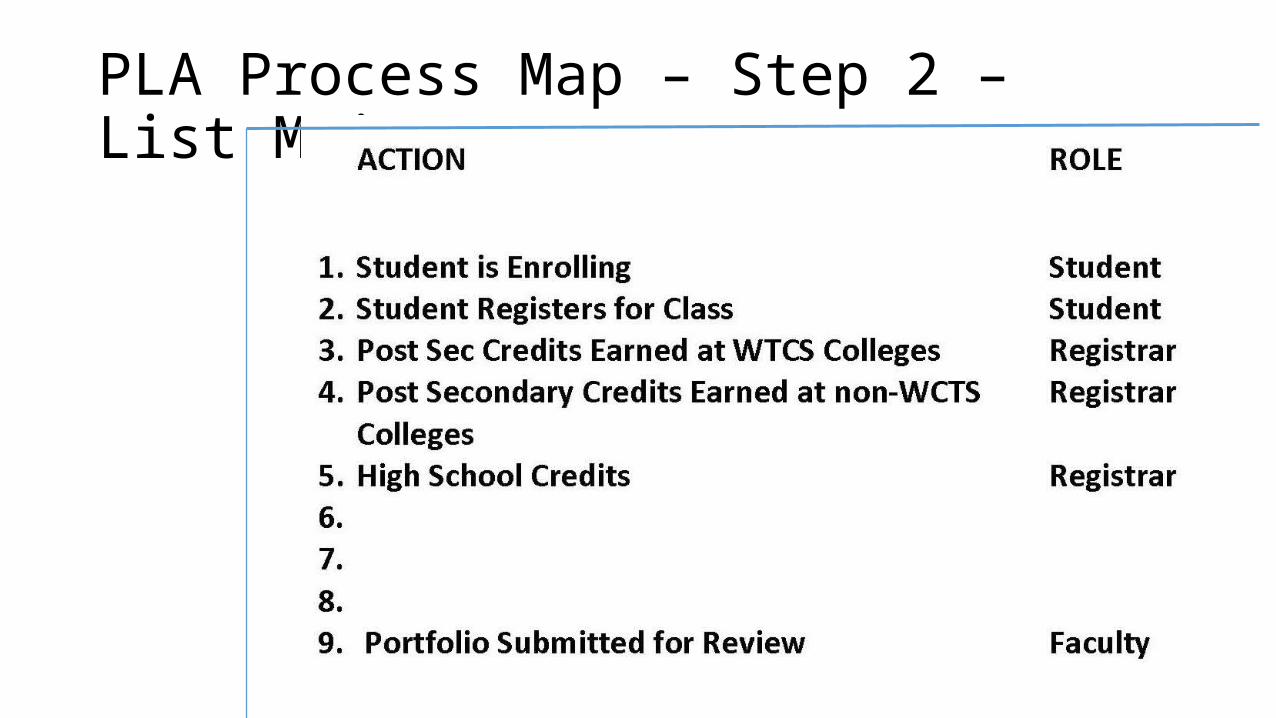
PLA Process Map – Step 2 – List Main Process Steps• Make a list of each step in your process on a separate sheet of paper
using your Throughput Boxes from your Relationship Map as a guide• Make the list in order that they occur regardless of which Role does
the step• Note in the right hand margin of your page the Role from your
Process Map that does that step
PLA Process Map – Step 2 – List Main Process Steps

PLA Process Map – Step 3 – List Main Decision Points• List any Decision Points that need to occur on your Process Map• Think about the possible paths that will come out of each Decision
point.• Determine if the Decision point is a “Yes” or “No” or if there are
specific branches or action paths that are taken.• Create an outline of the different routes the Decision makes and list
the next step that comes out from each branch

PLA Process Map – Step 3 – List Main Decision Points

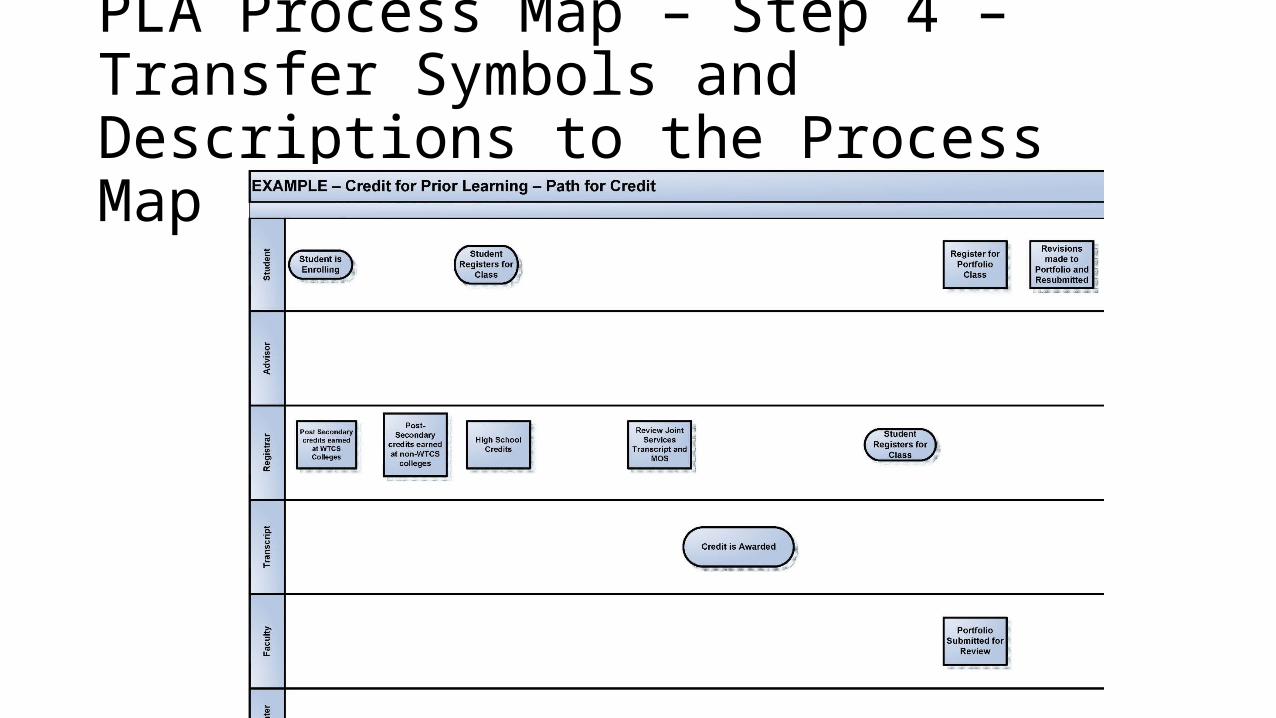
PLA Process Map – Step 4 – Transfer Symbols and Descriptions to the Process Map• Using your lists of Action steps and Decision points, transfer the
appropriate symbols to your Process Map• Place the symbols on your Process Map in the order that they occur
and in the proper Swim Lane or Role on the Process Map (You may want to start with Post it notes and move them around)• Add the appropriate description to each box• Include your Decision Diamonds. Place the Decision Diamond in the
Role that they occur and map out the next steps for each path on the map in the respective Roles.• Add the appropriate description to each Decision Diamond
PLA Process Map – Step 4 – Transfer Symbols and Descriptions to the Process Map

PLA Process Map – Step 4 – Transfer Symbols and Descriptions to the Process Map
PLA Process Map – Step 5 – Add the Relationship Arrows to the Process Map• Go back through your Process Map and check the flow step by step• During this review make sure that each box is connected with arrows coming into the
box and going out of the box• Decision Diamonds will have multiple arrows coming out.• Sometimes multiple arrows can go into an Action Box especially as a part of a loop
coming out of a subsequent Decision Diamond.• The Starting Oval and Ending Oval will be the only symbols with a single arrow or
direction. There may be multiple arrows coming into an Ending Oval but there will be no arrows coming out the other side.• There is always and Ending Oval at the conclusion of the Process Map• The may be some “intermediary” Ending Ovals at different Decision Points that end a
portion of a flow.

PLA Process Map – Step 5 – Add the Relationship Arrows to the Process Map

PLA Process Map – Step 5 – Add the Relationship Arrows to the Process Map
PLA Process Map – Step 6 – Add Notes on Improvements
PLA Process Map – Step 6 – Add Notes on Improvements• Reviewing your Assignment, think about places that you would like to
make improvements to your process.• Note these ideas at the appropriate places on your Process Map• Discuss these ideas when reviewing your Process Map in your
Organization. The Process Map and flow will depict your Current State or “AS IS” Process Map. • The Notes will describe improvements you would like to draw into
your Future State or “SHOULD BE” Process Map.

PLA Process Map – Step 7 – Note Disconnects on the Process Map and the Analysis Sheet• Now go through your Process Map and identify where Disconnects occur.• Draw a small circle at the appropriate point and number the Disconnect on your
Process Map• The same Disconnect may occur at several points on the Process Map• Transfer your numbered Disconnects, using the same number, to the Analysis
Chart provided.• Add a complete description on your Analysis Chart for each Disconnect. The
description should be complete enough to help you and your organization determine an action and resolution to the problem.• Don’t worry yet about analyzing your Disconnects. That will be one of the Tasks
in Session 3.

PLA Process Map – Step 7 – Note Disconnects on the Process Map and the Analysis Sheet

PLA Process Map – Step 7 – Note Disconnects on the Process Map and the Analysis Sheet

Session 2 – Process Mapping – Next Steps• Take your Process Map and Disconnect Analysis back to your
organization
Session 2 – Process Mapping – Next Steps• Take your Process Map and Disconnect Analysis back to your
organization• Review your Process Map with Staff and Colleagues
Session 2 – Process Mapping – Next Steps• Take your Process Map and Disconnect Analysis back to your
organization• Review your Process Map with Staff and Colleagues• Redraw and improve your Process Map• Fix items that are not correct• Add Improvements to your Map

Session 2 – Process Mapping – Next Steps• Take your Process Map and Disconnect Analysis back to your
organization• Review your Process Map with Staff and Colleagues• Redraw and improve your Process Map• Fix items that are not correct• Add Improvements to your Map
• Refine the Disconnects on the Map and the Analysis Sheet

Session 2 – Process Mapping – Next Steps• Take your Process Map and Disconnect Analysis back to your organization• Review your Process Map with Staff and Colleagues• Redraw and improve your Process Map• Fix items that are not correct• Add Improvements to your Map
• Refine the Disconnects on the Map and the Analysis Sheet• Start to Categorize your Disconnects for Analysis in Session 3• Organizational• Process • Individual
Session 2 – PLA Process Map - Questions

(C) CAEL 2014 44
CAEL PLA Session 2 - Close
Please send examples of your Process Map by April 21st to:


