爀吀栀攀 攀瘀愀挀甀愀琀椀漀渀 䄀猀猀攀洀戀氀礀 䄀爀攀愀 椀猀 … ·...
33
By Richard Brennan, Health & Safety Coordinator Office of Risk Management/EHS
Transcript of 爀吀栀攀 攀瘀愀挀甀愀琀椀漀渀 䄀猀猀攀洀戀氀礀 䄀爀攀愀 椀猀 … ·...

By Richard Brennan,
Health & Safety Coordinator Office of Risk Management/EHS
Presenter
Presentation Notes
My name is Richard Brennan. I am the Health and Safety Coordinator. This is training for Ergonomics Lets get some of the housekeeping out of the way. Restroom facilities are down the hall on right. In case of emergency, exits are in either direction out this door. The closest is to the left and down the stairs. There is a fire extinguisher and pull station at the top of the stairs. The evacuation Assembly Area is the stadium entrance to the athletic field.

CSULA Resources Worker Health Symptoms Good Working Positions Workstation Components Work Process Workstation Environment
Presenter
Presentation Notes
Topics for todays’ training. (list)

RM/EHS Website http://www.calstatela.edu/univ/ehs/
RM/EHS Office Director x3-3527
Kevin Brady Health & Safety Coord. x3-3549
Richard Brennan
Procedures to Request Ergo Assessment
Presenter
Presentation Notes
Ergonomic resources available on campus include : Our department website. Review the link. 2. The department director and I are involved with ergonomic assessments of your workplace. Use us before there are problems which persist. 3. Assessments need to be requested. We follow ergonomic Workers Comp claims with an assessment. If you have indications of potential problems, we are available. If these symptoms have progressed to being persistent and painful you should seek medical advice. This training attempts to steer you away from practices which end with ergonomic troubles.

Slip/Trip/Fall 20%
Laceration 29%
Sprains/Strains 35%
Other 16%
2014 Total Injuries by Cause
Presenter
Presentation Notes
This is a breakdown of injuries for the year. There are no Cumulative Trauma’s this year. That is definitely a musculoskeletal source. Strains and sprains more likely originate from musculoskeletal sources. Since this statistic includes First Aid, these may be emerging signs of problems, and not too late to correct. The point of this statistic is to recognize problems as early as possible. This training tries to avoid even the first signs of incorrect postures and work setups.
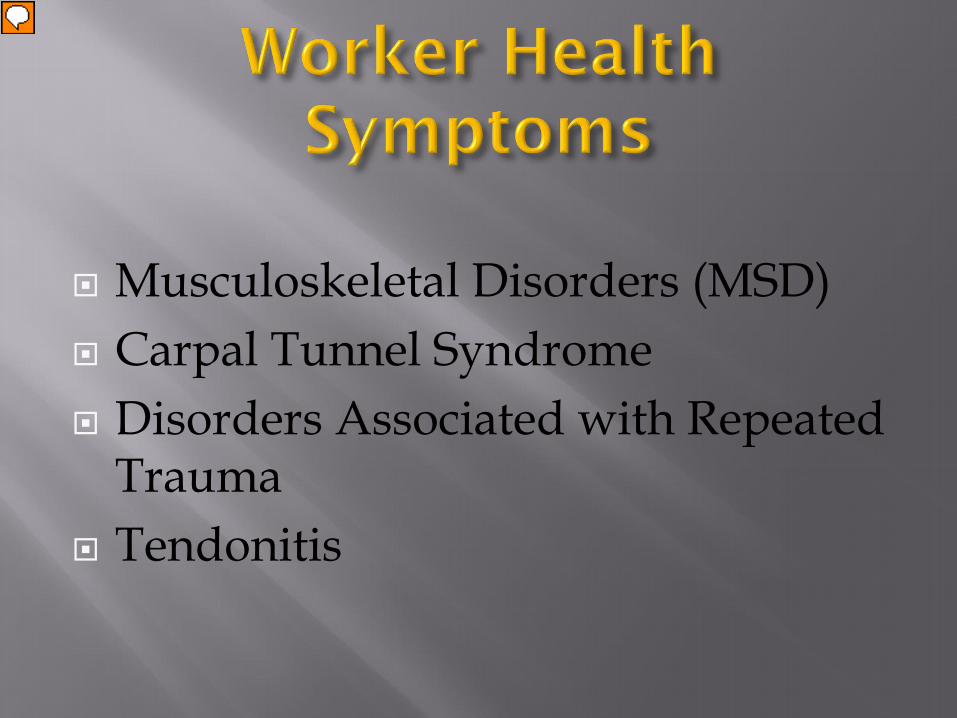
Musculoskeletal Disorders (MSD) Carpal Tunnel Syndrome Disorders Associated with Repeated
Trauma Tendonitis
Presenter
Presentation Notes
MSD is any disorder of the muscles, tendons, ligments, joints and nerves due to strain or trauma. Strain (stretching) or impact of on these bodily parts either suddenly with overwealming force or repeated at a lower level over time can cause inflammation and irritation to these parts. Inflammation causes pressure to be placed on the nerves resulting in pain. The Carpal Tunnel is a place in the wrist that is packed with nerves and tendons. These nerves and tendons provide most of the hands ability for fine motor control and grip strength. Problems usually start by over working fingers over a period of time. As the tendons and muscles begin to swell due to inflammation it puts pressure on the nerves, causing pain. Repetitive strains and minor impacts on the tendons and muscles cause inflammation over a period of time. Vibration can also cause inflammation. Inflammation can also cause muscles to spasm, further stressing muscles and tendons and causing pressure on nerves. Tendonitis is another MSD. Usually from repeated lesser traumas. An example would be tendonitis of the Achillies tendon. You can be walking along normally and suddenly find that you cannot put any pressure on your foot. This could be caused by shoe pressure on the Achillies tendon. Tennis elbow is repeated extension of the tendons connecting the elbow. Obviously, tennis is a sport that pushes use of the elbow to extremes.

Presenter
Presentation Notes
Here is an arm at the elbow joint. Try this yourself. Put a bit of strain on your bicep. Your find this tendon easily. There’s more to this elbow joint than this. This is a simplified view. The ligaments are another flexible connective tissue. Unlike tendons, ligaments connect bone to bone. This picture locates some of these ligaments. Push here. Feel how tightly these joints are kept. Yet, they are flexible. These are ligaments. Both tendons and ligaments are similar. They can stretch and will return to normal if not stretched to the point of tearing. They have a blood supply which, like any other tissue, goes to work repairing and responding to stress. But there are limits. Too much stress (tearing) or smaller stresses without time to repair, and the tissue breaks down.

The Carpal Tunnel
Presenter
Presentation Notes
Here is the Carpal Tunnel. This view shows how exposed the major nerve to the hand is. It is exposed on the palm side. But it is also surrounded by tendons. Those tendons can inflame and swell by being over worked. Try this exercise. Do this motion. Add a bit of strain to it. Easy at first. Keep it up and you’ll feel more and more pressure. To a lesser degree this motion is repeated daily for long periods as we type. Too much stress over too long a period and the nerve is compressed. The compression causes pain. This is why we must do everything possible to reduce the stress in these critical areas.
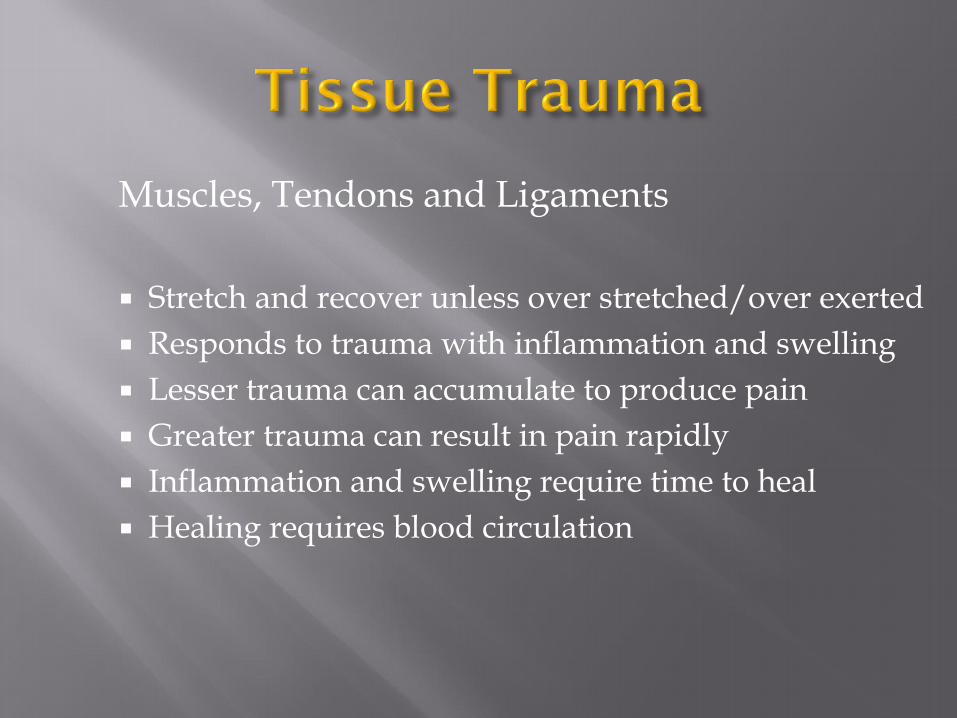
Muscles, Tendons and Ligaments
Stretch and recover unless over stretched/over exerted Responds to trauma with inflammation and swelling Lesser trauma can accumulate to produce pain Greater trauma can result in pain rapidly Inflammation and swelling require time to heal Healing requires blood circulation

Pressure Near the Carpal Tunnel
Presenter
Presentation Notes
Here is one of the ways stress on the median nerve is increased! A point pressure like this is a problem. It reduces blood flow and increases tendon inflammation.
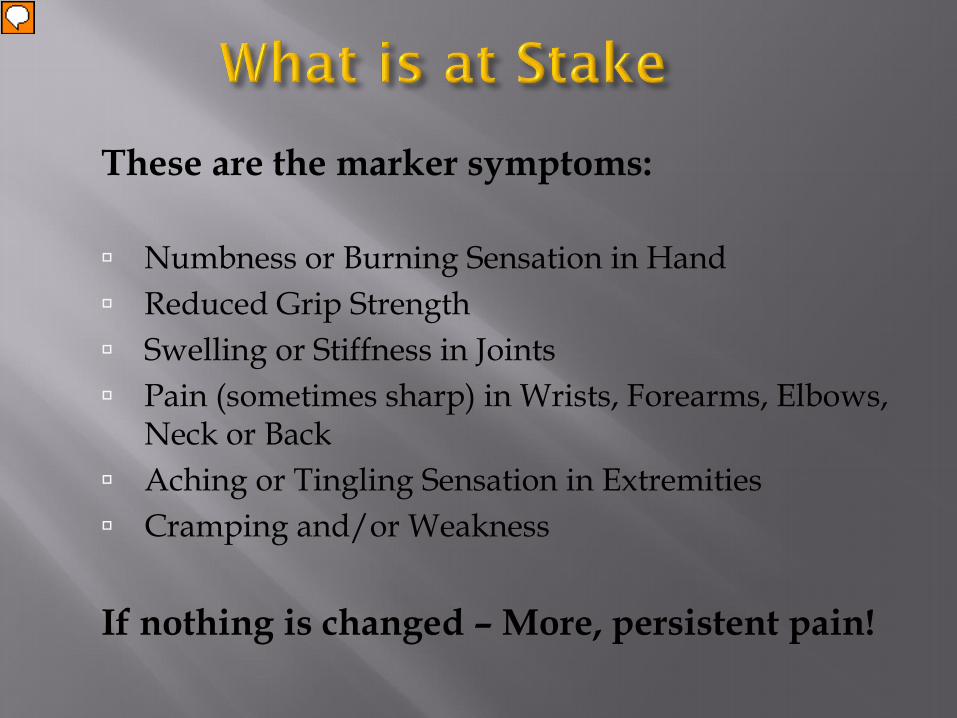
These are the marker symptoms: Numbness or Burning Sensation in Hand Reduced Grip Strength Swelling or Stiffness in Joints Pain (sometimes sharp) in Wrists, Forearms, Elbows,
Neck or Back Aching or Tingling Sensation in Extremities Cramping and/or Weakness
If nothing is changed – More, persistent pain!
Presenter
Presentation Notes
Remember these symptoms! As any of these symptoms come into your awareness, then is the time to recognize the problem, determine the source, and change your behavior. Ignoring that awareness and those symptoms lets your mind know that these minor pain sensations are not important. It will take a higher threshold of symptoms to be recognized the next time. The longer the symptoms are allowed without changing their cause, the longer it will take to get rid of those pains.

Neutral Body Postures http://www.osha.gov/SLTC/etools/computerworkstations/positions.html
Hands/Wrists/Forearms are in-line and Parallel to Floor Head is level & in-line with Torso Shoulders relaxed & Upper Arms hang normally at the
side of the body Feet are fully supported by floor or footrest Back is fully supported with lumbar or slight
inclination back Thighs/Hips supported and Parallel to floor Knees at same height as hips and feet slightly forward
Presenter
Presentation Notes
In order to reduce these stresses start with a position which has little stress. What are these positions? One is merely standing upright. Head up, back straight. Arms at your side. Feel how natural this position is. Very low stress. Another low stress position is sitting. Well supported in a chair of the right height and size. OSHA teaches both these positions . Here is their website. And we will teach it as well. (talk to the slide points)

Ergonomic Chair Adjustments
The following 8 slides are provided as a handout for use as a convenient reference

CHAIR HEIGHT 1) With back against lumbar support 2) With feet flat on floor or well supported on foot rest 3) Raise/Lower the seat until thighs are comfortably horizontal. Purpose: Widely distributed support of your body weight on the seat pan maintains adequate blood circulation.
SEAT PAN POSITION 1) With the following adjustments, your back should be against the lumbar support. 2) Adjust/Slide seat pan until there is 2- 3 fingers clearance from back of the knees to the seat pan. If adjustments cannot obtain the correct clearance, the seat is either too small or too large for your size.

LUMBAR POSITION 1) Place back against lumbar support 2) Adjust the lumbar position vertically to provide good lower-back support 3) Adjust desirable firmness of lumbar support. If adjustments cannot obtain the correct clearance, the seat is either too small or too large for your size.

SEAT ANGLE POSITION 1) With lumbar well supported: 2) Adjust the seat back angle between vertical to a maximum of 10 degrees 3) Select within this range of angle for for personal comfort. Outside of this range one either leans forward forcing the back to support the upper body or laying back requiring reaching to operate the keyboard or mouse. The spine supports most of the upper body weight without the use of muscles to hold the arms in position.

KEYBOARD POSITION 1) Lower arm rests out of the way or all the way down. 2) With upper arms vertical, raise fore- arm to make a 90-degree angle with upper arm. 3) This wrist/hand height is preferred. Move the keyboard tray to support this typing height. If the height of top of the desk is too close to use a keyboard drawer, install a drawer, or, consider a foot stool with corresponding higher seat height to place the keyboard on the desk.
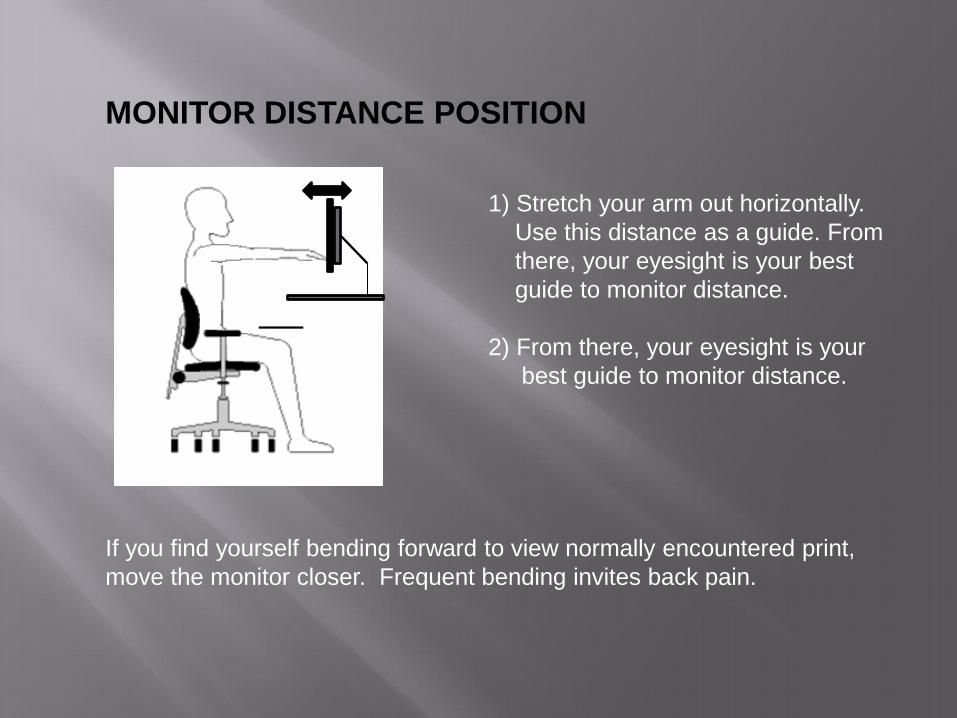
MONITOR DISTANCE POSITION 1) Stretch your arm out horizontally. Use this distance as a guide. From there, your eyesight is your best guide to monitor distance. 2) From there, your eyesight is your best guide to monitor distance. If you find yourself bending forward to view normally encountered print, move the monitor closer. Frequent bending invites back pain.

MONITOR HEIGHT POSITION 1) Move the monitor either up or down until the top viewing portion of the monitor is at eye level. 2) Adjust the monitor / keyboard / chair to be inline. 3) This monitor position leaves you with enough clearance for a document holder below the monitor. Adjustments for some smaller individuals leave little room for a document holder. It is possible to have a document holder attached on level next to the monitor.

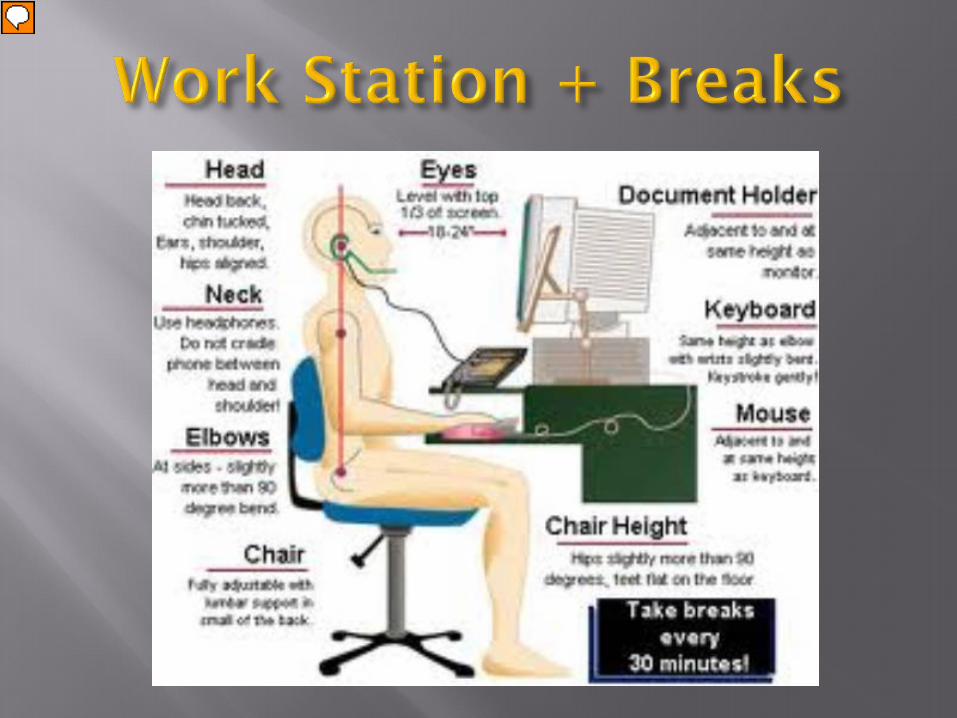
FINAL WORKSTATION POSITION Chair-Keyboard-Monitor All are in line PURPOSE: The workspace is arranged so you are seated in a low stress position for typing and where you move your eyes rather than head to view the monitor and document.
Presenter
Presentation Notes
This diagram merely shows what was explained this time with the keyboard and monitor positions. Monitor is about arms length. Keyboard level with arms. Pay close attention to the wrist area. Remember – no edges. A keyboard tray is handy for a sitting position. You are most comfortable with your hands closer to your lap. Keep your arms at your side – not resting on arm rests. Feet flat on floor or well supported with footrest.

Presenter
Presentation Notes
More diagrams. Same message on sitting. Includes standing work station.

Some Positioning Problems
Flying elbows
Cradling the phone
Presenter
Presentation Notes
Cradling the phone is very hard on your neck and upper back. It makes for very stressful typing regardless of the workstation setup. Elbow positions away from the body are not only harder on the upper arms and neck are also harder on the wrists and hands.

An Ergonomic Keyboard
Accommodates a more natural wrist position

Presenter
Presentation Notes
Once your sitting or standing position is worked out with keyboard and monitor you should arrange the other tools you work with. Arrange them according to how much you use them. Try this exercise. Put your arm out straight and hold it. This becomes uncomfortable after just a little bit. Lets reduce that stress. We want you arrange your workstation so that you are not reaching as much.

Presenter
Presentation Notes
Divide your work into three zones. The closest zone is reserved the keyboard and mouse. Next are the phone if it is used a lot and documents. Do you write a lot? Have a clear space available close by and in front without twisting. The lesser used items – stapler, tape and paper clips can be further. And all the rest away or at a distance. Get rid of the clutter !! But it is your organization that counts – What do you use frequently. Do you need to phone while typing, consider a hands-free phone.

http://www.osha.gov/SLTC/etools/computerworkstations/components.html
Monitors Keyboards Pointer/Mouse Wrist/Palm Supports Document Holders Desks Chairs Telephones EVERYTHING ELSE!
Presenter
Presentation Notes
Your work has demands for what you use and how often you use it. This list has an order but yours may be different. Are you on the phone lots during the day. Bring it forward.

http://www.ecdonline.net/adj300xt.html
http://www.computingcomfort.org/educate.asp http://www.computingcomfort.org/educate1.asp http://www.computingcomfort.org/educate4.asp
Presenter
Presentation Notes
ECD has a very good primer on adjusting their chairs. (go into it). The next three links are from Comfortable Computing Initiative: An explanation of neutral sitting position and what things you can or should change regularly. There is a section on setting up the monitor and document holder so you move your eyes comfortably. And the eyes need rest occasionally. c. Resources describing why the body needs to move and Scientific studies showing that movement is health promoting.

http://www.osha.gov/SLTC/etools/computerworkstations/wkstation_enviro.html
Having these symptoms? Dry, Itchy, or Sore Eyes Blurred or Double Vision
• Lighting • Glare • Ventilation • Housekeeping

Take the concepts we’ve discussed and apply them at home.
If you do intensive computer entry during the day…
…then continue into the evening on the computer …
Give your body a break.
Presenter
Presentation Notes
The point here is that all the changes you apply at work can be undone by Not applying correct setups and posture, and 2) Overdoing it
http://www.osha.gov/SLTC/etools/computerworkstations/workprocess.html
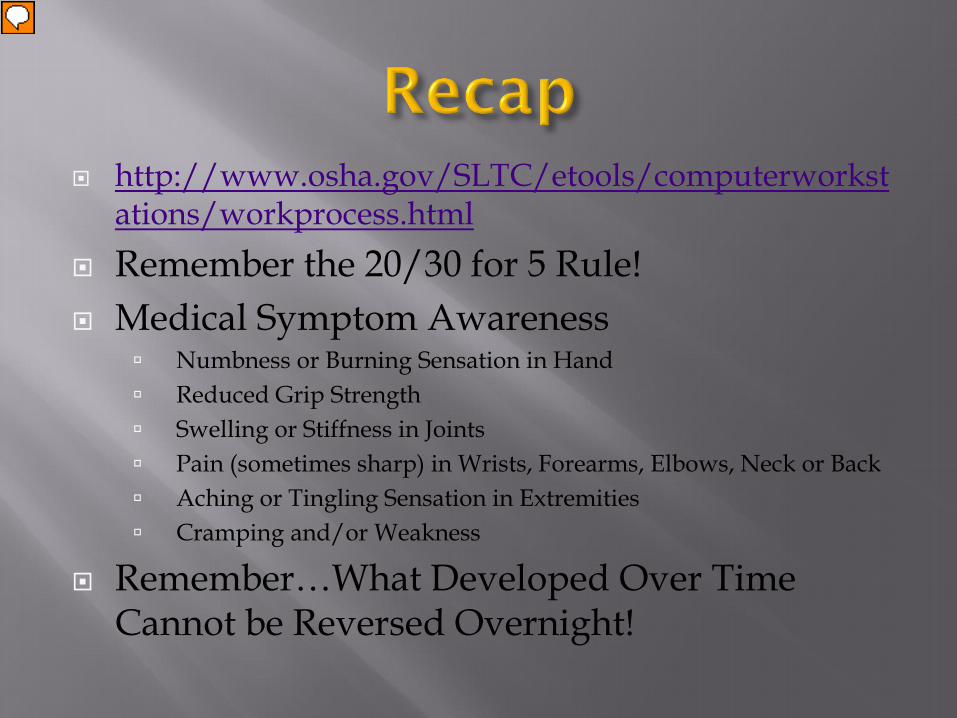
Remember the 20/30 for 5 Rule! Medical Symptom Awareness
Numbness or Burning Sensation in Hand Reduced Grip Strength Swelling or Stiffness in Joints Pain (sometimes sharp) in Wrists, Forearms, Elbows, Neck or Back Aching or Tingling Sensation in Extremities Cramping and/or Weakness
Remember…What Developed Over Time Cannot be Reversed Overnight!
Presenter
Presentation Notes
Now that we have done all this arranging, it time to take a break. OSHA encourages you. We encourage you!! The link is to another OSHA Ergonomics Guide. It is not good to sit for long periods, even with the best of workstations. Your blood flow is decreased. Positions do not allow for much motion. And your body is built to move. So… you need to get up and move. Every 20 to 30 minutes get up and do something else. MOVE. Remember the 20/30 for 5 rule. The OSHA website also lists the signs and symptoms of MSD. Here they are. MSD is generally created over time. The effects of poor ergonomics take time to reverse.