Blender Modeling Blitz - graphic simgraphic-sim.com/files/Blender Modeling Blitz.pdf• Enable the...
28
Blender Modeling Blitz C. Darken Last revised Jan 2017 for Blender 2.78a
Transcript of Blender Modeling Blitz - graphic simgraphic-sim.com/files/Blender Modeling Blitz.pdf• Enable the...

Blender Modeling Blitz
C. Darken
Last revised Jan 2017 for Blender 2.78a

Blender Resources
• Main portal: http://www.blender.org • Support: http://www.blender.org/support
– User's guide, tutorials, etc.– Blender Stack Exchange (for asking questions)– Plenty of external Blender support sites

Outline
• Interface basics• Editing• Texturing• Export

Subwindow ("Area") Control
• Grab handle (at lower left and upper right)– Pull into window to split into two– Pull onto neighbor window to join (look for
arrows)
• The type of the window is controlled by a drop-down list of icons at the left bottom or left top– The most common type for this exercise is the
3D View window, whose icon is a cube
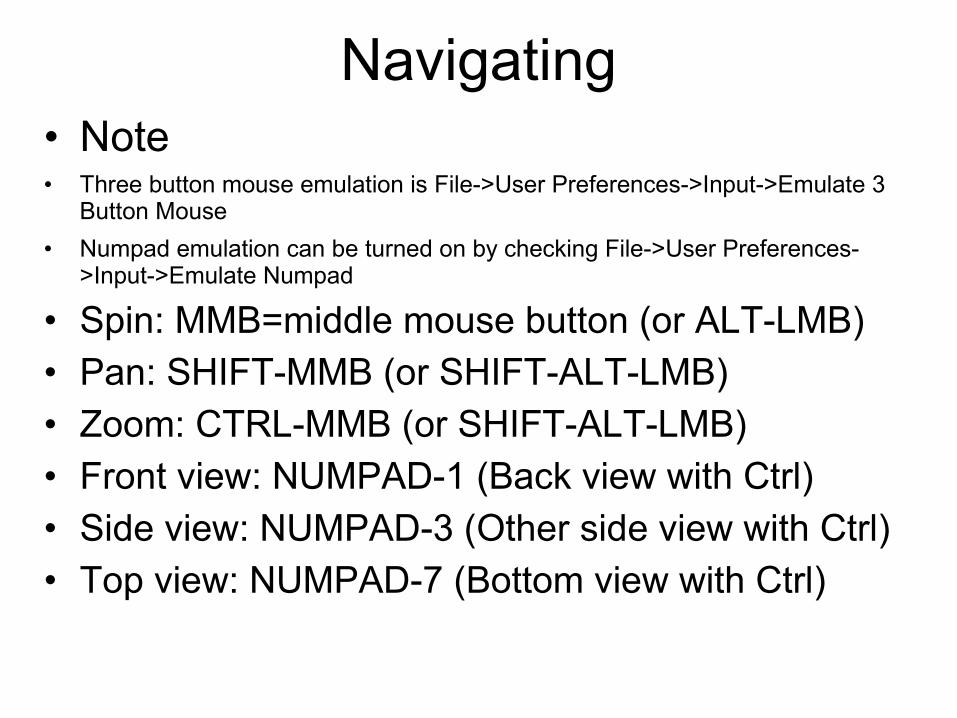
Navigating• Note• Three button mouse emulation is File->User Preferences->Input->Emulate 3
Button Mouse
• Numpad emulation can be turned on by checking File->User Preferences->Input->Emulate Numpad
• Spin: MMB=middle mouse button (or ALT-LMB)
• Pan: SHIFT-MMB (or SHIFT-ALT-LMB)
• Zoom: CTRL-MMB (or SHIFT-ALT-LMB)
• Front view: NUMPAD-1 (Back view with Ctrl)
• Side view: NUMPAD-3 (Other side view with Ctrl)
• Top view: NUMPAD-7 (Bottom view with Ctrl)

Modes
• Object mode (at startup)• Edit mode (for poly editing)• Sculpt mode• etc.
TAB toggles between

Saving
• Save your work often at various stages of completion
• File -> Save As, mouse over file name, and then hit NUMPAD +KEY to increment the version number

Editing
• Selecting• Modifying• Adding

Selecting (Edit Mode)• Selection is orange, rest is black• Select/unselect all: AKEY• Select/unselect a single vertex: RMB• Add/remove a vertex from set: SHIFT-RMB• Edge selection: ALT-RMB
– Or choose edge (or face) selection mode by pushing buttons below window
• Box select: BKEY (adds to selection)• Circle select: CKEY (m. wheel scales circle)• Note the "limit selection to visible" button
Modifying
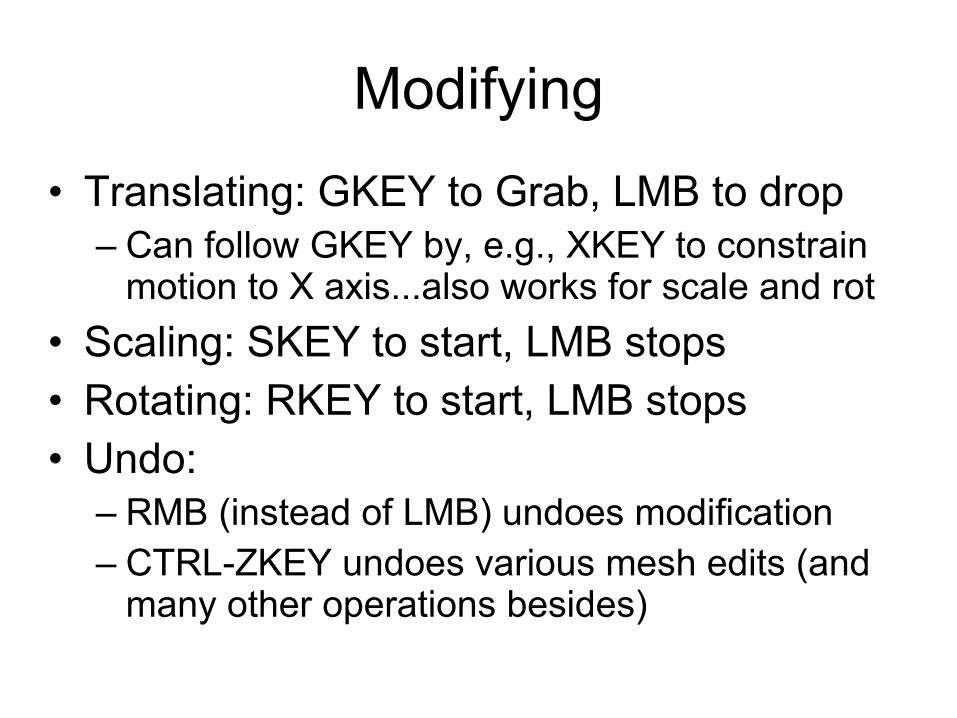
• Translating: GKEY to Grab, LMB to drop– Can follow GKEY by, e.g., XKEY to constrain
motion to X axis...also works for scale and rot
• Scaling: SKEY to start, LMB stops• Rotating: RKEY to start, LMB stops• Undo:
– RMB (instead of LMB) undoes modification– CTRL-ZKEY undoes various mesh edits (and
many other operations besides)

Adding• Adding geometric solids
– Add (or SHIFT-AKEY) -> Mesh
• Extruding– Select all desired vertices (e.g. that make up a
face), EKEY begins, LMB ends
• Adding single vertices, edges, and faces– Add vertex: CTRL-LMB (with nothing selected)– Add edge or face: Select two or more vertices,
then FKEY
• Subdividing– Press button in left side panel

More Internal Refinement
• Allow adding more vertices (and thus shape control) to the interior of the mesh
• Loop cut and slide– Hit CTRL-R– Move mouse until the right new loop is visible
(LMB to lock in)– Move mouse to slide it (LMB again to lock in)
• Knife tool– Hit KKEY – LMB defines segments of the cut line– ENTER executes the cut

Other Modeling Tools• Subdivision Surfaces
– In a Properties pane, select Modifiers (wrench icon), then Add Modifier->Subdivision Surface. Control number of polygons in View field.
– To convert to polys, click Apply
• Proportional Editing– In edit mode, OKEY. Select vertices and
GKEY to move. Mouse wheel or PAGE-UP/PAGE DOWN controls radius. Drop down box controls falloff.
• Sculpting– Select Sculpt Mode. Controls are at left. Use
LMB to sculpt
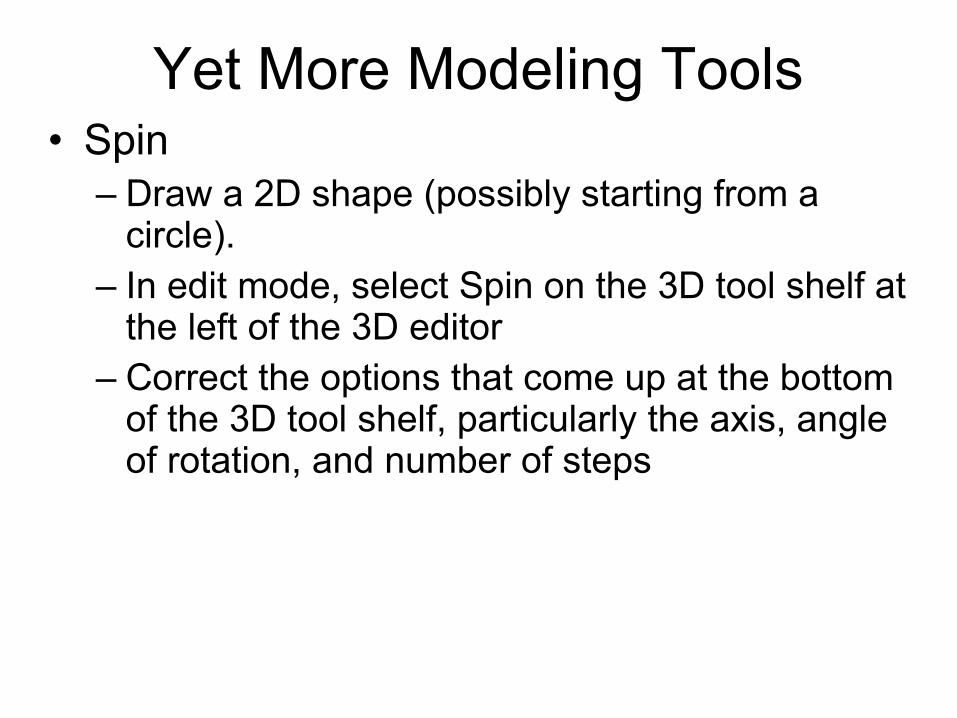
Yet More Modeling Tools• Spin
– Draw a 2D shape (possibly starting from a circle).
– In edit mode, select Spin on the 3D tool shelf at the left of the 3D editor
– Correct the options that come up at the bottom of the 3D tool shelf, particularly the axis, angle of rotation, and number of steps

Modeling from Blueprints• Sometimes it's convenient to model an
object directly from a blueprint or set of plan views pasted into the 3D editor
• Blender allows you to assign images to plan views using the Background Images panel of the Properties shelf at the right of the 3D editor (press N to toggle visibility) provided: – Orthogonal, rather than perspective, viewing is
on (controlled from View menu)– The object is viewed from a plan view that has
been assigned a background image

Texturing
Window setup• UV Unwrapping• Texture painting inside Blender• Texture painting using external tools
(GIMP)

Window Setup
• There is a screen layout selectable from the drop down list called “UV Editing”
• The left pane is a UV/Image Editor and the right is a 3D View

UV Unwrapping• Go into Edit mode• UKEY, then select unwrapping mode.
“Unwrap” and “Smart UV Project” are nice.• The outline of some of the model poly's
appears in the UV window. Usually it will be a mess at first.
• In edit mode, select edges, hit CTRL-EKEY and select Mark Seam. This will allow Blender to cut the model along the seam.
• Unwrap again. Repeat until satisfied.• Translate, scale and rotate the outline as
desired

Creating a Texture• In the Image Editor, Image→New Image,
then enter a name (something.png) and dimensions for the texture (square, powers of 2)
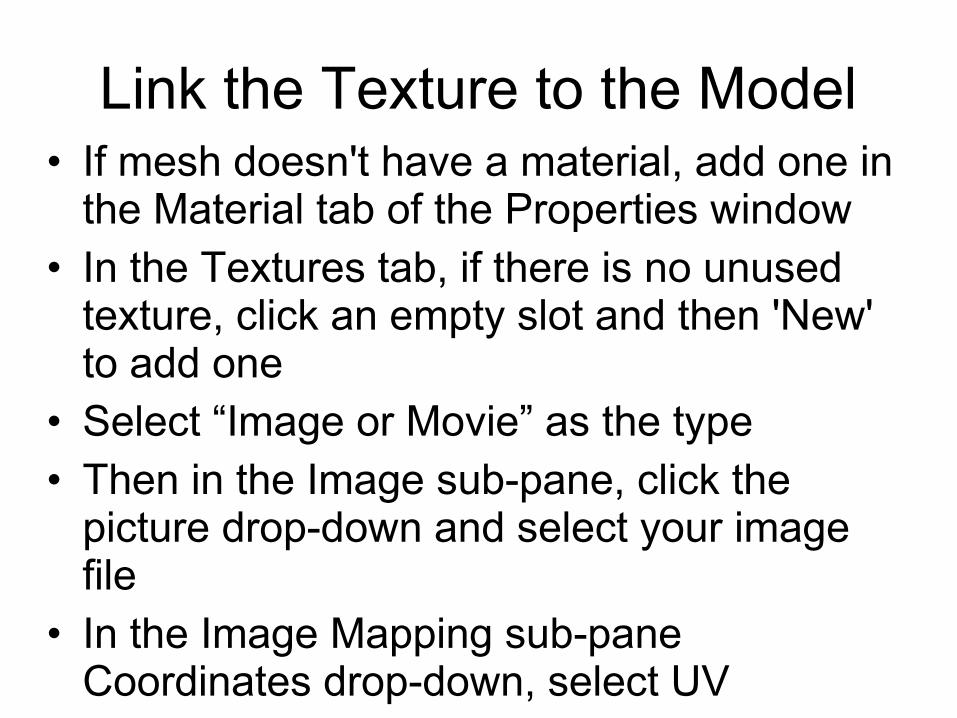
Link the Texture to the Model• If mesh doesn't have a material, add one in
the Material tab of the Properties window• In the Textures tab, if there is no unused
texture, click an empty slot and then 'New' to add one
• Select “Image or Movie” as the type• Then in the Image sub-pane, click the
picture drop-down and select your image file
• In the Image Mapping sub-pane Coordinates drop-down, select UV

Texture Painting (in Blender)• In a UV/Image Edit window, select the image to
be painted
• In the 3D window, select texture paint mode
• Apply paint!
• In the UV/Image Edit window, select Image→Save as Image, and save the image to the same directory as your *.blend file
• Hotkeys:– F: brush size
– SHIFT-F: brush intensity
– S: sample color
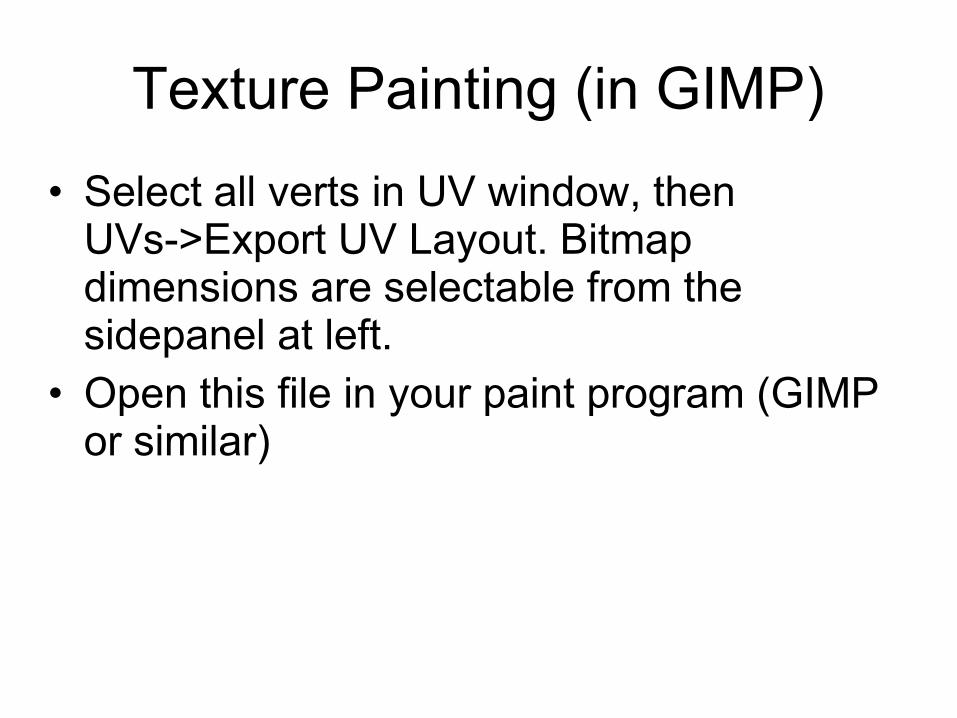
Texture Painting (in GIMP)
• Select all verts in UV window, then UVs->Export UV Layout. Bitmap dimensions are selectable from the sidepanel at left.
• Open this file in your paint program (GIMP or similar)

Texture Painting in GIMP, Cntd.
• Add a new layer above the guide image (GIMP: Layer->New Layer)
• Make the new layer partially transparent so we can see the guide (GIMP: In Layers window, select layer and move the Opacity slider)
• Now paint your texture. Save as a *.png file (GIMP goes by your filename).
THREE Export
• Download the THREE exporter for Blender• Install in appropriate script directory (see
included instructions)• Enable the three.js exporter in
File->User Preferences->Add-Ons->Import-Export
• The exporter should now appear in File->Export

Advanced Topics
• The slides below are placeholders for future expansion

Terrain
• Geo-typical– Try using the Ant plugin that ships with Blender
• Geo-specific– TIFF height maps can be downloaded– Then UV mapped to a grid– Then used as a height modifier to produce
polygonal terrain

Animation
• Morph animation– Used to animate mesh distortions (like facial
expressions)– Called "shape keys" in Blender– Animation in Three needs to be driven by
custom code
• Skeletal animation– Used for human figures, animals, robots, some
types of machines– Skeletons are called "armatures" in Blender– Seem to require less code for simple uses

Other
• Foliage generation with Sapling• Enforcing symmetry with mirror modifiers• Normal manipulation