
Q-dummies Report: Advanced Child Dummies and Injury Criteria for ...
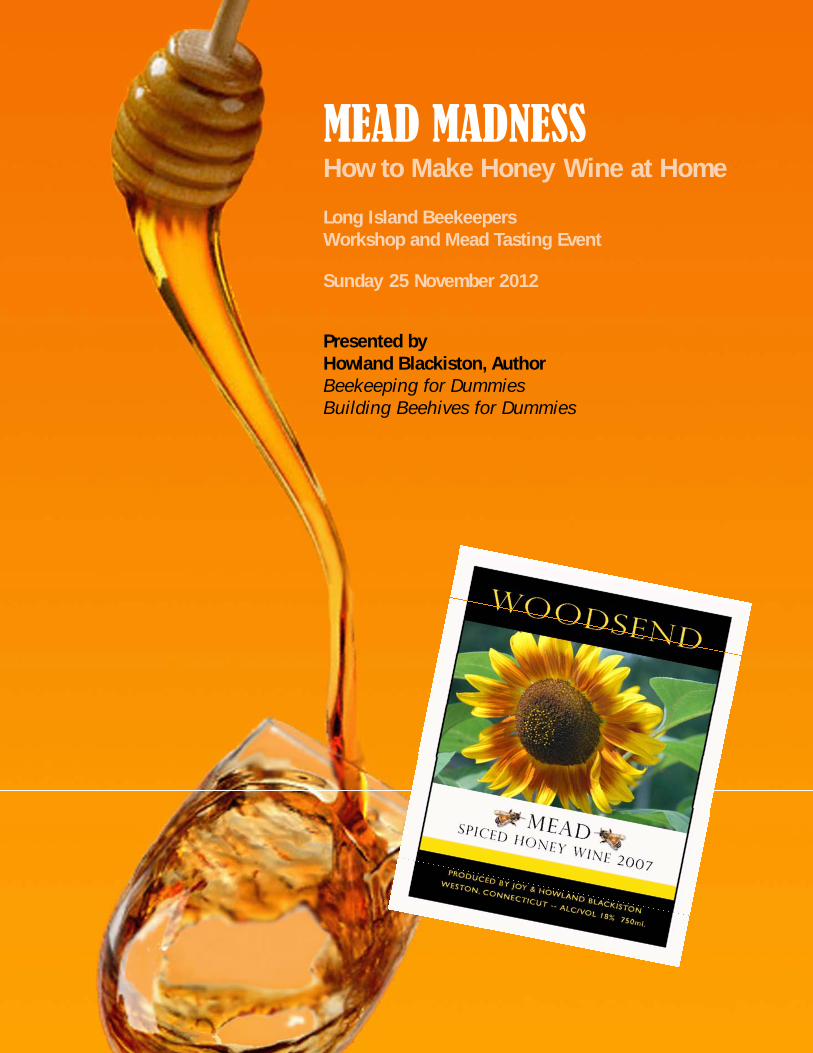
MEAD MADNESS How to Make Honey Wine at Home Long Island Beekeepers Workshop and Mead Tasting Event Sunday 25 November 2012 Presented by Howland Blackiston, Author Beekeeping for Dummies Building Beehives for Dummies

Weekend Workshop with Howland Blackiston
November 2012Page: 1
This weekend workshop has been put together to provide some basic information that will allow you begin your wonderful adventure with the brewing of “honey wine” at home.The history of mead is as old as history itself. Long before the grape was used in winemaking, honey was the sole sweet for fermentation. The mention of mead evokes images of heroes and romantic tales, of castle feasts and chivalry. Legends surround it, that of golden nectar, swirling in a goblet chased with silver, with the heady, erotic aroma of honey caressing the senses. We see Vikings, downing great tankards of frothy mead after a successful raid. One can imagine a beautiful maiden, holding the stirrup cup in her lithe hand, offering it along with a shy smile to the handsome and chivalrous knight preparing to go off to battle.Legend has it that the word honeymoon is derived from an ancient tradition of sending a newly married couple off to seclusion for a month with much mead, to ensure their best chance to start a family quickly. Mead has been, and still is, considered the drink of love.

BYBA Weekend Workshop with Howland Blackiston
Page: 2
There are as many different kinds of mead as there are types of wine or beer. It can be sweet, dry or sparkling. Each category of mead has its own “name”, depending upon the ingredients used. For example, is the mead made with just honey and water? Or were fruit juices, grape juices, apple juices or spices added? The list of names is far longer than what you see here. These are a few of the more common mead types.
January 2012

BYBA Weekend Workshop with Howland Blackiston
Page: 3
Many wine & beer making suppliers offer wine making kits for those interested in making mead. The suppliers used for making mead are identical to the supplies used for making wine. Only the ingredients differ (honey versus grape juice). The quantity and size of the equipment you need is proportional to the amount of mead you intend to make. I suggest starting small (to gain experience) and scale up as you gain confidence and knowledge (just like beekeeping!).A special word about the Hydrometer, as this is a very valuable tool to have when making any kind of mead or wine. Essentially this is a special glass float, weighted at the large end, that is used to measure the density of the Must and Mead to determine the alcohol content. The more sugar there is, the denser the liquid and the higher the hydrometer will float. When the sugar is converted into alcohol, the density decreases and the float drops further into the liquid. They come in small tubes to hold the mead sample, although they can be floated in the open fermenter as long as they have been properly sanitized. Make sure the one you buy is not specifically made for beer, and follow the directions provided for calibration.
January 2012

BYBA Weekend Workshop with Howland Blackiston
Page: 4
Of course in addition to these ingredients and supplies, you will need honey. The type of honey (dark or light) does not matter. Each honey will impart a unique flavor to your mead, just as different grapes impact the flavor and characteristics of wine. Each variety of honey will contribute its own aroma, complexity, and body to the Mead. But rest assured that no mead you ever drink will taste as good as the mead made with your own honey!There is no set rule for what you can and cannot put into Mead to add flavor. If you like the taste of a particular fruit, vegetable, or spice, then give it a try and see what happens. My most recent batch of mead was made by adding grape juice to the mix (putting it in the category of a clarre or pymeat).
January 2012
BYBA Weekend Workshop with Howland Blackiston
Page: 5
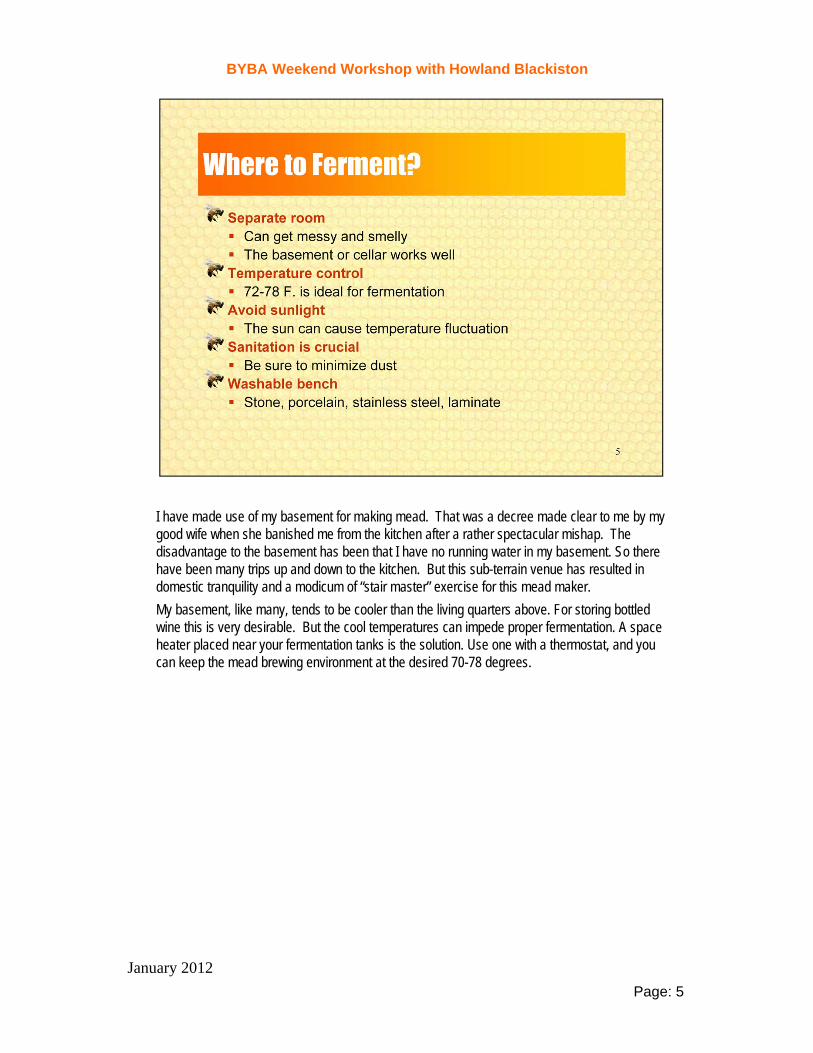
I have made use of my basement for making mead. That was a decree made clear to me by my good wife when she banished me from the kitchen after a rather spectacular mishap. The disadvantage to the basement has been that I have no running water in my basement. So there have been many trips up and down to the kitchen. But this sub-terrain venue has resulted in domestic tranquility and a modicum of “stair master” exercise for this mead maker.My basement, like many, tends to be cooler than the living quarters above. For storing bottled wine this is very desirable. But the cool temperatures can impede proper fermentation. A space heater placed near your fermentation tanks is the solution. Use one with a thermostat, and you can keep the mead brewing environment at the desired 70-78 degrees.
January 2012
BYBA Weekend Workshop with Howland Blackiston
Page: 6
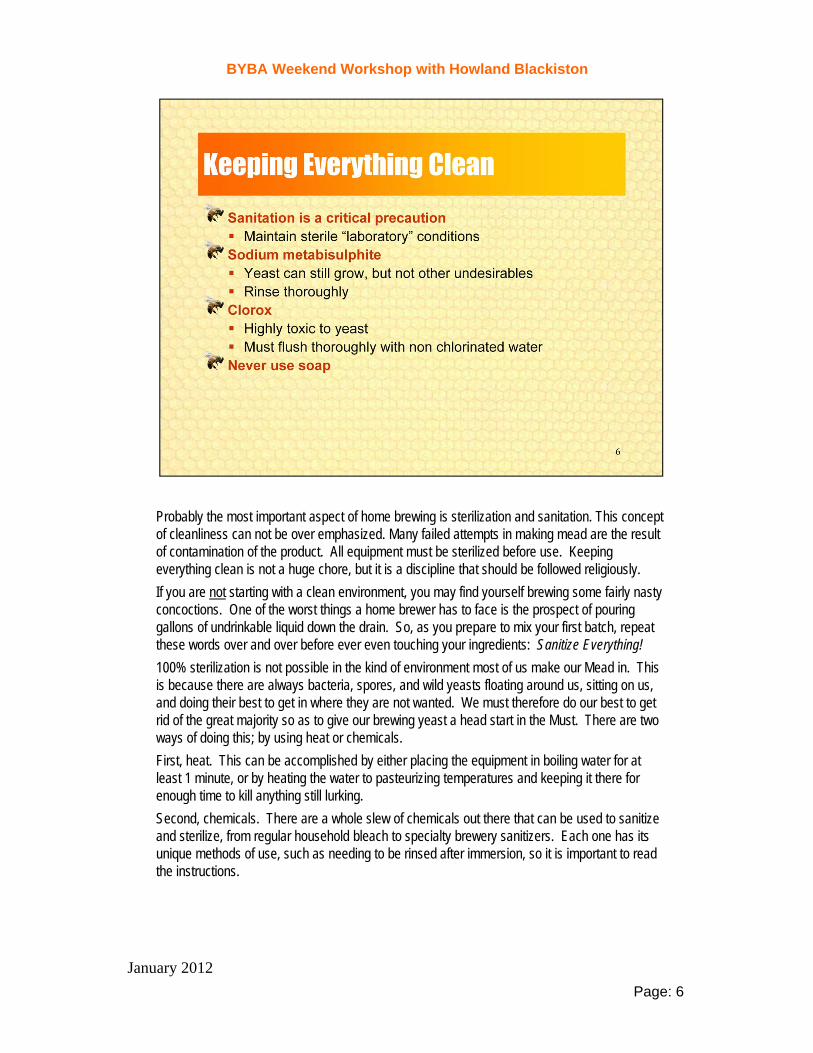
Probably the most important aspect of home brewing is sterilization and sanitation. This concept of cleanliness can not be over emphasized. Many failed attempts in making mead are the result of contamination of the product. All equipment must be sterilized before use. Keeping everything clean is not a huge chore, but it is a discipline that should be followed religiously.If you are not starting with a clean environment, you may find yourself brewing some fairly nasty concoctions. One of the worst things a home brewer has to face is the prospect of pouring gallons of undrinkable liquid down the drain. So, as you prepare to mix your first batch, repeat these words over and over before ever even touching your ingredients: Sanitize Everything!100% sterilization is not possible in the kind of environment most of us make our Mead in. This is because there are always bacteria, spores, and wild yeasts floating around us, sitting on us, and doing their best to get in where they are not wanted. We must therefore do our best to get rid of the great majority so as to give our brewing yeast a head start in the Must. There are two ways of doing this; by using heat or chemicals.First, heat. This can be accomplished by either placing the equipment in boiling water for at least 1 minute, or by heating the water to pasteurizing temperatures and keeping it there for enough time to kill anything still lurking.Second, chemicals. There are a whole slew of chemicals out there that can be used to sanitize and sterilize, from regular household bleach to specialty brewery sanitizers. Each one has its unique methods of use, such as needing to be rinsed after immersion, so it is important to read the instructions.
January 2012
BYBA Weekend Workshop with Howland Blackiston
Page: 7
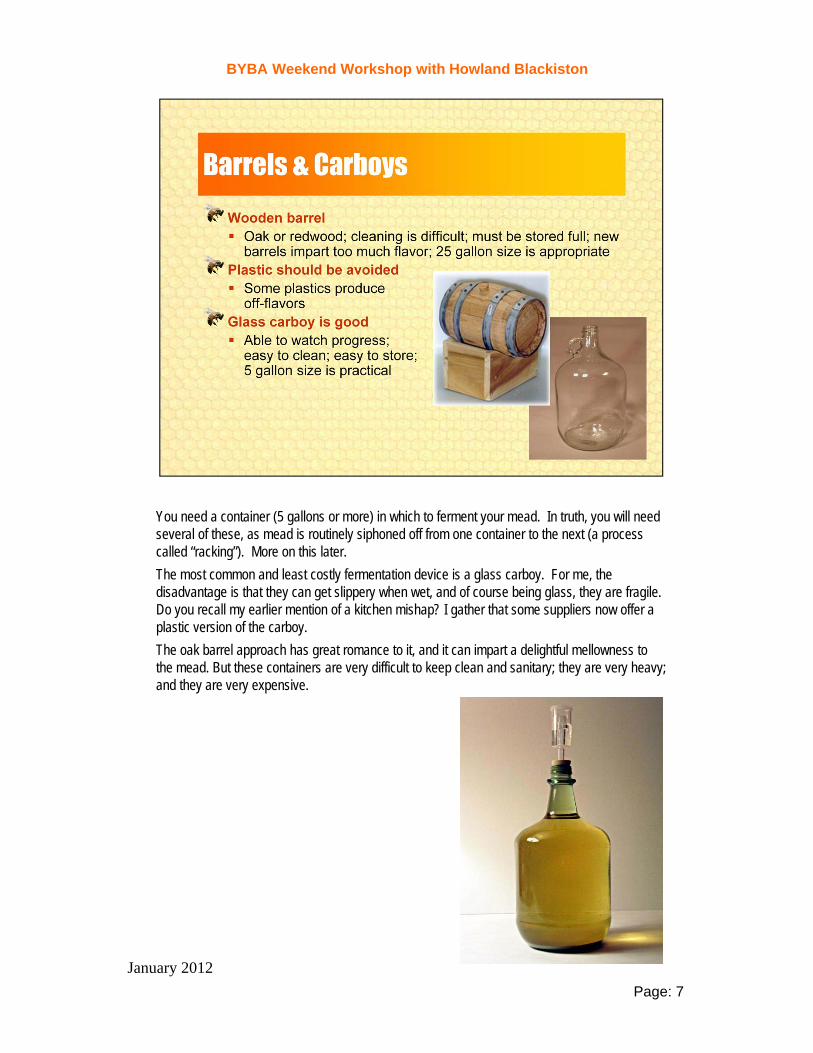
You need a container (5 gallons or more) in which to ferment your mead. In truth, you will need several of these, as mead is routinely siphoned off from one container to the next (a process called “racking”). More on this later.The most common and least costly fermentation device is a glass carboy. For me, the disadvantage is that they can get slippery when wet, and of course being glass, they are fragile. Do you recall my earlier mention of a kitchen mishap? I gather that some suppliers now offer a plastic version of the carboy.The oak barrel approach has great romance to it, and it can impart a delightful mellowness to the mead. But these containers are very difficult to keep clean and sanitary; they are very heavy; and they are very expensive.
January 2012

BYBA Weekend Workshop with Howland Blackiston
Page: 8
I have given up my glass carboys in favor of fermentation tanks made just for this purpose. The food-grade plastic ones are not very expensive, and they are easy to keep clean (that wide opening makes washing out a breeze). They also have a spigot that makes the potentially messy process of siphoning a thing of the past. I love these tanks. They come in 9, 14 and 22 gallon sizes.The stainless steel tanks are also easy to clean, and some (like the one shown in the picture) have variable tops, meaning you can adjust the position of the top as the mead level drops from one raking to the next. This is important, as you never want too much air space above the mead (too air space can lead to off-flavors). But be aware that these premium quality tanks come at a considerable cost. Depending upon the size you get, they can run from $450 and up.
January 2012

BYBA Weekend Workshop with Howland Blackiston
Page: 9
Remember what I said about keeping everything sanitary? That also means not allowing any air to get into the tanks following the initial fermentation stage (you actually want air and O2 during the first or initial fermentation). But after that, the mead must not be exposed for any length of time to airborne contaminants (wild yeasts, bacteria, dust, pollen, etc.).There are a variety of “fermentation locks” available that allow for fermentation gasses to escape, while preventing air from getting in. These locks are typically filled with sterilized water, which serves as the barrier (gasses can bubble out, but air can not get into the tank). These bubbles, by the way, are a great visual aid in determining how your fermentation is progressing.Hint: Use food grade glycerin in the locks in place of water – glycerin does not evaporate like water. It’s available from wine making suppliers.
January 2012

BYBA Weekend Workshop with Howland Blackiston
Page: 10
The second most common reason for failure (poor sanitation being the first) is poor temperature control. A successful fermentation requires a fairly narrow temperature tolerance. When you get outside of this range, yeast cells can become inactive or even die. Temperatures that are too hot can also result in off-tasting meads. I use a thermostatically controlled space heater in my basement to keep temperatures within ideal ranges. And I monitor temperatures using an inexpensive “outdoor” thermometer purchased at the hardware store.
January 2012

BYBA Weekend Workshop with Howland Blackiston
Page: 11
First and foremost, bread yeasts do not work well in mead or wine making. Don’t use them. They are not “designed” for this kind of fermentation.There are many different kinds of “wine” yeasts. Each strain of yeast has it’s own unique tolerances to certain conditions. These include alcohol level, pH level, sugar level, etc. Of most concern to a brewer is the alcohol tolerance, since it is this value that will dictate the sweet/dry characteristic of the Mead. It is therefore important for the brewer to decide early on what level of sweetness is desired and to select the yeast based on it’s capacity to convert sugar to alcohol (known as Attenuation).For my mead making, I have had good success with Champagne yeasts. I like to pre-activate the yeast before adding to the “must” by introducing it to a small quantity of warm (not hot) water. About 100 degrees is ideal; and no more than 15 minutes in the water before adding to the must. This gets the yeast going, so it has a bit of a head start when it is introduced to the initial fermentation. Note that for mead making, it’s important to add some yeast nutrients to the must. As with any living organism, yeast have to be fed to survive. Unfortunately, honey does not have much in the way of nutrients, particularly if it has been boiled. It is therefore up to the brewer to ensure the right combination of nutrients is added to the Must to ensure a healthy fermentation. If this is not done, then the Mead could experience a number of negative results, such as Stuck Fermentation and Hydrogen Sulfide Contamination (Rotten Egg Smell). Fortunately, it is fairly easy to meet the nutritional needs of the yeast. Use between 0.5 – 1 tsp. of Nutrient per gallon of Must. They can be added during the boil, or directly to the fermenter if the no-boil method is used.
January 2012

BYBA Weekend Workshop with Howland Blackiston
Page: 12
These tablets are very handy, as they take the guesswork out of measuring out doses to maintain the correct parts per million of sulfer dioxide. Just add one tablet per gallon at each racking and prior to bottling. Crush tablets and pre-dissolve in a small amount of your mead before adding to the fermentation tank.Larger doses of Camden tablets in water can be used to sanitize equipment.
January 2012

BYBA Weekend Workshop with Howland Blackiston
Page: 13
I sulfite the must 24 hours prior to the primary fermentation. And then I usually add one tablet per gallon at every racking and at bottling time.
January 2012

BYBA Weekend Workshop with Howland Blackiston
Page: 14
Yeast is a peculiar organism in that it does not necessarily need straight oxygen to survive. Instead, it can obtain the O2 required to reproduce by fermenting any available sugars. But, since O2 is used to build up strong cell walls, the yeast is able to reproduce far quicker, and with fewer unwanted byproducts, if it can get the O2 without having to break it off from the sugar molecules. It is therefore important to introduce O2 into the Must before the yeast is pitched, and for the first 2 to 3 days until the yeast population has grown sufficiently.In the case of this initial fermentation, I like to vigorously stir and splash the must to introduce lots of bubbles prior to this primary fermentation. Commercial mead makers sometimes actually add oxygen at this stage, as this helps with a fast and effective fermentation. The container must not be sealed up at this stage. I simply lay a clean towel over the top (to keep dirt out, while allowing the must to “breathe”). Make certain to leave lots of head space, as the bubbling and foaming can quickly overflow a container that is filled too full!
January 2012

BYBA Weekend Workshop with Howland Blackiston
Page: 15
This process of “racking” is done several times during the process of brewing mead. Mead seems to need more racking than when making grape wine. With each racking the mead becomes more and more clear. Patience makes perfect..
The purpose of racking is fourfold:1. To stop fermentation by removing the Mead from the yeast and adding Sulfites and
Sorbates.2. To remove the Mead from the Lees (layer of yeast on the bottom of the fermenter) so as to
avoid a yeasty flavor imparted by the breakdown of yeast cells before bulk aging.3. To add additional ingredients for flavor during secondary fermentation.4. To help clarification by removing the Mead from the Lees before bottling.It is absolutely vital that the Mead not be mixed with too much air during racking as this will
introduce oxygen that will affect the flavor. Also, as always, make sure all of the equipment that will be coming into contact with the Mead is thoroughly sanitized.
January 2012
BYBA Weekend Workshop with Howland Blackiston
Page: 16
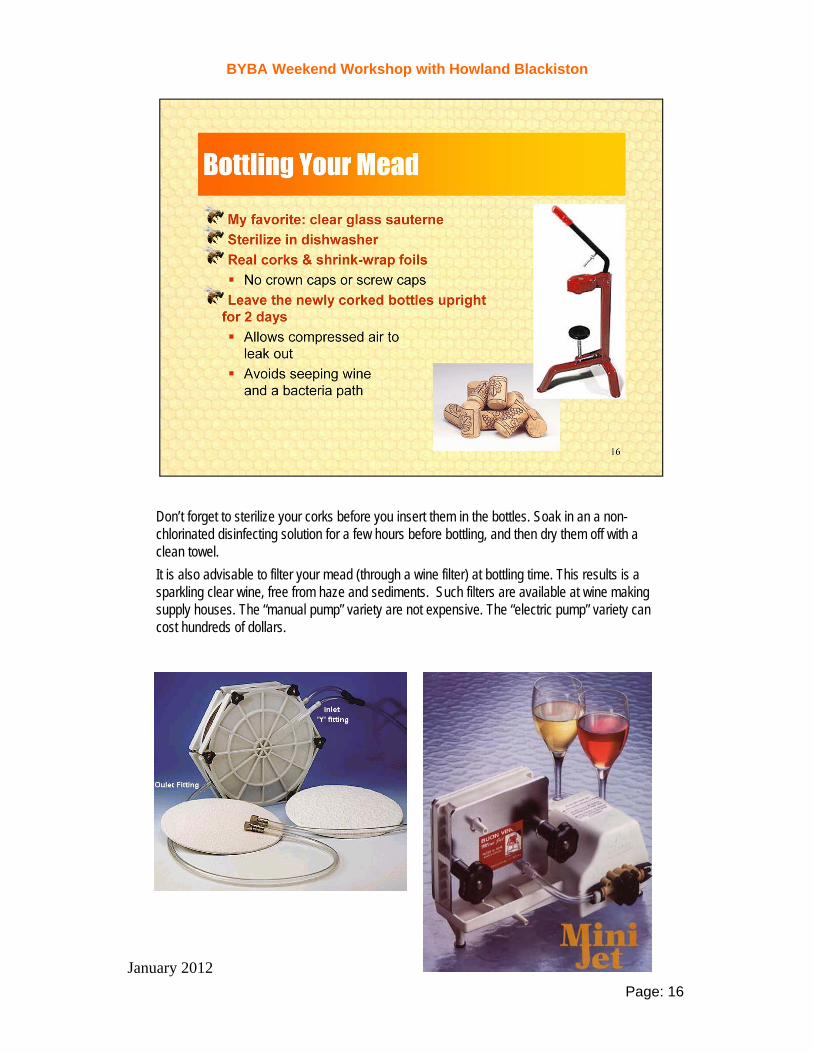
Don’t forget to sterilize your corks before you insert them in the bottles. Soak in an a non-chlorinated disinfecting solution for a few hours before bottling, and then dry them off with a clean towel.It is also advisable to filter your mead (through a wine filter) at bottling time. This results is a sparkling clear wine, free from haze and sediments. Such filters are available at wine making supply houses. The “manual pump” variety are not expensive. The “electric pump” variety can cost hundreds of dollars.
January 2012

BYBA Weekend Workshop with Howland Blackiston
Page: 17
If you don’t want to design your own label, some of the wine making supply houses sell pre-made generic labels that are quite nice looking (see below).
January 2012

BYBA Weekend Workshop with Howland Blackiston
Page: 18
This is the hardest part of mead making: the waiting time. Be patient, as the results are far more rewarding when you give the mead time to mature.
This is not to say that no Meads can be enjoyed within a few weeks of fermentation, but most Meads will improve if given a little time to mature. Aging allows the desired flavors to blend and come to the front, as well as having the advantage of allowing certain unwanted “off” flavors to dissipate. The following guidelines will help you age your Mead properly:
• Try to keep your Mead as close to 60°F as possible (avoid high temperatures). Slight changes in temperature around the 60°F will not have a negative effect as long as they are gradual.
• Store the bottles on their side to keep the cork moist and prevent shrinking. This is not a concern if you are using artificial corks.
• Keep the Mead away from the light as this causes oxidation and “off” flavors.• Avoid vibrations and shaking.• If possible, bulk-age your Mead rather than bottling and letting it age individually.The amount of time needed for the Mead to mature is subjective. Some people enjoy drinking it
young, while others prefer to let it sit for many years. A rule of thumb seems to be that at least 1 to 2 years is fine. Sample the Mead every few months or so until you feel that it is at it’s best, then bottle and drink away.
January 2012
BYBA Weekend Workshop with Howland Blackiston
Page: 19
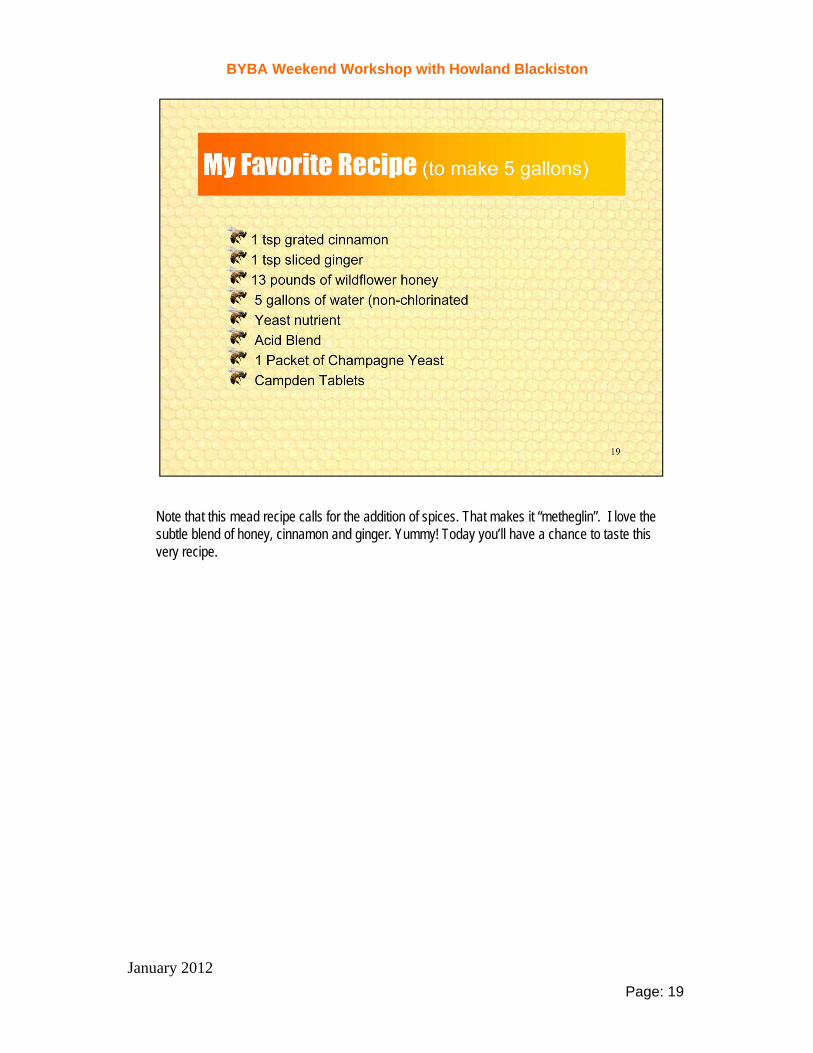
Note that this mead recipe calls for the addition of spices. That makes it “metheglin”. I love the subtle blend of honey, cinnamon and ginger. Yummy! Today you’ll have a chance to taste this very recipe.
January 2012

BYBA Weekend Workshop with Howland Blackiston
Page: 20
Note that I recently learned from a master mead maker that he no longer boils the honey and water mixture prior to fermentation. This step has been a tradition for years (is supposed to help with the clarity of the end-product). He finds that there are no significant advantages, and that not boiling seems to impart a superior “honey” flavor to the finished product. Boiling also reduces the amount of 02 in the must. So the revelation of “not boiling” came as good news, as this step is quite a chore. For my most recent batch of mead, there was no boiling involved. Time will tell.Pros of Not Boiling:Not boiling the honey greatly minimizes the loss of any volatile components in the honey, resulting in a Mead that retains much of the true floral flavor and bouquet of the honey being used. No boiling, no heating, no fuss. Easy and quick. You can pitch the yeast immediately since the Must is already at the correct temperature.Cons of Not Boiling :Slight potential for contamination, mostly from the water supply rather than the honey. Harder to dissolve the honey. Most new Mead makers completely underestimate the stirring involved for complete dissolution of the honey into the water and as a result leave some unblended honey at the bottom of the vessel. Stratification of the must can slow, stress or stall your fermentation and result in off flavors. Get ready for a good deal of shaking and stirring. The chlorine must be removed from chlorinated water prior to pitching of the yeast, or you can use distilled water.
January 2012

BYBA Weekend Workshop with Howland Blackiston
Page: 21
The actual time for this initial fermentation will depend on your batch, conditions, etc. You can observe fermentation activity by peeking under the hood. When the vigorous initial fermentation has settled down to nary a bubble, it’s time to conduct the first racking. For my most recent batch, that took three weeks.
January 2012

BYBA Weekend Workshop with Howland Blackiston
Page: 22
This is where a variable-top fermentation tank comes in handy. After each racking there is less and less liquid, and thus the head space becomes greater and greater as the level of liquid drops. Since you objective is to minimize head space, you only have two options with a fixed-top fermentation tank: you can add water to “top it off” (not good if you need to add more than a few pints); you can add mead from a previous batch; or you can add sterilized glass marbles to the tank to raise the level of the liquid.
January 2012

BYBA Weekend Workshop with Howland Blackiston
Page: 23
Waiting to drink the product is the hardest part of this adventure. One solution is to always start a new batch right after bottling a previous batch. In time, you will always have drinkable mead on hand while you wait for new batches to mature.
January 2012
BYBA Weekend Workshop with Howland Blackiston
Page: 24
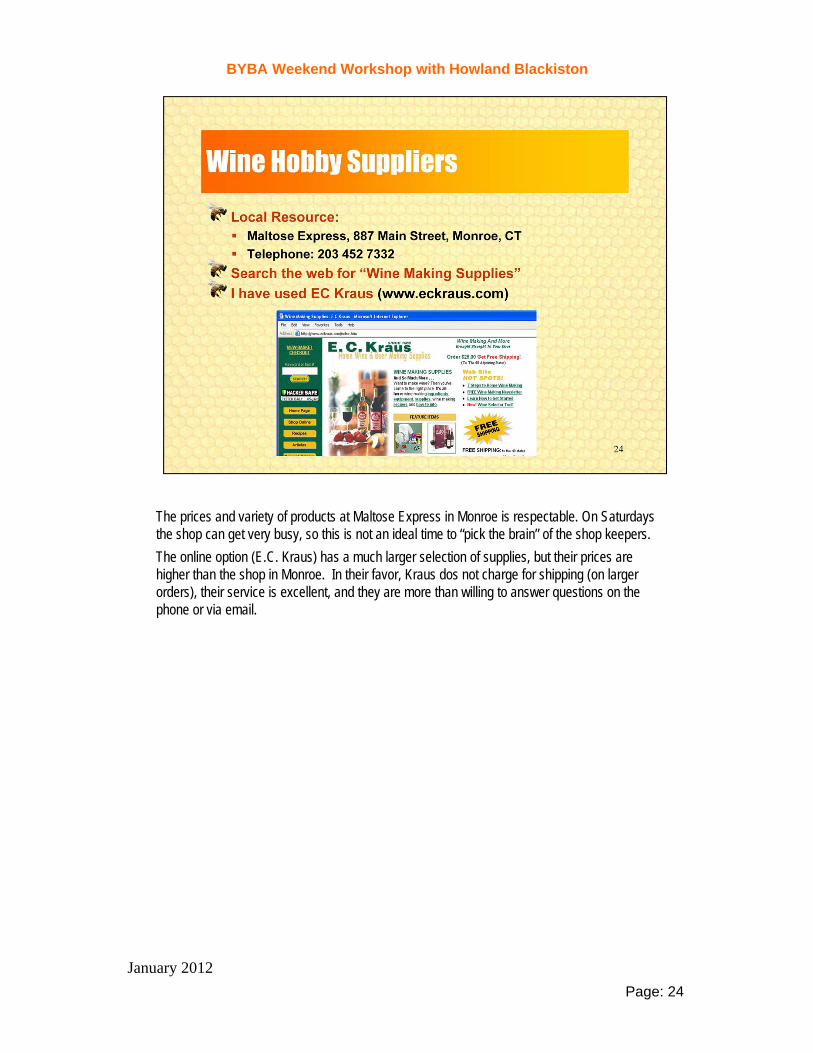
The prices and variety of products at Maltose Express in Monroe is respectable. On Saturdays the shop can get very busy, so this is not an ideal time to “pick the brain” of the shop keepers.The online option (E.C. Kraus) has a much larger selection of supplies, but their prices are higher than the shop in Monroe. In their favor, Kraus dos not charge for shipping (on larger orders), their service is excellent, and they are more than willing to answer questions on the phone or via email.
January 2012

BYBA Weekend Workshop with Howland Blackiston
Page: 25
There are a number of titles out there on Mead making. These are a couple of my favorites. The one on the left (The Complete Meadmaker) has the most detailed explanation of mead making and contains many recipes. The book on the right (Brewing Mead) is 80% about the history of mead, and 20% about how to make the product.Another great information resource is on the web: www.gotmead.com. There is much free info and recipes, and even more if you sign up as a “member”. Be sure to visit this site.If you have questions following this workshop, or if you run into a problem during your mead making adventures, please feel free to call or email me. I’m no “master mead maker”, but I have been playing around with this for 20 years and I am happy to share my ignorance.
Happy mead making!
Howland Blackiston11 Lilac Lane, Weston, CT [email protected](203) 226-6303 (home)(203) 570-6303 (mobile)
January 2012