Appleworks Paint Let’s get started…. With Appleworks Paint, you can create… Objects produced...
34
Appleworks Appleworks Paint Paint Let’s get started… Let’s get started…
-
Upload
peter-howard -
Category
Documents
-
view
224 -
download
2
Transcript of Appleworks Paint Let’s get started…. With Appleworks Paint, you can create… Objects produced...
Appleworks Appleworks PaintPaint
Let’s get started…Let’s get started…
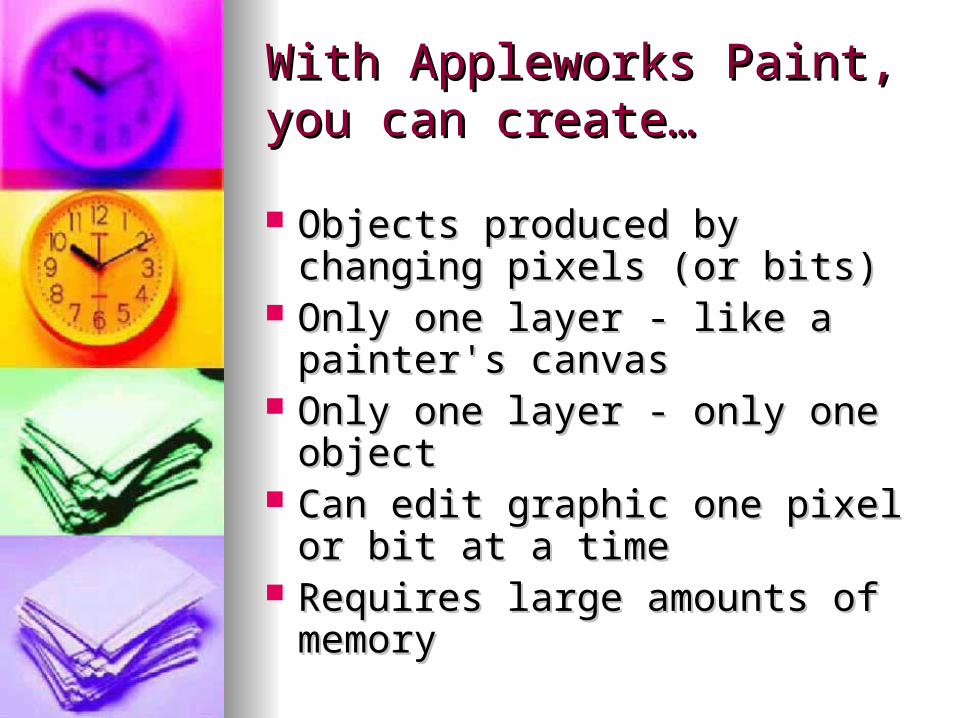
With Appleworks Paint, you With Appleworks Paint, you can create…can create…
Objects produced by changing Objects produced by changing pixels (or bits)pixels (or bits)
Only one layer - like a painter's Only one layer - like a painter's canvas canvas
Only one layer - only one objectOnly one layer - only one object Can edit graphic one pixel or bit Can edit graphic one pixel or bit
at a timeat a time Requires large amounts of Requires large amounts of
memory memory

Appleworks PaintAppleworks Paint
In this program, you only have In this program, you only have one layer which means that one layer which means that every part of the screen is every part of the screen is tracked by the computer. tracked by the computer.
If you draw a red circle, the If you draw a red circle, the computer doesn't know you computer doesn't know you drew a circle - all it knows is that drew a circle - all it knows is that some pixels are red, the others some pixels are red, the others are white.are white.

Menu Bar…Menu Bar…
This is the menu bar and will be This is the menu bar and will be used quite frequently in these used quite frequently in these programs.programs.
This can always be found at the top This can always be found at the top of your screen.of your screen.

Page View…Page View…
This controls your drawing and This controls your drawing and painting windows. Located at the painting windows. Located at the bottom of your page, this controls bottom of your page, this controls your zoom and tool bar for editing. your zoom and tool bar for editing. You can either click on the icons or You can either click on the icons or change the number.change the number.
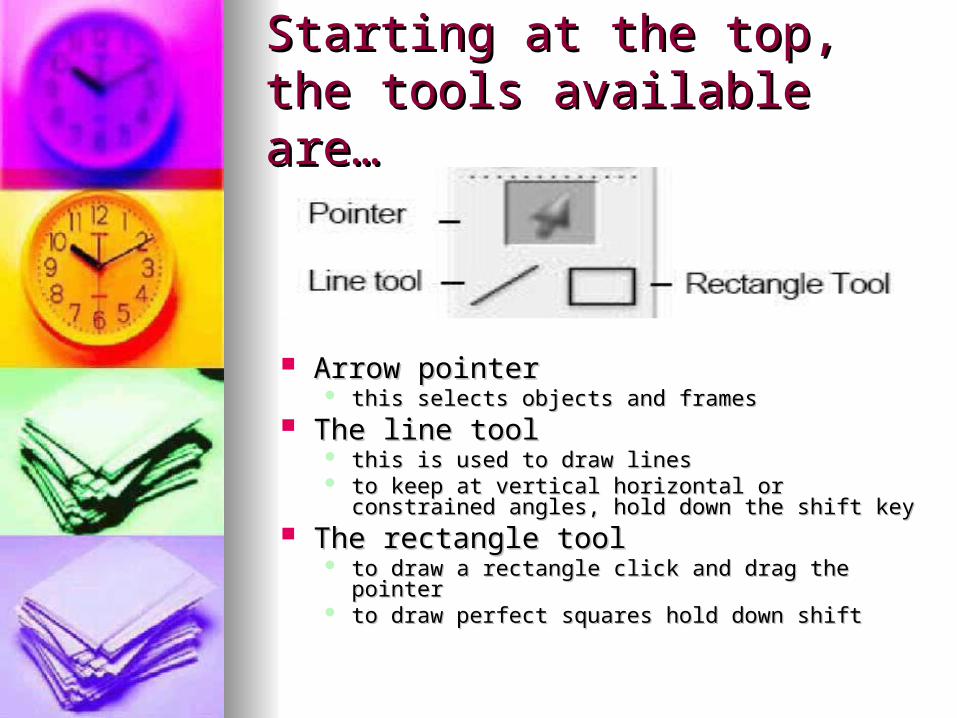
Starting at the top, the tools Starting at the top, the tools available are…available are…
Arrow pointerArrow pointer this selects objects and framesthis selects objects and frames
The line toolThe line tool this is used to draw linesthis is used to draw lines to keep at vertical horizontal or constrained angles, to keep at vertical horizontal or constrained angles,
hold down the shift keyhold down the shift key The rectangle toolThe rectangle tool
to draw a rectangle click and drag the pointerto draw a rectangle click and drag the pointer to draw perfect squares hold down shiftto draw perfect squares hold down shift
Using the line and rectangle Using the line and rectangle tools…tools…
I teach lessons involving:I teach lessons involving: One and two point perspective citiesOne and two point perspective cities One and two point perspective interior One and two point perspective interior
spacesspaces Graphic Name designsGraphic Name designs
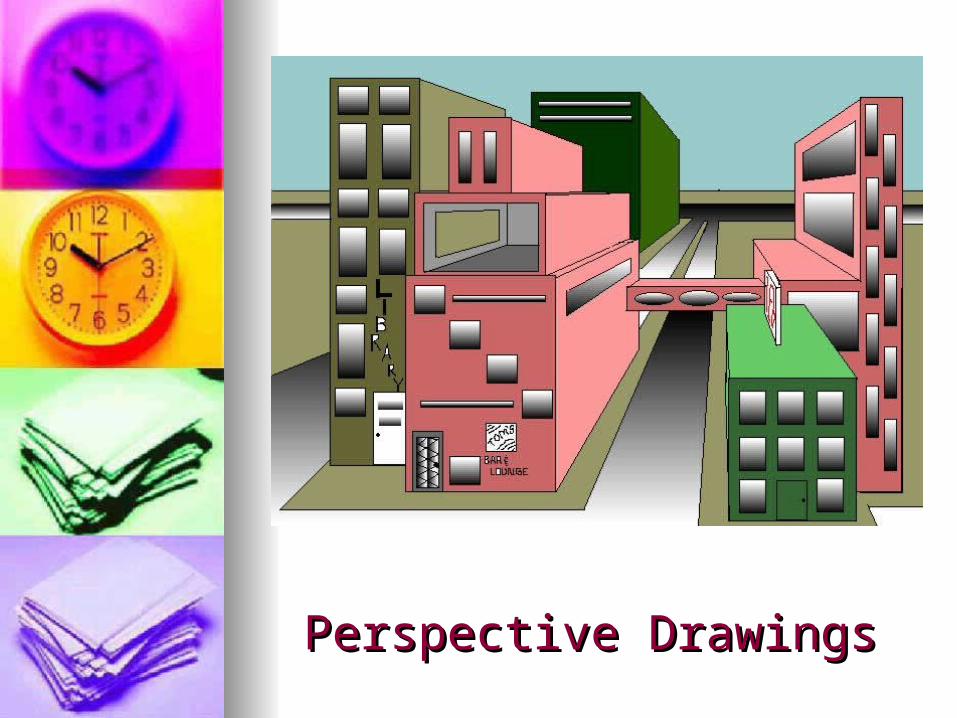
Perspective DrawingsPerspective Drawings
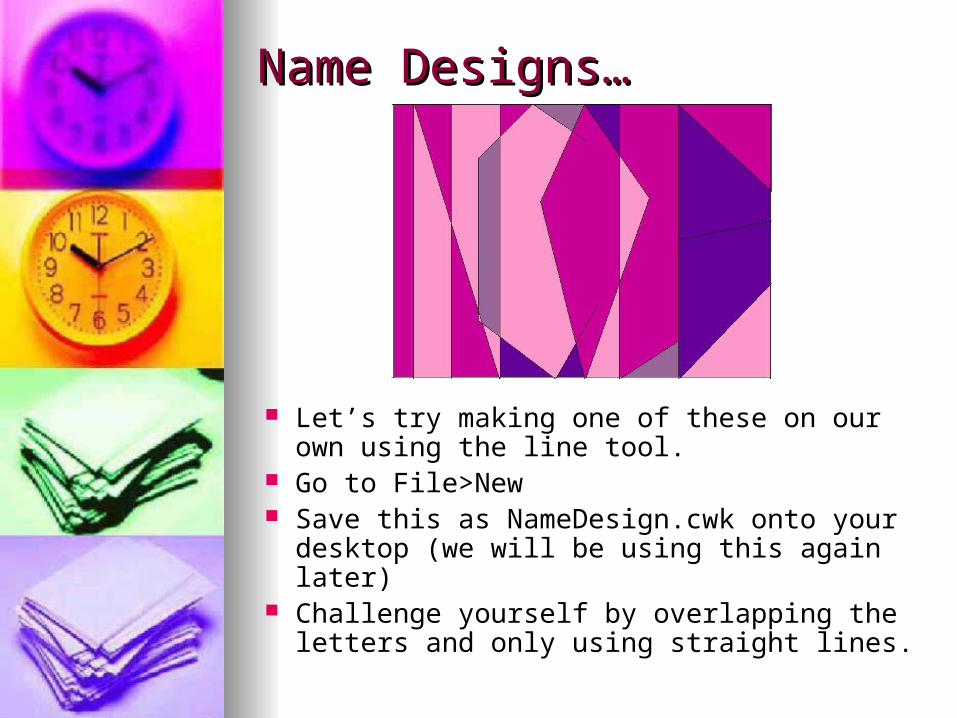
Name Designs…Name Designs…
Let’s try making one of these on our own using the line tool.
Go to File>New Save this as NameDesign.cwk onto your
desktop (we will be using this again later) Challenge yourself by overlapping the
letters and only using straight lines.
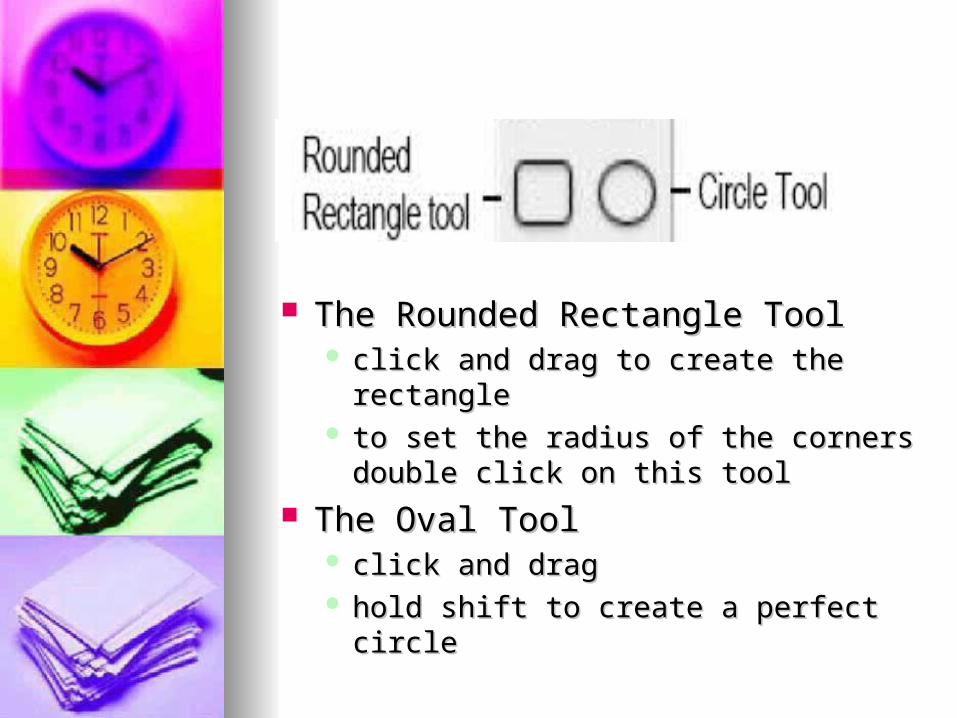
The Rounded Rectangle ToolThe Rounded Rectangle Tool click and drag to create the rectangleclick and drag to create the rectangle to set the radius of the corners double to set the radius of the corners double
click on this toolclick on this tool The Oval ToolThe Oval Tool
click and dragclick and drag hold shift to create a perfect circlehold shift to create a perfect circle
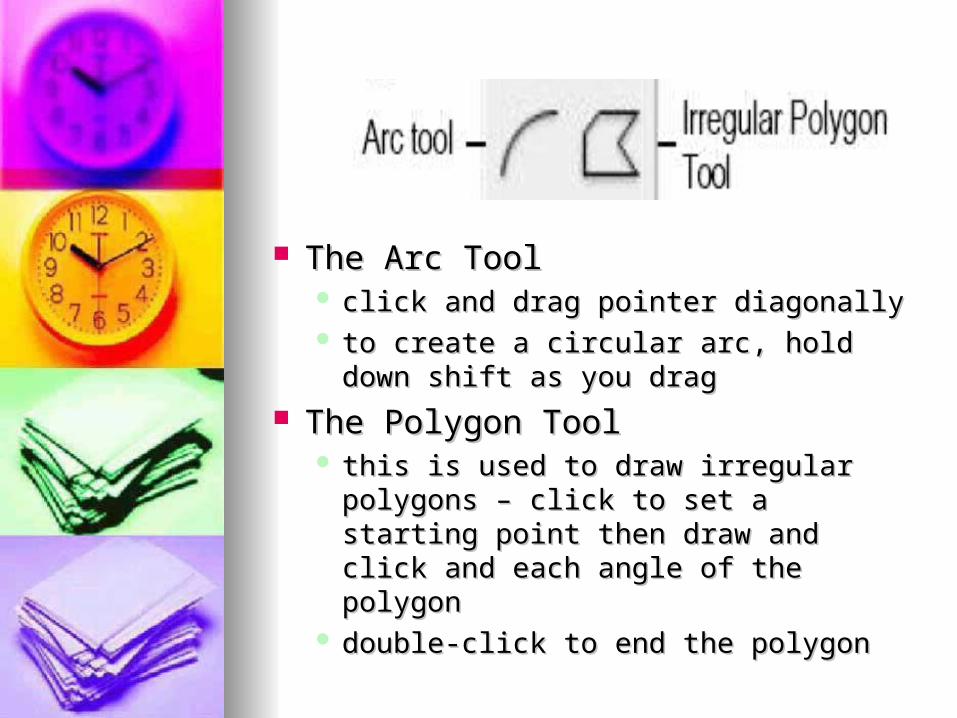
The Arc ToolThe Arc Tool click and drag pointer diagonallyclick and drag pointer diagonally to create a circular arc, hold down shift to create a circular arc, hold down shift
as you dragas you drag The Polygon ToolThe Polygon Tool
this is used to draw irregular polygons – this is used to draw irregular polygons – click to set a starting point then draw click to set a starting point then draw and click and each angle of the polygonand click and each angle of the polygon
double-click to end the polygondouble-click to end the polygon
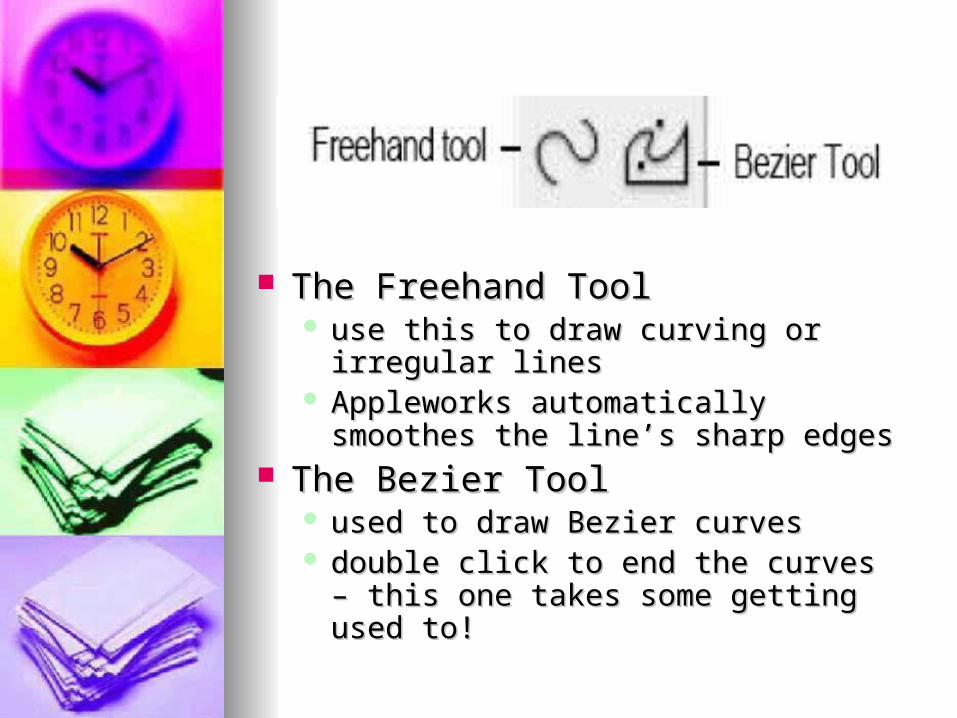
The Freehand ToolThe Freehand Tool use this to draw curving or irregular use this to draw curving or irregular
lineslines Appleworks automatically smoothes the Appleworks automatically smoothes the
line’s sharp edgesline’s sharp edges The Bezier ToolThe Bezier Tool
used to draw Bezier curvesused to draw Bezier curves double click to end the curves – this double click to end the curves – this
one takes some getting used to!one takes some getting used to!
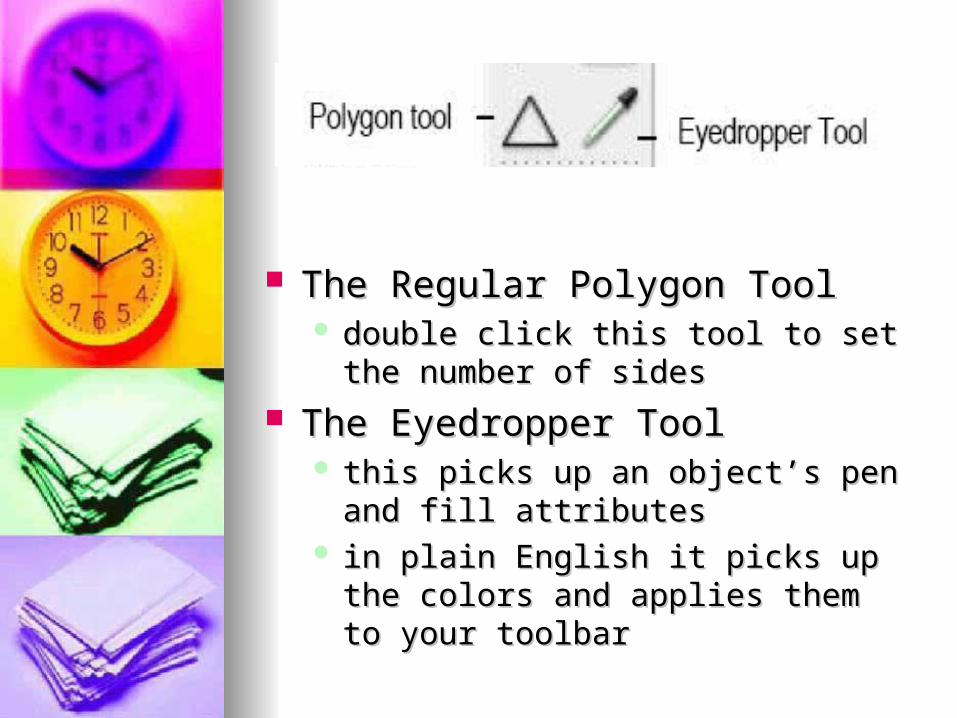
The Regular Polygon ToolThe Regular Polygon Tool double click this tool to set the number double click this tool to set the number
of sidesof sides The Eyedropper ToolThe Eyedropper Tool
this picks up an object’s pen and fill this picks up an object’s pen and fill attributesattributes
in plain English it picks up the colors in plain English it picks up the colors and applies them to your toolbarand applies them to your toolbar

The Selection Rectangle Tool and The Selection Rectangle Tool and the Lasso Tool are used to select the Lasso Tool are used to select certain areas of your imagecertain areas of your image
To leave out the white space when To leave out the white space when using the Rectangle Selection Tool, using the Rectangle Selection Tool, hold down the apple key as you hold down the apple key as you drag over the imagedrag over the image

The Magic Wand Tool The Magic Wand Tool this selects everything of a chosen this selects everything of a chosen
color in one areacolor in one area The Paintbrush ToolThe Paintbrush Tool
works like a real brush works like a real brush use for thicker linesuse for thicker lines
The Pencil ToolThe Pencil Tool draws thin linesdraws thin lines
The Paint Bucket ToolThe Paint Bucket Tool fills all of any particular closed areasfills all of any particular closed areas

The Spray Can ToolThe Spray Can Tool this paints a flow of dots in the current fill colorthis paints a flow of dots in the current fill color double click to edit spray sizedouble click to edit spray size
The Eraser Tool – well… erases!The Eraser Tool – well… erases! Double clicking clears the entire documentDouble clicking clears the entire document

Almost anything can be done Almost anything can be done using the tools we know so far…using the tools we know so far…
This is a lesson This is a lesson that involved that involved students drawing a students drawing a self portrait. She self portrait. She only used the only used the paintbrush, fill, paintbrush, fill, pencil, and spray pencil, and spray can tools.can tools.
Can you think of Can you think of any ways to use any ways to use these tools in your these tools in your subject area to subject area to reinforce reinforce something you something you have recently have recently taught?taught?

Let’s try using these new tools Let’s try using these new tools we have learned…we have learned…
Create a drawing of something Create a drawing of something you plan to do this summer.you plan to do this summer.
Don’t worry about how it looks, Don’t worry about how it looks, this is not about the art it is more this is not about the art it is more about trying out the tools and about trying out the tools and getting more familiar with this getting more familiar with this program!program!
Don’t get frustrated!! Don’t get frustrated!! If my kids can do this in If my kids can do this in
Appleworks, you can try it too!Appleworks, you can try it too!

This is your color palette – in order This is your color palette – in order to have more access to this area – to have more access to this area – go to the go to the Window MenuWindow Menu and and choose choose “Show Accents”“Show Accents” this will this will separate your palette from the separate your palette from the toolbartoolbar

Inside the Show Accents Inside the Show Accents Toolbox…Toolbox…
This allows you MUCH more This allows you MUCH more freedom in your fills.freedom in your fills.
This will help you to make a This will help you to make a simple drawing look much more simple drawing look much more realistic.realistic.
Color Picker…Color Picker…
The first option is just a color picker. The first option is just a color picker. This has many hidden choices also.This has many hidden choices also.
If you are making items to be used If you are making items to be used on a webpage, you can choose web on a webpage, you can choose web safe colors by choosing 16-bit color safe colors by choosing 16-bit color from the palette drop down menu.from the palette drop down menu.
This also has many other options, This also has many other options, one I use frequently is the earth one I use frequently is the earth tones to get great skin colors!tones to get great skin colors!
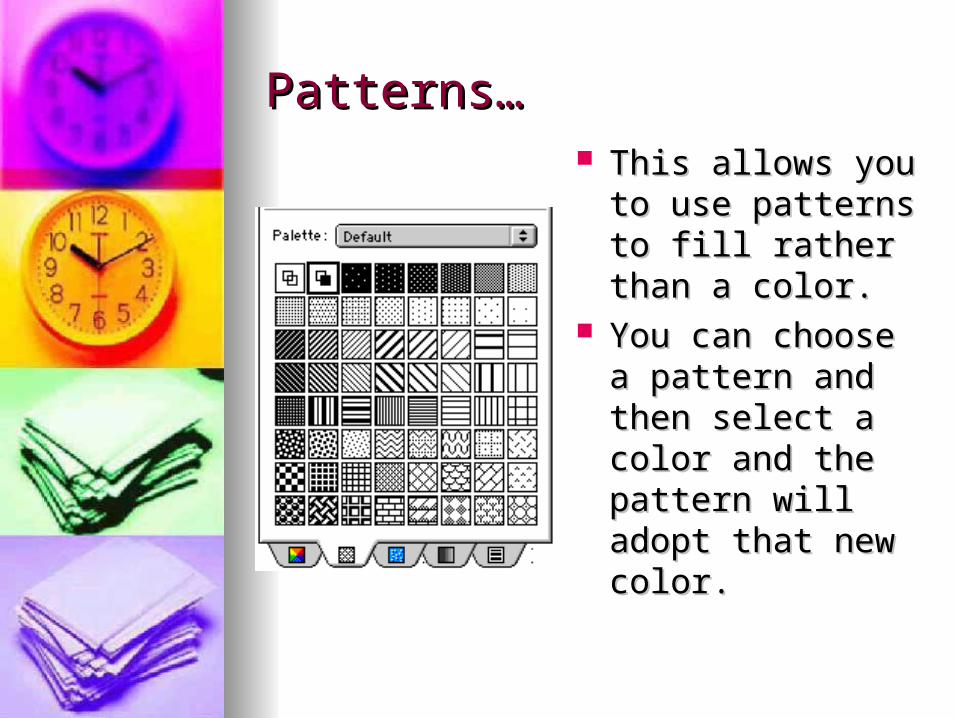
Patterns…Patterns… This allows you to This allows you to
use patterns to fill use patterns to fill rather than a rather than a color.color.
You can choose a You can choose a pattern and then pattern and then select a color and select a color and the pattern will the pattern will adopt that new adopt that new color.color.

Textures…Textures…
This can be used to This can be used to add textures to add textures to anything. These can anything. These can be modified but the be modified but the effect is not as effect is not as satisfying as you satisfying as you would like it to be.would like it to be.
This is used by This is used by choosing a texture choosing a texture and filling using the and filling using the paint bucket into a paint bucket into a closed space on your closed space on your painting.painting.
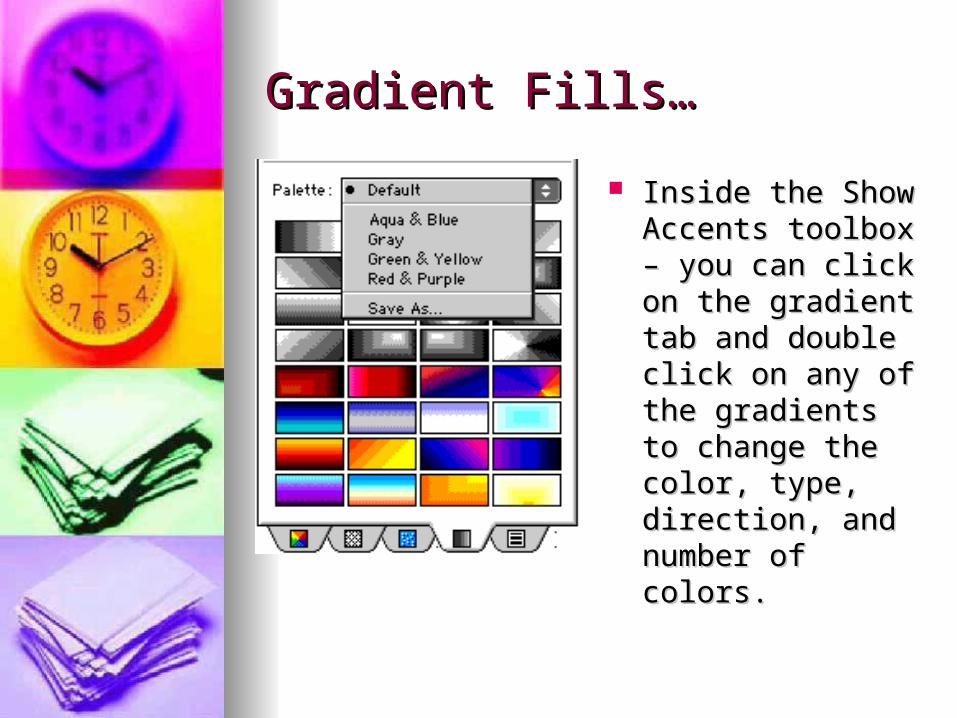
Gradient Fills…Gradient Fills…
Inside the Show Inside the Show Accents toolbox – Accents toolbox – you can click on you can click on the gradient tab the gradient tab and double click and double click on any of the on any of the gradients to gradients to change the color, change the color, type, direction, and type, direction, and number of colors.number of colors.

Gradients continued…Gradients continued…
This gives you much more This gives you much more control over the use of gradientscontrol over the use of gradients
When using a gradient fill, make When using a gradient fill, make sure you want it there because it sure you want it there because it is very hard to undo. is very hard to undo. Each layer of color is saved in Each layer of color is saved in
rows and to try to paint it back to rows and to try to paint it back to white (or any color) is very time white (or any color) is very time consuming.consuming.
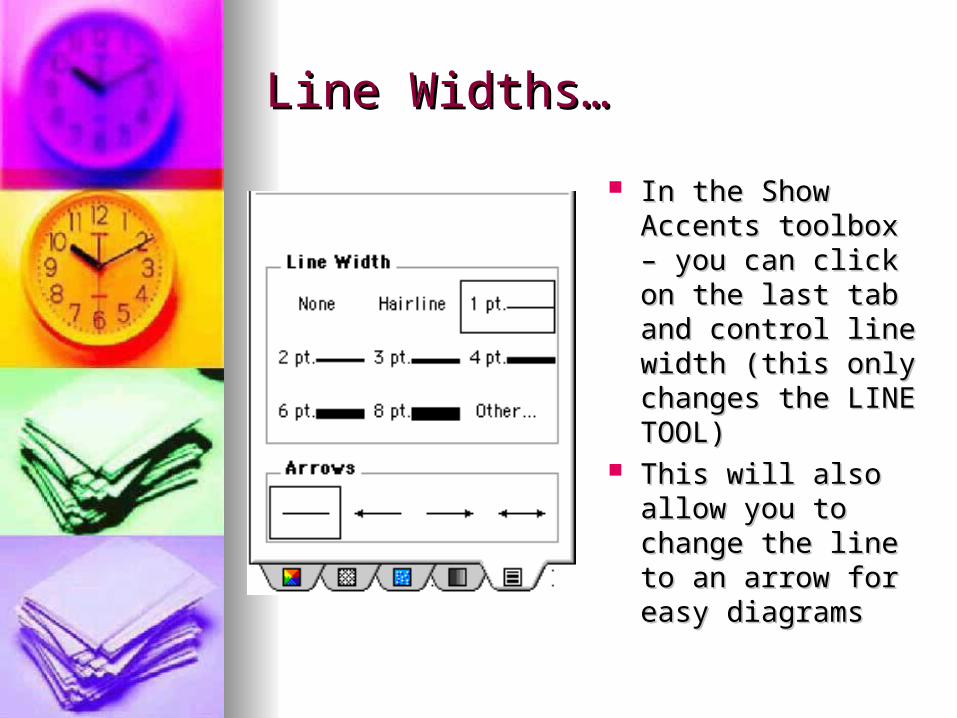
Line Widths…Line Widths…
In the Show In the Show Accents toolbox – Accents toolbox – you can click on you can click on the last tab and the last tab and control line width control line width (this only changes (this only changes the LINE TOOL)the LINE TOOL)
This will also allow This will also allow you to change the you to change the line to an arrow for line to an arrow for easy diagramseasy diagrams

Accents in use…Accents in use…
Let’s go back to the name design we started Let’s go back to the name design we started and fill in the spaces using the paint bucket.and fill in the spaces using the paint bucket.
Try using Try using ColorsColors TexturesTextures PatternsPatterns GradientsGradients
Options Menu…Options Menu…
Using the options menu, you can edit Using the options menu, you can edit brush sizebrush size spray can sizesspray can sizes PatternsPatterns WallpaperWallpaper GradientsGradients
This is a great way to get more This is a great way to get more control over what you are trying to control over what you are trying to accomplish with Appleworks Painting accomplish with Appleworks Painting ProgramProgram

Transform MenuTransform MenuThis menu has all sorts of neat This menu has all sorts of neat tricks that can be used.. Here are tricks that can be used.. Here are a few…a few… Using the selection tool Using the selection tool
(rectangle or lasso), select and (rectangle or lasso), select and area of your artwork. area of your artwork.
Using the transform menu you Using the transform menu you can can Slant, Stretch, Resize, Rotate, Flip, Slant, Stretch, Resize, Rotate, Flip,
Invert, Blend, Tint, Lighten, and Invert, Blend, Tint, Lighten, and DarkenDarken

Lighten and Darken tools…Lighten and Darken tools…
This image This image would be much would be much flatter and more flatter and more boring without boring without the extensive the extensive use of the use of the lighten and lighten and darken tools.darken tools.
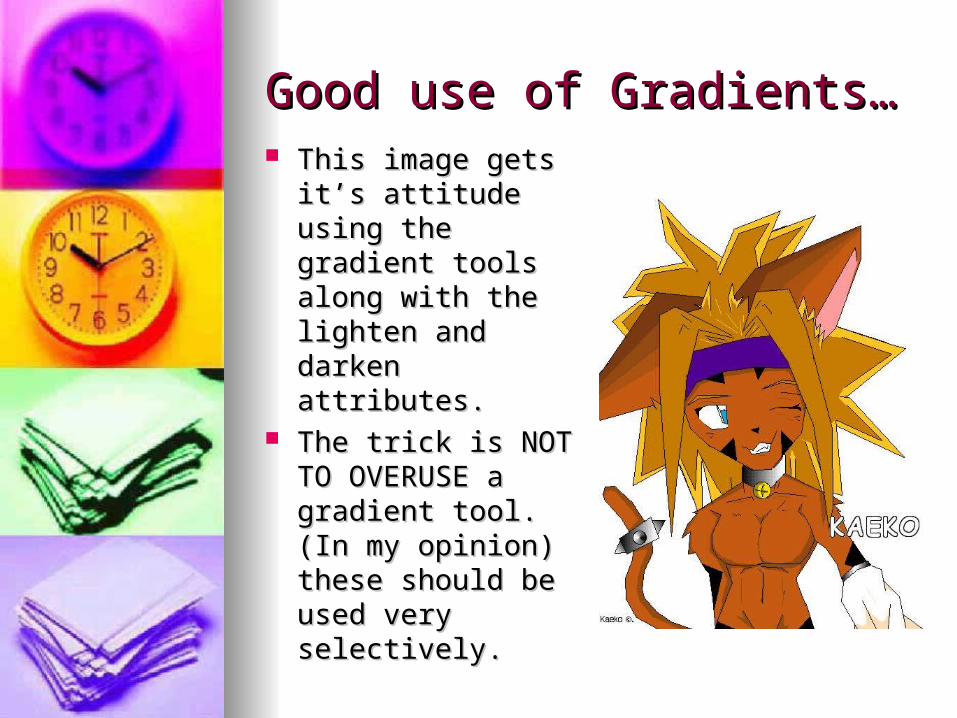
Good use of Gradients…Good use of Gradients… This image gets This image gets
it’s attitude using it’s attitude using the gradient tools the gradient tools along with the along with the lighten and darken lighten and darken attributes.attributes.
The trick is NOT The trick is NOT TO OVERUSE a TO OVERUSE a gradient tool. (In gradient tool. (In my opinion) these my opinion) these should be used should be used very selectively.very selectively.
These are some of the best tricks These are some of the best tricks in Appleworks and I use these in Appleworks and I use these most frequently with my Computer most frequently with my Computer Art classes.Art classes.
Let’s take a moment to go Let’s take a moment to go through the Transform menu through the Transform menu and try each option.and try each option.

Now we will break into groups Now we will break into groups and discuss lesson ideas…and discuss lesson ideas… I would like you to be group into 4 I would like you to be group into 4
peoplepeople Today you will come up with at least Today you will come up with at least
two lesson ideas with examples of two lesson ideas with examples of ways you will incorporate the ways you will incorporate the Appleworks Painting Program into Appleworks Painting Program into your curriculum.your curriculum.
I will be moving around the I will be moving around the classroom to assist you in this classroom to assist you in this process.process.
Save your work and be prepared to Save your work and be prepared to share your information at the end of share your information at the end of class.class.