Ansel Adams
74
ANSEL ADAMS Photographer, Conservationist (February 20, 1902 in San Francisco, California.-April 22, 1984 in Monterey, California) By: Alia Adel Ahmed Presented to : Dr. Ahmed Belal
-
Upload
alia-adel -
Category
Art & Photos
-
view
202 -
download
0
Transcript of Ansel Adams
ANSEL ADAMSPhotographer, Conservationist
(February 20, 1902 in San Francisco, California.-April 22, 1984 in
Monterey, California)
By: Alia Adel Ahmed
Presented to : Dr. Ahmed Belal

• Famous for his black & white landscape photographs of the
national parks (Yosemite National Park among others).
• An author of numerous books about photography, including his
trilogy of technical instruction manuals (The Camera, The
Negative and The Print).
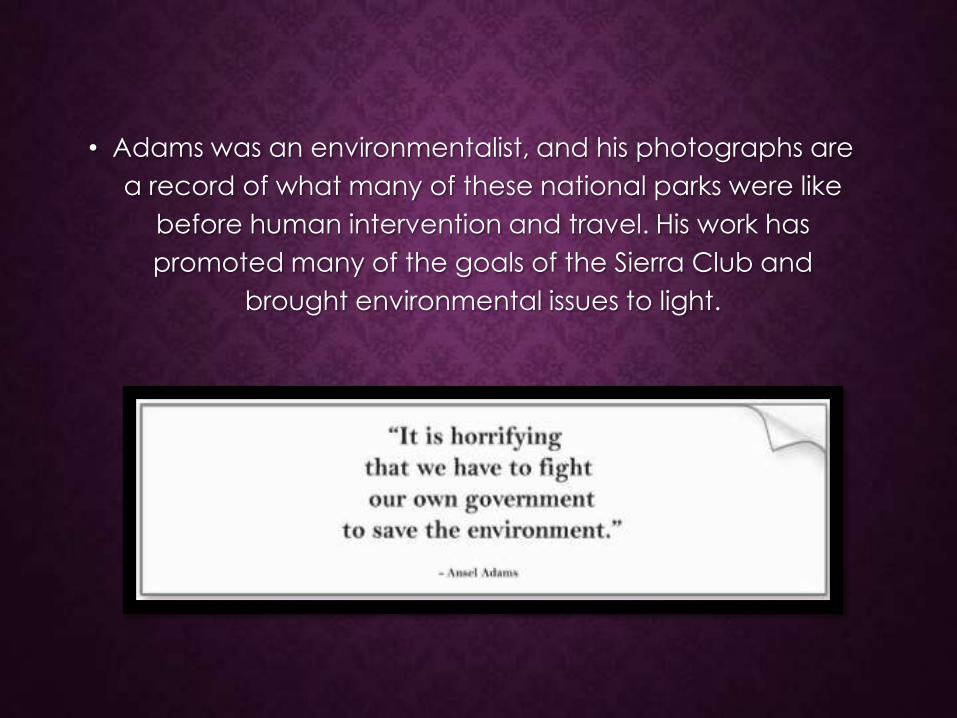
• Adams was an environmentalist, and his photographs are
a record of what many of these national parks were like
before human intervention and travel. His work has
promoted many of the goals of the Sierra Club and
brought environmental issues to light.

STYLE OF PHOTOGRAPHY
• Moved from “pictorial” style of
photography to “Straight Photography“.
• Straight Photography : Instead of soft focus
or hand treatments, the photographs were
clear, sharply focused, and an attempt to
show what the artist saw at the actual
scene.
• Adams was part of a group called "F64"
including Edward Weston and Imogen
Cunningham, where they believed in
everything in the image being in focus. They
acheived this by using small apertures (thus
the name) thus providing a lot of depth of
field in focus.

ANSEL ADAM’S GEAR
• Adams used the typical photographic
equipment of his day: view cameras
with large-format negatives at 4x5
inches, 5x7 inches, 8x10 inches or even
11x14 images.
• Even though photographic equipment
evolved to be smaller, lighter and easier
to use with the 35mm cameras
beginning in the late 1930s, Adams
stayed mostly with large-format view
cameras throughout his life

• He pioneered the use of a Red Filter to darken blue skies in his
photos, giving contrast between the sky and the clouds, for
instance.
• Along with this, he adopted the technique for exposure,
development, and printing known as the "Zone System" which is a
way of carefully controlling tonal values to achieve the widest range
of light and dark in his prints, despite the very limited range available
in printing paper.
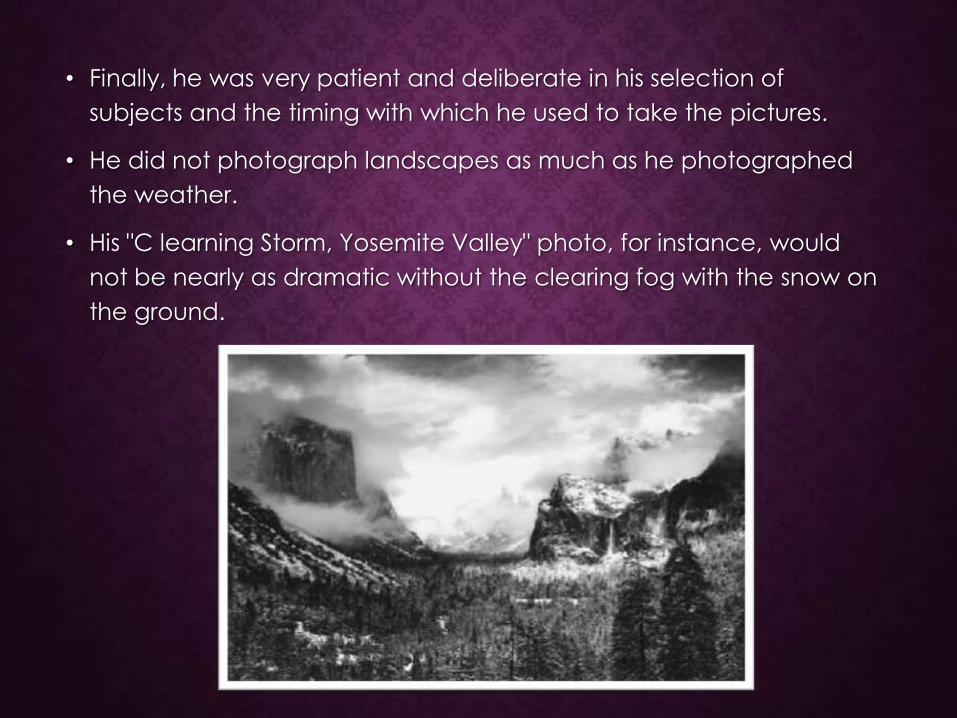
• Finally, he was very patient and deliberate in his selection of
subjects and the timing with which he used to take the pictures.
• He did not photograph landscapes as much as he photographed
the weather.
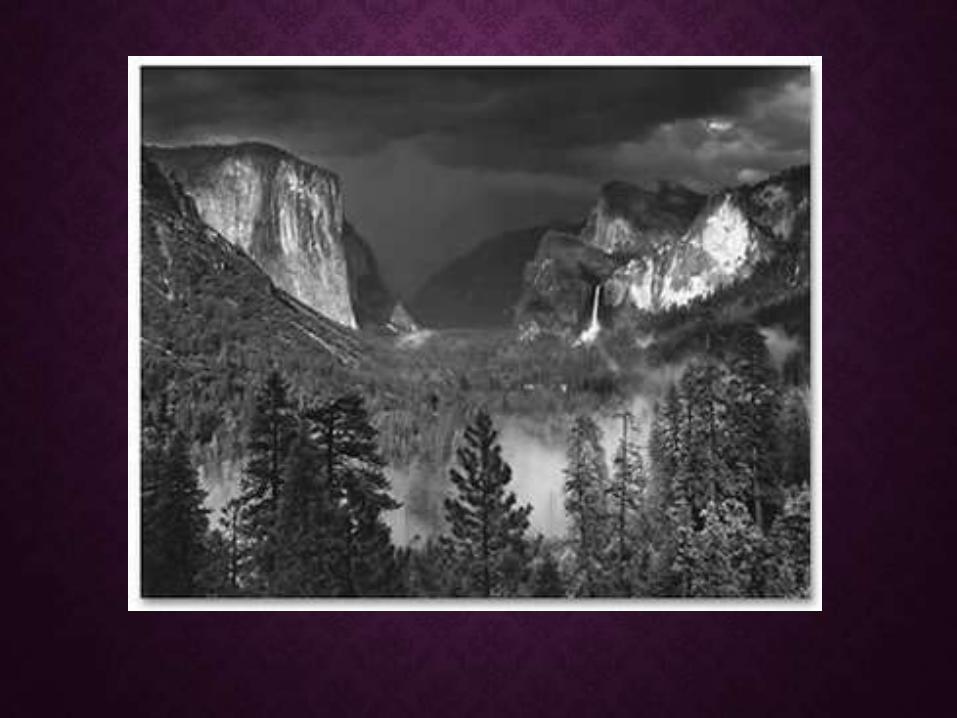
• His "C learning Storm, Yosemite Valley" photo, for instance, would
not be nearly as dramatic without the clearing fog with the snow on
the ground.

THE ZONE SYSTEM
When a scene contains too much
bright, however, the camera tries to
render it as average so it darkens it
causing under-exposure. On the other
hand, when a scene contains too
much dark, the camera tries to render
it as average so it lightens it causing
over-exposure.

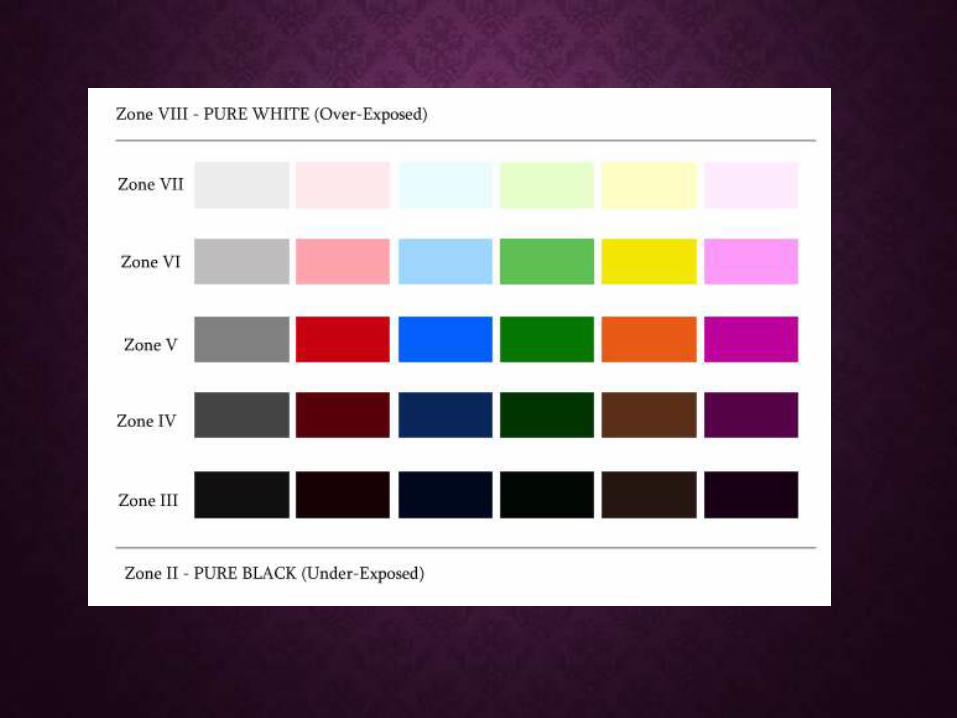
• The zone system divides a scene into 10 zones on the tonal
scale (though there are variations of 9 and 11 zones). Every
tonal range is assigned a zone. Every zone differs from the one
before it by 1 stop, and from the one following it by 1 stop. So
every zone change equals 1 stop difference. Zones are
identified by roman numbers, with the middle tone (with 18%
reflectance) being a zone V which is zone 5.
• For us digital photographers, we are only concerned with
zones III through VII (zones 3 through 7).

To correctly expose an average scene, spot an average
color or tone. Adjust your camera settings till you get the light
meter's hash mark on zero for that color, make sure you're not
over exposing your highlights and take the shot.


• Notice that the dog's left eye is
becoming just a tiny bit under-
exposed which is OK.
• Shadow clipping is more tolerated
than highlight clipping.
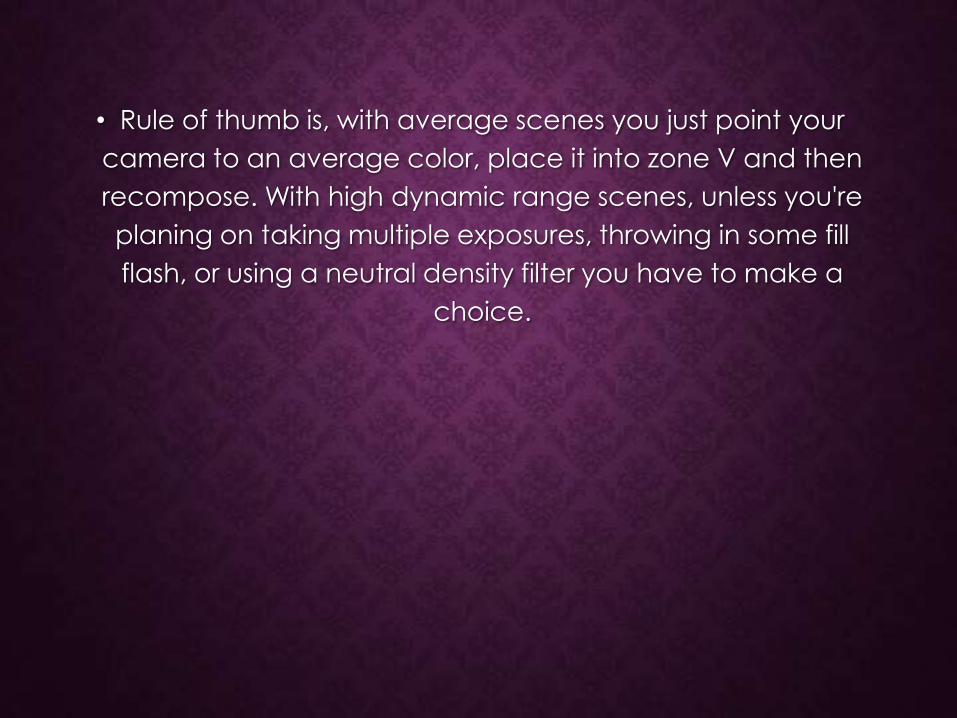
• Rule of thumb is, with average scenes you just point your
camera to an average color, place it into zone V and then
recompose. With high dynamic range scenes, unless you're
planing on taking multiple exposures, throwing in some fill
flash, or using a neutral density filter you have to make a
choice.
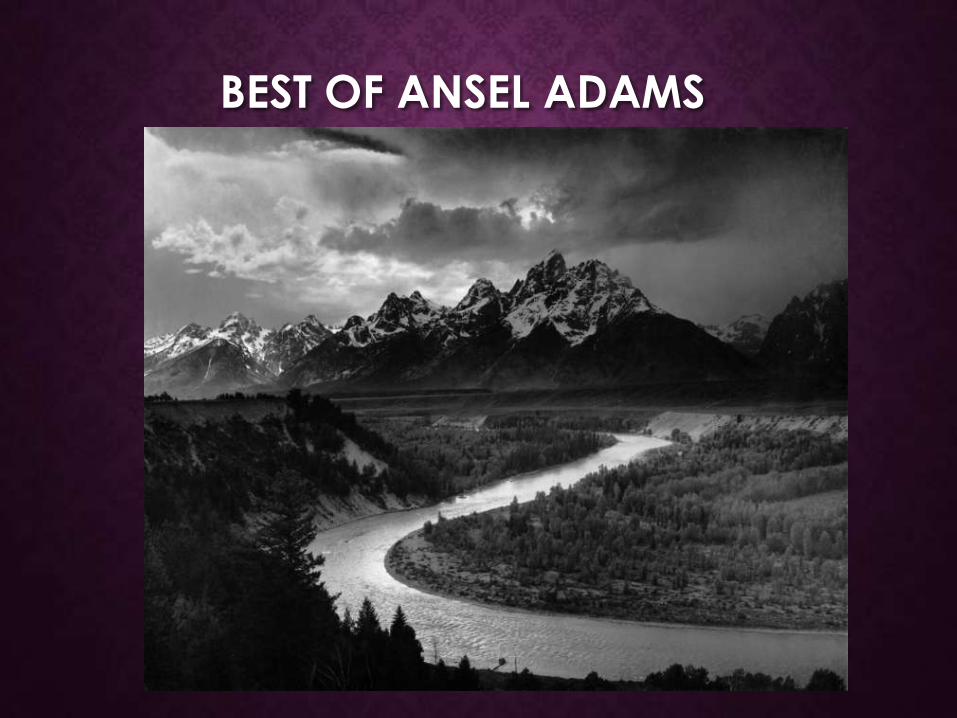
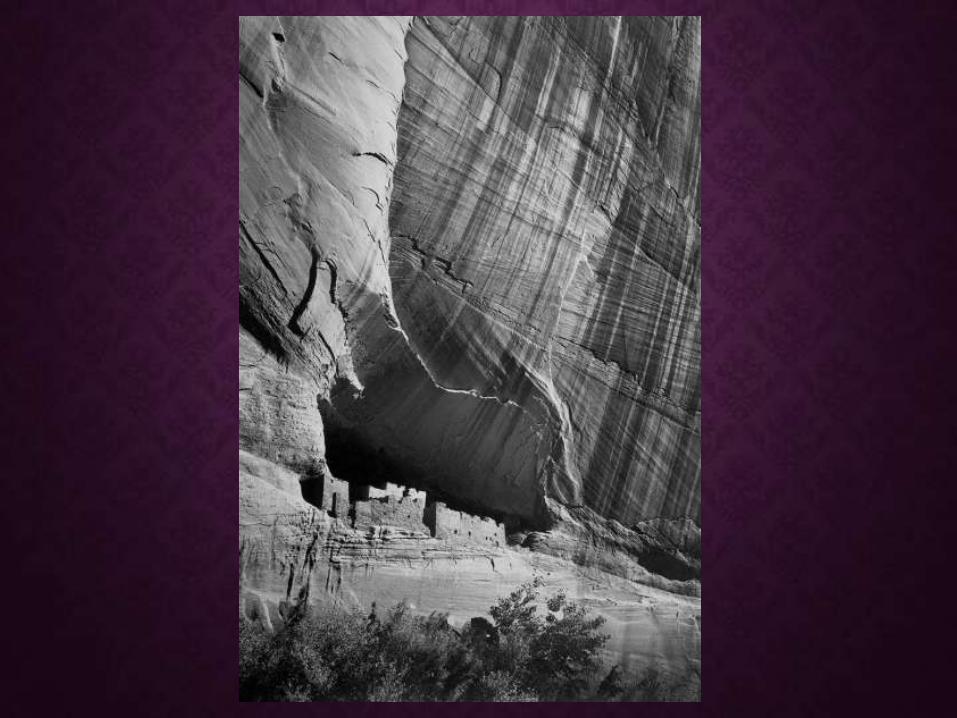
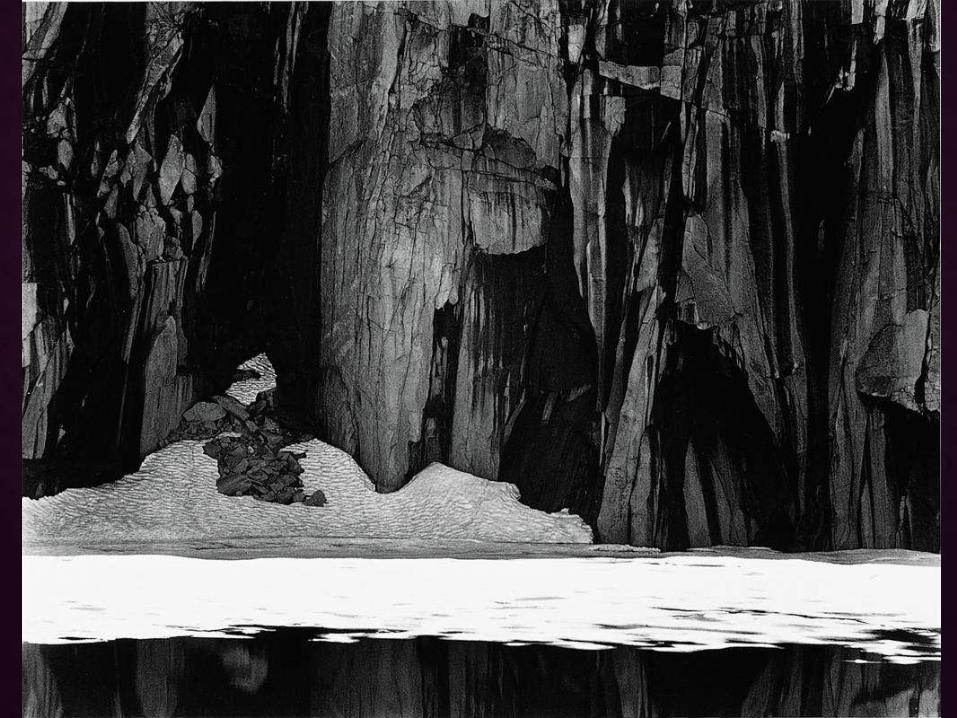
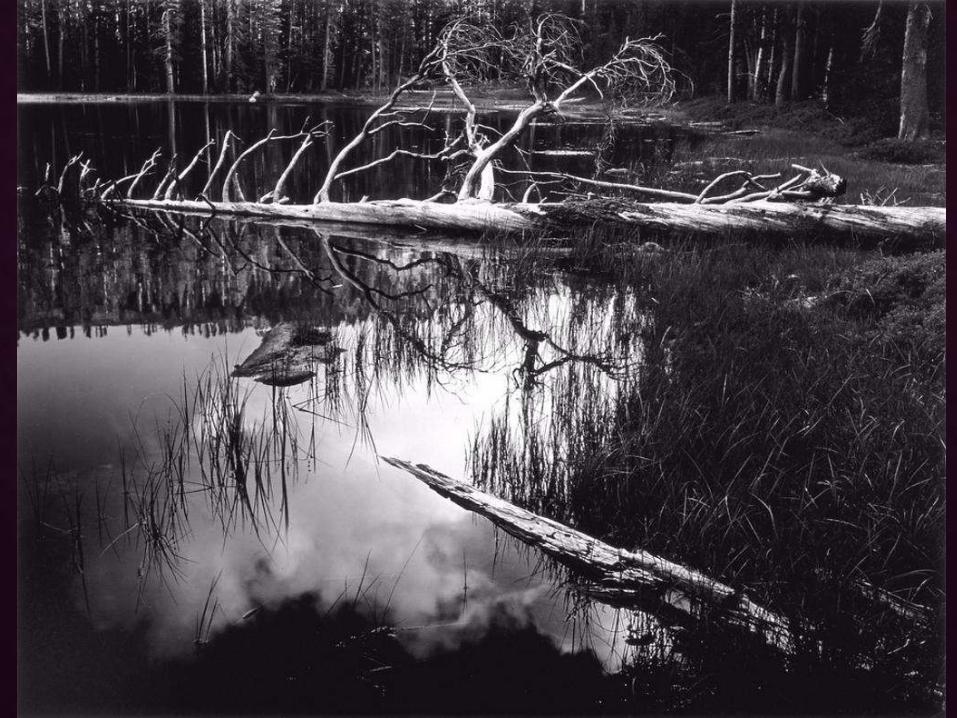
BEST OF ANSEL ADAMS


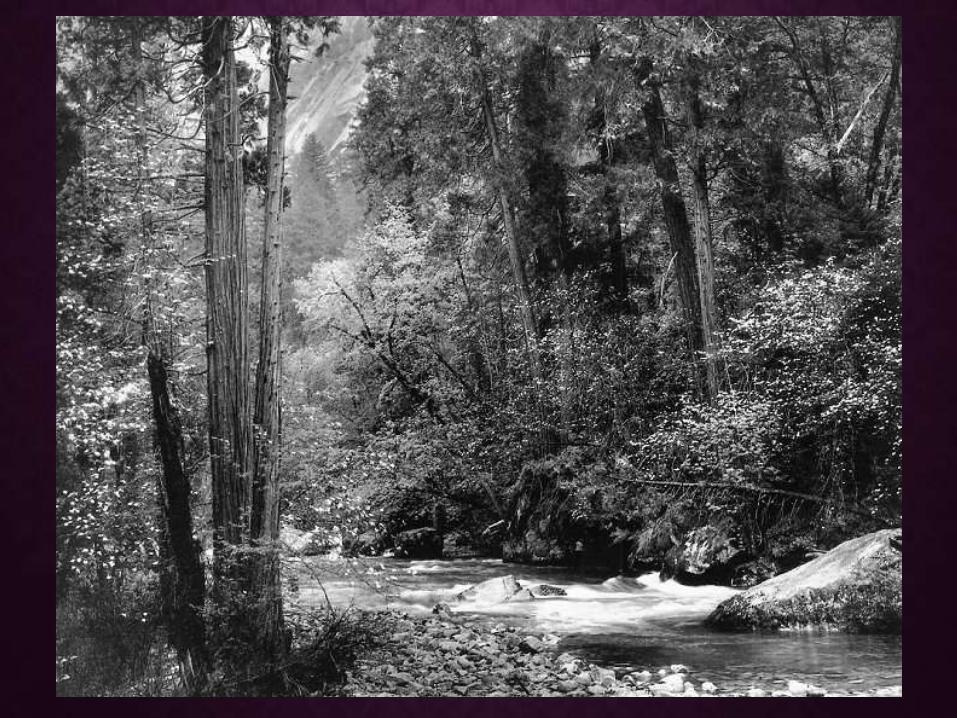

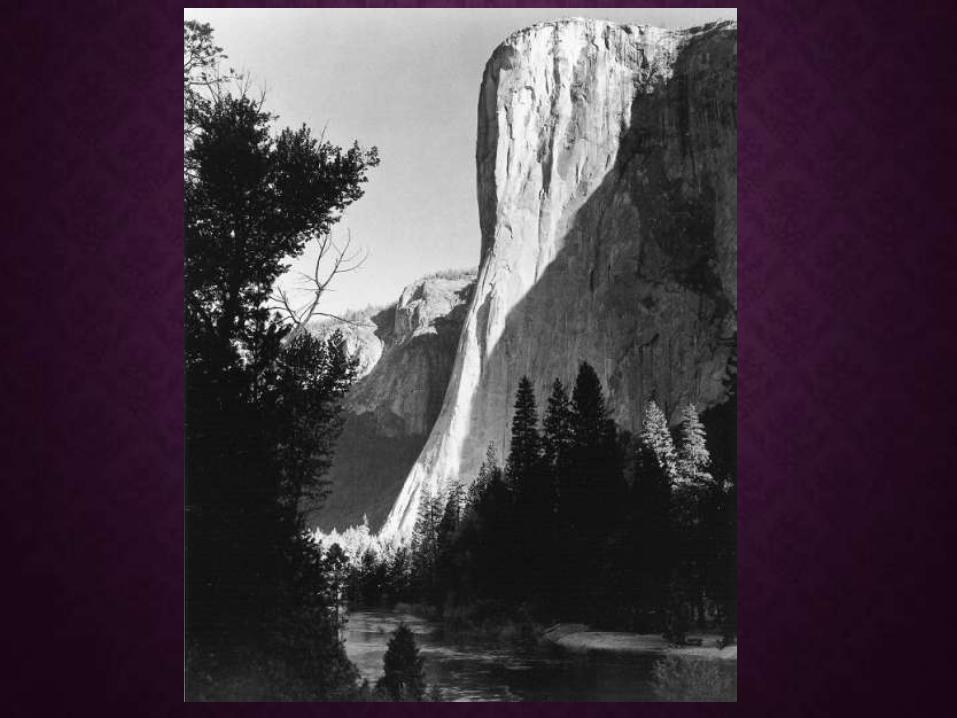
MERCED RIVER, CLIFFS OF CATHEDRAL ROCKS, AUTUMN

GRASS AND POOL


WATER AND FOAM

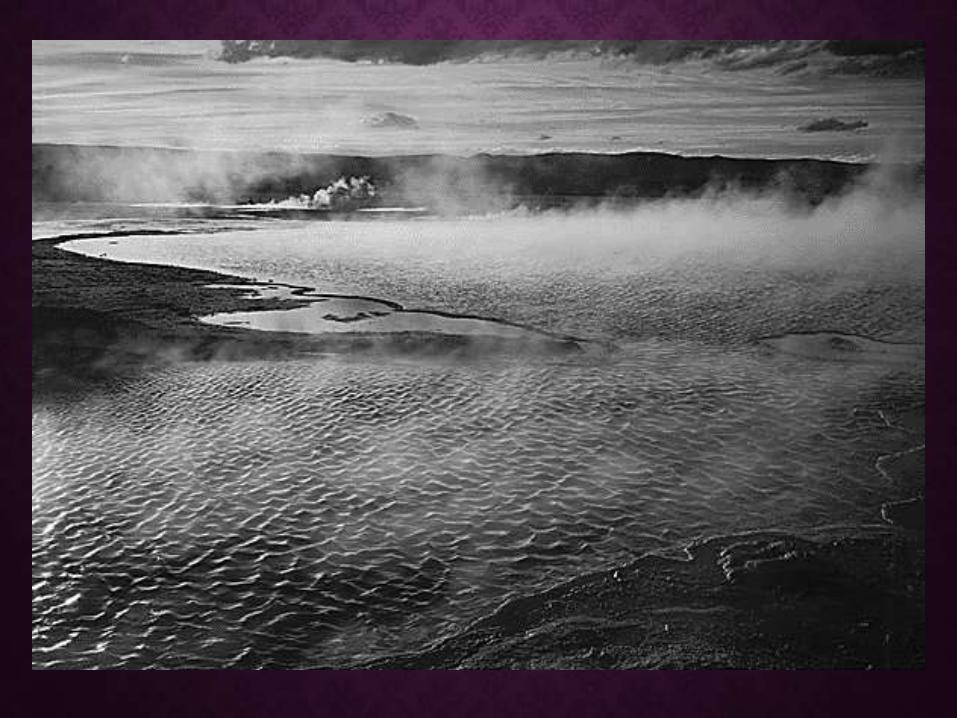
GEYSER POOL, YELLOWSTONE NATIONAL PARK, WYOMING
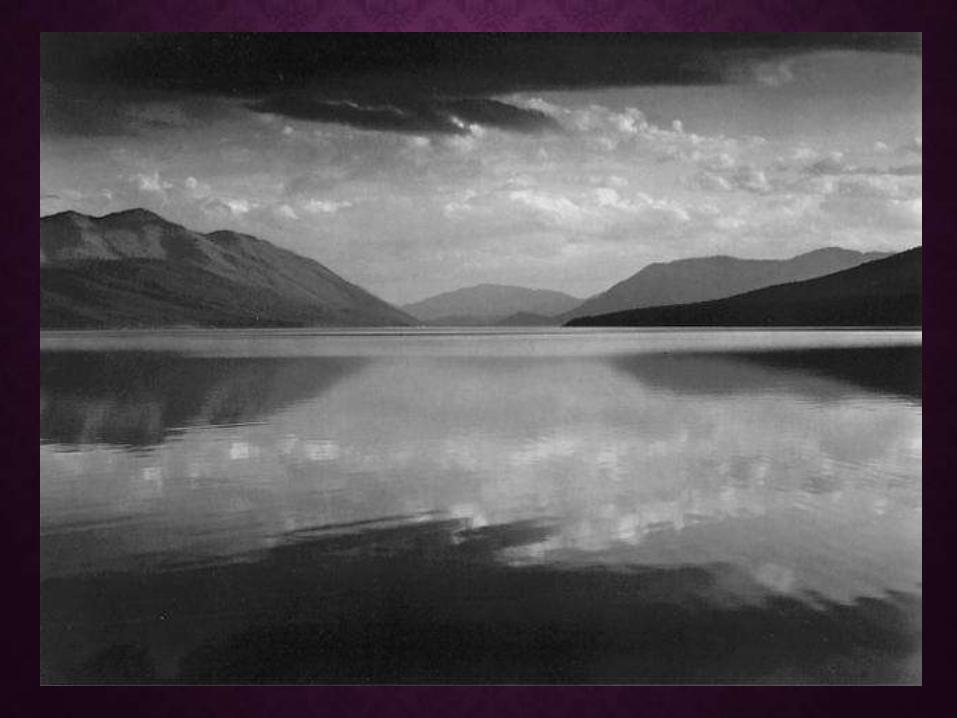

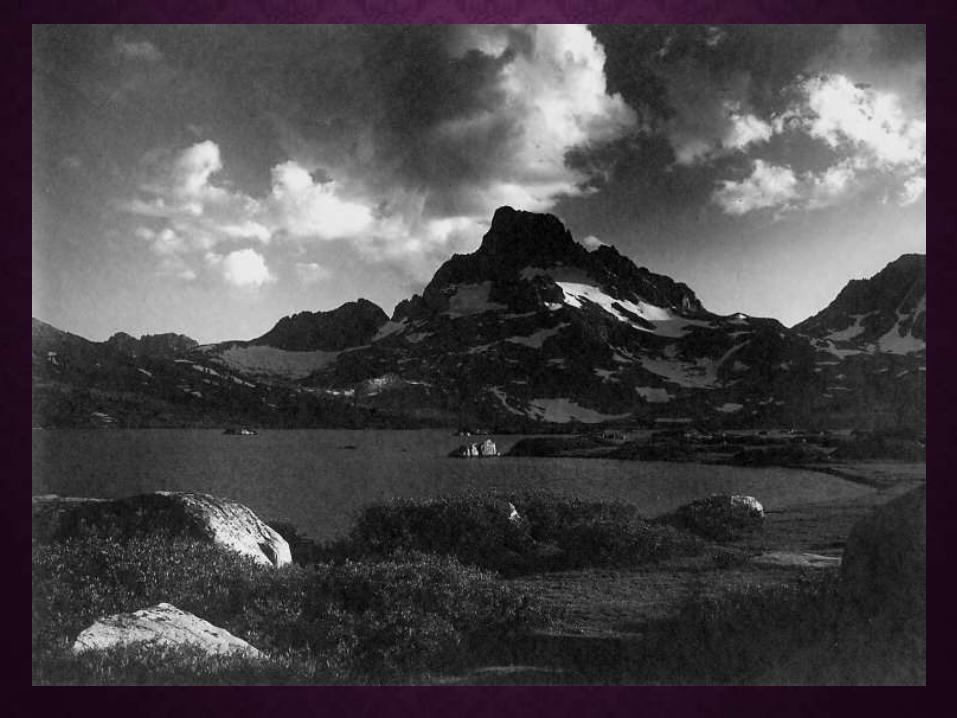
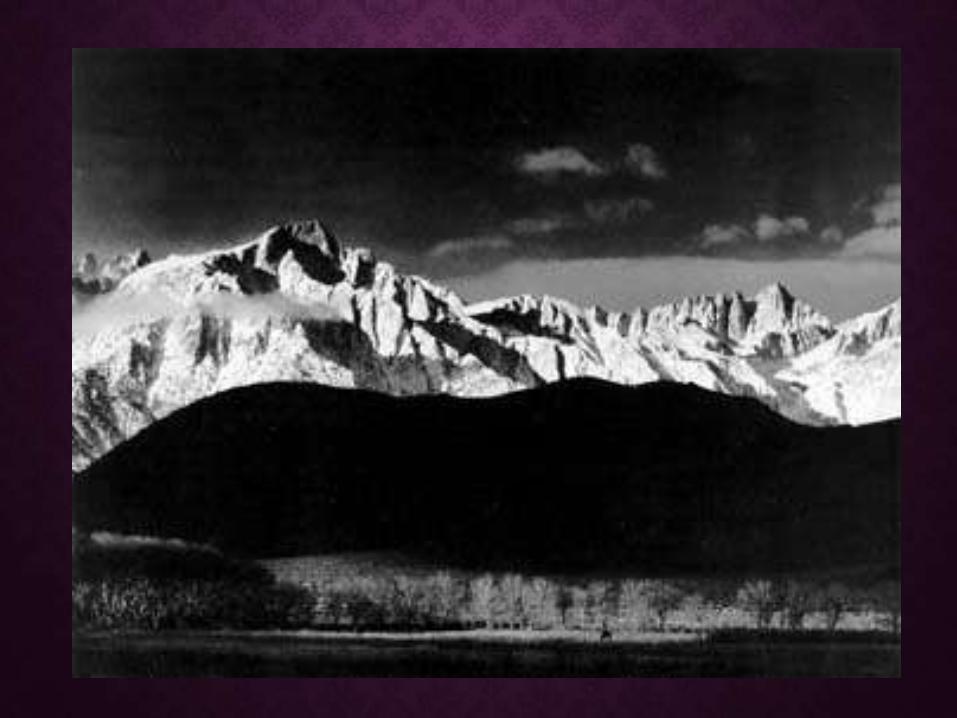
BANNER PEAK AND THOUSAND ISLAND LAKE, 1923

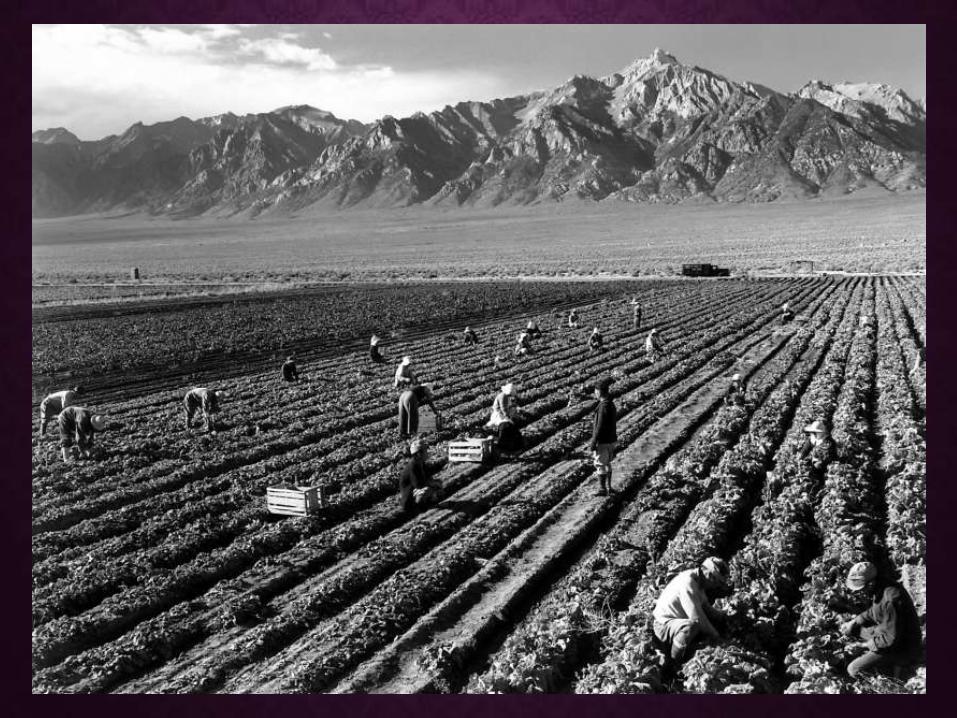
ANSEL ADAMS - FARM WORKERS AND MT. WILLIAMSON
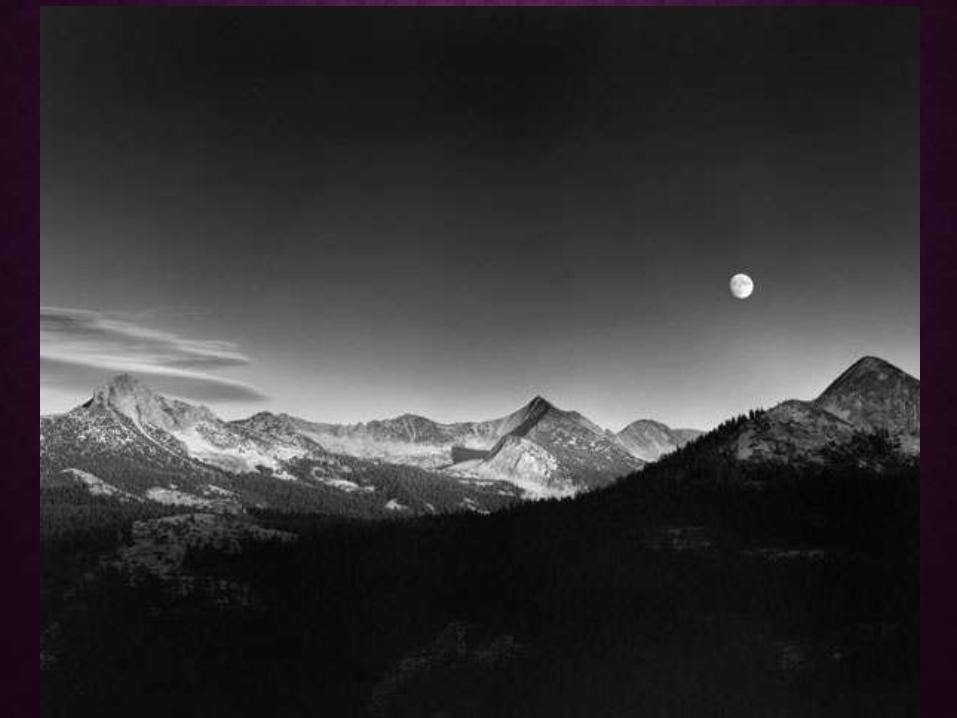
AUTUMN MOON


THUNDER CLOUDS


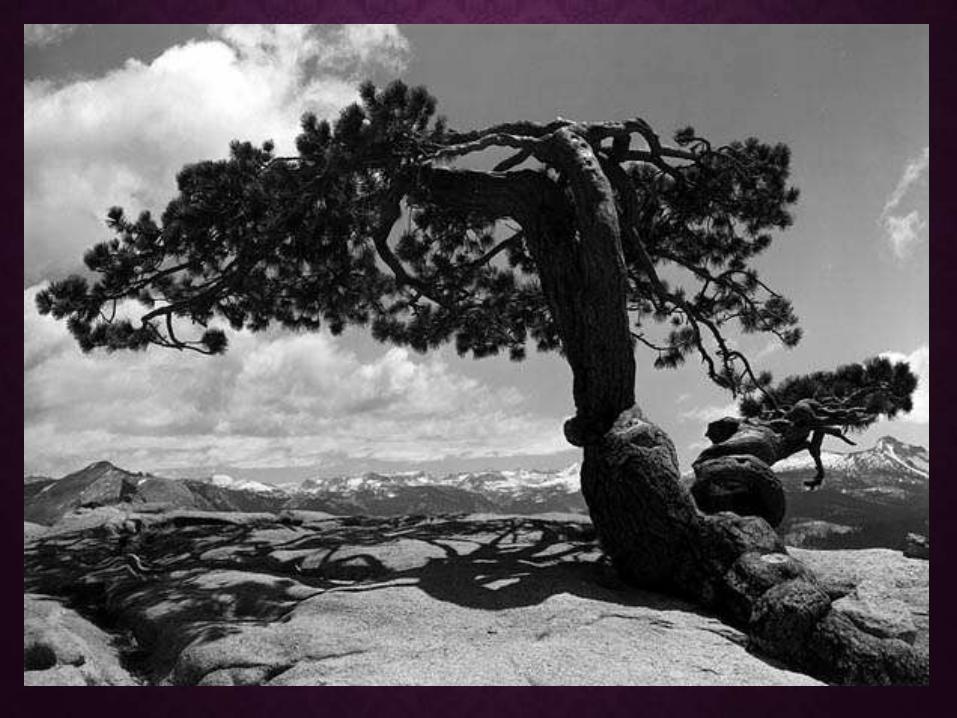
JEFFERY PINE

JEFFERY PINE


TREES AND SNOW
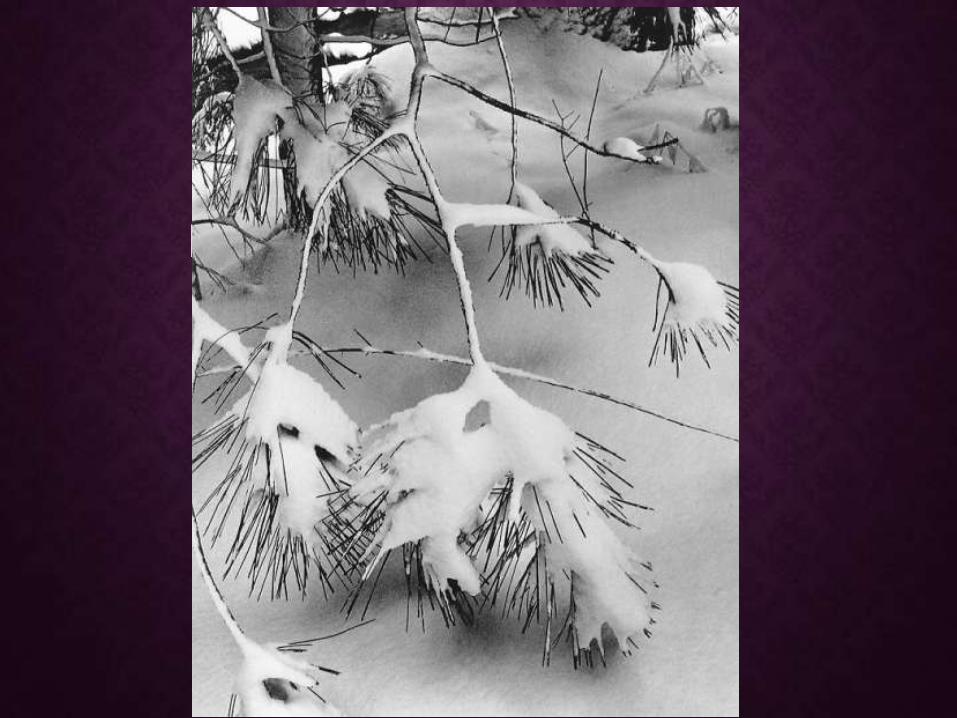
BRANCHES IN SNOW
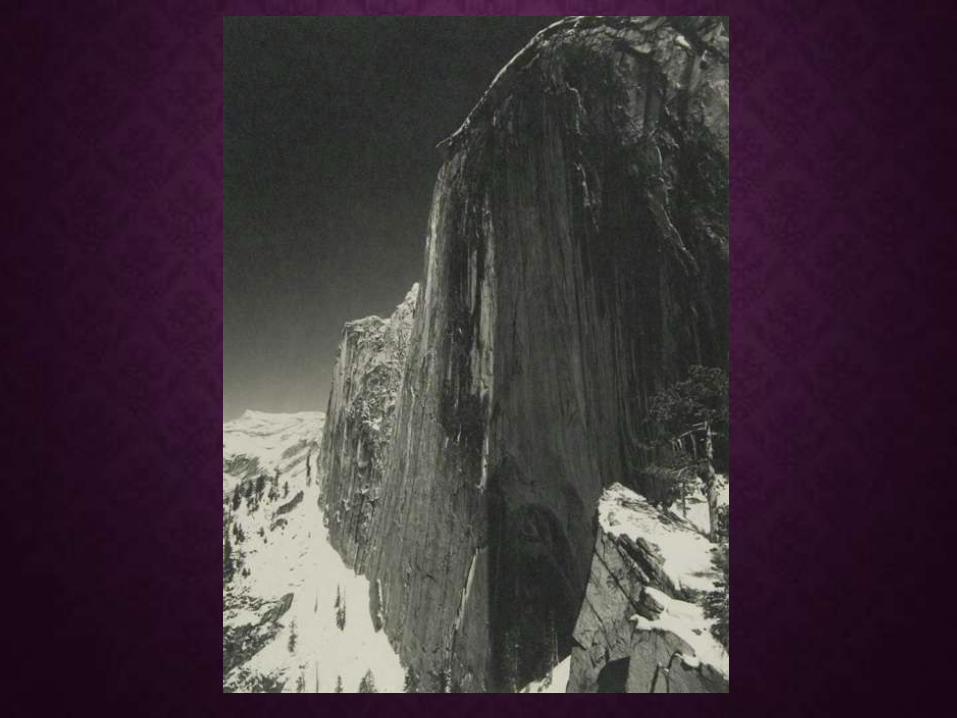
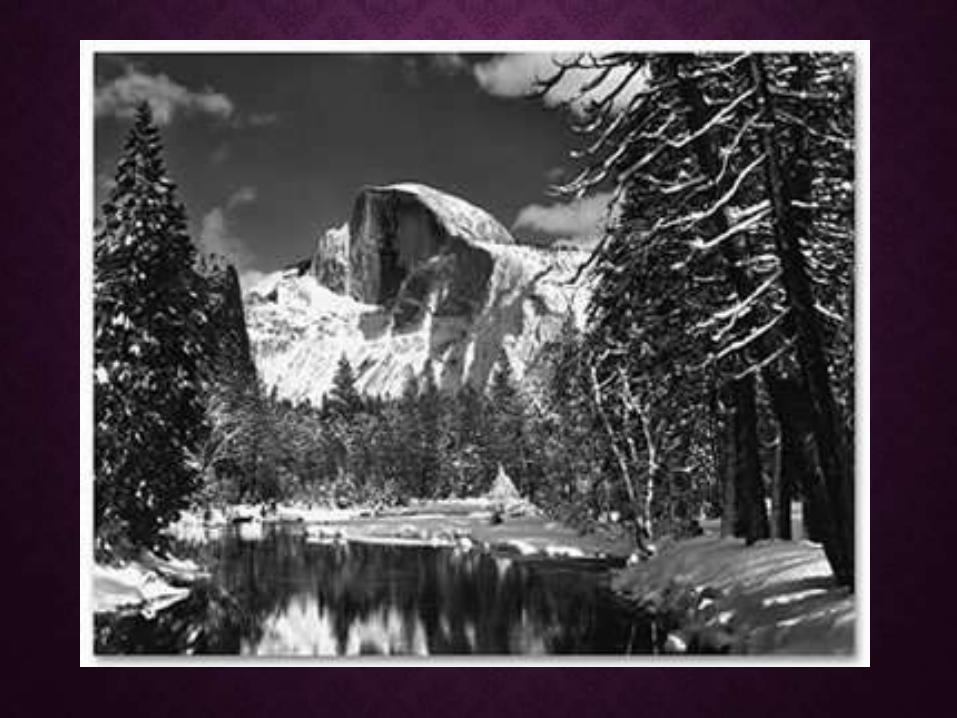
THE HALF DOME


WATERFALL

ASPENS


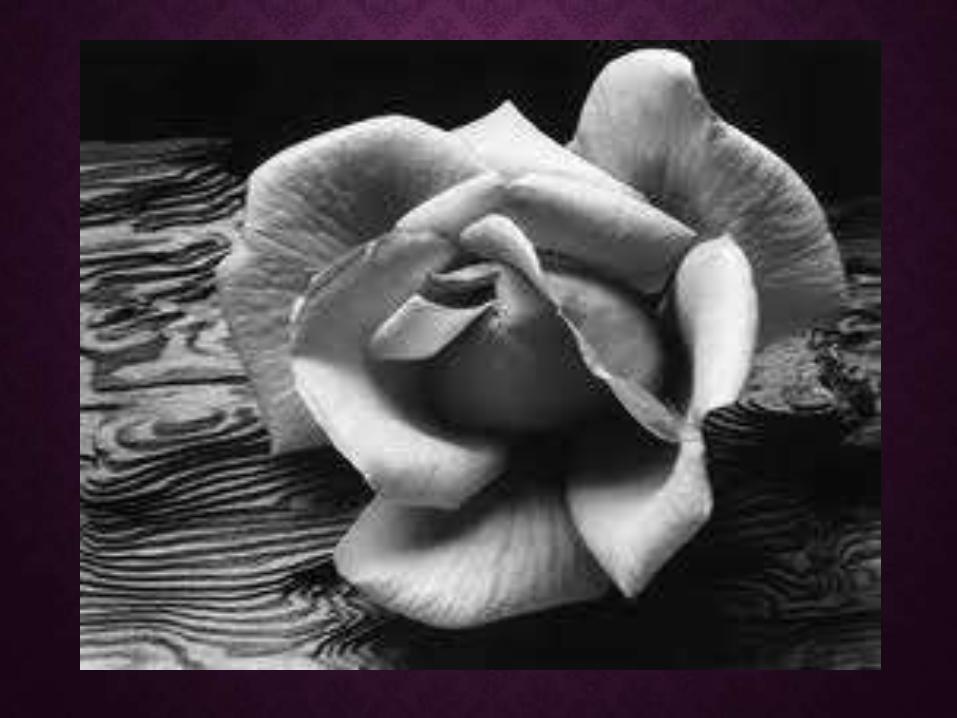
ROSE AND DRIFTWOOD


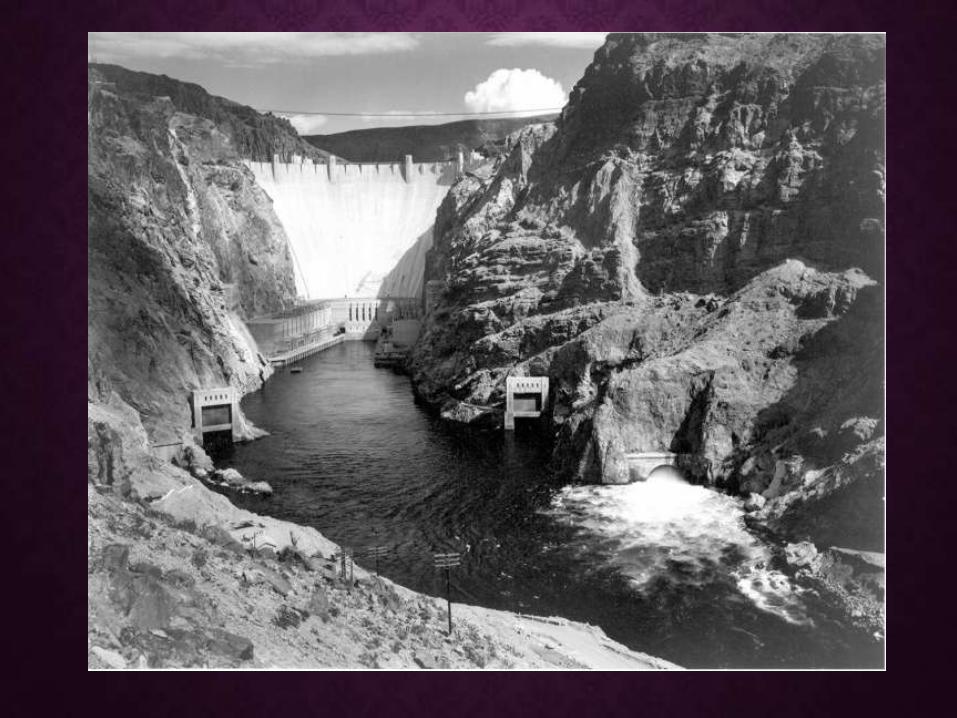

HOOVER DAM