Advanced Excel for Finance Professionals A self study material from South Asian Management...
46
Advanced Excel for Finance Professionals A self study material from South Asian Management Technologies Foundation
-
Upload
georgiana-lambert -
Category
Documents
-
view
234 -
download
2
Transcript of Advanced Excel for Finance Professionals A self study material from South Asian Management...

Advanced Excel for Finance Professionals
A self study material from
South Asian Management Technologies Foundation

Welcome Back to Session 4

Session 6: What-if
• What If Analysis– GOAL SEEK – SCENARIO – DATA TABLE – SOLVER
•

Goal Seek
• We have a budget scenario and look for the input value of a cell if we want to get a specific value in output cell. – Price for a Shirt if target total profit is 90000
Product Shirt Jeans Jacket Tie Total
Price 75 90 150 80
Variable Cost 43 52 96 53
Contribution 32 38 54 27
Unit sold 1500 1850 950 650
PV Ratio 43% 42% 36% 34%
Total Contribution 48000 70300 51300 17550 187150
Fixed Cost 25000 38000 28000 16000 107000
Total Profit 23000 32300 23300 1550 80150

Invoking Goal Seek
• Invoke Goal Seek from What-if-Analysis menu under Data tools.
• Provide the specified value

The Solution
• The solution is provided. If we press OK the displayed values will be stored.

Scenario
• Allows us to keep multiple values of same table logic with different values in same worksheet range
• We do not need to create multiple tables
• Most useful when you use only one set of value i.e. the multiple sets of data are mutually exclusive

Creating a Scenario
• We have a simple profit budget.
• We are often required to create budget for different sales level
Product Shirt Jeans Jacket Tie Total
Price 75 90 150 80
Variable Cost 43 52 96 53
Contribution 32 38 54 27
Unit sold 1500 1850 950 650
PV Ratio 43% 42% 36% 34%
Total Contribution 48000 70300 51300 17550 187150
Fixed Cost 25000 38000 28000 16000 107000
Total Profit 23000 32300 23300 1550 80150

Creating a Scenario
• Select Add Option under Scenario Manager under What-if-Analysis Option from Data

Specifying the Scenario
• Provide a scenario name and cell(s) which you want to change.
• Keep prevent change option selected

Provide values for Scenario
• Create a scenario with original values before you create a scenario with changed values

Recalling a Scenario
• Recall the scenario from What-if-Analysis and select show.
• Get the old values back by selecting original scenario

Scenario Summary
• This option provides a summary view of data input and output

Data Table
• Data table defines a range of data as a group and allows manipulating them in some predefined ways irrespective of the data lying outside the table.
• Most of the functions that can be performed on a table can be performed on the range but mostly in a more complicated manner
• You can disassociate the range from table functionality without deleting data

Create a Table
• We can create a table in two ways– Insert a table– Convert a range to table by using Style option
in Home menu– The formatting and filter option comes about
automatically
• Check if you have headers in your table
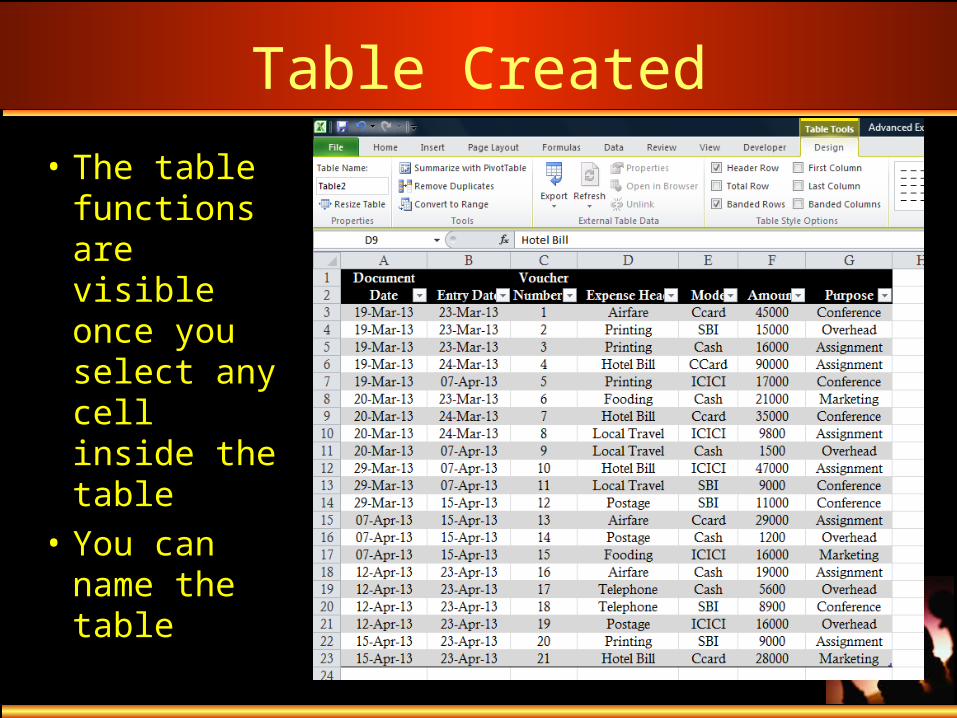
Table Created
• The table functions are visible once you select any cell inside the table
• You can name the table

Remove Duplicate Values
• Specify the columns on which you will search for duplicates
• Enter a data outside table in same rows with duplicate value and remove duplicate

Convert Back to Range
• Just click on any cell and activate the table menu option
• Select Convert to Range

Solver
• A powerful tool that solves for a constraint driven optimisation model.– For example necessary sales quantity for a
target profit subject to limited demand

Start Solver
• Solver is a component of Analysis group under Data option. You may need to install it.
• Provide for the parameters

Major Solver Parameters
• Initial components are like Goal Seek– Set Objective: The cell value that you want to– To: Maximise, minimise, or provide a value– By Changing: The input cell ranges
• The Constraints– Identify the constraint cell– Provide the logical operator– Define the value for the constraint cell

Providing Solver Parameters
• We want to, maximise profit by changing units sold subject to maximum demand

Add a Solver Constraint
• Provide values for all constraints by adding every constraint

The Solver Model

The Solver Solution
• Optimal solution provided, replace values with optimal solution or restore original values

Session 6: Special Features

Special Features
• External data
• Text to columns

Using External Data
• Excel can import data from various sources and allow users to analyse the data using Excel functions
• Data source may be Access, Webpage, text, or other database

Data from Web
• Select From Web option under Get External Data and specify the web page
• Select table in webpage you want to import

Imported Data
• The data is now in the worksheet
• Right click on any cell and see the web query
• You can refresh the same.

Text to Column
• This is a standard function for importing large text data into various columns depending on the structure of the data.
• You can copy a line containing a string where each item is separated by some common element like space, then use this function to convert it.
Jan Feb Mar Apr May June July Aug

Text to Column
• Invoke the menu from Data option and follow the on-screen direction
• Specify data type for each column

Text to Column
• Here is the formatted data

Session 7: Macros

Session 8: Macros
• These are sequence of steps that we need to perform regularly.
• Hence we automate the process by recording these steps and playing them back whenever necessary.

Setup for Macro
• If you do not see the Developer ribbon– Click on File Menu (top left)– Go to Options– Select “Customize Ribbon”– Ensure “Developer tab” is checked– Click ok.

Record a Macro
• Click on Record Macro
• Complete the box

Record a Macro
• Go to HOME menu and colour the cell red
• Go to DEVELOPER menu and stop recording
• Check the macro – press Ctrl-Shift-P
• Current cell will become red

Create a Macro Button
• Go to INSERT menu and create a rectangle anywhere in the sheet.
• Put a text there, say “Red Painter”

Assign the Button Macro Function
• Right click the rectangle and assign macro
• Now whenever you click the button, the selected cell area will become red!

Macro Exercise
• Create a button for computing average for values in ten cells located above the cell where average will be printed.

Session 8: Word Integration

Integrating Word
• You can link a table / cell in a Excel document into a Word document.
• Once it is linked, any change in the worksheet will automatically update the word document.
• Very useful for creating automatic reports

Word Integration
• Open Word document and copy a Excel table; Select Link & Use Destination Style

Embedding Worksheet
• You have to have Excel and Word file together for continuous updation.
• You can embed excel file– this will increase size of word file but excel file can be edited

Thank [email protected]