A SelfService Plus lient Software Installation uide · PDF filelient Software. Installation...
16
www.adselfserviceplus.com ADSelfService Plus Client Software Installation Guide (Installation through ADSelfService Plus web portal and Manual Installation)
Transcript of A SelfService Plus lient Software Installation uide · PDF filelient Software. Installation...
www.adselfserviceplus.com
ADSelfService Plus Client Software Installation Guide
(Installation through ADSelfService Plus web portal and
Manual Installation)

www.adselfserviceplus.com
Table of Contents
Introduction: .................................................................................................................................................. 3
ADSelfService Plus Client software: ............................................................................................................ 3
System Requirements: .................................................................................................................................. 4
Client Software Installation: ......................................................................................................................... 4
Through ADSelfService Plus Web Portal: .................................................................................................. 4
Privileges Required: .............................................................................................................................. 4
Installation: ........................................................................................................................................... 5
Customization: ...................................................................................................................................... 6
Automation: .......................................................................................................................................... 7
Audit Trail: ............................................................................................................................................ 7
Manual Installation: .................................................................................................................................. 8
Troubleshooting Tips: ................................................................................................................................. 10
Network Related Issues: ......................................................................................................................... 10
Anti-virus Specific:................................................................................................................................... 11
Firewall specific: ...................................................................................................................................... 12
User Credentials specific: ........................................................................................................................ 12
Frequently Asked Questions: ...................................................................................................................... 12

www.adselfserviceplus.com
Introduction:
ADSelfService Plus is a secure, web-based, end-user password reset management
program. With ADSelfService Plus, end-users can perform:
self-service password reset
self-service account unlock
self-update personal information
search corporate/employee directory
receive password expiry notification
Winlogon (Ctrl+Alt+Del) password reset
It helps administrators to automate the task of password reset and account unlock
to end-users while minimizing the cost involved with help desk calls.
ADSelfService Plus Client software:
With web-based self-service softwares, the end-users need not rely on helpdesk
personnel for reset password/account unlock operations anymore. But, there is still a small
element of dependency involved: web-based self-service operations can be performed only
on other users’ machines, as the user lacks access to his own machine.
ADSelfService Plus eliminates such dependencies and offers complete password
self-service capabilities to a user with the help of its client software.
ADSelfService Plus client software is an extension from the standard GINA/CP from
Microsoft, which adds a button labeled – ‘Reset Password/Unlock Account’ – to native
Windows log-on prompt. It allows end-users to Reset Password/Unlock Account right at
the windows log-on prompt of their computers, without depending on other users’
machines to access the self-service portal.
This installation guide will provide you with all the information required to deploy,
configure and troubleshoot the ADSelfService Plus Client Software.

www.adselfserviceplus.com
System Requirements:
Disk Space – Minimum 4MB
Operating Systems –
Windows XP
Windows Vista
Windows 7
Windows 8
Windows 8.1
Windows 10
Windows Server 2003
Windows Server 2008
Windows Server 2008 R2
Windows Server 2012
Windows Server 2012 R2
Client Software Installation:
There are four ways through which the ADSelfService Plus client software can be installed:
1. ADSelfService Plus Web Portal
2. Manual Installation
3. GPOs (Group Policy Objects)
4. SCCM (System Center Configuration Manager)
In this document, we will discuss the first two methods of installation - ADSelfService Plus
Web Portal and Manual Installation. Installation via GPOs and SCCM will be discussed
separately.
Through ADSelfService Plus Web Portal:
ADSelfService Plus web portal is a simple and effective way to install the client
software.
Privileges Required:
To install the client software on machines present in a domain, a user must possess
the administrator credential used in configuring that domain with ADSelfService Plus.

www.adselfserviceplus.com
Installation:
Please follow the below steps for installation:
1) In ADSelfService Plus web portal, go to Configuration Administrative Tools
GINA (Ctrl+Alt+Del) GINA/CP installation
2) Click New Installation
3) Select a domain, and then the computers (on which you want to install the client
software)
4) Click Install
OU Filter: Allows you to install the client software on computers belonging to specific OUs:
click OU Filter Select the OUs Get Computers
Search: Use Search to search for a specific computer and install the client software
www.adselfserviceplus.com
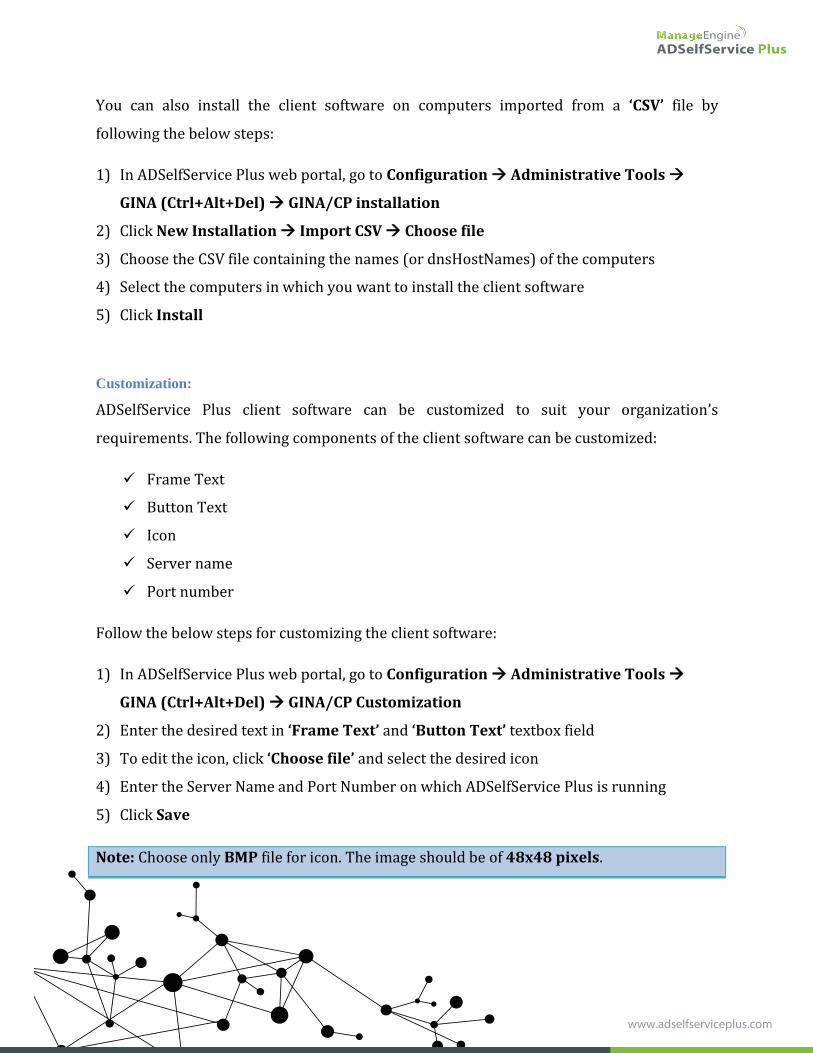
You can also install the client software on computers imported from a ‘CSV’ file by
following the below steps:
1) In ADSelfService Plus web portal, go to Configuration Administrative Tools
GINA (Ctrl+Alt+Del) GINA/CP installation
2) Click New Installation Import CSV Choose file
3) Choose the CSV file containing the names (or dnsHostNames) of the computers
4) Select the computers in which you want to install the client software
5) Click Install
Customization:
ADSelfService Plus client software can be customized to suit your organization’s
requirements. The following components of the client software can be customized:
Frame Text
Button Text
Icon
Server name
Port number
Follow the below steps for customizing the client software:
1) In ADSelfService Plus web portal, go to Configuration Administrative Tools
GINA (Ctrl+Alt+Del) GINA/CP Customization
2) Enter the desired text in ‘Frame Text’ and ‘Button Text’ textbox field
3) To edit the icon, click ‘Choose file’ and select the desired icon
4) Enter the Server Name and Port Number on which ADSelfService Plus is running
5) Click Save
Note: Choose only BMP file for icon. The image should be of 48x48 pixels.

www.adselfserviceplus.com
Automation:
You can automate the process of installation and customization of the client software by
using the scheduler option available in the application.
To automate installation and customization of the client software:
1) In ADSelfService Plus web portal, go to Configuration Administrative Tools
GINA (Ctrl+Alt+Del) GINA/CP Schedulers
2) Enable the desired Scheduler
Available Options:
GINA/CP Installation Scheduler (for automating GINA/CP installation)
GINA/CP Customization Scheduler (for automating GINA/CP Customization)
3) In case of re-scheduling, click on the ‘Edit’ [ ] icon
4) Select the domains in which the scheduler will be active
5) Set the frequency (daily, weekly or monthly) to run the scheduler
6) Click Save
Note: Clicking on the ‘Save’ button will automatically enable the scheduler. To disable the
scheduler, click on the green [ ] icon under ‘Actions’ column.
Audit Trail:
ADSelfService Plus makes it easier for you – the administrator - to keep track of all the
machines in which the client software has been successfully installed, and where the
installation has failed.
To view this report:
1) In ADSelfService Plus web portal, go to Configuration Administrative Tools
GINA (Ctrl+Alt+Del) GINA/CP installation
2) Click Installed Machines - to view the machines in which the client software has been
successfully installed
3) Click Error Occurred Machines - to view the machines in which the client software
installation has failed
www.adselfserviceplus.com
Manual Installation:
Using MSI package:
To install the client software manually, you must run the MSI package of the client software
provided with ADSelfService Plus on each user’s machine.
The MSI package can be found in the installation directory (by default: “C:\Program
Files\ManageEngine\ADSelfService Plus\bin”). The name of the installer is
“ADSelfSerivcePlusClientSoftware.msi”.
To install the client software manually, follow the below steps:
1) Copy the installer file (ADSelfSerivcePlusClientSoftware.msi) to the target machine
(where you want to install the ADSelfService Plus client software)
2) Run the installer by double-clicking the MSI file
3) Follow the steps provided in the wizard and finish the installation process
4) Restart the machine
Using Command Prompt:
When the client software installed manually using the MSI package on computers running
Windows Vista and later Operating Systems with UAC (User Account Control) enabled, it
may not function properly.
In such cases, you can install the client software manually through the command prompt as
shown below:
1) Open command prompt as an administrator and point it to the folder containing
installer file
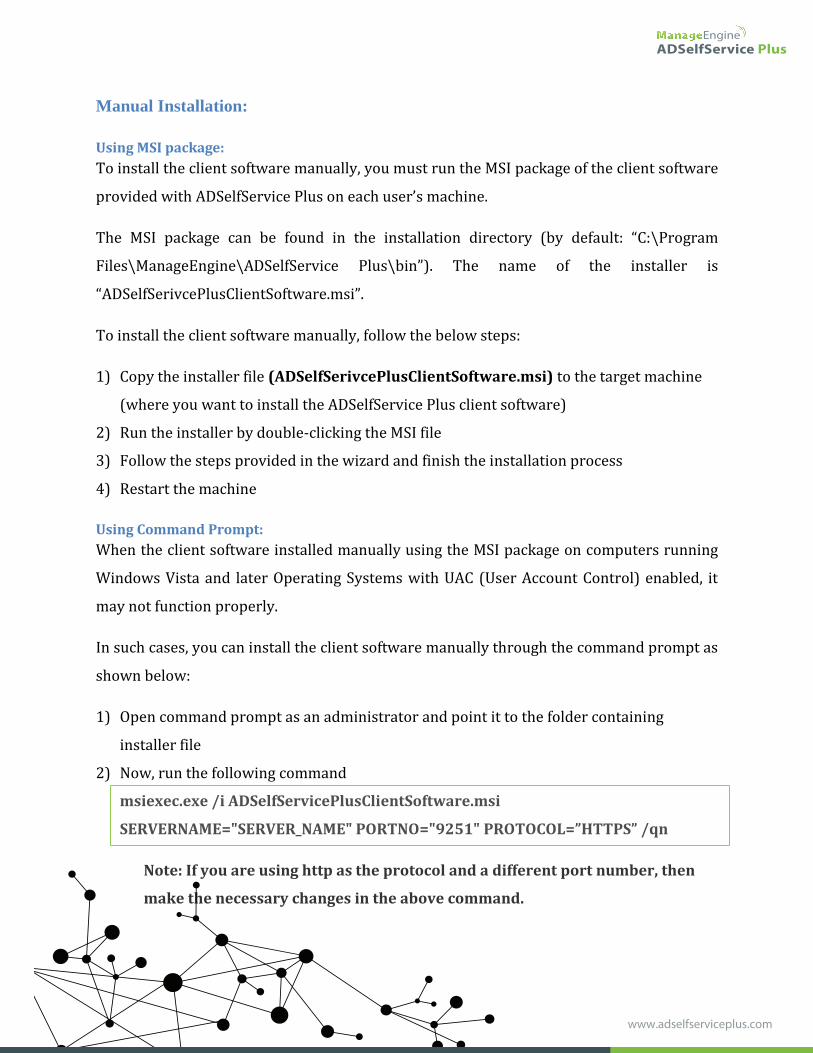
2) Now, run the following command

www.adselfserviceplus.com
Note 1: To customize the client software during installation, use the following command:
Note 2: If you are already using a third party GINA/CP extension, use the following
command to install the ADSelfService Plus client software for seamless integration with the
third party GINA/CP extension:
Where,
SERVER_NAME = hostname of the ADSelfService Plus server
PORTNO = port no of ADSelfService Plus (even if SSL is enabled)
PROTOCOL = http or https
FRAMETEXT = description text
BUTTONTEXT = text that appears on the client software button
PROD_TITLE = title of the client software window
WrappingProvider = GUID of your third party GINA/CP extension

www.adselfserviceplus.com
Troubleshooting Tips:
Network Related Issues:
1. I receive the error message "Initiating Connection to Remote Service . . . Failed".
Why?
Ensure if such a computer really exists. If so, ensure that it is well connected to the
network
To check for connectivity, ping this computer only from the server where
ADSelfService Plus has been installed
2. I receive the error message "Network path not found/Invalid Credential". Why?
Ensure if such a computer really exists. If so, ensure that it is well connected to the
network
To check for connectivity, ping this computer only from the server where
ADSelfService Plus has been installed
3. Couldn't copy the MSI file "ADSelfServicePlusClientSoftware.msi" to the client
machine. Why?
Insufficient privilege to access the client machine
Update the credential provided under the "Domain Settings" of ADSelfService Plus if
Self-service Product is running as an application
When ADSelfService Plus is running as service, update service account's credential
from the "Logon" Tab editing the properties of "Services.msc"
4. Couldn't connect to the Client Machine, ADMIN$.Access is denied
Admin share might not be enabled
Enable Admin Share permissions for the client machine. Configure Domain
Settings(When Run As Console) / Logon Tab(When Run As Service) with
Administrative Credentials

www.adselfserviceplus.com
5. Logon Failure: The target account name is incorrect.
This error message can occur if two computers have the same computer name. One
computer is located in the child domain; the other computer is located in the parent
domain.
6. Logon failure: unknown user name or bad password
Admin share might not be enabled
Configure Domain Settings(When Run As Console) / Logon Tab(When Run As
Service) with Administrative Credentials
7. Invalid User. Application has not been installed properly.
Domain objects may not have been updated yet
Click “Domain Settings” link on the top right-hand side corner of the web portal
Click "Update Domain Objects" icon [ ]; select all check-box and click OK button
Re-install the client software
8. Another installation is already in progress.
Try to install after few minutes
Anti-virus Specific:
Certain Anti-virus softwares may hinder the proper installation of the client software. In
such cases:
Configure your anti-virus software to trust and allow remcomsvc.exe file and
ADSelfServicePlusClientSoftware.msi file.
RemoComSvc.exe file is a third party API, integral to the installation of the client
software.
www.adselfserviceplus.com
Firewall specific:
In some cases, the Windows firewall may block the installation of the client software. To
solve this problem, enable File and Printer sharing:
To enable File and Printer sharing, go to “Control Panel\Network and Sharing
Center\Advanced sharing settings”. Now, select ‘Turn on File and Printer sharing’
and click ‘Save changes’.
Enable Admin Share permissions for the client machine.
User Credentials specific:
If proper administrator privileges are not used for installing the client software, then the
‘Reset Password/Account Unlock’ link or tile may not appear in the windows logon prompt.
To solve this problem:
Uninstall the client software and reinstall it with administrator privileges.
Frequently Asked Questions:
1. After installing the ADSelfService Plus client software, the Windows logon screen
appears blank. I can’t log in to Windows now. What do I do?
You can try the following steps:
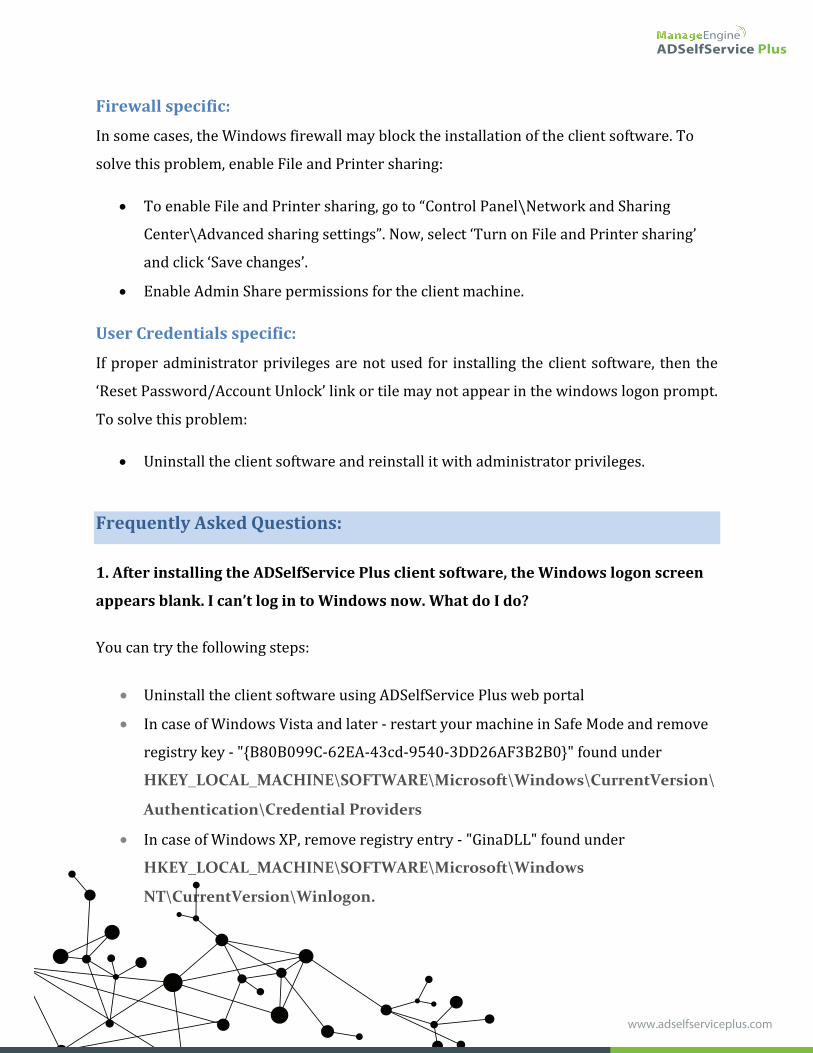
Uninstall the client software using ADSelfService Plus web portal
In case of Windows Vista and later - restart your machine in Safe Mode and remove
registry key - "{B80B099C-62EA-43cd-9540-3DD26AF3B2B0}" found under
In case of Windows XP, remove registry entry - "GinaDLL" found under

www.adselfserviceplus.com
2. What precautions do I have to take regarding the client software, when migrating
ADSelfService Plus from one server to another?
You have to change the Server Name and Port Number of ADSelfService Plus with that of
the new server. Follow the below steps:
In ADSelfService Plus web portal, go to Configuration Administrative Tools
GINA (Ctrl+Alt+Del) GINA/CP Customization
Replace ‘Server Name’ and ‘Port Number’ of the old server with the new server in which
ADSelfService Plus is running currently.
3. I get an empty page (or a page with four empty square-like icons) when I click on
the Reset Password/Unlock Account link at Windows logon prompt.
This problem may arise, if you have configured the SSL (https) port number for the client
software. Changing the port number of the client software back to http will solve this
problem. To change the port number:
In ADSelfService Plus web portal, go to Configuration Administrative Tools
GINA (Ctrl+Alt+Del) GINA/CP Customization
Edit the ‘Port Number’ value to that of your http port.
4. I am already using a third party CP. What precautions do I need to take during
installation?
If you are already using a third party Credential Provider extension, follow the below steps
to seamlessly integrate ADSelfService Plus client software with your third party CP
extension:
You can create a registry entry – ‘WrappingProvider’ with the third party CP extension’s
GUID as its value in the following registry key:

www.adselfserviceplus.com
You can also try the below command:
i) Get the unique GUID of the third party CP extension from the below registry key:
ii) Use that GUID in the below command during installation:
5. I only want the ‘Reset Password/Unlock Account’ link at the logon prompt and not
a separate tile.
(Applies only to Windows Vista and later)
If you want to remove the ADSelfService Plus’s client software tile, set 'ShowADSSPTile'
registry value as FALSE under
6. Is it possible to push the client software using any other third party distribution
software?
Yes, it is possible. Use the following command with your third party distribution software:
7. How to change the title of ADSelfService Plus client software window?
Follow any one of the below steps:
Create a registry key - ‘ProductTitle’ - under
www.adselfserviceplus.com
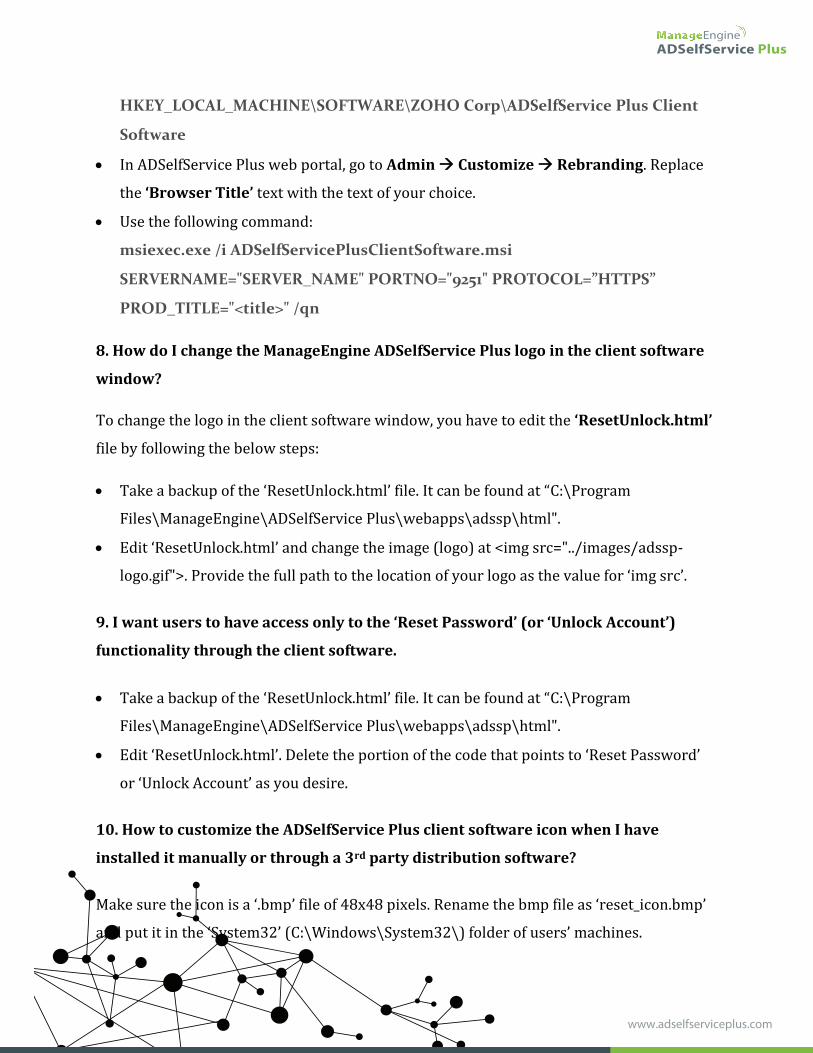
In ADSelfService Plus web portal, go to Admin Customize Rebranding. Replace
the ‘Browser Title’ text with the text of your choice.
Use the following command:
8. How do I change the ManageEngine ADSelfService Plus logo in the client software
window?
To change the logo in the client software window, you have to edit the ‘ResetUnlock.html’
file by following the below steps:
Take a backup of the ‘ResetUnlock.html’ file. It can be found at “C:\Program
Files\ManageEngine\ADSelfService Plus\webapps\adssp\html".
Edit ‘ResetUnlock.html’ and change the image (logo) at <img src="../images/adssp-
logo.gif">. Provide the full path to the location of your logo as the value for ‘img src’.
9. I want users to have access only to the ‘Reset Password’ (or ‘Unlock Account’)
functionality through the client software.
Take a backup of the ‘ResetUnlock.html’ file. It can be found at “C:\Program
Files\ManageEngine\ADSelfService Plus\webapps\adssp\html".
Edit ‘ResetUnlock.html’. Delete the portion of the code that points to ‘Reset Password’
or ‘Unlock Account’ as you desire.
10. How to customize the ADSelfService Plus client software icon when I have
installed it manually or through a 3rd party distribution software?
Make sure the icon is a ‘.bmp’ file of 48x48 pixels. Rename the bmp file as ‘reset_icon.bmp’
and put it in the ‘System32’ (C:\Windows\System32\) folder of users’ machines.
DownloadWebsitewww.adselfserviceplus.com
Sales [email protected]
Tech [email protected]
Toll Free1-888-720-9500
11. What should be the format of the CSV file used to import computers for
installation?
The first line of the CSV file will be taken as the header.
If the CSV file contains names of the computers, then the first line (header) should be -
Name
If the CSV file contains dnsHostNames of the computers, then the first line (header)
should be - dnsHostName