6/11/03 2-1 Module 2 Set-Up Your Workspace to Contain Lead Dust.
20
6/11/03 2-1 Module 2 Set-Up Your Workspace to Contain Lead Dust
-
Upload
brice-bishop -
Category
Documents
-
view
215 -
download
0
Transcript of 6/11/03 2-1 Module 2 Set-Up Your Workspace to Contain Lead Dust.
6/11/03 2-1
Module 2Set-Up Your Workspace to
Contain Lead Dust
6/11/03 2-2
Module 2 Overview
What is containment? Four steps for interior activities
Special considerations for high dust jobs
Two steps for exterior activities Special considerations for high dust jobs
6/11/03 2-3
What Is Containment?
Keeping lead-contaminated dust in the work area
Benefits of containment Protects residents and workers Easier clean-up at the end of the job

6/11/03 2-4
Current Interior Set-Up Practices Spread Lead-Contaminated Dust
Reusable drop cloth Furniture and household
objects in the room Open doors and
windows Broom or shop vacuum
Do not use these practices when lead is present!
6/11/03 2-5
Overview of Interior Set-Up Steps
Step 1: Limit access Step 2: Cover belongings that can not be
moved Step 3: Cover floors Step 4: Close windows, doors, and HVAC
system Special consideration for high dust jobs
6/11/03 2-6
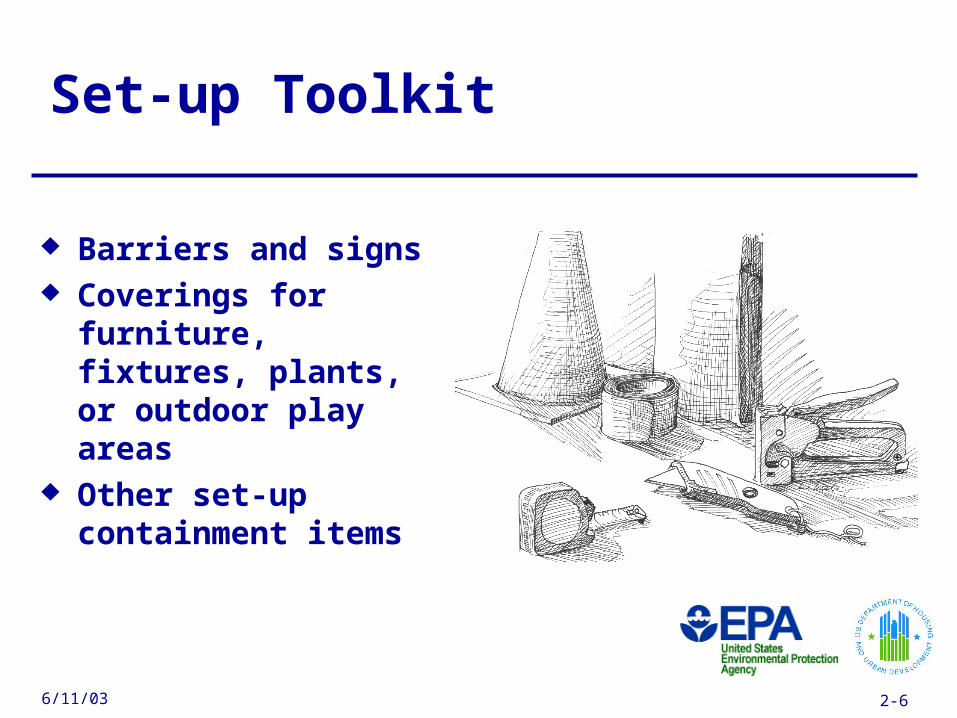
Set-up Toolkit
Barriers and signs Coverings for furniture,
fixtures, plants, or outdoor play areas
Other set-up containment items

6/11/03 2-7
Interior Set-UpStep 1: Limit Access
Instruct residents to stay away from work area
Do not allow small children (under 6 years) or pets near work area
Place a barrier or tape across entrances
Post a sign
Do not allow eating, drinking, or smoking in the work area
6/11/03 2-8
Insert illustration here
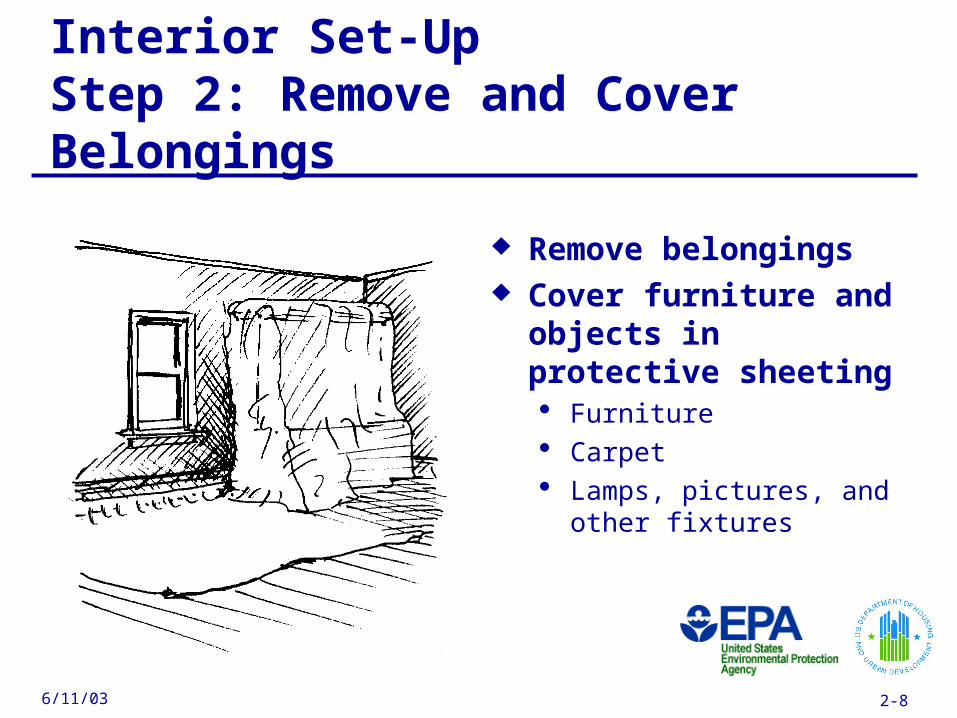
Interior Set-UpStep 2: Remove and Cover Belongings
Remove belongings Cover furniture and
objects in protective sheeting Furniture Carpet Lamps, pictures, and other
fixtures

6/11/03 2-9
Interior Set-UpStep 3: Cover Floors
Cover floors with protective sheeting At least five feet on all sides
of work area 2nd smaller layer if using
chemical strippers Place a tack pad at edge of
protective sheeting, lay protective sheeting on frequently used walking paths to outdoors and bathrooms
5’5’
6/11/03 2-10
Interior Set-UpStep 4: Close Windows, Doors, HVAC
Close all windows and doors Close and seal HVAC vents

6/11/03 2-11
Special Considerations forInterior High Dust Jobs
Remove furniture, fixtures and belongings from work area
Cover door openings with a 2 layers of protective sheeting to form an “airlock”
Close and cover HVAC vents
6/11/03 2-12
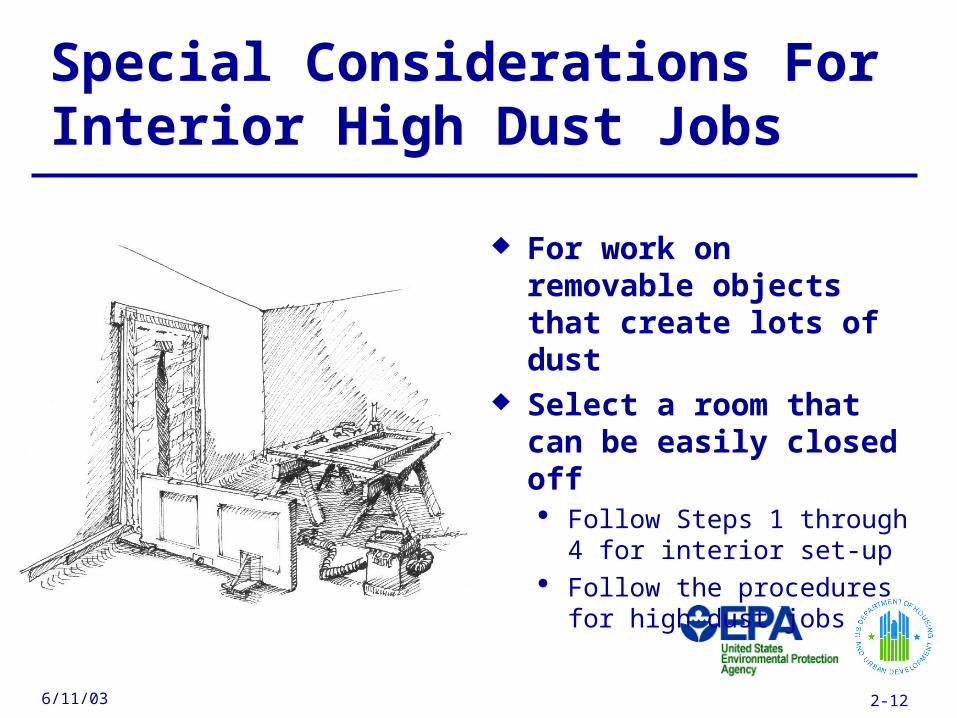
Special Considerations For Interior High Dust Jobs
For work on removable objects that create lots of dust
Select a room that can be easily closed off Follow Steps 1 through 4 for
interior set-up Follow the procedures for
high dust jobs
6/11/03 2-13
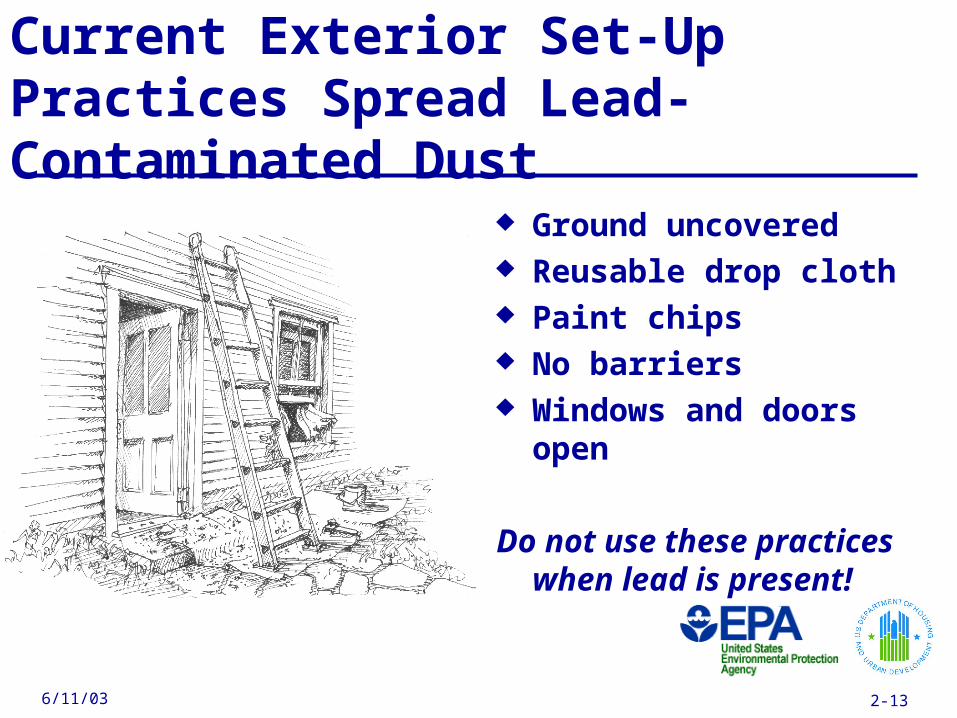
Current Exterior Set-Up Practices Spread Lead-Contaminated Dust
Ground uncovered Reusable drop cloth Paint chips No barriers Windows and doors
open
Do not use these practices when lead is present!
6/11/03 2-14
Overview of Exterior Set-up Steps
Step 1: Establish work area Step 2: Close windows and doors Special considerations for high dust jobs

6/11/03 2-15
Exterior Set-UpStep 1: Establish Work Area
Cover the ground with protective sheeting If space permits, extend at
least 10 feet from work area Cover nearby vegetable
gardens and children's play areas
Limit work area access Establish a 20 foot
perimeter around work area if space permits
20’
6/11/03 2-16
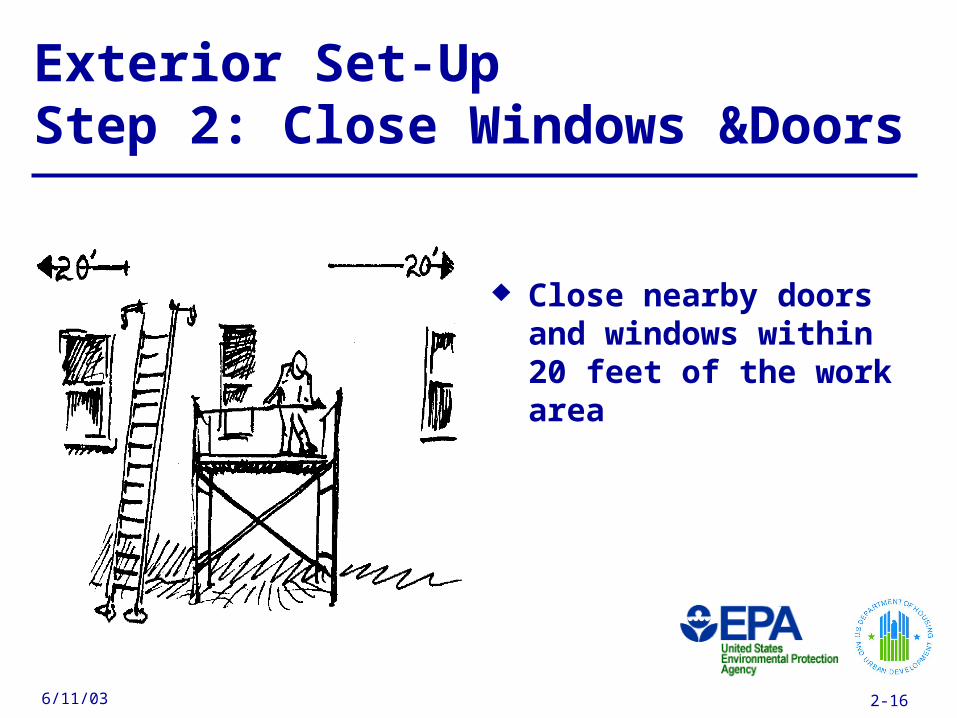
Exterior Set-Up Step 2: Close Windows &Doors
Close nearby doors and windows within 20 feet of the work area
6/11/03 2-17
Special Considerations ForExterior High Dust Jobs
For high dust jobs: Cover doors and windows with protective sheeting Use the two-layer protective sheeting system to cover the door For multi-story jobs, attach protective sheeting to scaffolding to
cover house entrance

6/11/03 2-18
Exercise: Setting Up
Work in groups of 2 or 3 Choose the right tools and materials Set up the work area designated by the trainer You have 15 minutes
6/11/03 2-19
Debrief: Setting up
How did it go? What were some of the hard parts? What would you do differently for a larger job? A high dust job?
6/11/03 2-20
Now You Know
How to set up for a job Interior containment Exterior containment High and low dust jobs