101575353 Accounts Payable
26
Faculty: K.Laskahman Swamy. [email protected] SAP FI/CO Accounts Payable ACCOUNTS PAYABLE Step 1: Creation of Vendor Account Groups Path: SPRO – Financial Accounting – Accounts Receivable and Accounts Payable – Vendor Accounts – Master data – Preparations for creation of Master data – Define A/c Groups with Screen Layout (Vendors) T.code . OBD3 Click on “New Entries” Account Group = Name = Double Click on “Company Code data” Double Click on “Account Management” Make “Reconciliation Account” as “Required entry” Click on Save. Step 2: Creation of number ranges for Vendor accounts – T.Code XKN1 Path: Same as above. Click “Change intervals” button Click “Insert intervals” button No = From Number = To Number = Click Enter and Click on Save. Step 3: Assign number ranges to Vendor Account Groups Path: Same as above. T.Code. OBAS. Click on “Position” button Account Group = Click Enter Number range = Click on Save Step 4: Define tolerance groups for Vendors Path: SPRO Financial Accounting Accounts Receivable & Accounts Payable Business Transactions Outgoing Payments Manual outgoing payments Define tolerances (Vendors) T.code. OBA3 Click on “New Entries” Company Code = Tolerance group = Text = Click Save
-
Upload
ganesan-mani -
Category
Documents
-
view
75 -
download
9
Transcript of 101575353 Accounts Payable

Faculty: K.Laskahman Swamy. [email protected]
SAP FI/CO Accounts Payable
ACCOUNTS PAYABLE
Step 1: Creation of Vendor Account Groups
Path: SPRO – Financial Accounting – Accounts Receivable and Accounts Payable – Vendor Accounts –Master data – Preparations for creation of Master data – Define A/c Groups with Screen Layout (Vendors)T.code . OBD3
Click on “New Entries”Account Group =Name =
Double Click on “Company Code data”Double Click on “Account Management”Make “Reconciliation Account” as “Required entry” Click on Save.
Step 2: Creation of number ranges for Vendor accounts – T.Code XKN1
Path: Same as above.
Click “Change intervals” buttonClick “Insert intervals” buttonNo =From Number =To Number = Click Enter and Click on Save.
Step 3: Assign number ranges to Vendor Account GroupsPath: Same as above. T.Code. OBAS.
Click on “Position” buttonAccount Group = Click EnterNumber range = Click on Save
Step 4: Define tolerance groups for Vendors
Path: SPRO Financial Accounting Accounts Receivable & Accounts Payable BusinessTransactions Outgoing Payments Manual outgoing payments Define tolerances (Vendors)T.code. OBA3
Click on “New Entries”Company Code =Tolerance group =Text = Click Save

Faculty: K.Laskahman Swamy. [email protected]
SAP FI/CO Accounts Payable
Step 5: Creation of two GL Accounts – T.Code FS00
Step: Creation of Inventory of Raw Material Account
Check up the list of Account Groups and identify Account Group under which we haveto create this GL Master and choose the GL Account Number – T.Code - OBD4
Path: Accounting Financial Accounting General Ledger Master Records Individual Processing Centrally – T.Code - FS00
GL Account Number =Company Code =Go to Menu, G/L Account, Create
Account Group = P&L Statement Account Balance Sheet Account
Short Text =Long Text =
Go to Control Data tab,
Account Currency =Only balances in local Currency
Line item displaySort Key =
Go to Create/Bank/Interest tab,
Field Status Group = Click on “Save”
Step: Creation of Sundry Creditors Account (As Reconciliation Account)
Check up the list of Account Groups and identify Account Group under which we have to create this GLMaster and choose the GL Account Number – T.Code - OBD4
Path: Accounting Financial Accounting General Ledger Master Records Individual Processing Centrally – T.Code - FS00
GL Account Number =Company Code =Go to Menu, G/L Account, Create
Account Group =

Faculty: K.Laskahman Swamy. [email protected]
SAP FI/CO Accounts Payable
P&L Statement Account Balance Sheet Account
Short Text =Long Text =
Go to Control Data tab,Account Currency =
Note: “Only balances in local currency” should not be selected for Reconciliation A/cs
Reconciliation Accountfor Account type = Line item displaySort Key =
Go to Create/Bank/Interest tab,
Field Status Group = Click on “Save”
Step 6: Creation of Vendor Master
Path: Accounting Financial Accounting Accounts Payable Master Records Maintain centrally Create – T.Code XK01
Company Code =Account Group = Click EnterTitle =Name =Country =
Click “Next Screen” button thriceReconciliation Account =Sort Key =Cash Management Group =
Click “Next Screen” button
Payment terms =Tolerance group = BlankSelect “Check Double Invoice” Click Save
Other relevant transaction codes for vendor master records.
Change Vendor Master Record - XK02Display Vendor Master Record - XK03Display change made to Vendor Master Record - XK04Block and UN block Vendor Master Record - XK05

Faculty: K.Laskahman Swamy. [email protected]
SAP FI/CO Accounts Payable
Flag Vendor Master Record for deletion - XK06
Step 7: Define document types and number ranges – T.Code - OBA7
Click on Position, Document type = KR “Enter”,Select “KR-Vendor Invoice” line and click on “Details” iconAnd observe Number range = 19 in “Properties” (i.e. Serial Number of the number range)Click on “Number range information” button,Company Code =Click on “(Change) intervals” buttonClick on “(Insert) intervals” button
Click on “Insert” and “Save”.Click on “Enter” after observing the Message.
Click on “Back” button.
Click on Position, Document type = KZ “Enter”,Select “KZ-Vendor Payment” line and click on “Details” iconand observe Number range = 15 in “Properties” (i.e. Serial Number of the number range)
Click on “Number range information” button,Company Code =Click on “(Change) intervals” buttonClick on “(Insert) intervals” button
Click on “Insert” and “Save”.Click on “Enter” after observing the Message.
Click on “Back” button.Click on Position, Document type = KA “Enter”,Select “KA-Vendor Document” line and click on “Details” icon
Vendor Document types:
KR - Vendor Invoice (Purchase Invoice) (Number range – 19)KZ - Vendor Payment (Number range – 15)KA - Vendor Document (Number range – 17)
No. Year from Number to Number
No. Year from Number to Number

Faculty: K.Laskahman Swamy. [email protected]
SAP FI/CO Accounts Payable
and observe Number range = 17 “Properties” (i.e. Serial Number of the number range)
Click on “Number range information” button,Company Code =Click on “(Change) intervals” buttonClick on “(Insert) intervals” button
Click on “Insert” and “Save”.Click on “Enter” after observing the Message.
Step 8: Posting of Purchase invoice – T.Code F-43
Document date = Type = Company Code =Posting date = Period = Currency =
Posting key = Account = (Vendor Number) “Enter”
Amount =Business Area =Payment terms =Bline date = (Baseline date)Text =
Posting key = Account = “Enter”
Amount =Business Area =Text =
Click on “Overview” Icon and “Save” to post it.
Step 9: Check the Vendor Line item display – T.Code – FBL1N
Vendor Account =Company Code =
Select O Open ItemsOpen at key date =
Layout = 1SAP (Standard)
Click on “Execute” Icon and observe the Document Status.
No. Year from Number to Number

Faculty: K.Laskahman Swamy. [email protected]
SAP FI/CO Accounts Payable
Step 10: Display Vendor Account Balance T.Code - FK10N
Vendor Number =Company code =Fiscal year = click on “execute”Double click on the month totals to see the details of transactions posted
Step 11: Display the balance in “sundry creditors” Reconciliation Account T.Code FS10N
GL account =Company code =Fiscal year =Business area = click on “execute”Double click on the month totals to see the details of the transactions posted. Observe the effect of sort key.
Step 12: Posting of outgoing payment – T.Code - F-53
Document date = Type = Company Code =Posting date = Period = Currency =
Bank Data:Account = Business Area =Amount =Text =
Open Item Selection:Account = (Vendor Account Number)
Click on “Process Open items” button
Observe Amount entered, Amount assigned and Not assigned fields.
Keep the cursor on Amount entered and double click on amount field of purchase invoiceAgainst which we want to post outgoing payment. Ensure “Not Assigned” field becomes zero. Click on“Save” to post the document.
Step 13: Check the Vendor Line item display – T.Code – FBL1N
Vendor Account =Company Code =
Select O Open ItemsOpen at key date =Layout = 1SAP (Standard)

Faculty: K.Laskahman Swamy. [email protected]
SAP FI/CO Accounts Payable
Click on “Execute” Icon and observe the Document Status.
PART PAYMENTS
There are two methods to deal with the part payments in SAP. They are1. partial payment method2. residual payment method
Partial payment method: under this method the system displays both the amount of the invoice and partpayments made as open items. When the total of the part payments made is equal to the amount of theinvoice, the part payments are cleared against the invoice amount.
Procedure:
Step1: posting of the purchase invoice T.code. F-43
Document date = Type = Company Code =Posting date = Period = Currency =
Posting key = Account = (Vendor Number) “Enter”
Amount =Business Area =Payment terms =Bline date = (Baseline date)Text =
Posting key = Account = “Enter”
Amount =Business Area =Text =
Click on “Overview” Icon and “Save” to post it.
Step2: posting of part payment T.code F-53
Document date = Type = Company Code =Posting date = Period = Currency =
Bank Data:Account = Business Area =Amount =Text =

Faculty: K.Laskahman Swamy. [email protected]
SAP FI/CO Accounts Payable
Open Item Selection:Account = (Vendor Account Number)
Click on “Process Open items” buttonClick on “partial payment” tab; double click on “net amount” column and “payment amount” columnAgainst the invoice document number. Click on “save”
Step3: display the line items of vendor T.Code FBL1N
Vendor Account =Company Code =
Select O Open ItemsOpen at key date =Layout = 1SAP (Standard)
Click on “Execute” Icon and observe the Document Status
Observe that both the amount of the invoice and part payments made are shown as open items
Step4: post the remaining outgoing part payment T.code F-53
Document date = Type = Company Code =Posting date = Period = Currency =
Bank Data:Account = Business Area =Amount =Text =
Open Item Selection:Account = (Vendor Account Number)
Click on “Process Open items” button.Click on “partial payment” tab; double click on “net amount” column and “payment amount column”against the invoice document number. Click on “save”
Step5: display vendor line items T.Code FBL1N
Vendor Account =Company Code =
Select O Open ItemsOpen at key date =Layout = 1SAP (Standard)
Click on “Execute” Icon and observe the Document Status

Faculty: K.Laskahman Swamy. [email protected]
SAP FI/CO Accounts Payable
Observe that both the amount of the invoice and part payments made are shown as open items
STEP 6: clearing of part payments against the invoice. T.Code F-44
Account = Clearing date = period =Company code = currency =Click on “process open items”Double click on all the line items.
Step7: vendor line item display. T.code FBL1N
Vendor Account =Company Code =
Select O Open ItemsOpen at key date =Layout = 1SAP (Standard)
Click on “Execute” Icon and observe the Document Status
Residual payment method:
Under this method only the remaining amount is shown as open item. For this, the system clears the totalamount of invoice (vendor is debited with the total amount of the invoice) and the system creates anotherline item for the remaining amount (vendor is again credited with the remaining amount of the invoice).
Procedure
Step1: post the purchase invoice in F-43
Document date = Type = Company Code =Posting date = Period = Currency =
Posting key = Account = (Vendor Number) “Enter”
Amount =Business Area =Payment terms =Bline date = (Baseline date)Text =
Posting key = Account = “Enter”
Amount =

Faculty: K.Laskahman Swamy. [email protected]
SAP FI/CO Accounts Payable
Business Area =Text =
Click on “Overview” Icon and “Save” to post it.
Step2: post the part payment in F-53Document date = Type = Company Code =Posting date = Period = Currency =
Bank Data:Account = Business Area =Amount =Text =
Open Item Selection:Account = (Vendor Account Number)
Click on “Process Open items” button. Click on “Residual items” buttonDouble click on “net amount” column and “residual items” columnClick on “save”Double click on the blue line itemText =
Step3: Display vendor line items FBL1NVendor Account =Company Code =
Select O Open ItemsOpen at key date =Layout = 1SAP (Standard)
Click on “Execute” Icon and observe that only the remaining amount is shown as open items
HOUSE BANKS
Step 1: Creation of GL A/c – Bank A/c – T.Code FS00
GL A/c Number =Click “With template”GL A/c Number = 200100Company Code =
Give Short Text / Long text =Select “Relevant to Cash flow” Click Save

Faculty: K.Laskahman Swamy. [email protected]
SAP FI/CO Accounts Payable
Step 2: Creation of House Bank and assignment of GL A/c Number in House Bank
Path: SPRO – Financial Accounting – Bank Accounting – Bank accounts – Define House Banks - T.CodeFI 12
Company Code = Enter,Click “New Entries”,House Bank =
Bank country = IN,Bank key = Click Save
Bank name = Enter Click Save
Double Click “Bank Accounts” Folder.Click “New Entries”Account ID =Description =
Bank A/c Number =GL A/c Number =Currency = INR Click Save
Step 3: Creation of Cheque lots
Path: Accounting – Financial Accounting – Accounts Receivable – Periodic processing – PaymentsGo to Menu, Environment, Check information, Number ranges - T.Code FCHI
Paying Company Code =House Bank =Account ID =Click “Change” IconClick “Create” Icon
Lot Number =Check Number =To =Short Info =Purchase = Click Save.
Step 4: Purchase invoice posting – T.Code F-43
Document date = Type = Company Code -Posting date = Period = Currency
Posting key = Account = (Vendor Number) "Enter"
Amount =Business Area =

Faculty: K.Laskahman Swamy. [email protected]
SAP FI/CO Accounts Payable
Payment terms =Bline date = (Baseline date)Text =
Posting key = Account = "Enter"
Amount =Business Area =Text =
Click on "Overview" Icon and "Save" to post it.
Step 5: Payment of invoice using Bank Account - T.Code F-53
Document date = Type = Company Code =Posting date = Period = Currency=
Bank Data:Account = Business Area =Amount =Text =
Open Item Selection:Account = (Vendor Account Number)
Click on "Process Open items" button
Observe Amount entered, Amount assigned and not assigned fields.
Keep the cursor on Amount entered and double click on amount field of purchase invoice against which wewant to post outgoing payment. Ensure "Not Assigned" field becomes zero. Click on "Save" to post thedocument.
Step 6: Manual check updation – T.Code FCH 5
Payment document Number =Paying Company Code =Fiscal Year =
House Bank =Account ID =Check Number = Click Save
Step 7: Display Check register – T.Code FCHN
Paying Company Code =House Bank =Account ID = Click Execute
Faculty: K.Laskahman Swamy. [email protected]
SAP FI/CO Accounts Payable
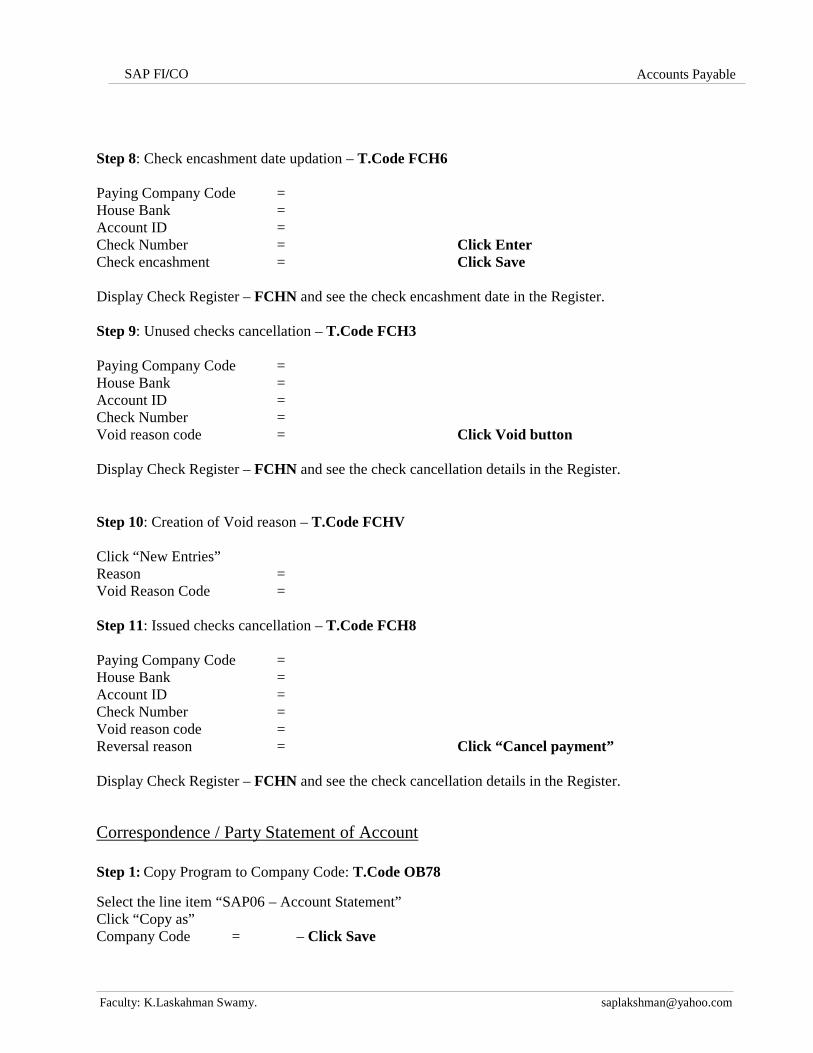
Step 8: Check encashment date updation – T.Code FCH6
Paying Company Code =House Bank =Account ID =Check Number = Click EnterCheck encashment = Click Save
Display Check Register – FCHN and see the check encashment date in the Register.
Step 9: Unused checks cancellation – T.Code FCH3
Paying Company Code =House Bank =Account ID =Check Number =Void reason code = Click Void button
Display Check Register – FCHN and see the check cancellation details in the Register.
Step 10: Creation of Void reason – T.Code FCHV
Click “New Entries”Reason =Void Reason Code =
Step 11: Issued checks cancellation – T.Code FCH8
Paying Company Code =House Bank =Account ID =Check Number =Void reason code =Reversal reason = Click “Cancel payment”
Display Check Register – FCHN and see the check cancellation details in the Register.
Correspondence / Party Statement of Account
Step 1: Copy Program to Company Code: T.Code OB78
Select the line item “SAP06 – Account Statement”Click “Copy as”Company Code = – Click Save

Faculty: K.Laskahman Swamy. [email protected]
SAP FI/CO Accounts Payable
Step 2: Request for correspondence: T.Code FB12
Company Code = - Click EnterDouble Click “SAP06 – Account Statement”Vendor =Postings from =Postings to = – Click Enter
Step 3: Maintain correspondence: T.Code F.64
Correspondence = SAP06Company code = -- ExecuteDouble click on Line item,Output device = LP01Click continue and See the document.
Advance payments (Down payments)
Step 1: Creation of GL A/c 200150 - Advance to Vendors A/c as Special G/L-FS00
Check up the list of Account Groups and identify Account Group under which we have to create this GLMaster and choose the GL Account Number - T.Code - OBD4
Path: Accounting → Financial Accounting → General Ledger →Master Records→Individual Processing → Centrally - T.Code - FS00
GL Account Number =Company Code =Go to Menu, G/L Account, Create
Account Group =O P&L Statement AccountO Balance Sheet Account
Short Text =Long Text =
Go to Control Data tab,
Account Currency =
Recon. A/c for a/c type = Vendors
O Line item display Sort Key =

Faculty: K.Laskahman Swamy. [email protected]
SAP FI/CO Accounts Payable
Go to Create/Bank/Interest tab,
Field Status Group = Click on "Save"
Step 2: Associate Sundry Creditors with Advance to Vendors A/c
Path: SPRO – Financial Accounting – A/cs Receivable & A/cs Payable – Business Transactions – Downpayment made – Define alternative reconciliation A/c for down payments – T.Code OBYR
Double Click “Down payments on Current Assets”Chart of Accounts = Click EnterReconciliation Account = 100505 (Sundry Creditors)Special GL A/c = 200150 (Advance to Vendors A/c) Click Save.
Step 5: Advance payment posting – T.Code F-48
Document date = Type = Company Code =Posting date = Period = Currency
Account = (Vendor Number)Special GL Indicator = A "Enter"Bank A/c =Business Area =
Amount =Text =
Amount =Business Area =Text =Menu, Document, Simulate and Save.
Step 6: Check party A/c (Vendor line item balance display) – T.Code FBL1N
Vendor Account =Company Code =
Select O Open ItemsOpen at key date =
Layout = 1 SAP (Standard)
Click on "Execute" Icon and observe the Document Status.
Step 7: Purchase invoice posting – T.Code F-43

Faculty: K.Laskahman Swamy. [email protected]
SAP FI/CO Accounts Payable
Document date = Type = Company Code =Posting date = Period = Currency =
Posting key = Account = (Vendor Number) "Enter"Amount =Business Area =Text =
Posting key =Account =AmountBusiness Area =Text =Menu, Document. Simulate and Save.
Step 8: Transfer Advance from Special GL to Normal by clearing Special GL A/c – F-54
Document date = Type = Company Code =Posting date = Period = Currency =
Account = (Vendor Number) "Enter"Text =Click "Process down payments" button.Transfer posting = Click Save.
Step 7: Check party A/c – T.Code FBL1N
Vendor Account =Company Code =
Select O Open ItemsOpen at key date =
Layout = 1SAP (Standard)
Click on "Execute" Icon and observe the Document Status.
Step 8: Clearing of normal item – T.Code F-44
Account = Vendor Account NumberClick “Process open items”Double click both the line items. Click Save.
Step 9: Check party A/c – T.Code FBL1N

Faculty: K.Laskahman Swamy. [email protected]
SAP FI/CO Accounts Payable
Vendor Account =Company Code =
Select O Open ItemsOpen at key date =
Layout = 1 SAP (Standard)
Click on "Execute" Icon and observe the Document Status.
AUTOMATIC PAYMENT PROGRAM
Step 1: Set up payment method per country for payment transactions
Path: SPRO – Financial Accounting – Accounts Receivable & Accounts Payable – Business Transactions– Outgoing payments – Automatic outgoing payments – Payment method / Bank selection for paymentprogram – Set up payment methods per country for payment transactions
Click “Position”, give Country = IN. If country “India” is set up already, you don’t have to make anyinclusions here. If you don’t have IN country line item,
Click New entries,
Country = IN,Payment method = C (for check payments)Description = Payment method for India
Payment method forSelect “Outgoing payment”
Payment method classificationSelect “Check”Posting detailsDocument type for payment = KZClearing document = KZPayment medium program = RFFOUS_C Click Save
Double Click, Currencies allowed Folder.Click, “Add New Entries”Type “INR” Click Save
Step 2: Set up payment methods per Company Code for payment transactions
Path: Same.

Faculty: K.Laskahman Swamy. [email protected]
SAP FI/CO Accounts Payable
Paying Company Code =Payment method = C
Minimum Amount = 100Maximum Amount = 999999999
Grouping of items:Select “Payment for marked item”Select “Payment per due day”
Click “Form data” buttonForm for the payment transfer medium = F110_PRENUM_CHCK
Drawer on the form“Company Code” Click Save
Step 3: Set up all Company Codes for payment transactions
Path: Same.
Click “New entries”,
Company Code =
Control data:Sending company code =Paying Company Code =Select “Separate payment per Business area”
Cash discount and tolerances:Select “Maximum Cash discount” Click Save
Step 4: Set up paying company codes for payment transactions
Path: Same.
Click “New entries”
Paying Company Code =Minimum amount for incoming payment = 100Minimum amount for outgoing payment = 100
Click “Forms” buttonForm for the payment advice = F110_D_AVIS
Click “Sender details” button

Faculty: K.Laskahman Swamy. [email protected]
SAP FI/CO Accounts Payable
Text Id = ST (Standard Text)
Text elements:Letter Header = F_0001_HEADERFooter Text = F_0001_FOOTERSignature text = (Leave it Blank)Sender = F_0001_SENDER
Step 5: Creation of GL A/c – Bank A/c – T.Code FS00
GL A/c Number =Click “With template”GL A/c Number = 200100Company Code =Give Short Text / Long text =Check up whether “Relevant to cash flow” is selected or not.
Step 6: Creation of House Bank and assign GL A/c Number in House Bank
Path: SPRO – Financial Accounting – Bank Accounting – Bank accounts – Define House Banks - T.CodeFI 12
Company Code = Click EnterClick “New Entries”,House Bank =Bank country = IN,Bank key =Save.Bank name = – Enter Click Save
Double Click “Bank Accounts” Folder.Click “New Entries”Account ID =Description =Bank A/c Number =GL A/c Number =Currency = INR Click Save.
Step 7: Creation of Cheque lots
Path: Accounting – Financial Accounting – Accounts Receivable – Periodic processing – Payments
Go to Menu, Environment, Check information, Number ranges - T.Code FCHI
Paying Company Code =House Bank =
Account ID =Click “Change” IconClick “Create” Icon

Faculty: K.Laskahman Swamy. [email protected]
SAP FI/CO Accounts Payable
Lot Number =Check Number =To =Short Info =Purchase date = Click Enter and Save
Step 8: Set up Bank determination for payment transactions
Path: SPRO – Financial Accounting – Accounts Receivable & Accounts Payable – Business Transactions– Outgoing payments – Automatic outgoing payments – Payment method / Bank selection for paymentprogram – Set up Bank determination for payment transactionsClick “Position” button,Paying Company Code =Select the line item “ ”,Double Click “Ranking Order” folder,Click “New entries”,Payment method = CCurrency = INRRank Order = 1House Bank = Click SaveSelect the line item.
Double Click “Bank Accounts”,Click “New entries”,House Bank =Payment method = C
Currency = INRAccount ID =Bank Sub account = Click SaveDouble Click “Available amounts”Click “New entries”,House Bank =Account Id =Days = 999 (For normal payments it should be given 999, For
Bills of Exchange – actual duration)Currency = INRAvailable for outgoing payments =Click Save.
Step 9: Assign payment method in Vendor Account
Path: Accounting – Financial Accounting – Accounts Payable – Master records – Maintain Centrally –Change - T.Code XK02company code =Vendor A/c Number = Give your Vendor A/c Number for whom you are processing
Payments (Repeat this process for all the vendors)
Select “Payment transaction” under Company Code Data group – Click Enter

Faculty: K.Laskahman Swamy. [email protected]
SAP FI/CO Accounts Payable
Payment terms = 0001Select “Check double invoice”Payment method = C Click Save
Step 10: Invoice posting – T.Code F-43
Document date = Type = Company Code =Posting date = Period = Currency =
Posting key = Account = (Vendor Number) "Enter"
Amount =Business Area =Payment terms =Bline date = (Baseline date)Text =
Posting key = Account = "Enter"
Amount =Business Area =Text =
Click on "Overview" Icon and "Save" to post it.
Post one purchase invoice. Don’t process payment for this invoice manually. Check up whether thisdocument is shown as an open item using FBL1N.
Step 11: Execution of Automatic Payment Program - T.Code F110
Path: Accounting – Financial Accounting – Accounts Payable – Periodic Processing – Payments
Run date =Identification =
Select “Parameter” tabCompany Code =Payment method = CNext Run date =Vendor = Give your Vendor A/c Numbers
Select “Additional Log” tabSelect “Due date check”Select “Payment method Selection in all cases”Vendor = Give your Vendor A/c Numbers
Click Save
Go back,

Faculty: K.Laskahman Swamy. [email protected]
SAP FI/CO Accounts Payable
Status shows “Parameters have been entered”.
Click “Schedule proposal” buttonStart date =Select “Start immediately”Target Computer = Give your Server name (Press F4 key to find and insert the name)
Enter
Status shows “Proposal scheduled”
EnterStatus shows “Proposal has been created”
Select “Edit proposal” button
EnterDouble Click line itemDouble Click againBlock payment, if you want.Select “Reallocate” to change Bank A/c etc. Enter and Click Save.
Click Go back twice, come to Proposal screen.Click “Payment run” button. Enter
Go to “Print out/Data medium” tabRFFOUS_C = (the identification you have given in the first screen)Click “Maintain Variants” button,Click “Continue”, EnterProgram run date =Identification feature = (the identification you have given in the first
screen)Paying Company Code =Business Area =House Bank =A/c Id =Check Lot Number = 1
Select “Print Checks”Printer = LP01Select “Print immediately”
Select “Print payment advice notes”Printer = LP01Select “Print immediately”
Select “Print payment summary”Printer = LP01Select “Print immediately”

Faculty: K.Laskahman Swamy. [email protected]
SAP FI/CO Accounts Payable
Number of sample print outs = 0Select “Do not void any checks”
Click “Attributes” buttonDesc = (Give your Identification) Click Save
Click “Back arrow” Save again.
Click “Back arrow”Select “Print out button”Job Name = (Identification in the place of question mark)Enter.
Step 12: To see checks
Path: System – Services – Output control --------- Execute
Select “Spool Number”Click “Display contents”
Last step: Display Check registerPaying company code =House Bank = ExecuteVerify whether the Invoice is paid (FBL1N) and Vendor A/c (FS00) is updated.
Terms of Payment - Cash Discount
Step 1: Maintenance of terms of payment
Path: SPRO - Financial Accounting - Accounts Receivable and Accounts Payable -Business Transactions -Incoming Invoices/Credit Memos - Maintain terms of payment
Click "New entries"Payment terms =Sales Text = 20 days-3%; 30 days-2%; 45 days due
Account type:Select "Vendor"Select "Customer"
Default baseline date:Select "No default"
Payment terms:

Faculty: K.Laskahman Swamy. [email protected]
SAP FI/CO Accounts Payable
Term Percentage No. of days1 3 202 2 303 45 Click Save
Step 2: Creation of G/L Account - "Cash discount" - T.Code FSOO
Check up the list of Account Groups and identify Account Group under which we have to create this GLMaster and choose the GL Account Number - T.Code - OBD4
Path: Accounting → Financial Accounting →General Ledger →Master Records → Individual Processing→ Centrally - T.Code - FSOO
GL Account Number =Company Code =Go to Menu, G/L Account, Create
Account Group =O P&L Statement AccountO . Balance Sheet Account
Short Text =Long Text =
Go to Control Data tab,
Account Currency =Select "Only balances in local Currency'Select "Line item display"
Sort Key =
Go to Create/Bank/Interest tab,
Field Status Group = Click Save
Step 3: Assignment of Cash Discount A/c for automatic postings — T.Code OBXUChart of Accounts = ---- EnterClick on "Save"Account Number =Save.
Step 4: Purchase invoice posting - T.Code F-43
Document date = Type = Company Code =Posting date = Period = Currency =

Faculty: K.Laskahman Swamy. [email protected]
SAP FI/CO Accounts Payable
Posting key = Account = (Vendor Number) "Enter"Amount =Payment terms =Text =Posting key =A/c Number =Amount =Business Area =Text =Menu, Document, Simulate and Save.
Step 5: Outgoing payment - T.Code F-53
Document date = Type = Company Code =
Posting date = Period = Currency=
Bank data: Account
=Business Area =Amount =Text =Open item selection:Account =Click "Process open items"Menu, Document and SimulateDouble Click on Blue line item,Text =Click on “save”
Purchase Returns (Vendor Credit Memo)
Step 1: Define Number ranges for document type KG - T.Code OBA7
Path: SPRO - Financial Accounting - Financial Accounting Global Settings - Document - DocumentHeader - Define document types
Click "Position" button, give "KG", Select "KG-Vendor Credit Memo"Select "details" button,
Note that the Number Range for KG document type is also "17" which has already been defined for KAearlier. No need to create again.
Step 2: Posting of Purchase Returns document - T.Code F-41
Faculty: K.Laskahman Swamy. [email protected]
SAP FI/CO Accounts Payable
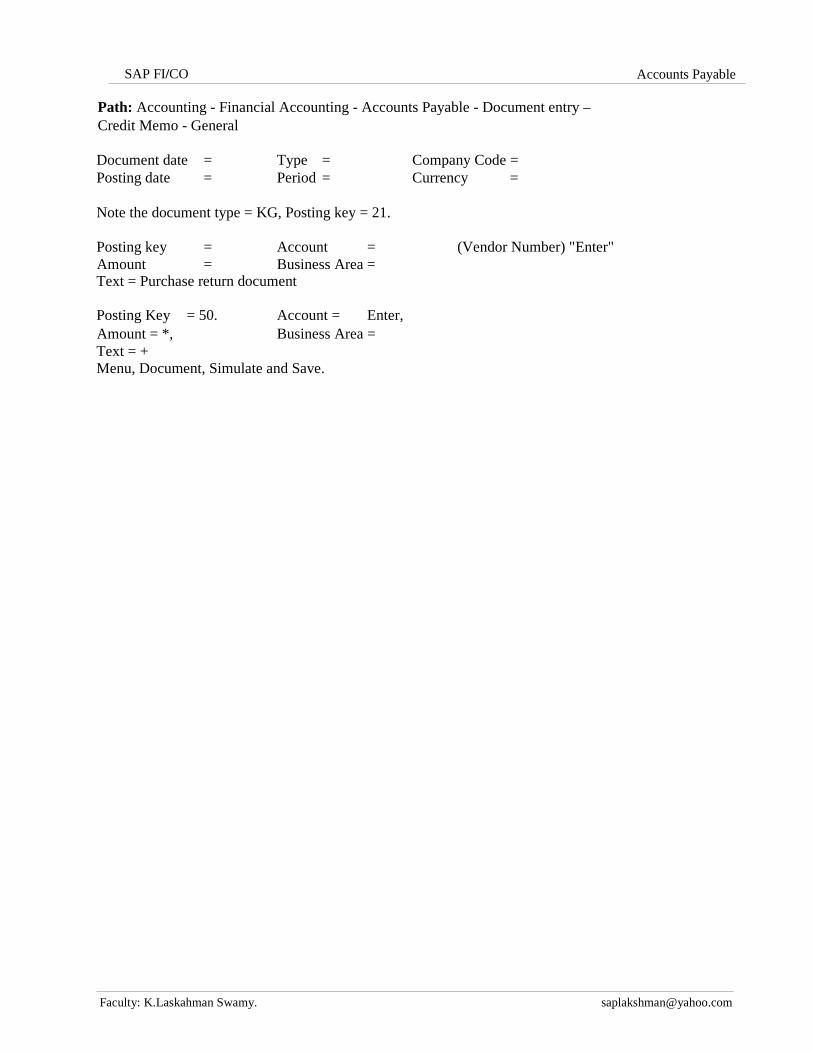
Path: Accounting - Financial Accounting - Accounts Payable - Document entry –Credit Memo - General
Document date = Type = Company Code =Posting date = Period = Currency =
Note the document type = KG, Posting key = 21.
Posting key = Account = (Vendor Number) "Enter"Amount = Business Area =Text = Purchase return document
Posting Key = 50. Account = Enter,Amount = *, Business Area =Text = +Menu, Document, Simulate and Save.