1 Preparing for the written paper (or 12 tips to success) 1 st July 2003 Brian Russell Chief...
32
1 Preparing for the written paper (or 12 tips to success) 1 st July 2003 Brian Russell Chief Examiner Principal Moderator GCSE Product Design
-
Upload
spencer-hutchinson -
Category
Documents
-
view
214 -
download
0
Transcript of 1 Preparing for the written paper (or 12 tips to success) 1 st July 2003 Brian Russell Chief...

1
Preparing for the written paper (or 12 tips to success)
1st July 2003
Brian Russell
Chief Examiner
Principal Moderator
GCSE Product Design

2
Tip 1 – Be equipped
You will need:
• Blue or black pen (take a spare)• Pencil (take a sharpener)• Coloured pencils (a range)• 300mm Ruler• Eraser

3
Tip 2 – Pace yourself
Don’t rush
• Read the questions carefully
• Spend approximately a minute per mark
Don’t waste time
• Don’t use colour until you have completed the written questions
• Improve drawings if time allows

4
Tip 3 – Materials/components• Where do materials come from?• How are materials classified (grouped)?• What are components and why are they used?
Know about paper/card:• Where it comes from• How it is made• How products are cut from paper/card

5
Making Paper
Trees cut & shredded
Water added
Boiled up to make wood pulp
Chemicals and dyes added
Pulp poured over fine mesh and squeezed between rollers

6
Cutting Paper/card
Die-cutting(creasing done with rounded blade)
I Cut – Die Cut
PlywoodFoam layer
Card to be cut
Blade

7
Tip 4 - New ProductsWhere do ideas come from?
Nature, geometry, other products…..
Can you name a designer?
Can you explain why their products
are successful?

8
Tip 5 – Product evolution
Why do products change over time?
• New materials
• New manufacturing methods
• New technologies
• Social changes
• Fashions/trends
• Legislation
9
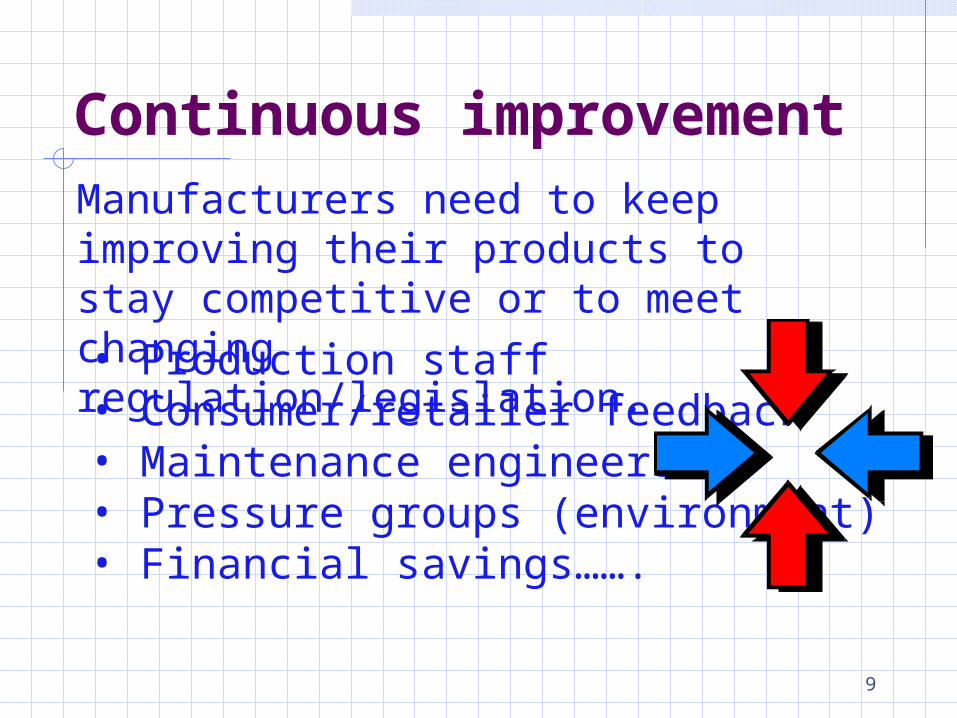
Continuous improvementManufacturers need to keep improving their products to stay competitive or to meet changing regulation/legislation.• Production staff• Consumer/retailer feedback• Maintenance engineers• Pressure groups (environment)• Financial savings…….

10
Tip 6 – PackagingThe purpose of packaging is to:
Protect
Inform
Contain
Transport
Preserve
Display
I PICT PD

11
Food packaging• Materials (food grade)
• Composite materials
• Spillage
• Security
• Hygiene
• Insulation
• Legal requirements
• How are they made?

12
Graphics
• Clear text
• Simple bold images
• Impact
• Can you explain how the artwork would be done using a computer?

13
Labelling
Key information found on labelling
Includes:
• Product name
• Description
• Safety information
• Contents
• Storage/maintenance information
• Environmental information
14
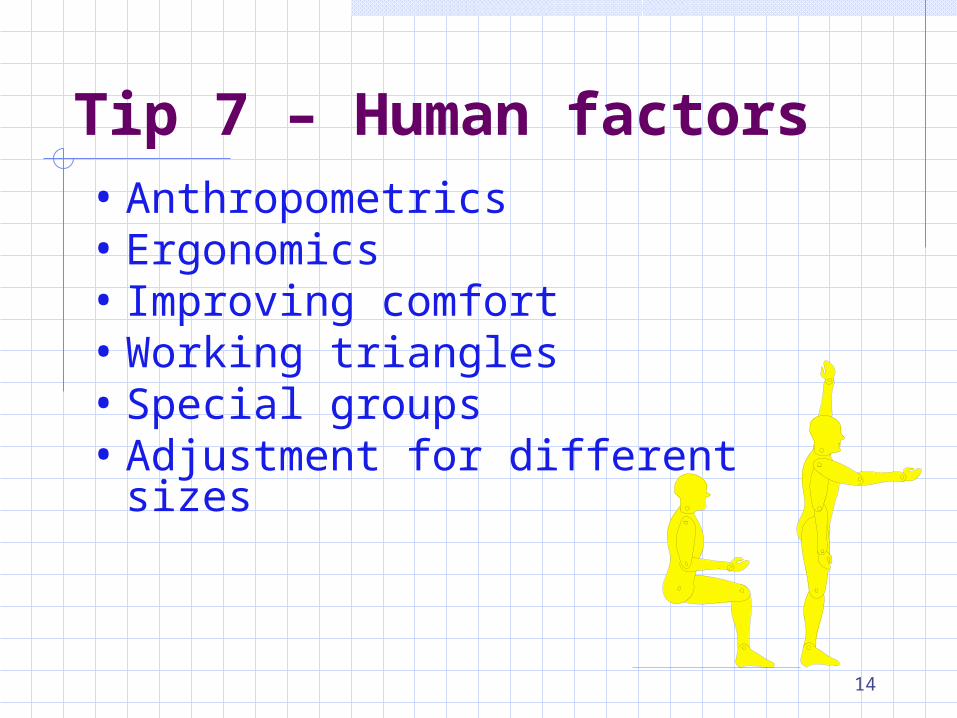
Tip 7 – Human factors• Anthropometrics• Ergonomics• Improving comfort• Working triangles• Special groups• Adjustment for different sizes

15
Tip 8 – Product maintenance
• Symbols found on a range of products and their packaging/labelling
• Maintenance schedules
16
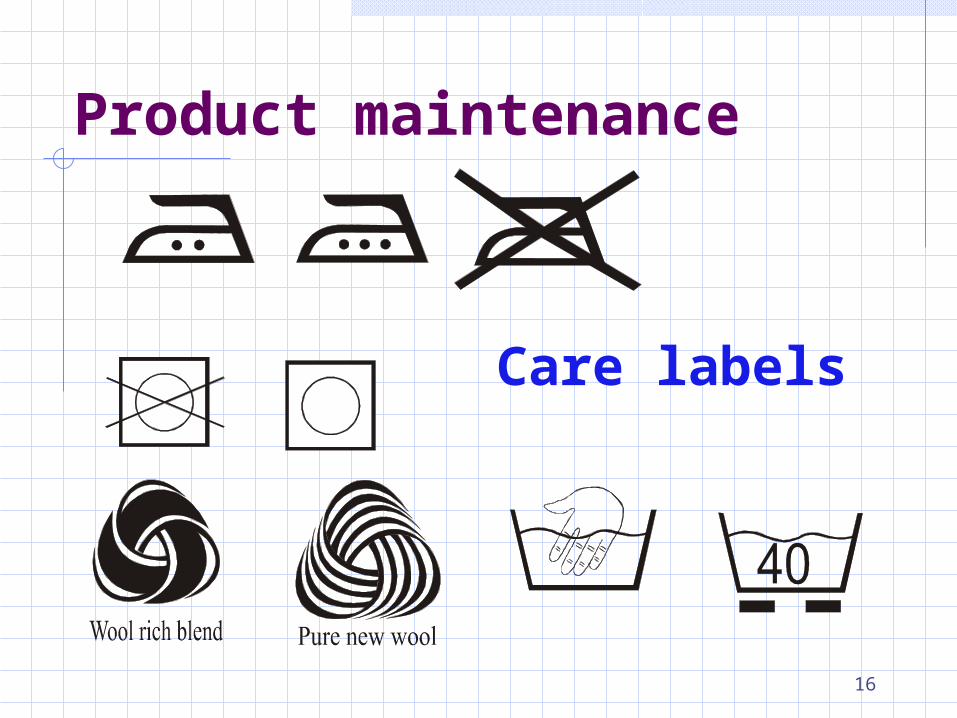
Product maintenance
Care labels

17
Tip 9 - Consumer Protection
• BSI Kite Marks
• European Standards
(Conformité Europeenne)
• Trade association standards

18
Tip 10 - Manufacturing
• Preparation of materials
• Industrial manufacturing processes
• Use of labour
• Quality Assurance/Quality Control
• Implications of ICT
• Scales of production

19
Your own manufacturing
Ensure that you can explain:
• How you would make models and prototypes
• The tools you would use
• Use of quality control
• Manufacturing aids (e.g. jigs)
• Making in quantity

20
Commercial manufacturing
Materials are processed using:
• Moulding/casting
• Forming
• Wastage/separation
• Conditioning
• Assembling
• Finishing
21
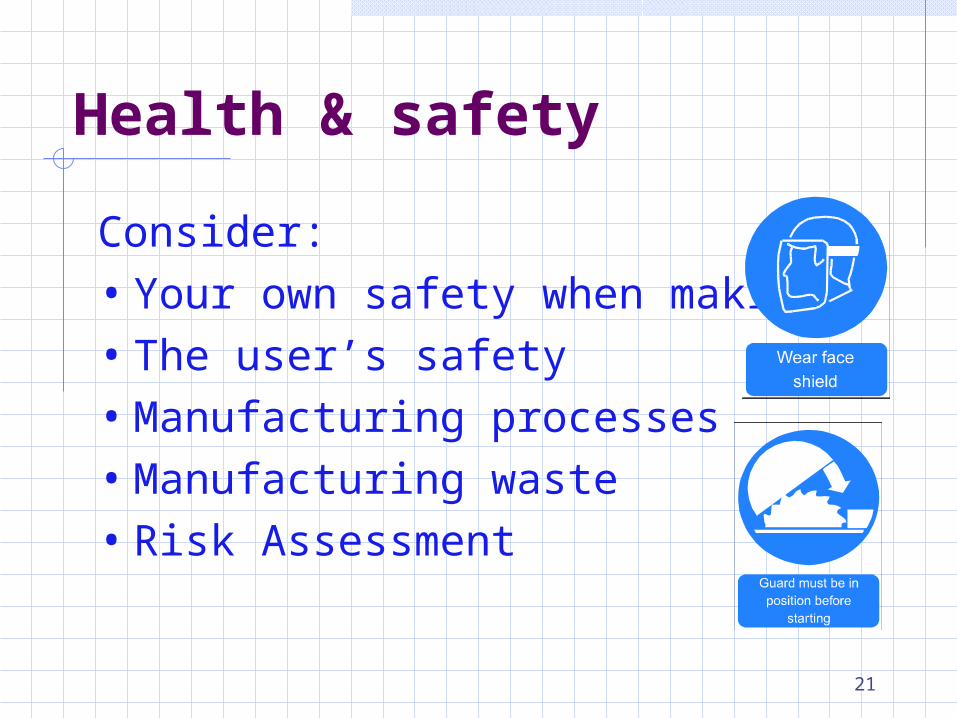
Health & safety
Consider:
• Your own safety when making
• The user’s safety
• Manufacturing processes
• Manufacturing waste
• Risk Assessment

22
Tip 11 – CAD/CAM
• Computer Aided Design
• Computer Aided Manufacture
Advantages:
• Sharing information
• Accuracy
• Repeatability
• Flexibility (ease of making changes)
• Speed……

23
Computer Aided Manufacture
• Printers
• Vinyl cutters
• Milling/engraving machines
• Routers
• Lathes
• Laser-cutters
• Embroidery machines
• Rapid prototyping

24
Inkjet & laser printers
• Used for one-offs/prototypes
• Small print runs
• Large areas
• Direct onto fabrics/carpets
• Transfer printing
• Sublimation printing
25
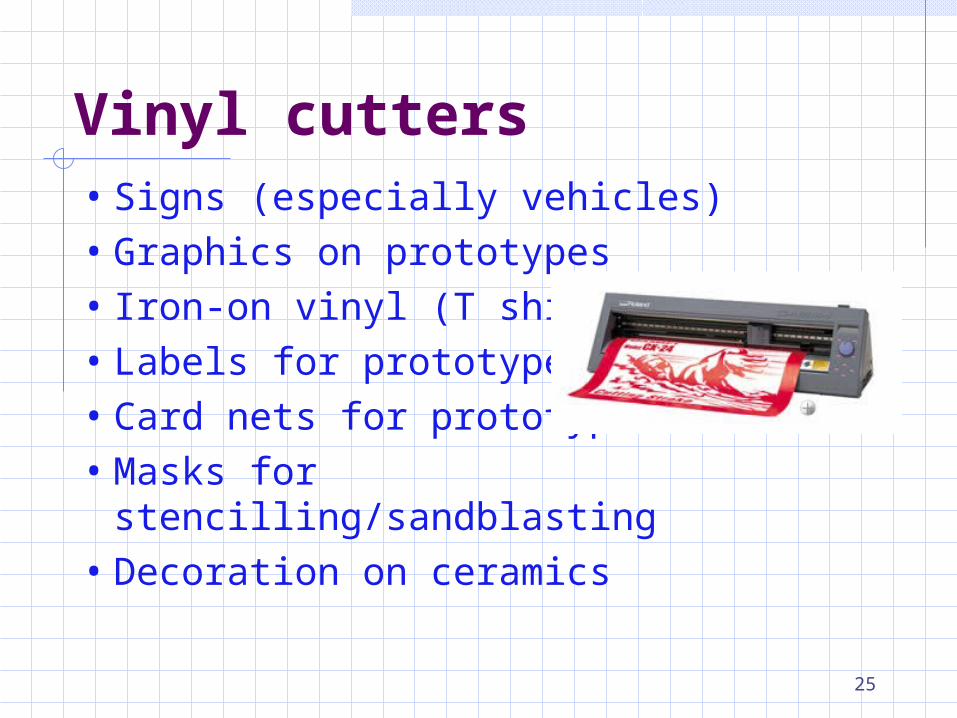
Vinyl cutters• Signs (especially vehicles)
• Graphics on prototypes
• Iron-on vinyl (T shirts)
• Labels for prototypes
• Card nets for prototypes
• Masks for stencilling/sandblasting
• Decoration on ceramics

26
Milling/engraving machines• Cutting flat (2D) shapes in rigid
materials
• Engraving copper board for electronics
• Signage name plaques etc.
• Raised forms (3D)

27
Routers
• Used mainly on timber (MDF) and rigid foams
• 3 axis – partial 3D
• 4 axis – turns material
to get full 3D
• 5 axis – full 3D,
much better detail

28
Lathes
• Work revolves against cutter
• Cylindrical
• Conical
• Spherical

29
Laser cutters
• Very accurate cutting for sheet materials
• engraving

30
Embroidery Machines
Detailed designs on fabric
• Text & graphics
• Repeat patterns

31
Rapid Prototyping
Prototype built up layer by layer –
Stereo lithography
• 3D printing
• 3D layering

32
Tip 12 – Buy a Revision Guide
• Written for this course
• Read it
• Use workbook to check
your understanding