#04-2021-1002-102 Introduction To Linux - Jetic
28
05.03.21 06:56 CSCI 120 Introduction to CompSci and Programming I Lecture 0: Introduction to Linux Jetic Gū
Transcript of #04-2021-1002-102 Introduction To Linux - Jetic

05.03.21 06:56CSCI 120 Introduction to CompSci and
Programming I Lecture 0: Introduction to Linux
Jetic Gū

Overview• Focus: Introduction to Linux
• Architecture: Linux/Unix OS
• Core Ideas:
1. Introduction to Linux
2. Common commands
3. Lab6: vim, "Hello World!", execute, submitting on OJ

Linux/Unix
P1 Linux
Summary
Yes, they are different, andit is recommended that you turn on your linux now

Popular Computer OS• Windows NT
• Windows XP, Windows 7, 8, 10
• Unix
• BSD, OSX, macOS, iOS
• Linux
• Ubuntu, Fedora, Android1, etc.
Concep
t
P1 Linux
1. Modified Linux kernel

Linux
• Linus Torvalds’ Undergraduate Thesis
• he was frustrated by Unix license issues
• Open-source Unix-like OS
• Until 2018, the kernel is maintained by Torvalds alone
Concep
t
P1 Linux
1. Modified Linux kernel

Linux Architecture
Concep
t
P1 Linux
1. More Knowledge: Operating System Course (SFU: CMPT300; UBC: CPEN331; BCIT: COMP4731)
Hardware
Kernel Modules
Kernel
System Libraries
System Software User Processes CompilersUser Utilities
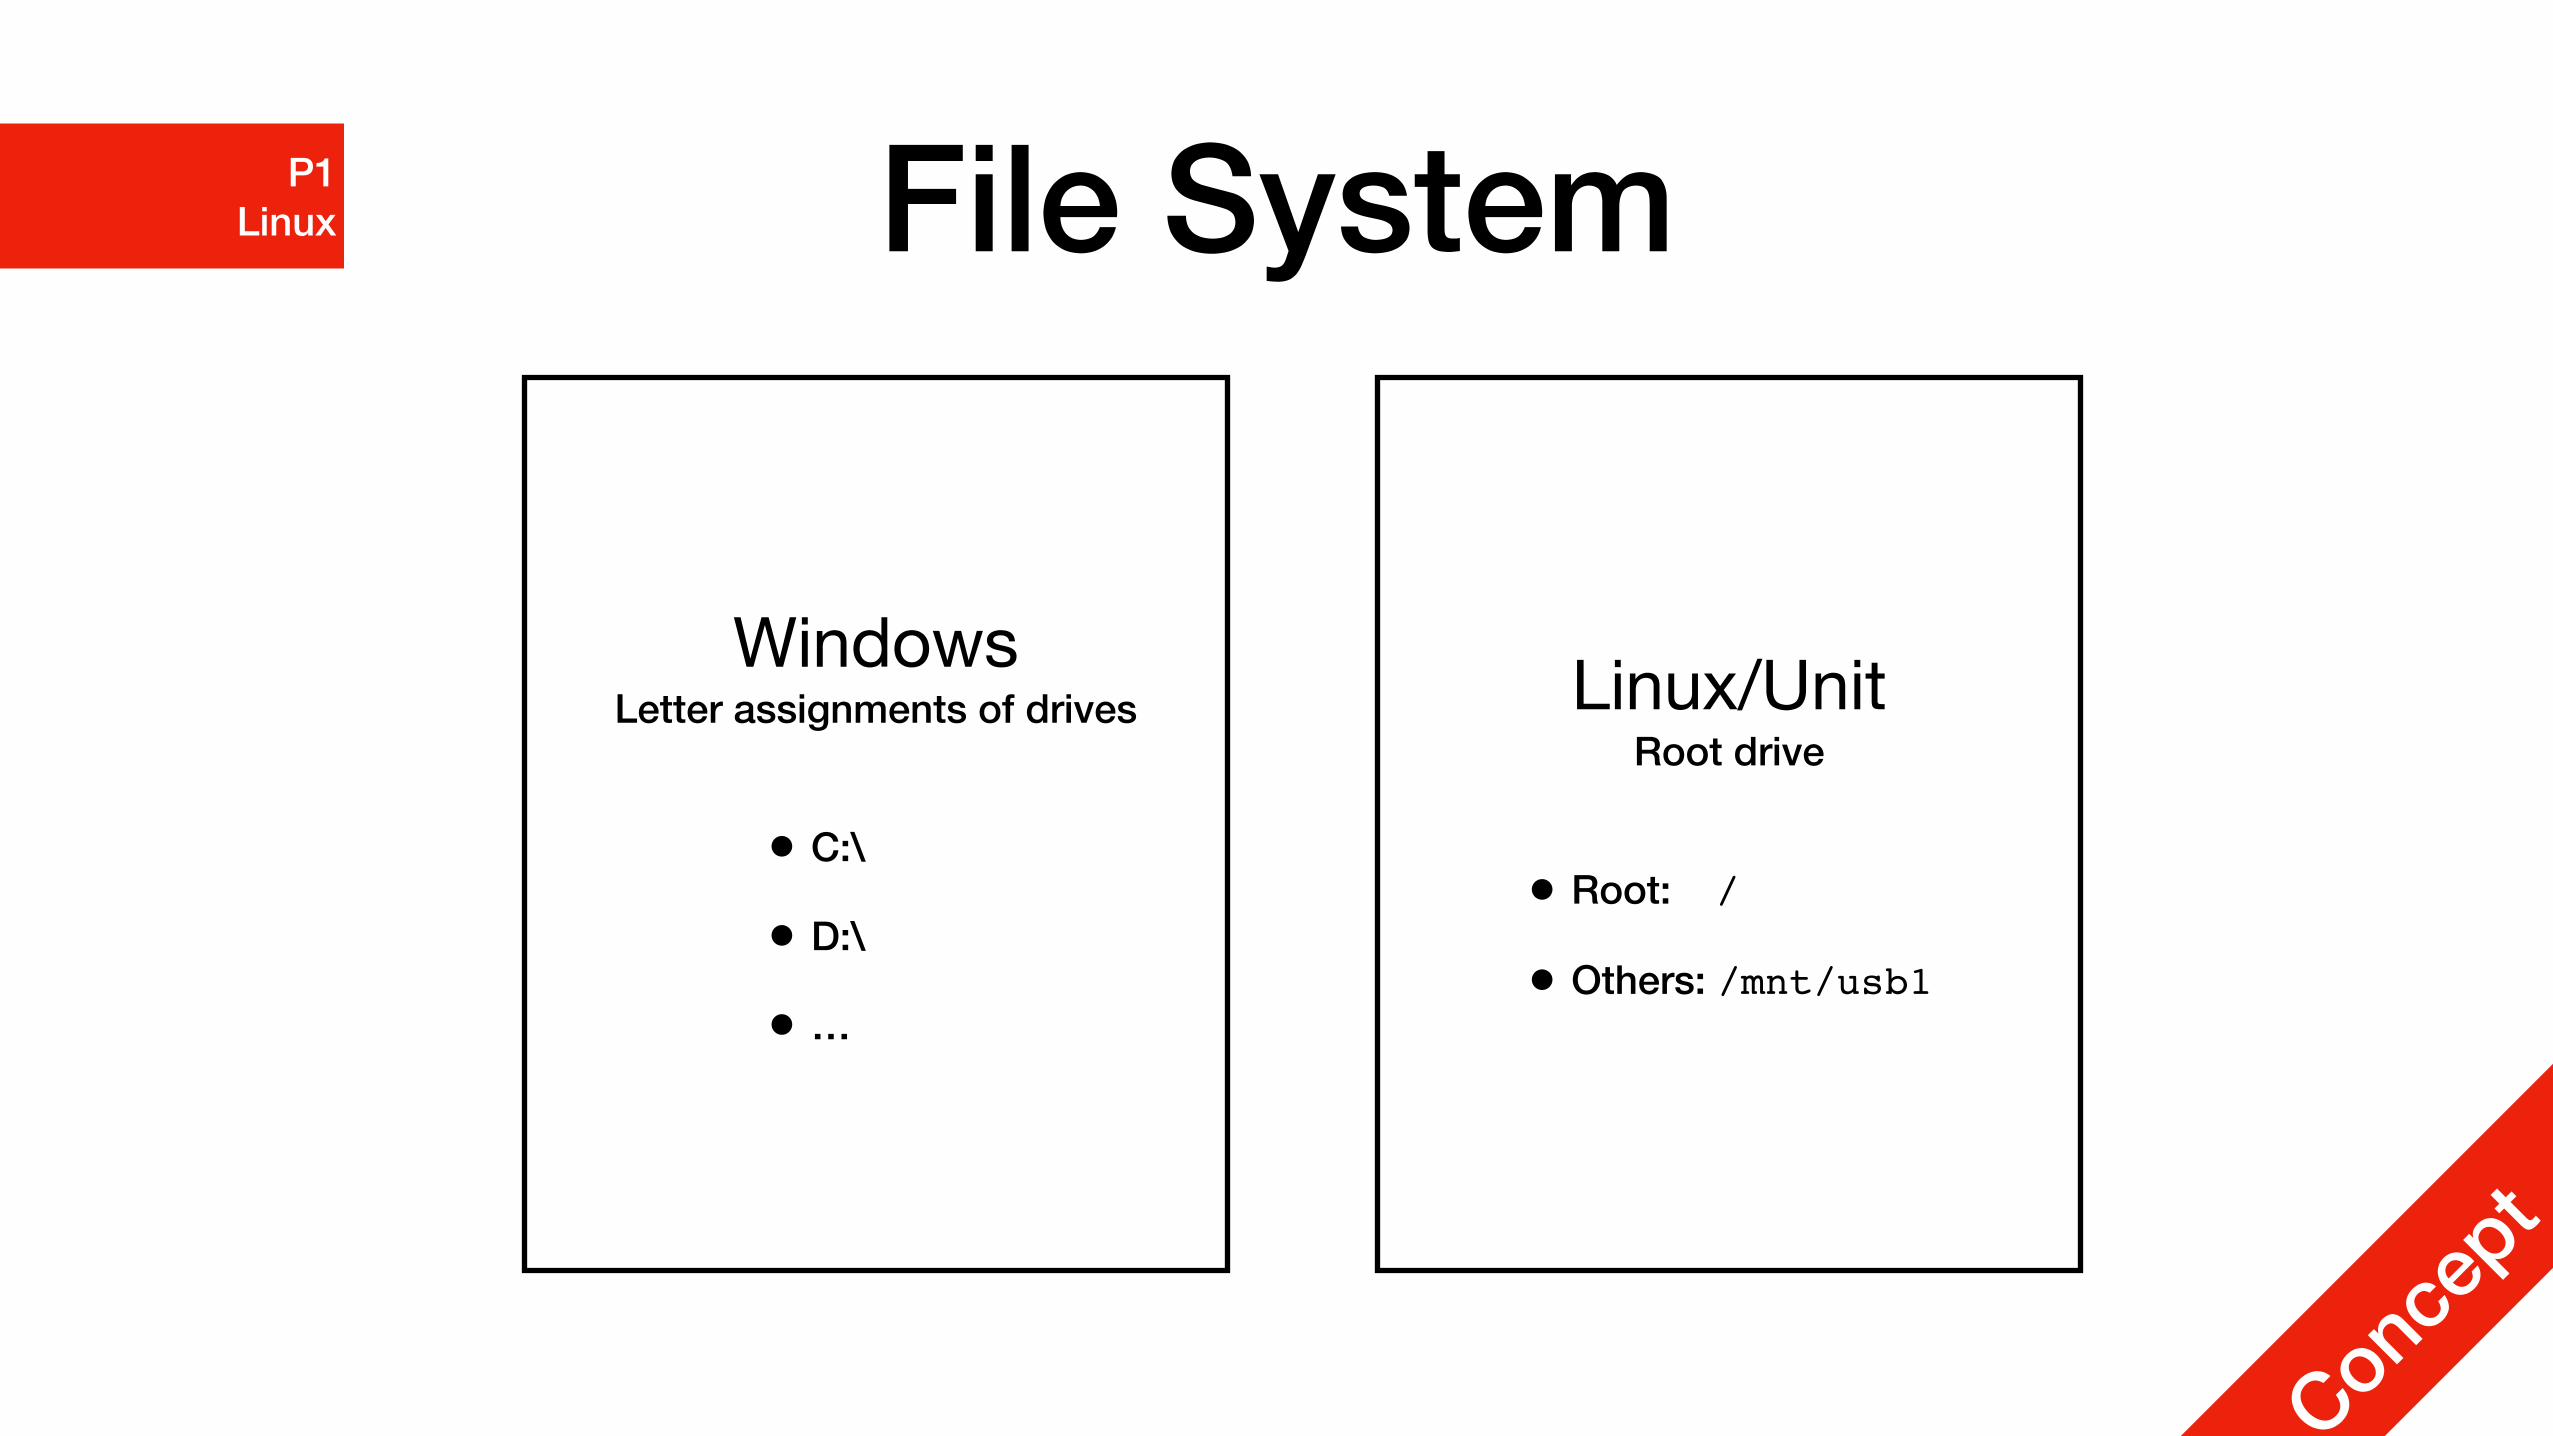
File System
Concep
t
P1 Linux
WindowsLetter assignments of drives
• C:\
• D:\
• …
Linux/UnitRoot drive
• Root: /
• Others: /mnt/usb1
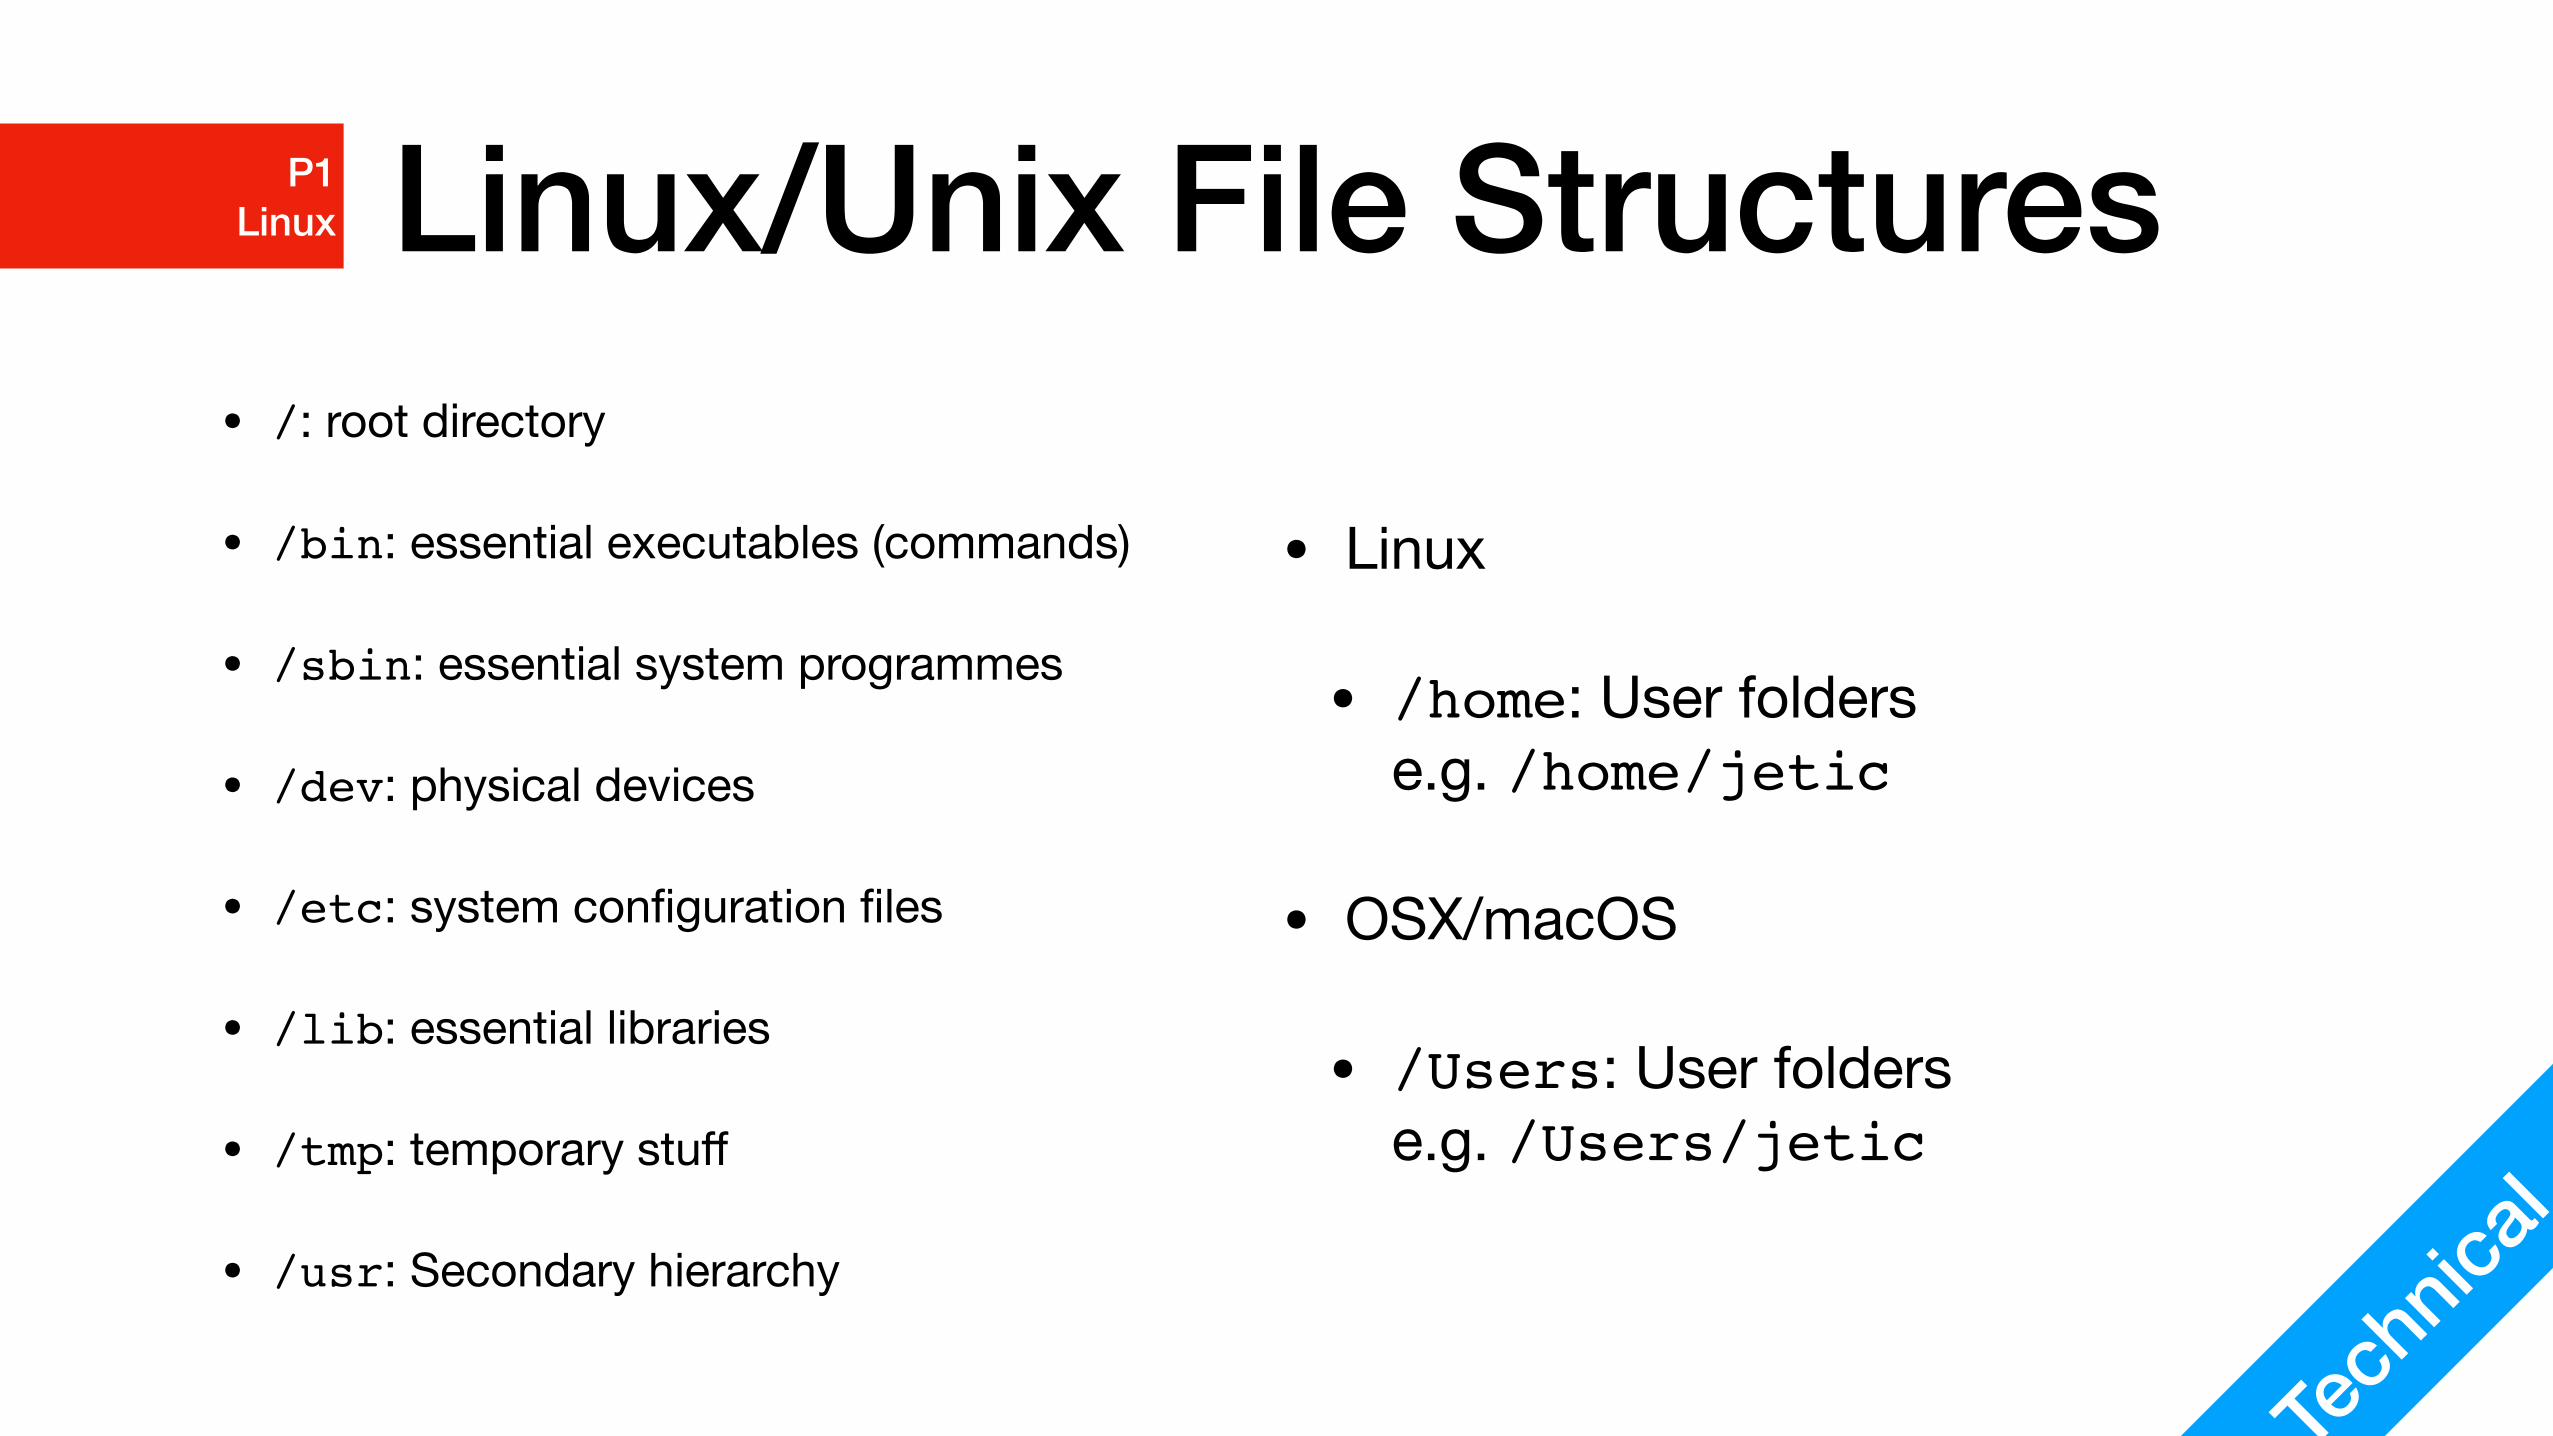
Linux/Unix File Structures• /: root directory
• /bin: essential executables (commands)
• /sbin: essential system programmes
• /dev: physical devices
• /etc: system configuration files
• /lib: essential libraries
• /tmp: temporary stuff
• /usr: Secondary hierarchy
Tech
nical
P1 Linux
• Linux
• /home: User folderse.g. /home/jetic
• OSX/macOS
• /Users: User folderse.g. /Users/jetic

Users and User Groups
• Most powerful user: root
• Superuser: jetic (user with administrative privileges)
• Normal user: cocoa (user without administrative privileges)
Concep
t
P1 Linux

Permissions• 2 Attributes: Owner, Group
• Any file/folder must have an Owner(User), and a Group(User Group)
• 3 permission types:
• Read/Write/Execute, expressed by 3 binary bits (e.g. (111)2=7)
• 3 permission categories:
• Owner, Group, Everyone else
Concep
t
P1 Linux

Permissions
• "-rw-rw-r--"first character: [-, d], '-' for file, 'd' for folder (directory) Owner "rw-" read+write;Group "rw-" read+write;Others "r--" read-only;Also written as 110110100 or 664
Tech
nical
P1 Linux

Permissions
• first "jetic": owner
• second "jetic": group
Tech
nical
P1 Linux

Linux/Unix Commands
P2 Command Line
Summary
Just the common ones for now

Command Line Environment
• jetic@csci125:~ $
• jetic: username
• csci125: computer name, also know as HostName
• ~: Current directory, '~' stands for the home directory for current useras in /home/jetic in Linux or /Users/jetic in mac
• $: current user is not rootfor root it’s '#'
Tech
nical
P2 Command Line
This is also called shell
1. Software Installation
• Linux comes with different Package Managers, sorta like App Stores
• Ubuntu uses APT
• Reference manual: $ man apt
Tech
nical
P2 Command Line
man stands for manual, most commands have such things

1. Software Installation• APT maintains a "list" of all software locally, if you want to install something, it will
look at the list for it.
• Update local APT "list":$ sudo apt update
• Upgrade all installed software:$ sudo apt update
• Install somethingInstall vim: $ sudo apt install vim Install C compiler: $ sudo apt install build-essential Install C++ compiler and debugger: $ sudo apt install g++ gdb
Tech
nical
P2 Command Line
sudo stands for "superuser do", only users with administrative privileges can execute
these commands. Password also required, and shell remembers your password for a while.

2. Change Directory• Command pwd
• Working directory: everything you do is going to be w.r.t. this directory (e.g. create a new file)
• Show current working directory:$ pwd
• Command cd
• Relative: go into a folder named Desktop:$ cd Desktop # in the current working directory $ cd ./Desktop # in the current working directory $ cd ../Desktop # in the parent working directory
• Go into a folder named Desktop in your home:$ cd /home/jetic/Desktop $ cd /Users/jetic/Desktop $ cd ~/Desktop
Tech
nical
P2 Command Line

3. List Directory• Command ls
• List everything in current directory:$ ls $ ls .
• List everything in some directory:$ ls /usr
• Options for Command ls
• All (include hidden files):$ ls -a
• Long format:$ ls -l $ ls -al
Tech
nical
P2 Command Line

4. Make Directory
• Command mkdir [FOLDER] ...
• Create a folder named myFirstFolder:$ mkdir myFirstFolder
• Create a folder named my First Folder:$ mkdir my\ First\ Folder
Tech
nical
P2 Command Line

5. Delete Stuff• Command rm [OPTION] ... [FILE] ...
• Delete a file named tmp.cpp:$ rm tmp.cpp
• Recursively delete a folder named tmpfolder:$ rm -r tmpfolder
• Delete any file matching pattern ../tmp.*:$ rm ../tmp.*
• Command rmdir [FOLDER] ...
• Delete an empty folder named tmpfolder (warning if not empty):$ rmdir tmpfolder
Tech
nical
P2 Command Line

6. Move stuff• Command mv SRC TGT
• Rename tmp.cpp to tmp1.cpp:$ mv tmp.cpp tmp1.cpp
• Move tmp.cpp to folder ~/cheese:$ mv tmp.cpp ~/cheese
• Copy file cp [OPTION] SRC TGT
• Copy file tmp.cpp to another tmp.cpp:$ cp tmp.cpp another\ tmp.cpp $ cp tmp.cpp "another tmp.cpp"
Tech
nical
P2 Command Line

7. Cat
• Command cat [FILE] ...
• Display a file as text named tmp.cpp:$ cat tmp.cpp
Tech
nical
P2 Command Line

8. Download
• Command wget URL
• Install wget using APT
• Download a vim configuration file:$ wget jetic.org/download/vimrc $ wget --no-check-certificate https://jetic.org/download/vimrc
Tech
nical
P2 Command Line

Exercise• List everything under /etc
• List in long format everything under the root directory /
• Create a new folder called csci125lab0 under your home directory
• Download https://jetic.org/download/vimrc
• Look at its content using cat
• Put it in your home directory, and rename it as .vimrc
Tech
nical
P2 Command Line

Hello Unix!
P3 Hello Unix
Summary
How to Vim it?

Actual Code In Pythonif __name__ == '__main__':
print("Hello Unix!")
Concep
t
P3 Hello Unix
• Indentation is important
• Main programme: the whole thing is the main programme
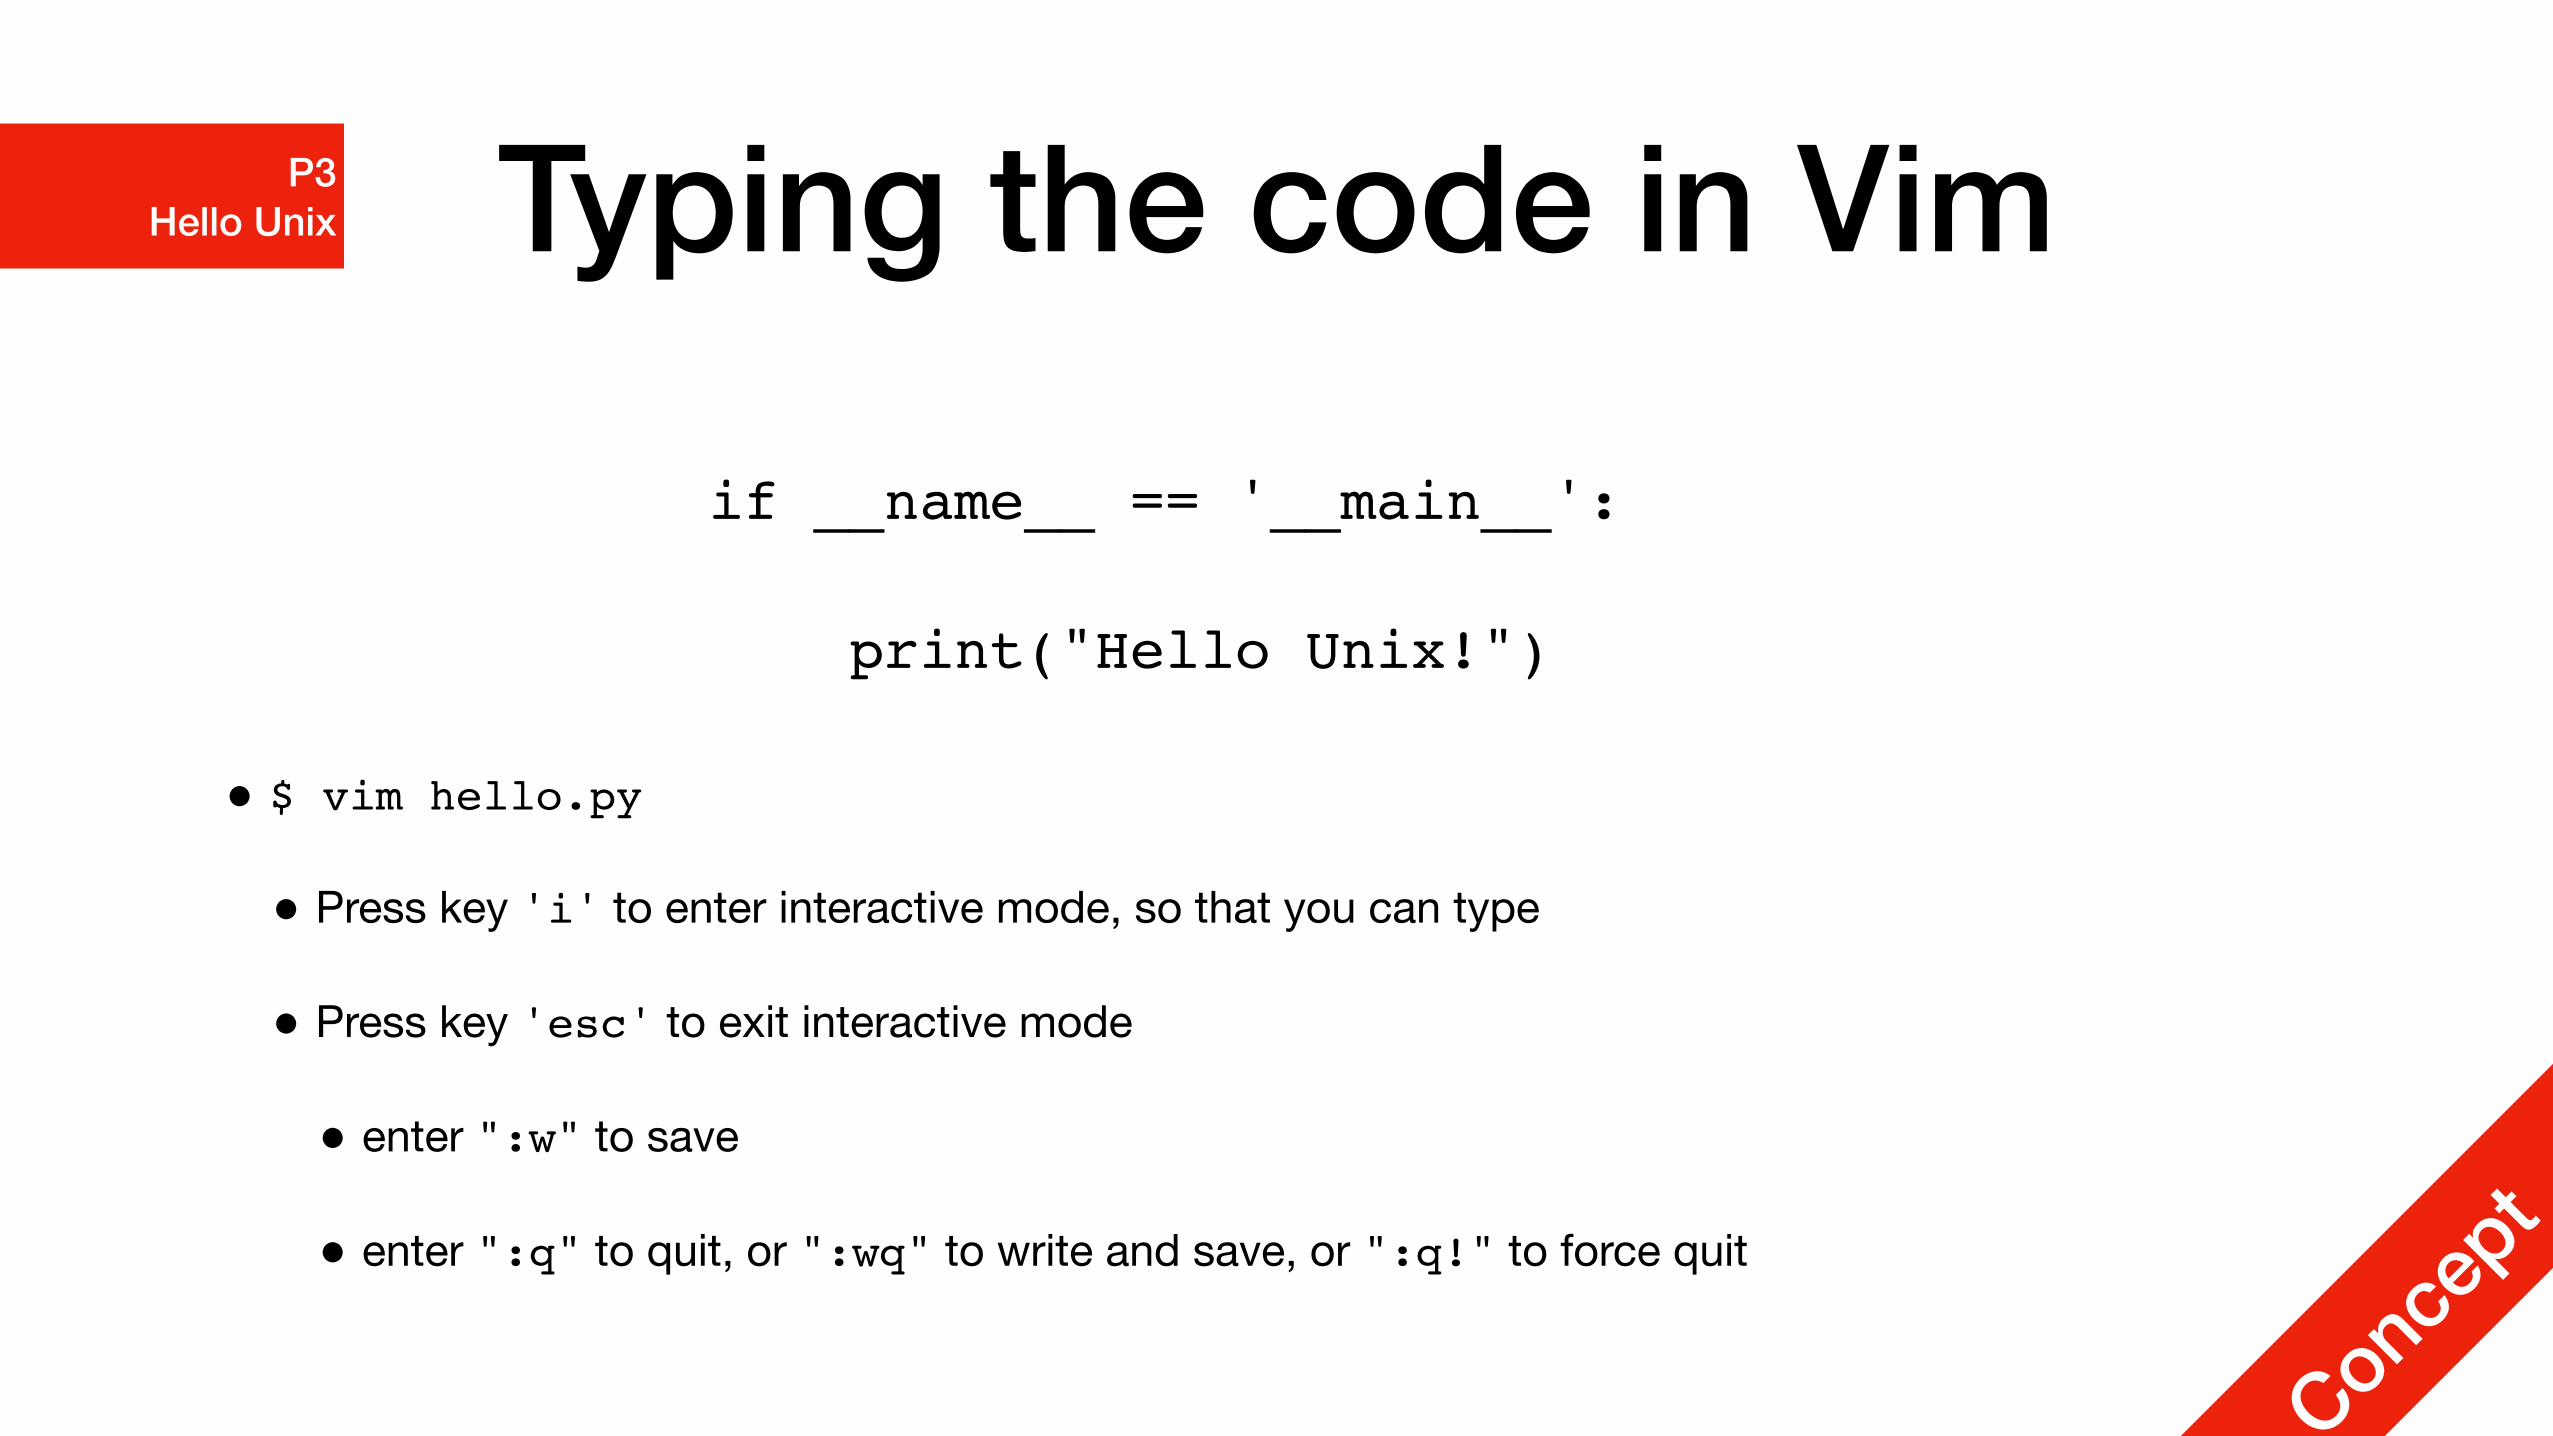
Typing the code in Vim
if __name__ == '__main__':
print("Hello Unix!")
Concep
t
P3 Hello Unix
• $ vim hello.py
• Press key 'i' to enter interactive mode, so that you can type
• Press key 'esc' to exit interactive mode
• enter ":w" to save
• enter ":q" to quit, or ":wq" to write and save, or ":q!" to force quit

Execution
if __name__ == '__main__':
print("Hello Unix!")
Concep
t
P3 Hello Unix
• Python is an interpreted language, no need to compile
• Go back to SHELL
• Execute the programme $ python hello.py
• Execute in interactive mode $ python -i hello.py