01-IntroToMediaComp1 Barb Ericson Georgia Institute of Technology Feb 2010 Introduction to Computer...
63
01-IntroToMediaComp 1 Barb Ericson Georgia Institute of Technology Feb 2010 Introduction to Computer Science and Media Computation
-
Upload
august-burns -
Category
Documents
-
view
214 -
download
0
Transcript of 01-IntroToMediaComp1 Barb Ericson Georgia Institute of Technology Feb 2010 Introduction to Computer...

01-IntroToMediaComp 1
Barb Ericson
Georgia Institute of Technology
Feb 2010
Introduction to Computer Science and Media Computation
01-IntroToMediaComp 2
Learning Goals
• What is Computer Science?• What is Media Computation?• What are the standard math operators?• What is a variable?• What is a function?• How do digital pictures work?• How can you manipulate a digital picture?• What is an array?• What is a loop?

01-IntroToMediaComp 3
What is Computer Science?
• The study of process, how to specify what is to be done and define the stuff being processed.
• You can say that is the study of computational recipes– Ones that can be executed on a computer– A recipe that runs on a computer is called a program

01-IntroToMediaComp 4
What do Computer Scientists do?
• Study if there are better ways to write recipes– Algorithms – textual description of how to solve a problem
• Study how to structure the data in the recipes– Data structures and databases
• Determine if there are recipes that can't be written? That make machines intelligent?– Theory, artificial intelligence
• Study how to make computers easier for people to use– Human-computer interface
• Study how computers communicate with each other– Networking
• Study how to create 3D models and simulations– Graphics and scientific computing

01-IntroToMediaComp 5
Multimedia CS1 in Python
• Focus: Learning programming and CS concepts within the context of media manipulation and creation
–Converting images to grayscale and negatives, splicing and reversing sounds, writing programs to generate HTML, creating movies out of Web-accessed content.
–Computing for communications, not calculation

01-IntroToMediaComp 6
We will program in JES• JES: Jython
Environment for Students
• A simple editor (for entering in our programs or recipes): the program area
• A command area for entering in commands for Python to execute.
Editor or Program Area
Command Area

01-IntroToMediaComp 7
Using JES – Try the following>>> print 3 + 5>>> print 23.2 / 3>>> print 1 / 3>>> print 1.0 / 3>>> print 10 % 3>>> print "Hello">>> print "Hello" + "Barb">>> print 10 > 3>>> print 3 > 10
Print will print out the result from the following expression
Type these expressions after the >>> in the command area

01-IntroToMediaComp 8
Did any answer surprise you?
• Integer division results in an integer answer– The values after the decimal point are thrown away– If you want a floating point result using a floating point
value in the expression (1.0 / 3)
• You can append strings one after the other, but this doesn't add any spaces>>> print "Hello" + "Barb"HelloBarb
• Python uses 0 for false and 1 for true>>> print 10 > 31>>> print 3 > 100

01-IntroToMediaComp 9
Command Area Editing
• Up/down arrows walk through command history
• You can edit the line at the bottom– and then hit Return/Enter– that makes that last line execute
01-IntroToMediaComp 10
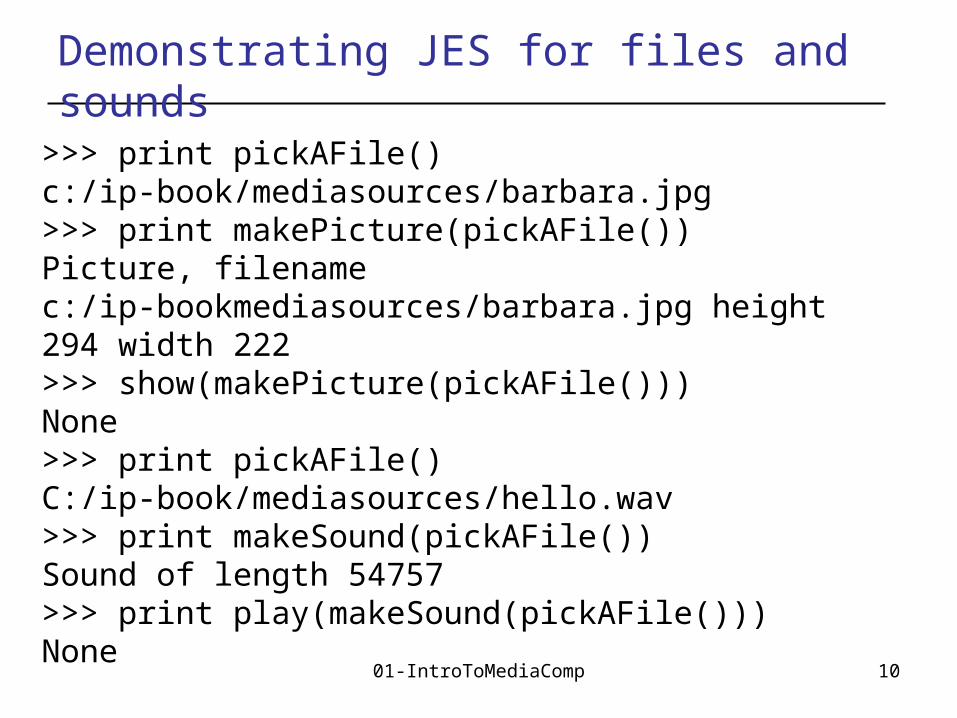
Demonstrating JES for files and sounds
>>> print pickAFile()c:/ip-book/mediasources/barbara.jpg>>> print makePicture(pickAFile())Picture, filename c:/ip-bookmediasources/barbara.jpg height 294 width 222>>> show(makePicture(pickAFile()))None>>> print pickAFile()C:/ip-book/mediasources/hello.wav>>> print makeSound(pickAFile())Sound of length 54757>>> print play(makeSound(pickAFile()))None

01-IntroToMediaComp 11
Naming parts – declaring variables
• You can name the result from a function call– And then use the name as input to other functions
myFile = pickAFile() # name the picked file
myPict = makePicture(myFile) # name the picture
show(myPict)
• The value associated with that name is used= doesn't mean equals here but assign the value for
myFile to the result of pickAFile()

Try the following in JES
>>> x = 3
>>> y = 2
>>> z = x * y
>>> print z
>>> message = "Bye"
>>> print message
>>> message = "Go away"
>>> print message
01-IntroToMediaComp 12

Variables
• Can hold values like integers (3) and strings of characters "Bye"
• Can be printed– The value in them is printed
• Can be used in calculations (like x * y)– The values in them is used
• Can be changed to new values– The values in them can vary
01-IntroToMediaComp 13

01-IntroToMediaComp 14
Quick Calculation
• What if an item is 30% off and you also have a coupon for an additional 20% off the sale price?– If the original cost was $45.00, how much is the price
after the 30% and then how much do you pay with the additional 20% off?
– Use the python command area to figure it out• Name the result of each calculation

Making our own functions• To make a function, use
the command def• Then, the name of the
function, and the names of the input values between parentheses (“(input1)”)
• End the line with a colon (“:”)
• The body of the recipe is indented (Hint: Use three spaces)– That’s called a block
01-IntroToMediaComp 15

01-IntroToMediaComp 16
Making functions the easy way
• Get something working by typing commands in the command area (bottom half of JES)
• Enter the def command in the editing window (top part of JES)
• Copy-paste the tested commands up into the recipe

01-IntroToMediaComp 17
A recipe for showing a picture
def pickAndShow(): myFile = pickAFile() myPict = makePicture(myFile) show(myPict)
Note: myFile and myPict, inside pickAndShow(), are completely different from the same names in the command area. We say that they are in a different scope.
Type this in the program area (editor)

01-IntroToMediaComp 18
Blocking is indicated for you in JES
• Statements that are indented the same, are in the same block.
• Statements in the same block as the cursor are enclosed in a blue box.
• Type pickAndShow in the command area and all statements in the block will be executed.

Image Processing
• Goals:– Give you the basic understanding of image
processing, including psychophysics of sight,– Identify some interesting examples to use
01-IntroToMediaComp 19
01-IntroToMediaComp 20
Light perception
• We perceive light with color sensors that peak around 425 nm (blue), 550 nm (green), and 560 nm (red).
• Our brain figures out which color is which by figuring out how much of each kind of sensor is responding
• One implication: We perceive two kinds of “orange” — one that’s spectral and one that’s red+yellow (hits our color sensors just right)
• Dogs and other simpler animals have only two kinds of sensors
– They do see color. Just less color.

01-IntroToMediaComp 21
Luminance vs. Color
• We perceive borders of things, motion, depth via luminance– Luminance is not the
amount of light, but our perception of the amount of light.
– We see blue as “darker” than red, even if same amount of light.
– Contrast also plays a role
Luminance is actually color blind. Completely different part of the brain.
01-IntroToMediaComp 22
Digitizing pictures
• We digitize pictures into lots of little dots• Enough dots and it looks like a continuous
whole to our eye– Our eye has limited resolution– Our background/depth acuity is particularly low
• Each picture element is referred to as a pixel• Pixels are picture elements
– Each pixel object knows its color– It also knows where it is in its picture

01-IntroToMediaComp 23
Exploring Pictures
>>> file = pickAFile()
>>> beachPict = makePicture(file)
>>> explore(beachPict)
• Zoom in to see individual pixels
• Move the cursor to see the x and y values
• Look at the red, green, and blue values

01-IntroToMediaComp 24
Encoding color
• Each pixel encodes color at that position in the picture
• Lots of encodings for color– Printers use CMYK: Cyan, Magenta, Yellow, and
blacK.– Others use HSB for Hue, Saturation, and Brightness
(also called HSV for Hue, Saturation, and Value.
• We’ll use the most common for computers– RGB: Red, Green, Blue

01-IntroToMediaComp 25
Encoding Color: RGB• In RGB, each color has
three component colors:– Amount of redness– Amount of greenness– Amount of blueness
• Each does appear as a separate dot on most devices, but our eye blends them.
• In most computer-based models of RGB, a single byte (8 bits) is used for each– So a complete RGB color is
24 bits, 8 bits of each

01-IntroToMediaComp 26
Making Colors with Light
• Type>>> myColor = pickAColor()
• Try to create – White– Black– Yellow– Red– Brown– Purple

01-IntroToMediaComp 27
Basic Picture Functions
• makePicture(filename) creates and returns a picture object, from the JPEG file at the filenamepict = makePicture("c:/ip-book/mediasources/barbara.jpg")
• show(picture) displays a picture in a windowshow(pict)
• explore(picture) makes a copy of the picture and shows it in the explorer windowexplore(pict)
• We’ll learn functions for manipulating pictures like getColor, setColor, and repaint

01-IntroToMediaComp 28
Making our own functions• To make a function, use the
command def• Then, the name of the
function, and the names of the input values between parentheses (“(input1)”)
• End the line with a colon (“:”)• The body of the recipe is
indented (Hint: Use two spaces)
• Your function does NOT exist for JES until you load it

01-IntroToMediaComp 29
Saving Functions in Files
• Click on File and then Save Program– Name it with some file name and .py at end
• You can define more than one function in a file– Maybe call these pictureFunctions.py
• You can later open these files up– And use the Load Program button to load all functions
in the file
• You can build a library of python functions for working with pictures, sounds, movies, etc

01-IntroToMediaComp 30
Modifying a Pixel Color
• You can get the amount of red, green, or blue– redValue = getRed(pict)– greenValue = getGreen(pict)– blueValue = getBlue(pict)
• You can change the amount of red, green, or blue– setRed(pict,value)– setGreen(pict,value)– setBlue(pictValue)

01-IntroToMediaComp 31
Modifying Colors
• You can also get the color from a pixel– myColor = getColor(pixel)
• You can create a new color by giving values for red, green, and blue from 0 to 255– newColor = makeColor(255,0,0)
• You can set a color using – setColor(pixel,newColor)

01-IntroToMediaComp 32
How to change lots of pixels?
• If we want to change all the pixels in a picture how can we do that?– In a 640 x 480 picture that is 307,200 pixels
• Computers are very fast and can process billions of instructions per second– But we wouldn't want to name each pixel or modify
the color on each one by typing in the commands 307,200 times
• We can get an array of pixels to process– Using getPixels(picture) and loop through the pixels
one at a time

01-IntroToMediaComp 33
What is an array?
• Space in memory for many values of the same type– Numbers, pictures, pixels, etc
• You can refer to the elements of an array using an index– Starting with 0 for the first element– And length – 1 for the last element

01-IntroToMediaComp 34
Processing Pixels in an Array
>>> file="C:/ip -book/mediasources/barbara.jpg">>> pict=makePicture(file)>>> show(pict)>>> pixels = getPixels(pict)>>> setRed(pixels [0], getRed(pixels [0]) * 0.5)>>> setRed(pixels [1], getRed(pixels [1]) * 0.5)>>> setRed(pixels [2], getRed(pixels [2]) * 0.5)>>> setRed(pixels [3], getRed(pixels [3]) * 0.5)>>> setRed(pixels [4], getRed(pixels [4]) * 0.5)>>> setRed(pixels [5], getRed(pixels [5]) * 0.5)>>> repaint(pict)
01-IntroToMediaComp 35
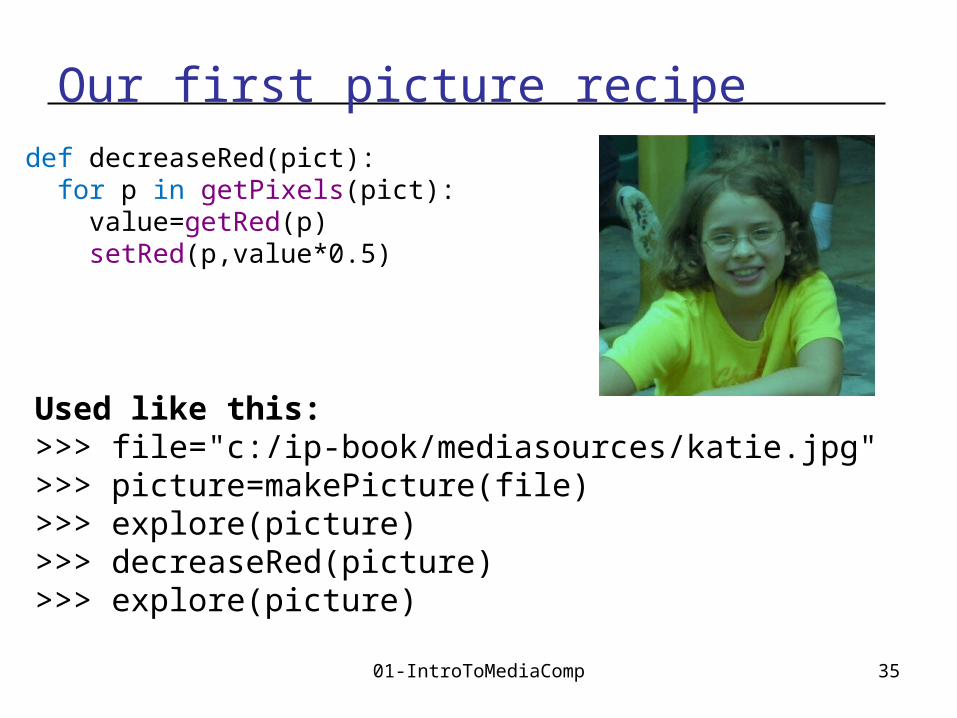
Our first picture recipe def decreaseRed(pict): for p in getPixels(pict): value=getRed(p) setRed(p,value*0.5)
Used like this:>>> file="c:/ip-book/mediasources/katie.jpg">>> picture=makePicture(file)>>> explore(picture)>>> decreaseRed(picture)>>> explore(picture)
It’s not iteration—it’s a set operation
• Research in the 1970’s found that people are better at set operations than iteration.– For all records, get the last name, and if it starts with
“G” then… => HARD!– For all records where the last name starts with “G”…
=> Reasonable!
• Because the Python for loop is a forEach, we can start out with treating it as a set operation:– “For all pixels in the picture…”
01-IntroToMediaComp 36

01-IntroToMediaComp 37
How do you make an omelet?
• Something to do with eggs…
• What do you do with each of the eggs?
• And then what do you do?
All useful recipes involve repetition- Take four eggs and crack them….- Beat the eggs until…
We need these repetition (“iteration”) constructs in computer algorithms too
- Today we will introduce one of them

01-IntroToMediaComp 38
Decreasing the red in a picture
• Recipe: To decrease the red• Ingredients: One picture, name it picture and pass it to
the function where we will call it pict• Step 1: Get all the pixels of pict. For each pixel p in the
set of pixels…• Step 2: Get the value of the red of pixel p, and set it to
50% of its original value

01-IntroToMediaComp 39
More about for each loops
• for is the name of the command• An index variable is used to hold each of the different
values of a sequence• The word in• A function that generates a sequence
– The index variable will be the name for one value in the sequence, each time through the loop
• A colon (“:”)• And a block (the indented lines of code)
def decreaseRed(pict): for p in getPixels(pict): value=getRed(p) setRed(p,value*0.5)

01-IntroToMediaComp 40
What happens when a for loop is executed
• The index variable is set to an item in the sequence
• The block is executed– The variable is usually used inside the block
• Then execution loops to the for statement, where the index variable gets set to the next item in the sequence
• Repeat until every value in the sequence is used.

01-IntroToMediaComp 41
getPixels returns a sequence of pixels• Each pixel knows its
color and place in the original picture
• Change the pixel and you change the picture
• So the loops here assign the index variable p to each pixel in the picture picture, one at a time.
def decreaseRed(pict): for p in getPixels(pict): value=getRed(p) setRed(p,value*0.5)
01-IntroToMediaComp 42
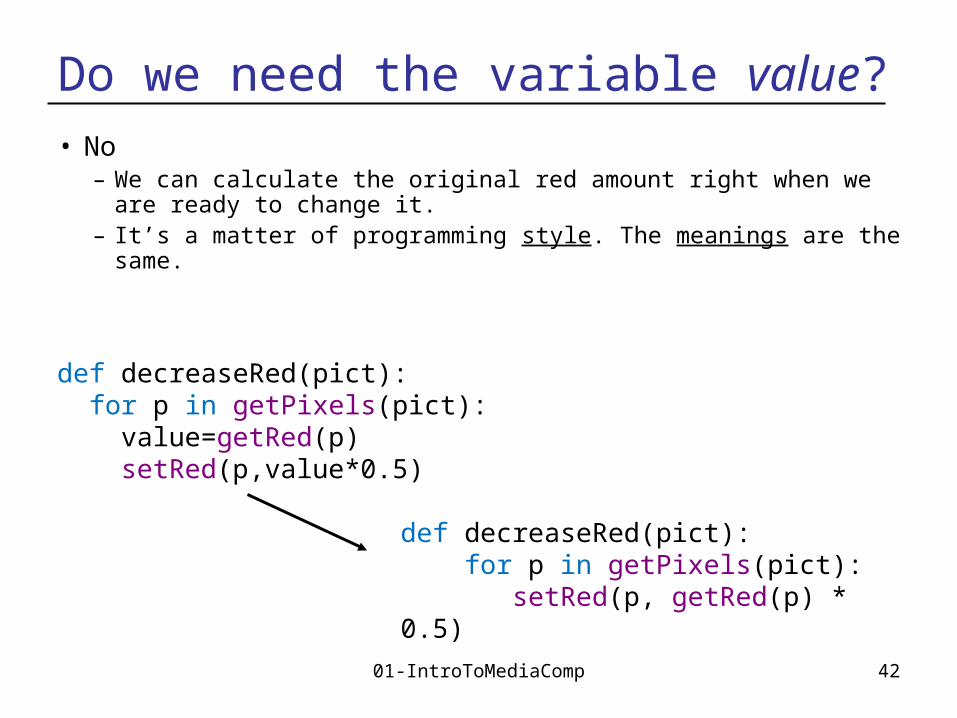
Do we need the variable value?
• No– We can calculate the original red amount right when we are
ready to change it.– It’s a matter of programming style. The meanings are the same.
def decreaseRed(pict): for p in getPixels(pict): setRed(p, getRed(p) * 0.5)
def decreaseRed(pict): for p in getPixels(pict): value=getRed(p) setRed(p,value*0.5)

01-IntroToMediaComp 43
Let’s walk that through slowly…
Here we take a picture object in as a parameter to the function and call it pict
pict
def decreaseRed(pict): for p in getPixels(pict): value=getRed(p) setRed(p,value*0.5)

01-IntroToMediaComp 44
Now, get the pixels
We get all the pixels from the picture, then make p be the name of each one one at a time
Pixel, color r=135 g=131b=105
Pixel, color r=133g=114 b=46
Pixel, color r=134 g=114b=45
…
p
getPixels()
pict
def decreaseRed(pict): for p in getPixels(pict): value=getRed(p) setRed(p,value*0.5)

01-IntroToMediaComp 45
Get the red value from pixel
We get the red value of pixel p and name it value
…
value = 135 pict
Pixel, color r=135 g=131b=105
Pixel, color r=133g=114 b=46
Pixel, color r=134 g=114b=45
…
p
getPixels()
def decreaseRed(pict): for p in getPixels(pict): value=getRed(p) setRed(p,value*0.5)

01-IntroToMediaComp 46
Now change the pixel
Set the red value of pixel p to 0.5 (50%) of value
pict
Pixel, color r=67 g=131 b=105
…
p
value = 135
getPixels()Pixel, color r=133g=114 b=46
Pixel, color r=134 g=114b=45
def decreaseRed(pict): for p in getPixels(pict): value=getRed(p) setRed(p,value*0.5)

01-IntroToMediaComp 47
Then move on to the next pixel
Move on to the next pixel and name it p
pict
…
p
value = 135
getPixels()Pixel, color r=67 g=131 b=105
Pixel, color r=133g=114 b=46
Pixel, color r=134 g=114b=45
def decreaseRed(pict): for p in getPixels(pict): value=getRed(p) setRed(p,value*0.5)

01-IntroToMediaComp 48
Get its red value
p
Set value to the red value at the new p, then change the red at that new pixel.
p
pict
…
p
value = 133
getPixels()Pixel, color r=67 g=131 b=105
Pixel, color r=133g=114 b=46
Pixel, color r=134 g=114b=45
def decreaseRed(pict): for p in getPixels(pict): value=getRed(p) setRed(p,value*0.5)
01-IntroToMediaComp 49
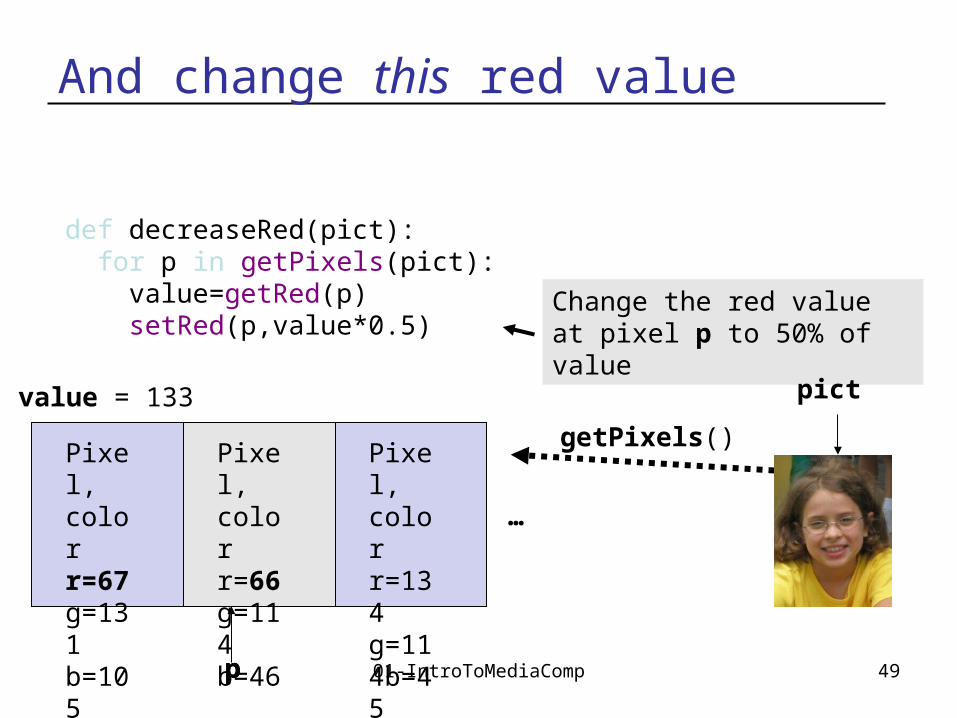
And change this red value
Change the red value at pixel p to 50% of value
pp
pict
…
p
value = 133
getPixels()Pixel, color r=67 g=131 b=105
Pixel, color r=66g=114 b=46
Pixel, color r=134 g=114b=45
def decreaseRed(pict): for p in getPixels(pict): value=getRed(p) setRed(p,value*0.5)

01-IntroToMediaComp 50
And eventually, we do all pixels
• We go from this… to this!

01-IntroToMediaComp 51
Tracing/Stepping/Walking• What we just did is called “stepping” or “walking
through” the program– You consider each step of the program, in the order
that the computer would execute it– You consider what exactly would happen– You write down what values each variable (name) has
at each point.
• It’s one of the most important debugging skills you can have.– And everyone has to do a lot of debugging, especially
at first.
01-IntroToMediaComp 52
Challenges
• Create an increaseRed function– Copy the decreaseRed function and rename it– Modify it to change the red value to 2 * the original
red value
• Create a clearBlue function– Copy the decreaseRed function and rename it– Modify it to change the blue value to 0

01-IntroToMediaComp 53
Can we modify more than one value?
• How do we turn this beach scene into a sunset?
• What happens at sunset?– At first, we tried
increasing the red, but that didn't work very well
– New Theory: As the sun sets, less blue and green is visible, which makes things look more red.

01-IntroToMediaComp 54
A Sunset-generation Function
def makeSunset(picture): for p in getPixels(picture): value = getBlue(p) setBlue(p, value * 0.7) value = getGreen(p) setGreen(p, value * 0.7)

01-IntroToMediaComp 55
Creating a negative
• Let’s think it through– R, G, B go from 0 to 255– Let’s say Red is 10. That’s very light red.
• What’s the opposite? LOTS of Red!
– The negative of that would be 245: 255-10
• So, for each pixel, if we negate each color component in creating a new color, we negate the whole picture.

01-IntroToMediaComp 56
Creating a negative
def negative(picture): for px in getPixels(picture): red = getRed(px) green = getGreen(px) blue = getBlue(px) negColor = makeColor( 255-red, 255-green, 255-blue) setColor(px, negColor)

01-IntroToMediaComp 57
Original, negative, double negative
(This gives us a quick way to test our function:Call it twice and see if the result is equivalentto the original)
We call this a lossless transformation.
01-IntroToMediaComp 58
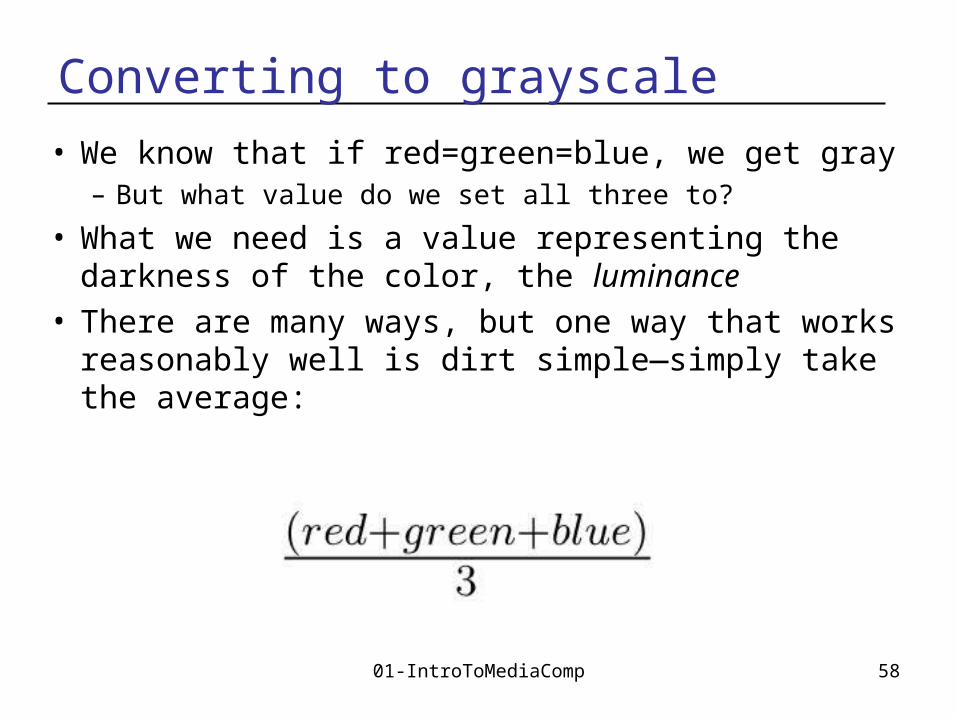
Converting to grayscale
• We know that if red=green=blue, we get gray– But what value do we set all three to?
• What we need is a value representing the darkness of the color, the luminance
• There are many ways, but one way that works reasonably well is dirt simple—simply take the average:
01-IntroToMediaComp 59
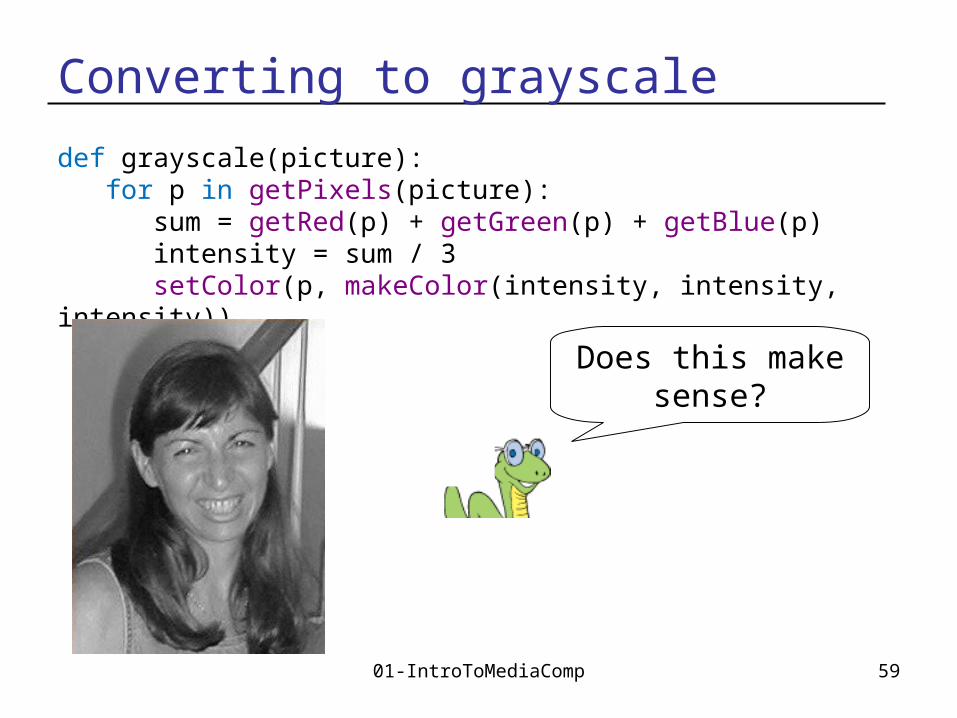
Converting to grayscale
def grayscale(picture): for p in getPixels(picture): sum = getRed(p) + getGreen(p) + getBlue(p) intensity = sum / 3 setColor(p, makeColor(intensity, intensity, intensity))
Does this makesense?
01-IntroToMediaComp 60
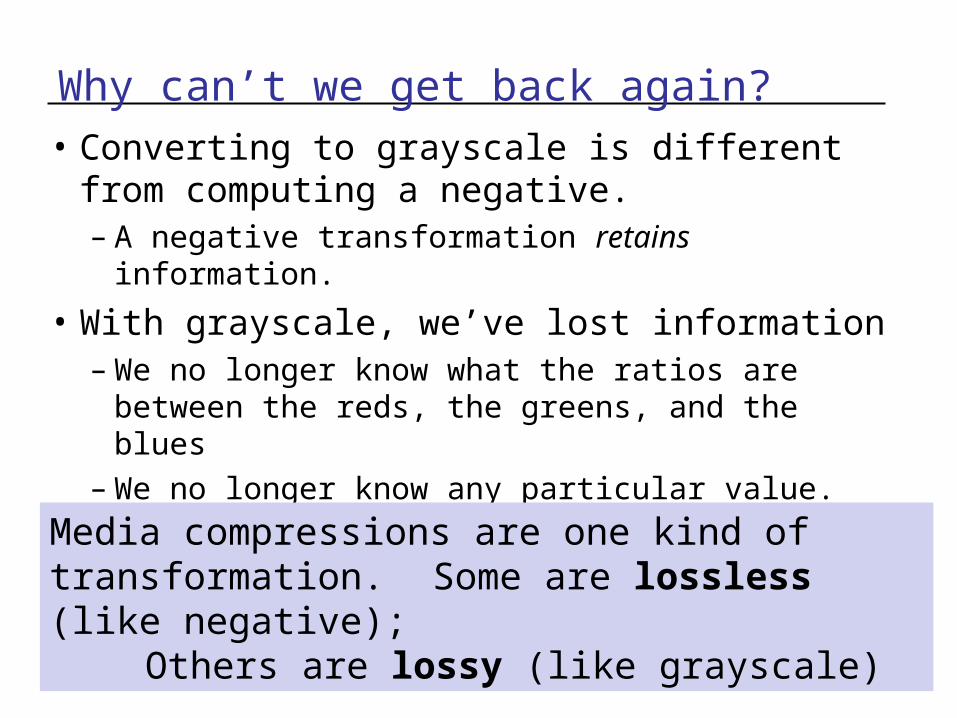
Why can’t we get back again?
• Converting to grayscale is different from computing a negative.– A negative transformation retains information.
• With grayscale, we’ve lost information– We no longer know what the ratios are
between the reds, the greens, and the blues– We no longer know any particular value.
Media compressions are one kind of transformation. Some are lossless (like negative);Others are lossy (like grayscale)

01-IntroToMediaComp 61
But that’s not really the best grayscale
• In reality, we don’t perceive red, green, and blue as equal in their amount of luminance: How bright (or non-bright) something is.– We tend to see blue as “darker” and red as
“brighter”– Even if, physically, the same amount of light is
coming off of each
• Photoshop’s grayscale is very nice: Very similar to the way that our eye sees it– B&W TV’s are also pretty good

01-IntroToMediaComp 62
Building a better grayscale
• We’ll weigh red, green, and blue based on how light we perceive them to be, based on laboratory experiments.
def grayscaleNew(picture): for px in getPixels(picture): newRed = getRed(px) * 0.299 newGreen = getGreen(px) * 0.587 newBlue = getBlue(px) * 0.114 luminance = newRed + newGreen + newBlue setColor(px, makeColor(luminance, luminance, luminance))
01-IntroToMediaComp 63
Summary• Name = expression creates a name (a variable)
that has a value• You can create your own functions in python• You can execute functions using the function
name and passing in any required values– decreaseRed(picture)
• You can modify pictures by modifying the pixels red, green, and blue values
• You can use an array to hold many values of the same type
• You can loop through all the values in an array using a for variable in array:
• Blocks in Python are shown by indention