© 2009 Delmar, Cengage Learning Chapter 14 Infection Control.
Upload
archibald-fitzgeraldCategory
view
229download
0
© 2011 Delmar, Cengage Learning
Chapter 11
Adjusting Colors

Chapter Lessons
• Correct and adjust color
• Enhance colors by altering saturation
• Modify color channels using levels
• Create color samplers with the Info panel
© 2011 Delmar Cengage Learning

• Use color-enhancing tools to change the mood or personality of a color by changing its tonal values
• Tonal values (also called color levels):– Numeric values of an individual color– Used to duplicate a color
© 2011 Delmar Cengage Learning
Enhancing Color

• Use color adjustment tools to specify exactly how colors should appear when printed
• Colors levels are modified by making adjustments to the input and output levels
© 2011 Delmar Cengage Learning
Reproducing Colors

• Balancing color:– Add and subtract colors from those
already existing in a layer– Correct oversaturated or undersaturated
color– Remove color casts from an image
© 2011 Delmar Cengage Learning
Correct and Adjust Color

• Contains three sliders:– Cyan-Red– Magenta-Green– Yellow-Blue
• Adjust colors by dragging sliders or typing values in the Color Levels text boxes
© 2011 Delmar Cengage Learning
Color Balance Dialog Box
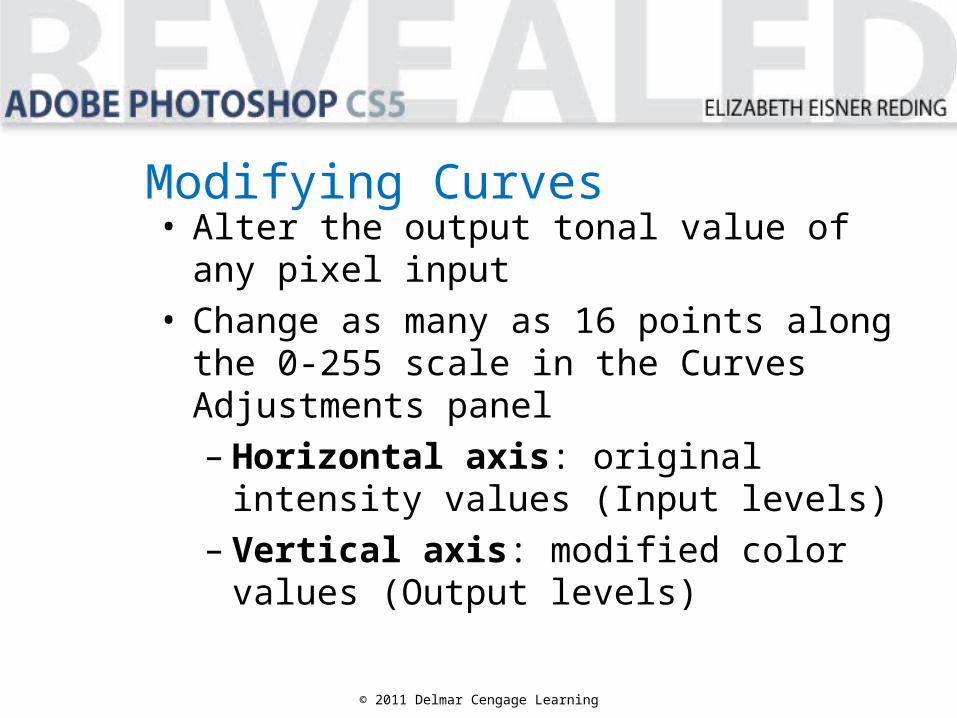
• Alter the output tonal value of any pixel input
• Change as many as 16 points along the 0-255 scale in the Curves Adjustments panel– Horizontal axis: original intensity
values (Input levels)– Vertical axis: modified color values
(Output levels)
© 2011 Delmar Cengage Learning
Modifying Curves

© 2011 Delmar Cengage Learning
Active Setting
Values for Active Setting
Curves Settings

• Create an adjustment layer
• Experiment with color corrections:– Adjust the color sliders and view
changes to the image– Modify the curves
© 2011 Delmar Cengage Learning
Analyzing Colors

• In the Variations dialog box, view thumbnails of color variations while making color adjustments
© 2011 Delmar Cengage Learning
Variations Dialog Box

• Purity of a particular color
• The higher the saturation level, the more intense the color
• Modify color saturation using:– The Hue/Saturation dialog box– Sponge tool
© 2011 Delmar Cengage Learning
Enhance Colors by Altering Saturation

• Use to increase or decrease the color saturation of a specific area within a layer
• Sponge tool settings include:– Brush size– Saturation or de-saturation levels– Speed with which the color flows into
or from the Sponge tool
© 2011 Delmar Cengage Learning
Using the Sponge Tool
© 2011 Delmar Cengage Learning
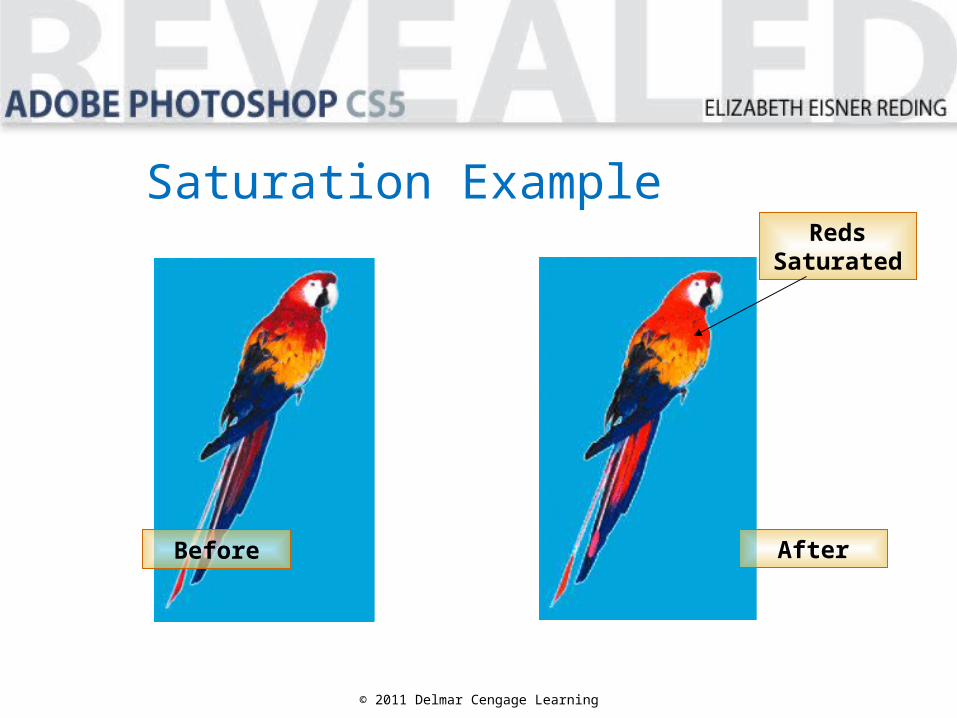
Reds Saturated
Before After
Saturation Example

• Hue is the amount of color that is reflected from an object– Assigned a measurement from 0 to
360 degrees– Described in terms of tints or shades
(red, yellow-green, blue, gold, etc.)
© 2011 Delmar Cengage Learning
Understanding Hue

• In the Hue/Saturation dialog box use the following sliders:– Hue– Saturation– Lightness
© 2011 Delmar Cengage Learning
Adjusting Hue/Saturation

• Use the Hue/Saturation settings to apply grayscale tones to an object in an image
© 2011 Delmar Cengage Learning
Object in Grayscale
Converting to Grayscale

• Use the Levels settings to make adjustments across a tonal range:– Uses the composite color channel or
individual channel
• The Levels feature uses a histogram and displays light and dark color values on a linear scale
© 2011 Delmar Cengage Learning
Modify Color Channels Using Levels

• A graph that represents the frequency distribution of colors in an image
• Adjustments are made to the input and output levels
• Plotted data indicates the total number of pixels for a given tonal value
© 2011 Delmar Cengage Learning
Histograms

© 2011 Delmar Cengage Learning
Histogram showing
plotted data
Levels Dialog Box

© 2011 Delmar Cengage Learning
• Levels settings contains six sliders that are used to make color adjustments:• Shadows slider• Midtones slider• Highlights slider• Output shadows slider• Output highlights slider
Using Sliders

• Use the Color Sampler tool to sample and store up to four distinct color samples– Apply each of the four color samples to
an image– Use the samples to make color
adjustments
© 2011 Delmar Cengage Learning
Create Color Samples with the Info Panel

© 2011 Delmar Cengage Learning
• Each sample represented by a number
Sample 1
Sample 2
Color Samples

• Displays the following information:– Actual color values for current color mode
– CMYK values
– X & Y coordinates of the pointer location
– Width and height of a selection
• Info panel expands to show color measurement information when a color sample is created
© 2011 Delmar Cengage Learning
Info Panel

© 2011 Delmar Cengage Learning
RGB Color Values
Pointer Coordinates
CMYK Color Values
Width & HeightColor
Samplers
Info Panel

• Move a color sampler by dragging the sampler icon to a new location:– Color value information is updated in
the Info panel
• Delete any of the samplers
© 2011 Delmar Cengage Learning
Manipulating Color Samplers